
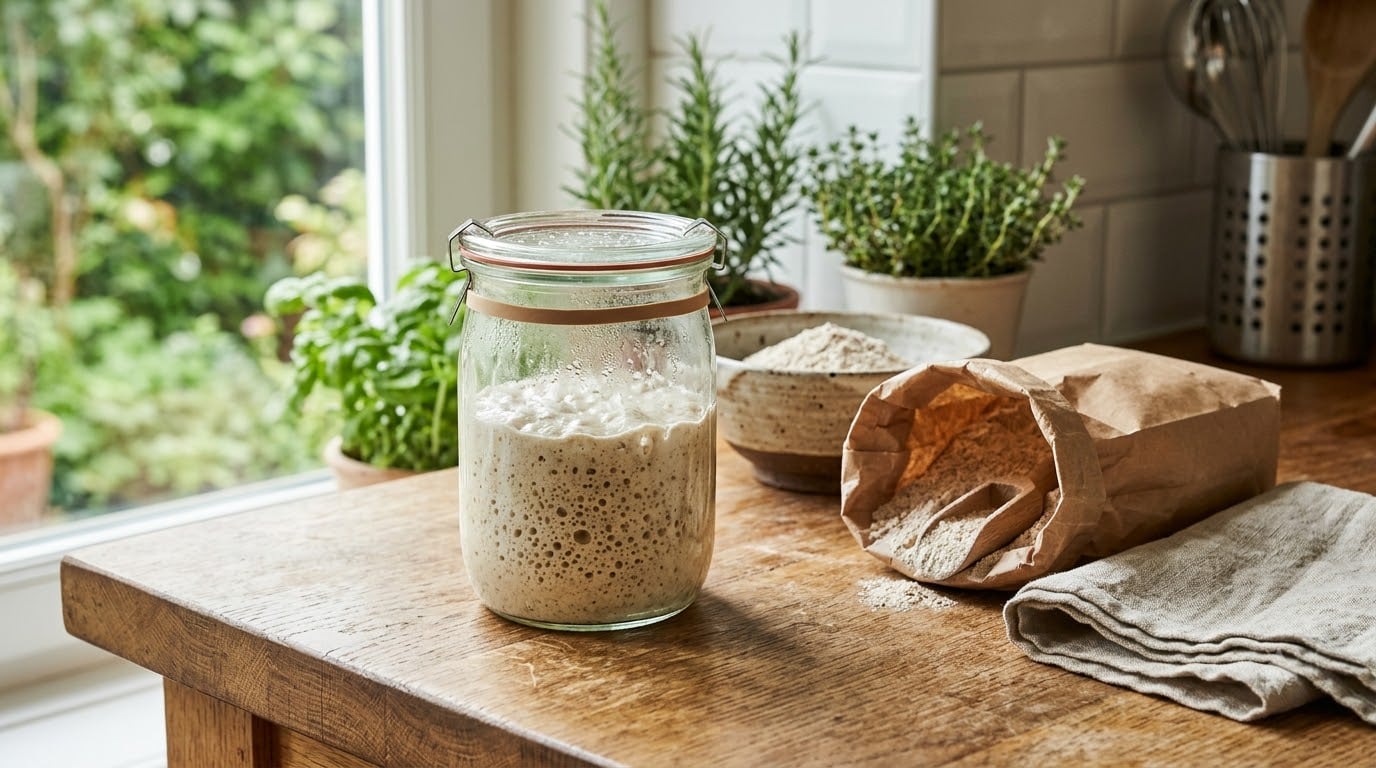
To make sourdough starter from scratch, stir together equal parts flour and water by weight in a clean jar, cover it loosely, and feed it once a day until it reliably doubles in size and smells pleasantly sour. Most starters show real activity between day 5 and day 14, depending on how warm your kitchen is.
I want to be straight about the timeline before you start. Plenty of guides promise a working starter in seven days. The r/SourdoughStarter crowd, who have watched hundreds of jars go through this, mostly report two to four weeks for a starter that truly holds its rise in the oven. If you plan for that, you won’t quit on day six.
What you’re actually doing is a little less mysterious than it sounds. Flour carries wild yeast and lactic acid bacteria on its surface, and those organisms need water and regular food to multiply. Every feeding you do is a small selection round: the fastest-growing colonies eat first, and over a couple of weeks they take over the jar.
Table of Contents
What You Need
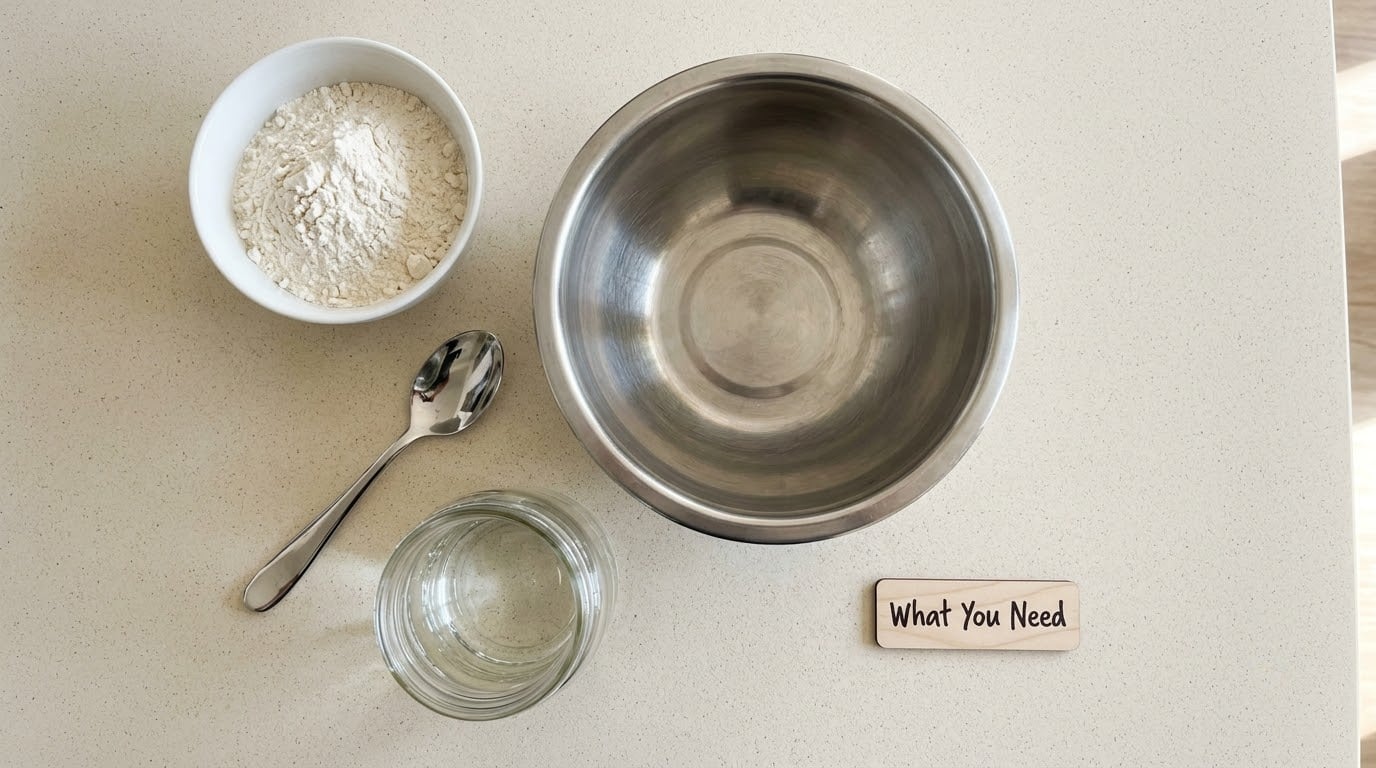
Two ingredients, a jar, and a scale. That’s genuinely the whole list, and the scale is the part people skip and then regret.
Ingredients
- Flour: 50 grams for the first mixing, plus about 50 grams per feeding. A 1-kilogram bag covers roughly two weeks of a small starter.
- Water: 50 grams per mixing and per feeding, plus a splash for the float test. Room temperature works; lukewarm speeds things up slightly.
Tools
- A glass jar, straight-sided, wide mouth, roughly 700 millilitres. Wide mouth matters because you need to get a hand and a spoon in there.
- A kitchen scale that reads in grams. Volume measurements are the single biggest reason beginners’ starters stall out, because a “cup” of flour and a “cup” of water are not the same weight.
- A rubber spatula or wooden spoon for mixing, and something to scrape the sides.
- A rubber band or a piece of tape to mark the starting level of the mixture, plus a second band for the float test later.
Useful but optional: a small digital thermometer, a proofing box, and a square clear container so you can watch the rise from the side.
Which flour to start with
Whole wheat and rye flour are faster because they carry more nutrients and more of the enzymes that feed bacteria. White flour is slower but gives a milder flavour. If you want the fastest route, start with rye or whole wheat for the first two days, then move to the flour you’ll actually bake with.
| Flour | How fast it works | Flavour it gives | Best for |
|---|---|---|---|
| Rye | Fastest, often active by day 3 | Strongly tangy, earthy | Speeding up a stubborn start |
| Whole wheat | Fast, active around day 4 | Mildly tangy, nutty | Beginners who want a short timeline |
| Bread flour | Moderate, active around day 7 or later | Balanced, good structure | Bakers who want strong dough |
| All-purpose flour | Slowest of the four | Mildest tang | Everyday maintenance feeding |
Skip bleached flour. The bleaching process kills the wild organisms you are trying to invite in, so unbleached or whole-grain flour is the better starting point.
Step-by-Step: How to Make Sourdough Starter from Scratch
1. Mix the Flour and Water
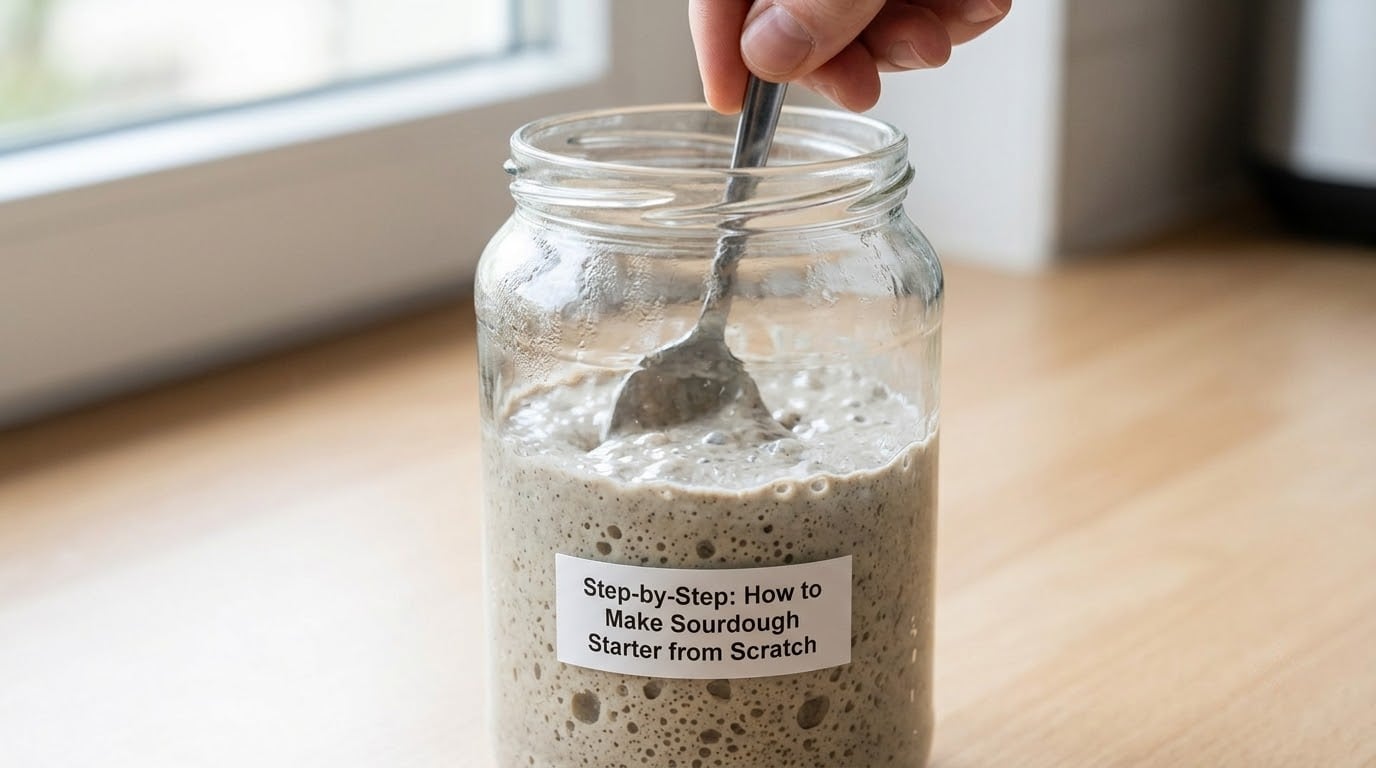
Day one is short. Put 50 grams of flour in your jar, add 50 grams of water, and stir until no dry flour is left. The consistency should be like thick pancake batter, not glue and not paste.
Scrape down the sides, run a rubber band around the jar at the top of the mixture, and put a lid on loosely. Not airtight, and not open. If you seal it completely, carbon dioxide has nowhere to go and the mixture pushes itself up the walls. If you leave it wide open, it dries out.
2. Rest and Begin Fermenting
Leave the jar on your counter for 12 to 24 hours before the first feeding. Most people feed at about the 24-hour mark, but if your kitchen is warm you can feed sooner.
Bubbles on the surface at this point mean almost nothing. They are usually just trapped air from mixing. Real activity is a rise in volume and a change in smell, and that takes a few days to show up.
3. Feed the Starter Daily
Feed once a day with a 1:1:1 ratio by weight: 20 grams of existing starter, 20 grams of flour, 20 grams of water. This is sometimes called the 1/3/3 method, since the equal parts are usually a third of a cup each. It’s the easiest ratio to keep consistent once you’re working with a smaller starter.
The exact ratio matters less than the habit. What matters is that you remove some of the old starter and feed the remainder fresh food, which is what keeps the culture concentrated instead of spread thin across a big jar.
Here is the day-by-day shape of it:
- Day 1: Mix 50g flour with 50g water. Cover, mark the level, rest.
- Day 2: Stir. You’ll likely see a faint sour or tangy smell and a few surface bubbles.
- Day 3: Discard down to 20g, then feed 20g flour and 20g water. Bubbles get more obvious and the mixture may already show a slight rise.
- Days 4 to 7: Same 1:1:1 feeding each morning. Whole wheat and rye starters should start doubling here; white flour starters often take longer.
- Week 2 onward: Keep feeding daily until the rise test in step 5 passes twice in a row.
Every feeding produces discard, and discard is not waste. It works beautifully in pancakes, waffles, crackers, and quick breads. If you want more discard recipes to work through, I have a simple one for banana ice cream without an ice cream maker that uses a ripe fruit base and no special equipment.
4. Watch for Bubbles and a Rise
This is where most beginners misread their jar. Surface bubbles alone are not fermentation; a starter can bubble for days and still have nothing underneath.
Watch the rubber band instead. If the mixture climbs past it and looks domed rather than flat, something is happening. A healthy starter at peak activity roughly doubles, sometimes triples, within four to six hours at room temperature. A young, weak starter might take twelve hours to move a centimetre, and that is normal early on.
The smell is the second signal. A starter that’s working smells pleasantly tangy and yeasty, like yogurt crust or a mild vinegar. If the only smell is sweet or neutral, it isn’t producing acid yet, which usually means it needs more time or more warmth.
5. Confirm the Starter Is Ready
Use the rise test first, because it measures what bread actually cares about. Feed the starter, mark the level, and wait four to six hours. A ready starter will have roughly doubled and be at peak activity when you come back.
Then try the float test. Drop a spoonful of starter into a glass of water. If it floats, it’s dense with trapped gas and strong enough to leaven dough. If it sinks, it needs more days. A sinking starter is not a ruined starter, so don’t throw it out.
Run both tests on two separate days before you commit to baking. One good rise can be luck; two in a row means the culture is stable and predictable.
6. Store and Maintain the Starter
Once it’s active, decide how often you’ll bake. If you’re baking weekly, keep it on the counter and feed it once a day. If you bake monthly, put it in the fridge and feed it weekly.
Fridge storage slows the culture down rather than killing it. To bring it back, take it out, discard most of it, and feed it twice a day at room temperature until it doubles reliably, then return it to the fridge. That revival usually takes one to three days.
Shelf life at room temperature with daily feeding is genuinely years. Plenty of bakers pass starter jars down to friends and family; it’s a living culture, not a consumable.
Fermenting foods follow the same logic of controlled wild organisms and regular feeding, so if you’re curious about the wider world of culturing food at home, how to make water kefir at home is a good next read.
Common Mistakes and How to Fix Them
The starter isn’t rising
Cold kitchens are the most common cause and the least acknowledged one. Below roughly 65F, a starter can sit for days without visibly doing anything. Aim for 70 to 75F, and if your kitchen runs cooler, find a warmer spot.
Ways to warm a starter without a pro oven: the lightbulb inside an unplugged oven, a closed microwave with a cup of hot water in it, a microwave turned on low for two minutes, or a warm corner near the washing machine or boiler.
Other causes: a feeding ratio that is too wet, skipping a day in the first week, or judging readiness too early. A thin, runny mixture traps fewer bubbles, so if yours is loose, go stiffer and use 20 grams of flour to 15 grams of water.
It bubbles but never doubles
Surface bubbles and a real rise are different things. Bubble without lift usually means the mixture is too thin, or it’s too early, or the culture has picked up mostly bacteria rather than yeast. Stiffen the feeding, keep the jar warm, and give it three more days.
Hooch, or mold, or just hungry
| What you see | What it means | What to do |
|---|---|---|
| Clear or grey liquid sitting on top | Hooch, a harmless waste liquid from a hungry or neglected starter | Pour it off, then feed the starter as normal. No need to throw it out. |
| Thin pink or orange streaks, fuzzy white or green fuzz, black or blue spots | Mold. The culture is contaminated. | Discard the whole jar, scrub it, and start again. Antibiotics and bleach residue can both encourage mold, so avoid both. |
| Starter is flat, dull, and smells like nail polish remover or nail varnish | Acetone smell from a starved, acidic culture | Feed twice a day for two or three days until the sour smell returns. |
| Starter has doubled and then collapsed with a sour, overripe smell | You let it peak and then went past peak | Feed it back to a small amount and use it at the next peak instead. |
Too much water in the feed
A wetter feeding feels more forgiving but dilutes the culture. Most beginners who get stuck are feeding 1:1:1.5 or wetter. Back off to 1:1:1, or even 1:1:0.75, and give the stiffer routine a week.
A false start around day 3 or 4
Switching from whole wheat to white flour too early can cause a starter that seemed alive to flatten out. This is a normal transition, not a death. Stay on the whole wheat flour a few extra days, then switch one feeding at a time.
Tips for a Strong, Reliable Sourdough Starter
Weight everything. A scale that reads in grams is the cheapest upgrade you can make to this project, and it removes the most common reason a starter never gets going.
Keep the kitchen at 70 to 75F if you can. A starter kept warm is a starter that eats on schedule, and a starter that eats on schedule is a starter you can plan baking around.
Mark the jar every time. The rubber band turns a vague feeling into a number you can compare feed to feed, which is the only reliable way to notice that activity is improving or slipping.
Feed on a schedule, not on a whim. Some bakers feed on a fixed hour every morning so it never slips. If you miss a day during the first week, feed twice the next day and carry on. Missing one early feeding is not the thing that ruins a starter.
Scrape the jar clean. Pull the sides down into the mixture with a rubber spatula each feeding, and wash the jar with hot water but no soap. Soap residue is one of the more common reasons a new starter never establishes.
Feed with the flour you plan to bake with. Most bakers keep a small jar of the everyday flour on hand for maintenance, then feed heavier with whole wheat when a starter looks sluggish.
Know your water. Highly chlorinated tap water can suppress wild yeast in some cities. If your starter stalls inexplicably, switch to filtered or bottled water and feed twice a day for a few days. It’s an easy thing to rule out, and it isn’t the cause everywhere.
Give the culture a long, slow feed when you want strength. A 1:2:2 or 1:5:5 feeding builds a stiffer, stronger starter that holds shape well for bread. A 1:1:1 keeps things liquid and is easier while you’re learning the basics.
If you’re fermenting other things at home, the same patience applies. How to make kimchi without special ingredients uses salt and time in much the same way sourdough does.
Name it if you want. This sounds trivial, but plenty of bakers have a jar they’ve called Bubbles, Casanova, or something equally ridiculous, and the small ritual of checking on a named starter makes the daily feeding easier to keep up.
Frequently Asked Questions
How long does it take to make sourdough starter from scratch?
Most starters take between 5 and 14 days to become reliably active, though whole wheat and rye starters often show doubling within 3 to 5 days. Guides that promise 7 days are describing the lucky end of the range. If your kitchen is cool, or you feed a wet 1:1:1.5 ratio, budget two to four weeks. Judge readiness by doubling in 4 to 6 hours, not by the calendar.
Can I make sourdough starter with whole wheat flour?
Yes, and whole wheat is often the better starting flour. It carries more nutrients and more of the enzymes wild organisms eat, so it activates faster than white flour. A common approach is to start with 50 grams whole wheat flour and 50 grams water for the first two days, then switch to all-purpose or bread flour for the feedings you’ll bake with. Switching too early is what causes the common day 3 or 4 false start.
Why is my sourdough starter not rising?
The most common cause is a kitchen that’s too cold. Below about 65F a starter can sit for days without visibly doing anything, so aim for 70 to 75F using an oven light, a closed microwave with hot water, or a warm corner of the house. Other causes include a feeding ratio that’s too wet, skipping a feed in the first week, or giving up before day 10. Try a stiffer 20g starter, 20g flour, 15g water and feed twice daily for a week.
How often should I feed a new sourdough starter?
Once a day while it’s young, at a 1:1:1 ratio by weight: 20 grams of starter, 20 grams of flour, 20 grams of water. If the starter seems sluggish or you’re in a cold kitchen, feed twice a day instead. Once the starter reliably doubles in 4 to 6 hours, one feeding a day on the counter is enough for weekly baking. For a refrigerator schedule, feed it once a week and revive it with two feedings a day before baking.
What does a healthy sourdough starter smell like?
A healthy active starter smells pleasantly tangy and yeasty, like yogurt crust, sourdough, or a mild vinegar. That tang comes from lactic acid bacteria and it is exactly what you want. A starter that smells only sweet or neutral hasn’t produced acid yet, which usually means more time or more warmth. A sharp nail-polish-remover smell means the culture is starved and acidic, and it needs a feeding to recover.
Can I keep sourdough starter in the refrigerator?
Yes, refrigeration is the easiest way to store a starter if you don’t bake every day. Cold slows the culture down rather than killing it, and a fridge starter usually needs a feeding once a week. To revive it, discard most of what’s in the jar, then feed it twice a day at room temperature until it doubles reliably, which normally takes one to three days. Then feed once a week and return it to the fridge.
Conclusion
Start today, and start small. Weigh 50 grams of flour and 50 grams of water into a clean jar, mark the level with a rubber band, and leave it covered on your counter. That single action is the whole project; everything after it is a daily five-minute feed.
Give it two to four weeks rather than seven days, keep it warm, and judge it by how much it rises rather than by the date. The culture builds gradually, and once it starts doubling on a schedule it will keep going for years.