
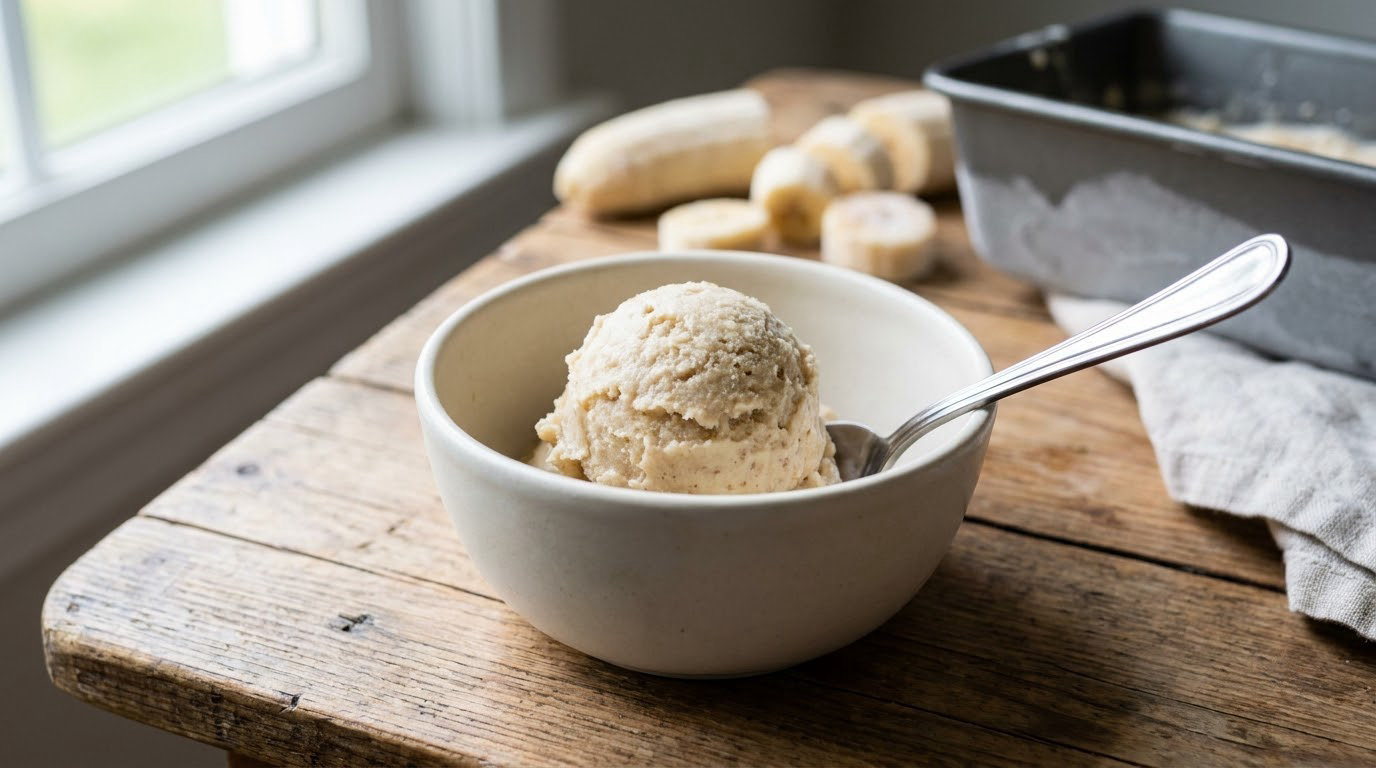
You can make rich, creamy banana ice cream with frozen bananas and a food processor, no ice cream maker and no cream required. Freeze ripe bananas in slices until solid, process them until the mixture turns pale and whipped, then serve it soft or chill it briefly for scoops. Active time is about five minutes; most of the wait happens in the freezer.
The whole thing depends on two things people get wrong: how ripe the bananas are, and how long you keep the machine running. Get both right and you get a soft-serve texture that tastes like the banana flavor amplified rather than a frozen smoothie.
Recipe timing for this version, updated for 2026: 10 minutes to slice and freeze the fruit, 4 to 8 hours to freeze it solid, 5 minutes of processing, and about 30 minutes of chilling for a scoopable finish. Four servings.
Table of Contents
- What You Need
- Step-by-Step: How to Make Banana Ice Cream Without an Ice Cream Maker
- Common Mistakes
- Frequently Asked Questions
- Can I make banana ice cream without a blender?
- How ripe should the bananas be before freezing?
- Why is my banana ice cream watery instead of creamy?
- How long does homemade banana ice cream stay in the freezer?
- Can I use regular milk instead of plant milk?
- How do I make banana ice cream thicker without adding more bananas?
- Conclusion
What You Need
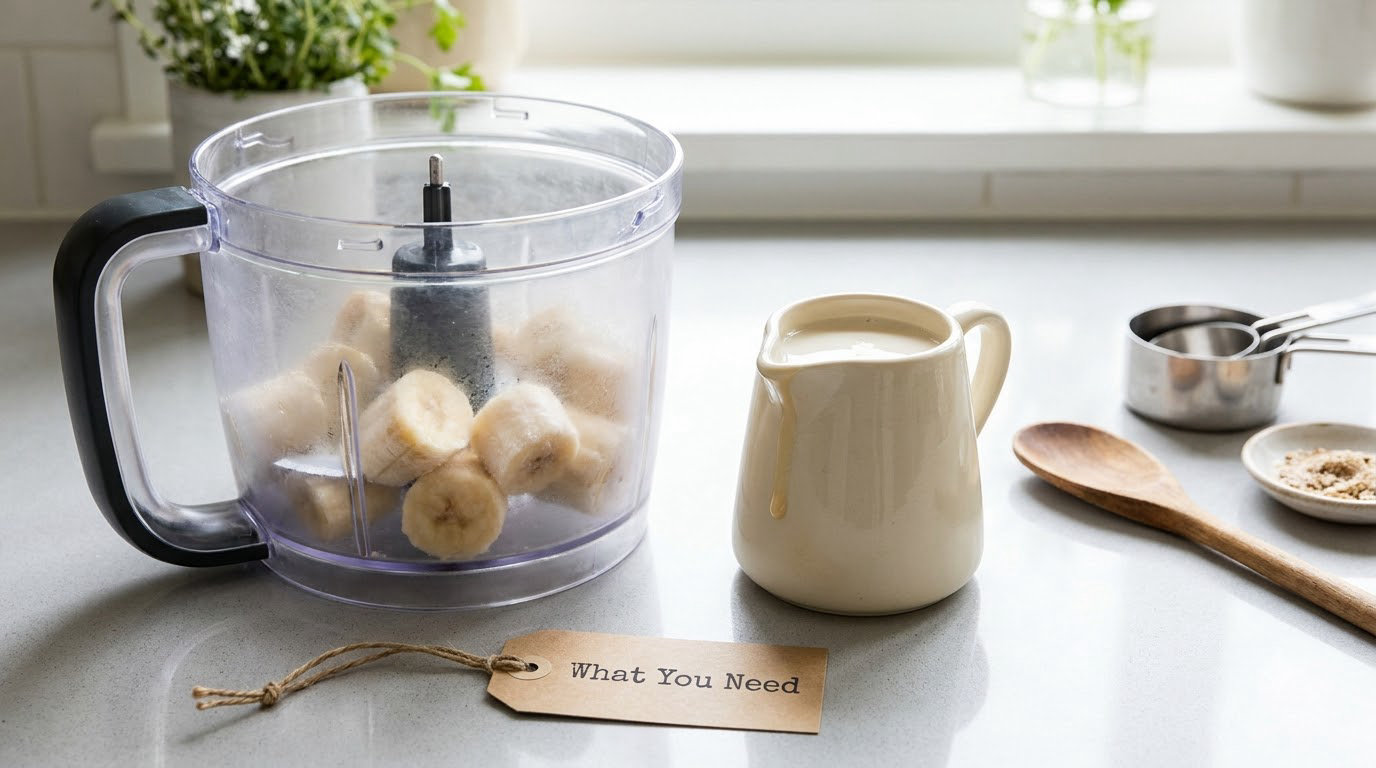
The recipe is one ingredient and about five minutes of work. Everything else is optional, and the optional parts are where you make it yours.
- 3 to 4 very ripe bananas, the kind with brown speckles on the peel. Riper means sweeter, and sweetness is the only sweetener here.
- A food processor with an S-blade, ideally 7 cups or larger so the mixture has room to move.
- 1 to 2 tablespoons milk (optional), added one tablespoon at a time. Any kind works: whole milk, oat, almond, coconut or soy.
- 1 teaspoon vanilla extract (optional).
- A pinch of salt (optional). It does not make the dessert salty, it just sharpens the banana flavor.
- Parchment paper and a baking tray for freezing the slices flat.
Which appliance should you use?
A food processor beats a blender here, mostly because the wide bowl and the horizontal blade keep the mixture moving instead of spinning it into a vortex around a pile of frozen fruit. A blender works, but it usually needs a splash of liquid to get the blades turning, and that extra liquid is what turns the batch into a smoothie.
| Appliance | Texture it gives | Milk needed? | Watch out for |
|---|---|---|---|
| Food processor, 7 cups or larger | Pale, whipped, closest to soft serve | No | Run it in short pulses with the tamper, scraping down between bursts |
| High-speed blender | Smoother, airier, slightly thinner | Usually 1 to 2 tablespoons | Frozen fruit can bridge the blades; tamp the mixture down between pulses |
| Immersion blender | Good, in a tall narrow cup only | No if the cup is deep enough | A wide bowl will splash and aerate badly; keep the blade submerged |
| Fork and a bowl | Chunky, more like a frozen mash | A splash helps | No machine means less air, so expect something closer to a sorbet |
If you have none of those, you can still make it. The no-machine version comes later in the common mistakes section, because the trick is freezing the mash in small portions rather than one big block.
Step-by-Step: How to Make Banana Ice Cream Without an Ice Cream Maker
Step 1: Freeze the Bananas
Peel the bananas and slice them into coins about half an inch thick. Lay the slices in a single layer on a parchment-lined tray and freeze for 4 hours, or overnight if you are doing this as prep. Freezing in slices rather than whole is worth the extra five minutes: the pieces break down faster, the machine runs quieter, and you skip the awkward thawing-then-cutting step.
Move the frozen slices into a bag or a container once they are solid, and keep them frozen until you are ready to blend. If your bananas were frozen whole, let them sit on the counter for 10 to 15 minutes until you can drive a knife through them without force.
Step 2: Blend the Frozen Bananas
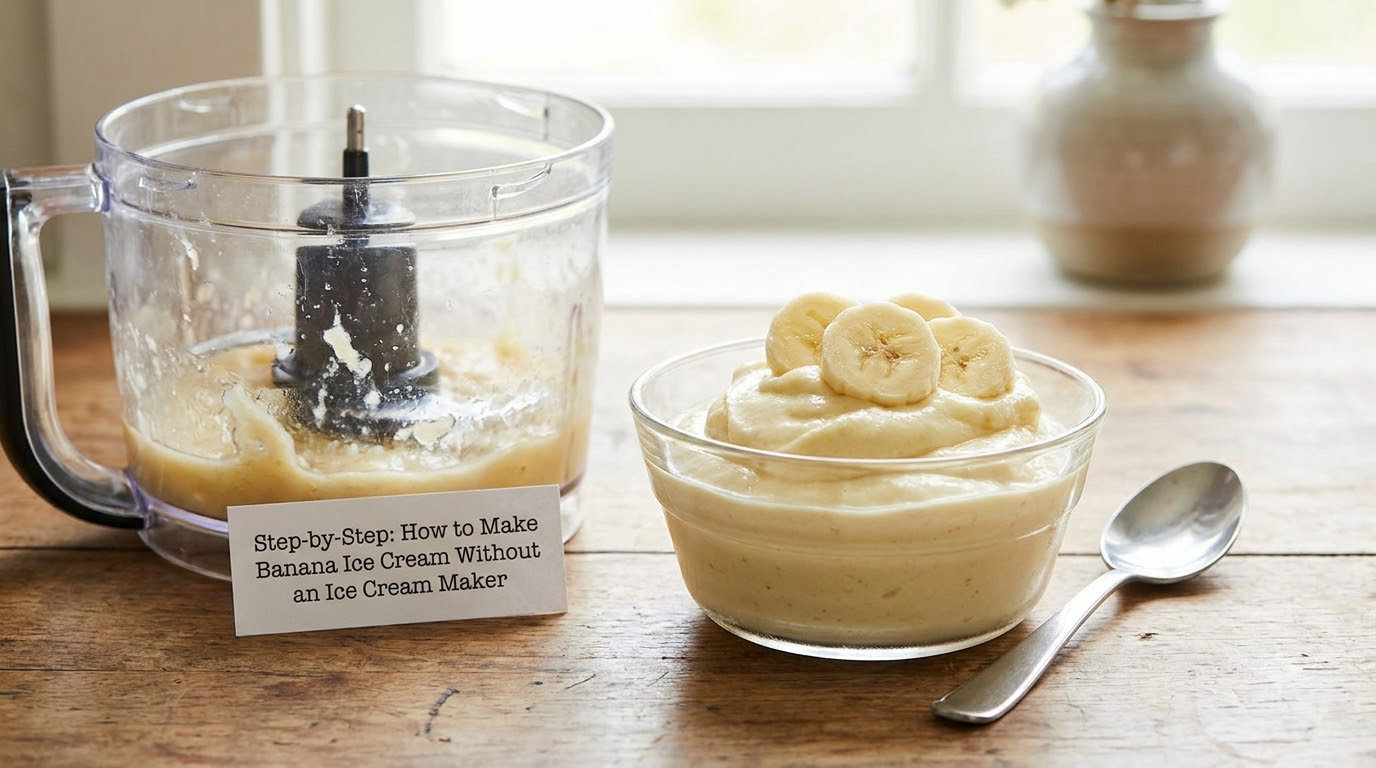
Put the frozen slices in the food processor bowl and pulse in short bursts, about 10 seconds on and 5 seconds off. Scrape the mixture down off the sides between bursts. After the first minute it will look like thick, lumpy baby food, and this is where most people stop.
Keep going. Somewhere between minute two and minute four the mixture suddenly changes: it lightens in color from grey-yellow to pale cream, the lumps disappear, and it starts looking like soft serve. That sudden change is the whole recipe. There is no gradual improvement, there is a wall you go through.
How long it takes depends on your machine. A 7-cup processor with a sharp S-blade gets there in 3 to 5 minutes. Let it run longer than feels comfortable in small doses rather than in one long stretch, and scrape down every time you would have stopped to check anyway.
Step 3: Adjust the Texture and Flavor
Now decide how loose you want it. Add one tablespoon of milk with the machine running and pulse a few times. If it still holds a stiff ridge when you drag a spoon across the bowl, add another tablespoon. Stop there. You are looking for the texture of soft serve, not of a smoothie, and every extra tablespoon makes it slushier and quicker to melt.
Flavor goes in now, while the mixture is still moving. Vanilla extract, a pinch of salt, and a tablespoon of nut butter all blend in smoothly. Cacao powder, cinnamon and chocolate chips work too; for chunky mix-ins, pulse the ice cream back together briefly after folding them in by hand.
Step 4: Chill and Serve
Scoop it straight from the bowl if you want soft serve. It is at its best in the first hour, before the temperature drops and the texture firms up.
For something closer to scoopable ice cream, press it into a freezer-safe container and chill for 30 minutes to 2 hours. Take it out about 5 minutes before scooping so a spoon can get through it. Do not leave it overnight at this stage; long freezing is what turns it into a solid block you cannot dig into.
It keeps in an airtight container in the freezer for up to a week or two, though the texture degrades across refreezing. If it goes hard, sit it on the counter for 10 minutes and process it again in short pulses, and it comes back closer to where it started.
Common Mistakes
Nearly every bad batch traces back to one of five things. The fix is usually smaller than people expect, and mostly it means not adding liquid.
| What went wrong | Why it happened | The fix |
|---|---|---|
| Thin and watery, more like a smoothie | Too much milk, or all of it added at once | Start from zero liquid and add one tablespoon at a time, processing a few seconds after each |
| Stuck at a lumpy baby-food stage | Stopped processing too early | Keep pulsing. The change to a pale cream happens late, usually after 3 to 4 minutes |
| Icy, hard, unscoopable | Frozen for too long before serving, or refrozen more than once | Thaw 10 minutes on the counter, then re-process in pulses |
| Grainy or crunchy | Bananas were underripe, or pieces froze into one solid block | Use spotty bananas, slice before freezing, and thaw frozen chunks 10 to 15 minutes first |
| Weak banana flavor | Bananas were picked too green | Ripeness drives both flavor and sweetness here, since there is no sugar to fall back on |
| Processor straining or sounding strained | Frozen bananas are hard, and some small processors are not built for that | Thaw 10 to 15 minutes, work in smaller batches, and use a 7-cup model where you have the option |
Two habits prevent most of it. Slice before freezing, and add liquid last and slowly. Beyond that, there is only the no-appliance fallback: mash very cold bananas with a fork, stir in a splash of milk and vanilla, spoon the mix into an ice cube tray or small cups, and freeze for 30 to 60 minutes. Those little frozen portions soften enough in a few minutes to eat with a spoon, and readers who have only an immersion blender get the same result by blending the mash in a tall cup.
Frequently Asked Questions
Can I make banana ice cream without a blender?
Yes, and the result is a slightly chunkier, denser version that sits closer to a frozen sorbet than soft serve. Mash very cold bananas with a fork, mix in a splash of milk and a spoon of vanilla, then freeze the mash in an ice cube tray or small cups for 30 to 60 minutes. If you have an immersion blender, blend the mash in a tall narrow cup instead and it will turn noticeably creamier.
How ripe should the bananas be before freezing?
As ripe as you can stand, ideally with brown speckles across the peel. Ripeness drives both the sweetness and the banana flavor, because there is no added sugar in this recipe to cover a bland fruit. Slightly green bananas freeze fine but taste flat. Very soft, dark-skinned bananas work especially well, which makes this a good way to use up fruit that is about to go past eating.
Why is my banana ice cream watery instead of creamy?
Almost always because of the liquid. Each tablespoon of milk thins the mixture noticeably, and a full pour at the start gives you a smoothie. Process the bananas with no liquid first, add one tablespoon with the machine running, then pulse a few seconds and check. Stop as soon as it holds a soft ridge. You can also re-freeze the thin mixture for 30 minutes and process it again to bring some of the structure back.
How long does homemade banana ice cream stay in the freezer?
In an airtight container it keeps for about one to two weeks, but it is clearly best on the day you make it. Every freeze and thaw cycle costs you the whipped texture. If it turns hard, leave it on the counter for 10 minutes and pulse it in a food processor again, which restores much of the softness. Freezing it longer than a couple of hours in the first place is what turns it into a solid block.
Can I use regular milk instead of plant milk?
Yes. Whole milk gives the richest, creamiest result and is the closest thing here to a traditional dairy dessert, and it is what the recipe works best with. Oat and almond milk are the standouts among the plant options because they are mild and creamy, and coconut milk adds a noticeable flavor of its own. Soy milk works fine too. The milk is optional either way, so a plain banana version needs nothing at all.
How do I make banana ice cream thicker without adding more bananas?
Drain the mixture if you added liquid. The simplest fix is to process it longer, because the whipped stage holds less water than the earlier baby-food stage. If it is still loose, freeze it for 30 minutes and pulse it again in short bursts. Reducing it over low heat for a few minutes concentrates it, though that shifts the flavor slightly and takes away the fresh banana note.
Conclusion
Freeze sliced ripe bananas until they are solid, process them in short pulses past the baby-food stage until the mixture turns pale and creamy, and add liquid only if the texture needs it. Eat it soft, or chill it for 30 minutes for something closer to a scoop. That is the entire method, and it is why learning how to make banana ice cream without an ice cream maker costs you almost nothing but a few hours in the freezer.