
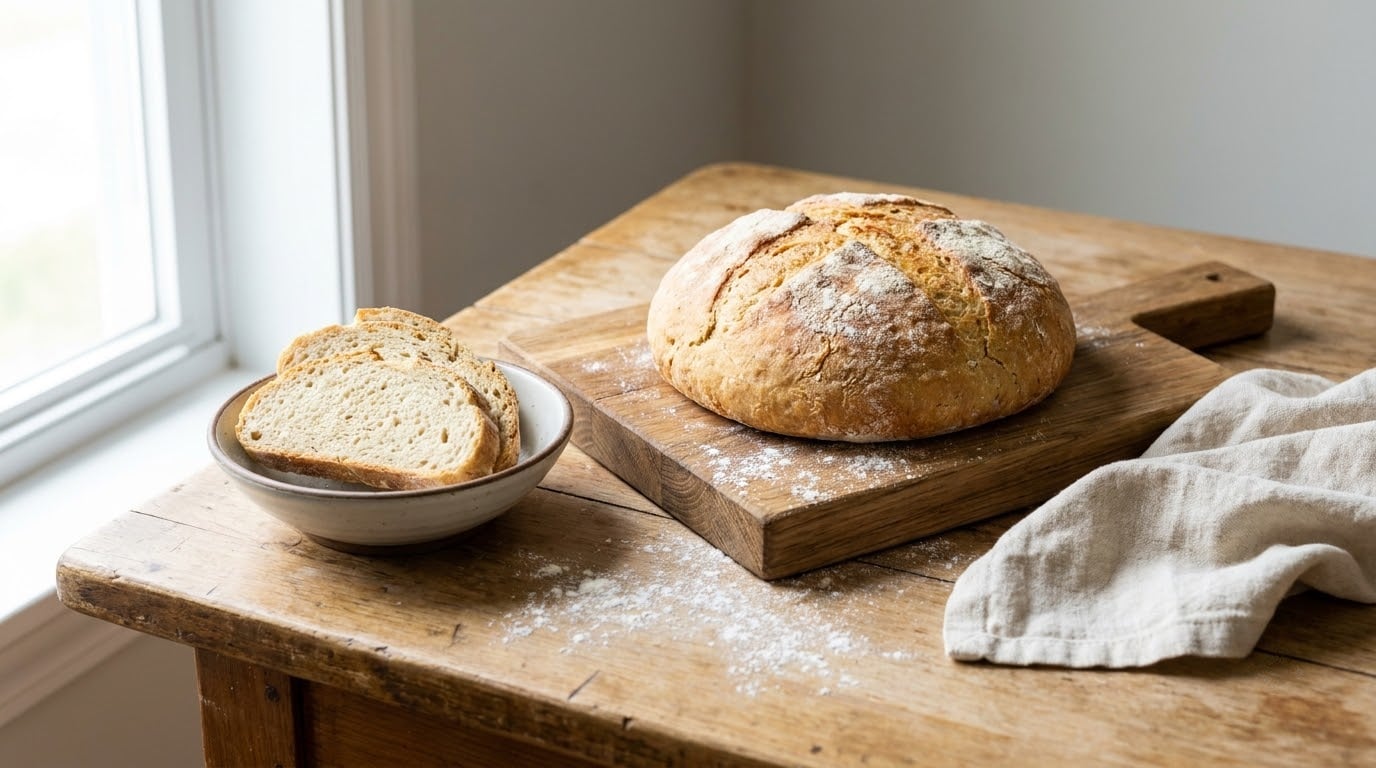
To make gluten free bread that rises, you need three things working together: live yeast, dough loose enough to expand, and a binder like psyllium husk to trap the gas. Gluten is the elastic net that normally holds bubbles in place, so without it the loaf needs looser hydration and gentler handling. The whole process takes about 3 hours, most of it waiting, and the dough behaves more like thick batter than bread dough.
The good news is that once you stop expecting a wheat dough, the process gets easier. Weigh your flour, watch the dough instead of the clock, and let the loaf finish cooling before you cut it.
If you also make your own oat milk, how to make oat milk that is not slimy is worth reading, because a strained oat milk works nicely in place of water for a softer crumb.
Table of Contents
What You Need
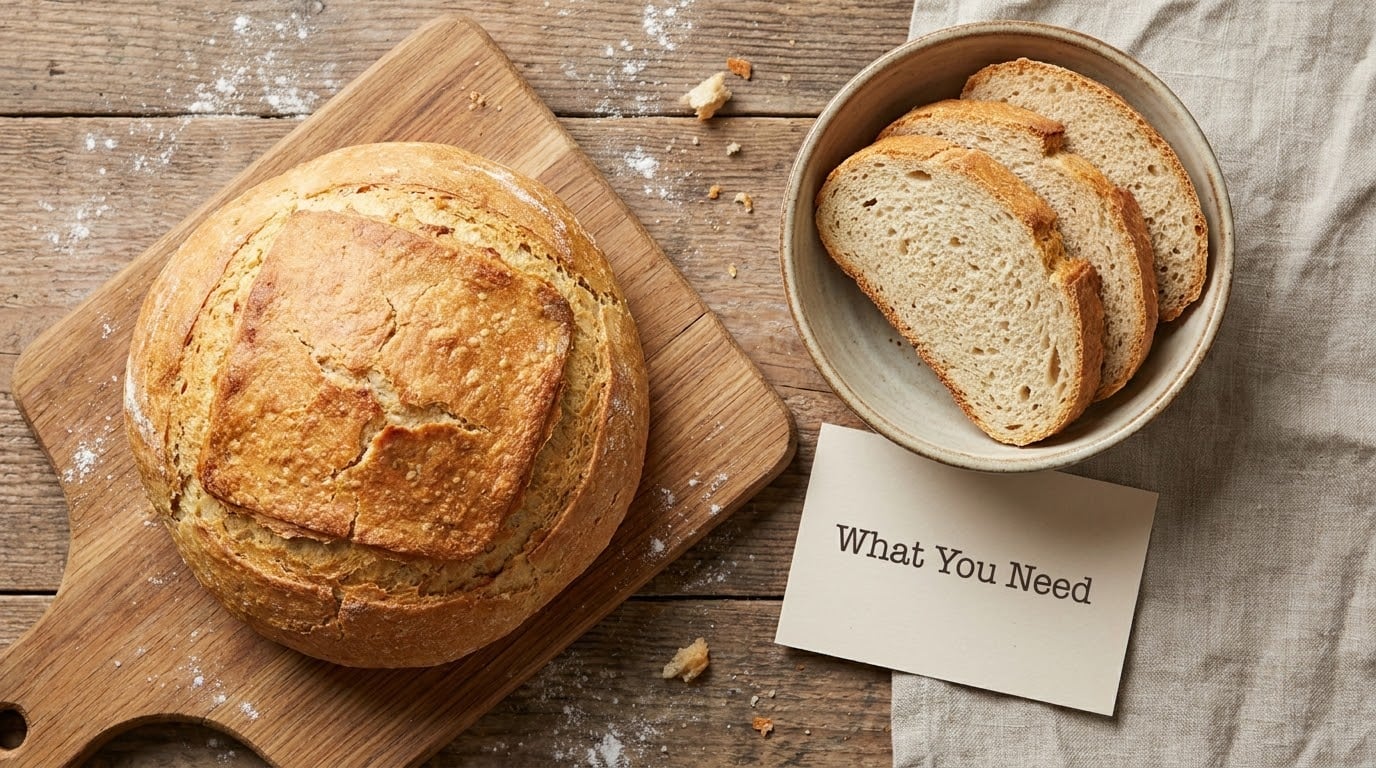
This is a 9×5 inch loaf. Everything scales by weight if you keep the ratios.
- 340 g gluten-free bread flour blend (about 3 cups). Use a blend that already contains xanthan gum or psyllium, or add your own binder.
- 340 g warm water (1 1/2 cups), 100 to 110 F. Milk works too, warmed to about 95 F.
- 2 tsp instant yeast (about 7 g). Active dry yeast needs blooming first.
- 2 tsp psyllium husk powder (about 10 g), or the amount your blend calls for.
- 1 1/2 tsp fine sea salt (9 g).
- 2 tbsp honey or sugar, which feeds the yeast and browns the crust.
- 3 tbsp melted butter or olive oil, plus more for the pan.
- 2 egg whites, optional, at room temperature for a higher rise and a finer crumb.
Tools are simple: a digital scale, an instant-read thermometer, a 9×5 inch loaf pan or a Pullman pan, a mixing bowl that holds 3 to 4 times the dough volume, and a wire cooling rack.
Why psyllium matters: husk powder swells with water and forms a gel, and that gel acts as the scaffolding that holds gas bubbles the way gluten does. Xanthan gum does the same job with a lighter, more tender result, while psyllium gives a chewier, denser crumb that holds up to slicing. Bakers on r/glutenfreebaking regularly report psyllium husks producing a chewier loaf than xanthan.
If you have celiac disease, buy flour, yeast, and psyllium labeled certified gluten-free and keep them sealed and stored away from wheat flour. Cross-contact happens mostly through shared scoops, open bags, and toasters, not through the yeast itself.
Ingredient temperature is not a detail here. Yeast slows badly below about 70 F and dies past roughly 120 F, and cold eggs or straight-from-the-fridge milk can drag the whole dough below the useful range.
Step-by-Step: How to Make Gluten Free Bread That Rises
Texture varies by flour blend, and that is normal. Sorghum-heavy blends hold more water, rice-heavy blends run stiffer, and every one of them behaves a little differently in your kitchen. The dough should rise substantially, roughly 50 to 75 percent, without doubling endlessly and collapsing in the oven.
Warm and Activate the Yeast
Check the expiration date first, since old yeast is the most common reason a loaf never moves. For instant yeast, you do not need to bloom it, just scatter it over the water and stir.
For active dry yeast, dissolve it in the water and wait 5 to 10 minutes until foamy. Target 100 to 110 F for the water, and skip the guesswork by reading it with a thermometer. If the mixture never foams, the yeast is dead or the water was too hot.
Mix the Dough
Whisk the flour, psyllium, salt, and sugar together first so the psyllium is evenly distributed. Add the yeast mixture gradually and mix with a sturdy spoon or a paddle attachment until no dry pockets remain.
Reserve about 60 g of the water. Blends differ in absorption, and gluten-free dough that is too tight will not rise no matter how long you wait. Add the reserve water a tablespoon at a time until the dough is soft, glossy, and pulls away from the bowl.
The finished dough should slump slowly when you tip the bowl, closer to thick pancake batter than to pizza dough. Do not knead it aggressively, because there is no gluten network to develop and you will only knock out air.
Knead and Complete the First Rise
A short mixing is enough. Use a mixer with a flat paddle for 2 to 3 minutes, or do a slap-and-fold in the bowl every 2 minutes for four rounds. The dough will smooth and pull from the sides without becoming tight.
Cover tightly and let it rise until the volume has clearly increased, which takes 60 to 120 minutes at 75 to 80 F. Look for trapped bubbles at the edges, a slightly domed and aerated surface, and a dough that no longer sits flat. In a warm kitchen it can double in under an hour, so judge by volume rather than by a timer.
Shape the Loaf Gently
Turn the dough onto parchment and fold the edges toward the center a few times, then roll it into a log. Handle it as little as possible. Full degassing pushes out the gas you spent an hour building.
For a sandwich loaf, place it seam-side down in a greased pan and rest 15 minutes before baking. For a crustier artisan loaf, refrigerate the shaped log for 8 to 12 hours and bake straight from cold, which also develops more flavor.
Prove Until Puffy
The second rise should add another 30 to 60 percent. The loaf is ready when it looks noticeably puffy, sits above the rim of the pan, and springs back only slowly when you poke it with a floured finger, keeping a slight dent.
Warmth controls the pace: around 100 F the dough proofs in roughly 30 to 45 minutes, while a cool kitchen can stretch that to two hours. Salt, yeast quantity, and the flour blend all shift the timing too, so learn your kitchen rather than the recipe.
If it is proving far too fast, chill the pan for 15 to 20 minutes before baking to slow it down.
Score and Bake for Oven Spring
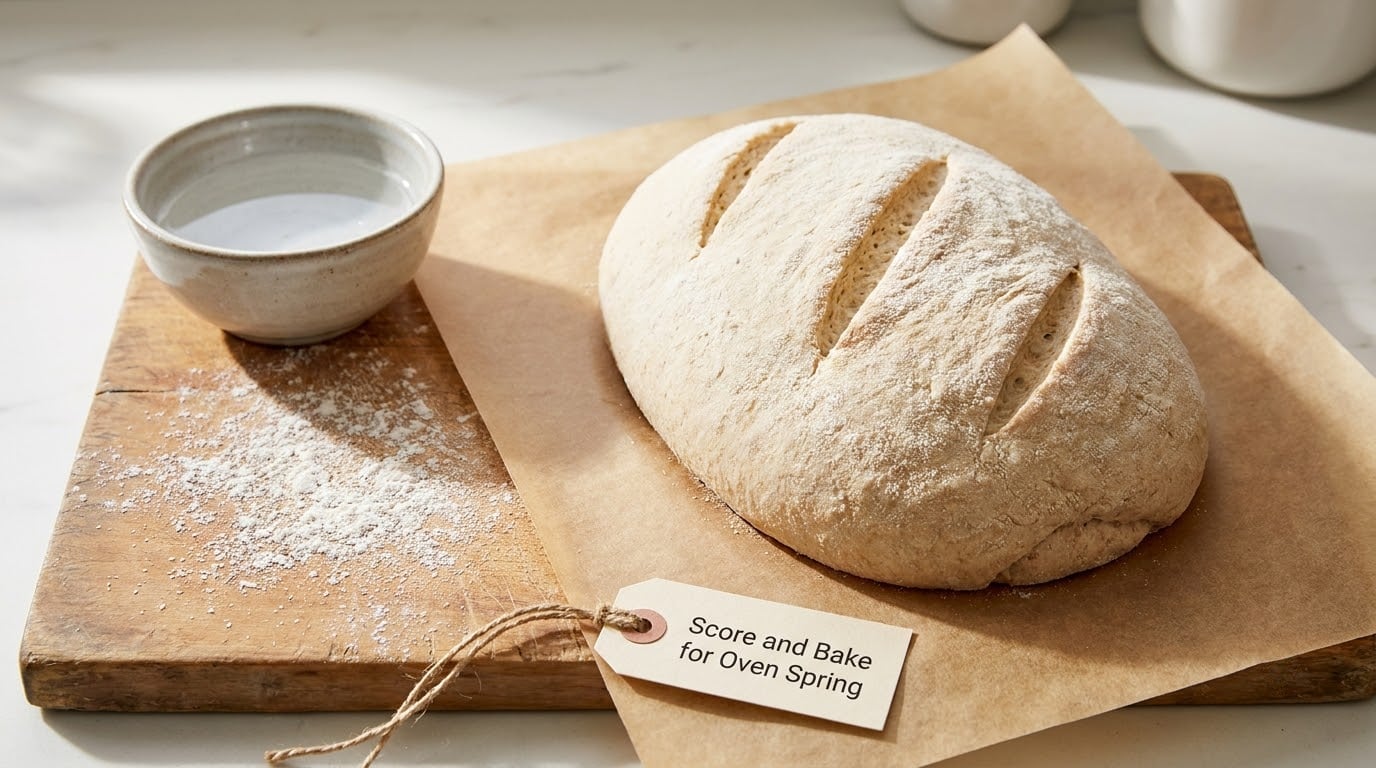
Heat the oven to 375 F (190 C) and put the empty pan or a baking stone inside for 20 minutes so it bakes hot. Score the loaf once, in a single controlled cut about a third of the way down.
Bake for 30 to 40 minutes for a 9×5 loaf. Add steam during the first 10 minutes by setting a pan of hot water on the oven floor, which keeps the crust flexible so the loaf can expand before the starches set.
Check the center with an instant-read thermometer and aim for 205 to 210 F (96 to 99 C). A pale, soft crust almost always means underbaking, and underbaked starch later turns gummy as it cools.
Cool the Loaf Before Slicing
Cool on a wire rack for 1 to 2 hours depending on size. Slicing too early compresses the crumb and makes it feel gummy, which sends people back to the oven for nothing.
The crumb keeps setting as it cools, and starch retrogradation is still happening at room temperature. A thermometer reading tells you when baking finished, but the visual and textural cues are what tell you when the loaf is ready to eat.
Common Mistakes and How to Fix Them
The loaf came out dense. Usually the dough was too tight. Gluten-free flour blends vary enormously in absorption, so weigh the flour and add water until the dough slumps, not until it looks like bread dough.
The rise was weak. Check the yeast temperature and expiration, then check your proofing spot. Yeast dies above about 120 F and stalls below 70 F, so an oven set to 200 F and switched off is a solid proofing box.
It rose, then collapsed. Overproofing and aggressive shaping are the usual pair. Gluten-free dough cannot handle being punched down or handled roughly, and a fully doubled dough is often already past its peak.
Gummy center. Almost always underbaking or cutting too soon. Confirm 205 to 210 F internally and give the loaf the full cooling time.
Crusty or cracked edges. Steam drying out too early. A pan of hot water for the first 10 minutes, plus an oven thermometer to confirm your oven is actually at temperature, fixes this more often than anything else.
One side darker than the other. Rotate the loaf halfway through the bake, or bake on the middle rack once the oven has settled.
A few habits make repeat bakes consistent. Test a new flour blend on a small loaf before committing a big one, and write down the exact blend and brand on your recipe card, because swapping blends changes hydration more than anything else you do. For serving and pairing, I like a toasted slice next to a handful of homemade trail mix.
Store the cooled loaf at room temperature in a paper bag or paper towel wrap, never plastic, which softens the crust and traps moisture against the crumb. A sliced loaf keeps about 2 days, and slices freeze flat in a bag for up to 3 months. To refresh a stale slice, run it under hot water for 30 seconds and toast it until crisp.
Frequently Asked Questions
Can I make gluten-free bread rise without yeast?
Yes, but it works differently. Baking soda and acid, or a baking-powder blend, create carbon dioxide on contact with liquid, which raises the batter fast and leaves almost no oven-spring window. Yeast bread rises twice: once slowly during proofing for flavor, then quickly in the oven. For a sandwich loaf you want light and sliceable, a slow chemical rise cannot match yeast.
Can I use sourdough starter for gluten-free bread?
You can, with caution. Most starters are built on wheat flour, so a gluten-free baker with celiac disease should only use a certified gluten-free starter, which is slow and finicky to build. Expect a longer, slower fermentation and a tangier loaf, and reduce the starter quantity or the yeast if the rise looks too aggressive.
What can I use instead of psyllium husk in bread?
Xanthan gum is the closest swap, at about half the volume, since it is more concentrated. Ground flaxseed and chia gel also thicken dough but add a denser, nuttier crumb. Milled flaxseed works best as an egg replacer rather than a binder. Leaving out psyllium entirely is workable if your flour blend already contains xanthan or guar gum, but the loaf will be crumblier.
Why is my gluten-free loaf dense even though the dough doubled?
A doubled dough only proves the yeast worked, not that the structure held the gas. Common culprits are too little binder, dough mixed too stiff to expand around the bubbles, or a loaf degassed hard during shaping. The other big cause is underbaking, where the starch never fully gelatinizes and the crumb sets dense and gummy as it cools.
How should I store gluten-free bread so it stays fresh?
Keep the fully cooled loaf in a paper bag or wrapped in a paper towel at room temperature, where it stays good for about two days. Avoid plastic wrap, which softens the crust and traps condensation against the crumb. For longer storage, freeze slices flat with a layer of parchment between them, then reheat straight from frozen in a hot oven or toaster.
Conclusion
Start with a dependable gluten-free bread flour blend you have baked with before, measure the yeast accurately, and judge the rise by volume and dough texture rather than the clock. Weigh the flour, keep the dough loose enough to slump, and let psyllium or xanthan do the work gluten cannot.
Then cool the whole loaf before you judge the crumb, and note the exact blend you used so the next bake repeats the same result. If you are also working on the eating side of things, how to set realistic nutrition goals that stick is a good next read.