
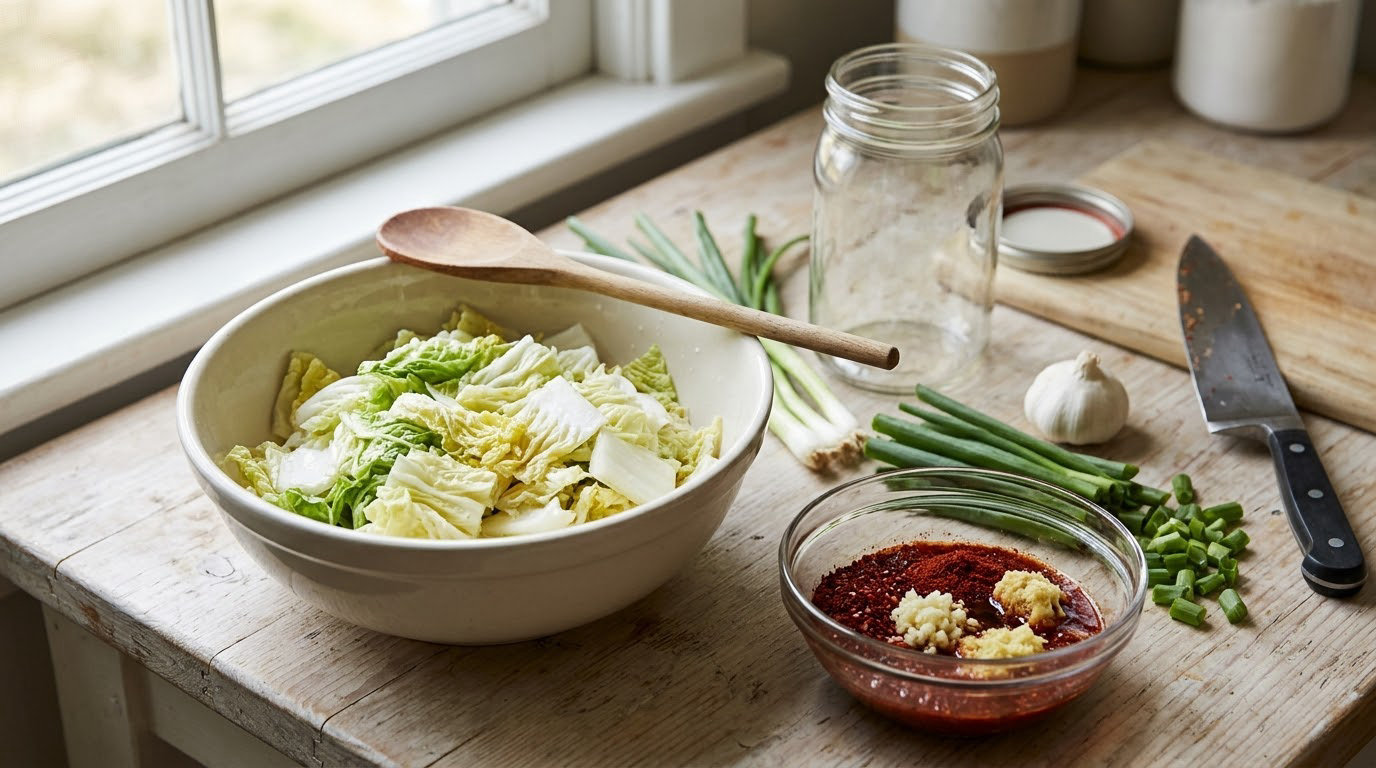
You can make good kimchi with nothing more than napa cabbage, salt, garlic, ginger and whatever chili pepper is already in your cupboard. The three ingredients that make store-bought kimchi taste authentic are gochugaru, fish sauce and sweet rice paste, and all three are optional. Salt and time do the real work here: the salt pulls water out of the cabbage to make a brine, and the bacteria living on the leaves turn that brine sour and fizzy over about a week.
Total time is around 40 minutes of hands-on work plus five to seven days of fermenting on the counter. A small cabbage makes a jar you can finish in a month, which matters if you are cooking for one or two people rather than a family.
Table of Contents
- What You Need
- Step-by-Step: How to Make Kimchi Without Special Ingredients
- Common Mistakes and Simple Fixes
- Frequently Asked Questions
- Can I make kimchi without gochugaru or fish sauce?
- What can I use instead of rice paste in kimchi?
- How long does beginner kimchi need to ferment at room temperature?
- Why is my kimchi watery after salting the cabbage?
- How do I know when homemade kimchi has fermented enough?
- Can I eat kimchi immediately after packing the jar?
- Start With a Small Batch
What You Need
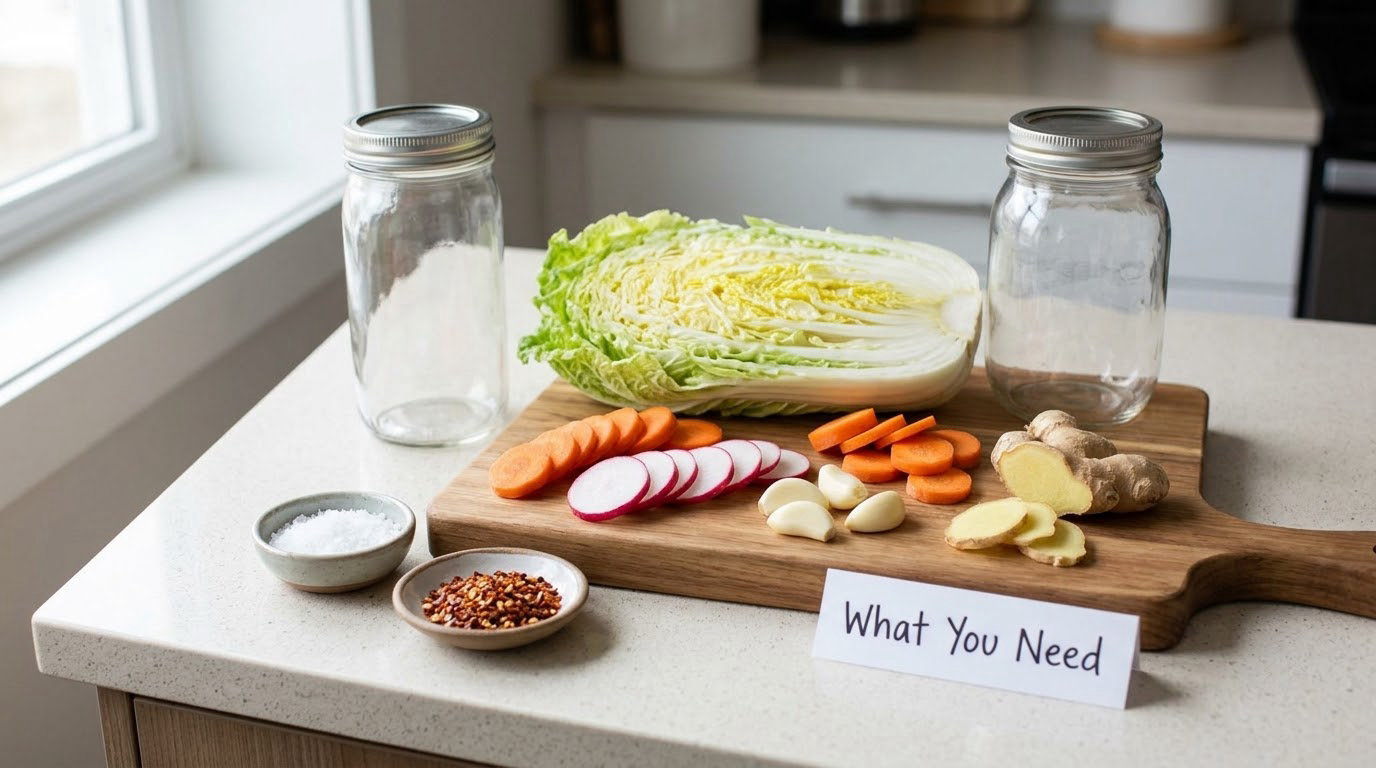
The five-ingredient base
- 1 small napa cabbage (about 2 to 3 pounds, 900 g to 1.4 kg), cut into quarters
- 2 tablespoons fine sea salt or kosher salt (30 g), plus more for the jar
- 4 garlic cloves, minced
- 1 tablespoon grated fresh ginger
- 1 to 2 tablespoons chili flakes, cayenne, or any red pepper you have
Everything else is a bonus. Add carrot, daikon radish, scallions, apple or pear, onion, or a spoonful of gochujang if you have them, and the batch gets closer to restaurant kimchi with almost no extra effort.
Equipment
A large bowl, a wooden spoon or clean hands, a colander, and a wide-mouth glass jar are genuinely enough. A fermentation crock with a lid that lets CO2 escape helps because trapped gas pushes kimchi juice out of the jar, but a regular mason jar works fine if you leave an inch of headroom and set the jar on a plate.
What to use instead of each specialty ingredient
| Specialty ingredient | Pantry substitute | How much to use | What changes |
|---|---|---|---|
| Gochugaru (Korean chili flakes) | Any red pepper flake, cayenne, crushed hot chili, paprika for a milder version, or chipotle powder | Start with 1 tablespoon per pound of cabbage, add more to taste | Less fruitiness and depth. Chipotle adds smoke; cayenne adds clean heat. |
| Fish sauce | Soy sauce, tamari, or salt plus a pinch of sugar | 1 tablespoon soy sauce, or 1 teaspoon extra salt | Milder, less funky. Soy sauce still ferments fine, so vegan kimchi is easy. |
| Sweet rice flour (rice porridge) | Cornstarch, tapioca starch, plain rice flour, or the juice of half an Asian pear | 1 to 2 teaspoons starch mixed with 2 tablespoons water | The binder only helps the paste cling to the leaves. A little less crunch, nothing else. |
| Gochujang | Gochugaru mixed with a little honey or sugar, or red pepper paste | 1 tablespoon | Sweeter and thicker. Skip it if you are keeping sugar low. |
| Salted shrimp (saeujeot) | Extra salt, a splash of soy sauce, or a strip of kombu in the brine | 1 teaspoon salt | You lose the glutamate hit. It is the first thing to leave out. |
| Daikon radish | Green cabbage, red cabbage, or just more napa | Same weight, cut the same way | Green cabbage ferments slower, closer to two weeks, and stays crunchier. |
None of these substitutions will give you gochugaru’s dusty sweetness or fish sauce’s funk. What they will give you is a jar of genuinely fermented, crunchy, sour-tangy cabbage that tastes like it came from someone’s kitchen, which is honestly the better deal.
Step-by-Step: How to Make Kimchi Without Special Ingredients
1. Prepare the vegetables
Cut the cabbage into quarters, then slice each quarter lengthwise into strips about 1.5 inches (4 cm) thick. Cut the carrot and any radish into thin matchsticks, and slice the scallions into 1-inch (2.5 cm) lengths. Matching sizes matter more than exact measurements, because pieces that are similar in thickness salt and ferment at the same rate.
Keep the pieces a little larger than you would for salad kimchi. Small dice turns to mush by week three.
2. Salt the vegetables
Put everything in a large bowl, sprinkle over the salt, and massage with your hands for two full minutes until the cabbage looks wet and glossy and a little juice has already come out of the leaves. That squeezing is the step people skip, and skipping it is why homemade kimchi stays bland.
Weight matters more than volume here. Aim for salt at about 2 percent of the weight of the cabbage, which works out to roughly 1 tablespoon (15 g) per pound. Rest the bowl at room temperature for 2 to 4 hours, turning the vegetables every hour. They are ready when a thick stem piece bends without snapping.
At that point you have two choices. Rinse the cabbage in cold water to wash off the surface salt, which is the traditional method and gives a milder result, or skip the rinse for a crunchier, saltier, faster-fermenting kimchi. Many beginners do both on purpose: rinse once, then taste a leaf. If it is already close to right, stop there.
Do not throw away the liquid that collects in the bowl. You can pour a little back over the packed kimchi, and it is the single best substitute for rice porridge.
3. Make the seasoning paste
Combine the garlic, ginger, scallion whites, and your chili substitute in a bowl. Add the starch slurry if you are using one, or a spoonful of the cabbage liquid. Stir into a thick paste. A small food processor or the blade of a knife on a cutting board works; a mortar is overkill.
Adjust the heat before it goes into the cabbage, because raw chili mellows as the kimchi ferments. Start low if you are unsure, since you can always add chili later and cannot take it out. For white kimchi, or baek-kimchi, leave the chili out entirely and lean on radish, garlic and ginger instead.
4. Mix and pack the kimchi
Add the paste to the salted cabbage and work it through with gloved or clean hands, squeezing handfuls gently so the seasoning coats every piece. Squeeze firmly but do not mash; you are removing air, not crushing the leaves.
Pack the kimchi into a clean jar, pressing down hard so no big air pockets remain. Leave 1 to 1.5 inches (3 to 4 cm) of headroom because the kimchi expands and pushes out brine as it ferments. Spoon a little of the leftover cabbage liquid over the top so the leaves stay submerged. Sprinkle a thin layer of dry salt on the surface to discourage anything unwanted, then put the lid on but not screwed down tight.
5. Ferment and store the kimchi
Leave the jar on the counter at 65 to 72 F (18 to 22 C) and let it go. Press the cabbage down under the liquid once or twice a day, and taste a leaf starting on day two. If your kitchen runs warm, above 75 F (24 C), move the jar to the refrigerator after two days, because it will ferment roughly twice as fast.
| Time | What it looks like | What it tastes like | What to do |
|---|---|---|---|
| Day 1 | Bubbles when pressed, cloudy liquid rising | Mostly just salty cabbage | Press down so the leaves stay under the brine |
| Day 2 to 3 | Fizzy, more liquid, visible foam in the jar | Clean salt and a faint tang | Start tasting a leaf every day |
| Day 4 to 7 | Deep cloudy brine, cabbage softened but still crunchy | Sour, funky, faintly fizzy on the tongue | This is the classic window for eating it |
| Day 7 and up | Louder when opened, darker color | Sharply sour | Move to the fridge unless you want it to keep souring |
| Month 2 | Softened, less crunch | Very sour, good for stews | Use it in fried rice or a pot of stew |
Once it hits the flavor you like, screw the lid on tight and refrigerate. Kimchi keeps for months in the fridge and honestly improves after a week or two of cold time. The brine usually climbs above the cabbage within about 40 hours, and that is completely normal, so a full-looking jar is not a sign anything went wrong.
A 20-minute version if you cannot wait
Skip the fermentation and it still tastes good. Salt a quarter of a thinly sliced cabbage with 1 teaspoon salt for 10 minutes, squeeze out the excess water, and toss it with garlic, ginger, a pinch of sugar and a spoonful of gochujang or chili flakes. Eat it as a salad the same day. You will get none of the sour depth, but you get crunch and spice in half an hour.
Common Mistakes and Simple Fixes
The kimchi is too salty. You do not have to throw it out. Serve it with rice, fold it into fried rice, or mix it into a stew where a cup of unsalted broth pulls the salt back down. Next time, rinse twice instead of once, or drop to 1.5 percent salt by weight.
There is a lot of liquid in the jar. Some liquid rising is normal fermentation. If you want less, spoon off all but a thin layer, press the cabbage down harder, and make sure the jar is only three-quarters full so there is less air to convert to liquid.
It tastes bland. Either you did not squeeze the cabbage hard enough, so the salt never got in, or you under-salted. Mix in another teaspoon of salt and wait two more days before deciding. Rinsing away all your salt is the other common cause.
It turned sour too fast. Your kitchen is warm, or your jar is too large and full of air. Sourness is not spoilage, but if you want crunch, cut the sourness down by moving the jar to the fridge and serving it with something mild. If you are cutting back on sugar generally, it helps to know sugar feeds the ferment, which is another reason the [fresh, slow-fermenting version](https://www.superfoodliving.com/how-to-cut-back-on-sugar-without-going-cold-turkey/) gets a second look in our kitchen.
Nothing is happening after a week. Below about 60 F (16 C) lacto-fermentation crawls. Move the jar somewhere warmer, or add a spoonful of brine from another active ferment if you have one. Also check that the cabbage is actually submerged; leaves above the line dry out and never ferment.
There is white stuff on top. This is the one that panics people, so learn to tell the difference. Kahm yeast is a flat, matte, wrinkled film that smells yeasty like bread. A harmless grey-white scum from the lactobacillus also floats and can be skimmed off. True mold is fuzzy, comes in green, blue, black or pink patches, and smells musty or rotten. If you see fuzzy mold, discard the batch. If you see kahm yeast, skim it and keep eating the kimchi underneath.
Keeping kimchi safe. Salt is your safety tool. Keep the vegetables submerged in their brine at roughly 2 percent salt, use a clean jar, and never scoop kimchi with a wet or dirty spoon. Stay on the counter rather than above 75 F (24 C) for more than two days, and refrigerate if in doubt. If a jar smells sulfurous or the brine has an odd film that keeps coming back after skimming, throw it out rather than tasting it.
It went soft and limp. Over-long fermentation and too much leek or rice porridge are the usual culprits, and small pieces go first. Chop bigger next time and pull the jar into the fridge as soon as the sourness is where you want it. Green cabbage, which ferments slower, stays crunchier for weeks.
Frequently Asked Questions
Can I make kimchi without gochugaru or fish sauce?
Yes, and most beginners do. Kimchi needs cabbage, salt, garlic and ginger, and the chili and fish sauce are seasoning layers rather than structural ones. Use any red pepper flakes, cayenne or paprika for heat, and leave out the fish sauce entirely or replace it with 1 tablespoon of soy sauce. The result ferments and keeps exactly the same way, just milder and less funky.
What can I use instead of rice paste in kimchi?
Rice paste is a binder that makes the seasoning cling to the cabbage. Cornstarch, tapioca starch or plain rice flour mixed with water works fine: stir 1 to 2 teaspoons of starch into 2 tablespoons of water and mix it into the paste. The juice of half an Asian pear or apple does the same job, and so does a spoonful of the liquid that collects under the salted cabbage.
How long does beginner kimchi need to ferment at room temperature?
Plan on five to seven days at about 65 to 72 F (18 to 22 C), starting to taste from day two. It is ready when it tastes sour, funky and slightly fizzy while the leaves still crunch. Above 75 F (24 C) it moves roughly twice as fast, so refrigerate after two days. Green cabbage takes closer to two weeks because it ferments more slowly than napa.
Why is my kimchi watery after salting the cabbage?
That liquid is exactly what you want, because it becomes the brine the vegetables ferment in. Most watery kimchi comes from a jar packed too loosely with air pockets, or from a jar filled to the very top with no headroom. Pack the cabbage down firmly, leave an inch or more of space for expansion, and press it back under the liquid once a day.
How do I know when homemade kimchi has fermented enough?
Taste it rather than counting days. From day two, pull a leaf from the middle of the jar and taste the thick part. Fermented kimchi hits three marks at once: a sour, slightly fizzy taste, a tangy smell when you open the jar, and softened but still crunchy leaves. Once it is there, refrigerate it, which slows any further change.
Can I eat kimchi immediately after packing the jar?
You can, but it will taste like salted cabbage with garlic on it, since almost none of the flavor comes from fermentation yet. A 20-minute fresh version uses a quarter cabbage, a teaspoon of salt, a ten-minute rest, and a quick toss with garlic, ginger and chili flakes, which is a good salad on its own. Properly fermented kimchi is the version worth waiting for.
If you want other quick fermented or pantry-built meals, the same salt-and-time logic shows up in a lot of things I cook on a weeknight, like a pot of [savory oatmeal](https://www.superfoodliving.com/how-to-make-savory-oatmeal/) built from whatever is in the crisper.
Start With a Small Batch
Make one small cabbage first, using only cabbage, salt, garlic, ginger and one pepper. It takes an afternoon of work and about a week of waiting, and it teaches you more than any recipe written for ten pounds of cabbage ever will.
Taste it daily from day two and decide for yourself where you want the sourness to stop. Most people land somewhere between day four and day seven, and quite a few decide they like it sourer and longer-fermented than they expected. Write down the salt and chili amounts you used. Next batch, cut one of them back or push one up, and you will have a jar that is entirely yours. Getting the technique right at small scale takes far less of your time than the [steel cut oats trick](https://www.superfoodliving.com/how-to-make-steel-cut-oats-faster/) you will not need on a weeknight anyway.