
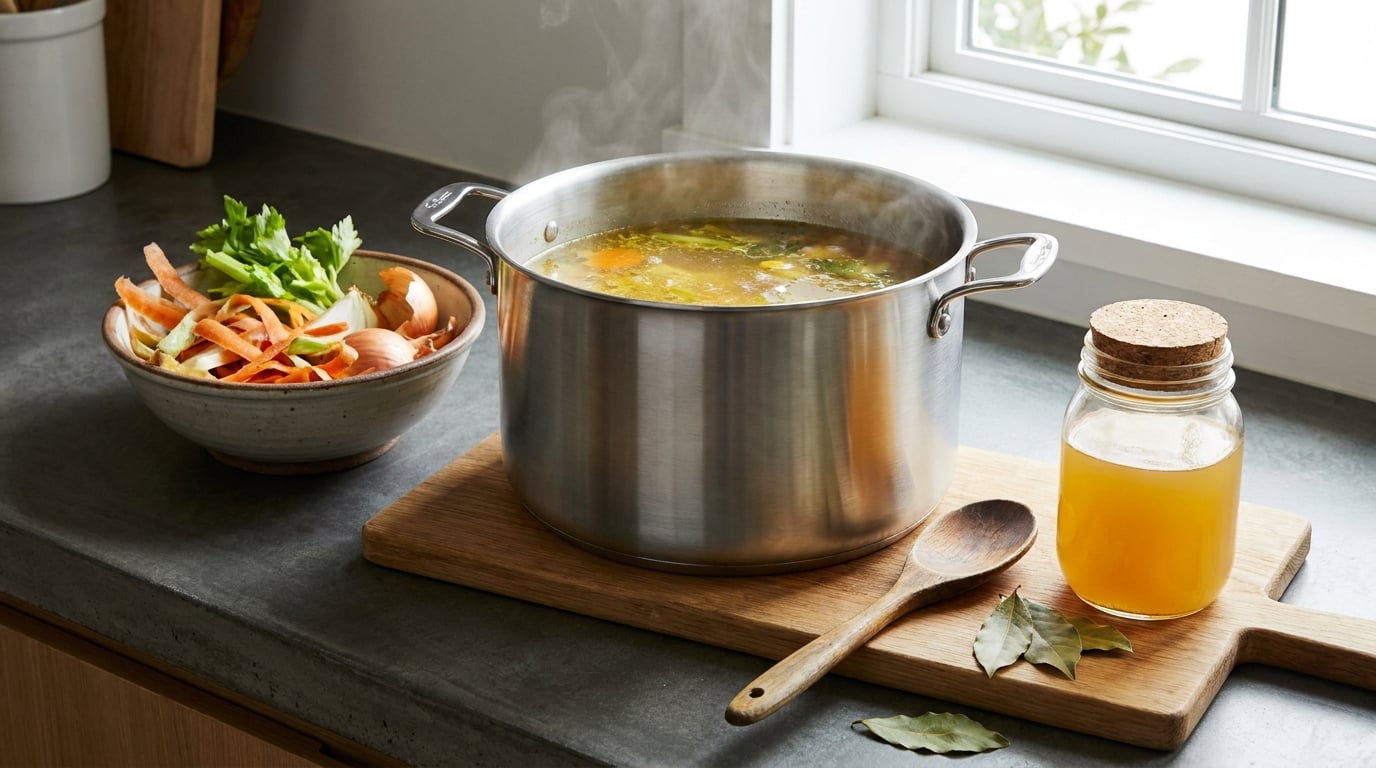
To make vegetable broth from kitchen scraps, collect the peels, ends and stems in a freezer bag, cover them with cold water in a stock pot, simmer 30 to 60 minutes until the liquid tastes properly savoury, then strain. The whole method takes about 45 minutes, and almost all of it is hands-off.
The part that trips people up is not the cooking. It is knowing which scraps build flavour and which ones turn the pot bitter, so let us start there. I keep a bag going in the freezer at all times, and it saves me a carton of stock most weeks.
Table of Contents
What You Need
You need roughly 8 cups of packed vegetable scraps, 4 cups of cold water per 2 cups of scraps, a stock pot that holds everything with 3 inches of headroom, and a fine mesh strainer. That combination usually produces about 3 quarts of finished broth, which is a good week of cooking for a family of two to four.
The scraps that carry real flavour fall into four groups, and keeping them roughly balanced is what makes the batch taste deliberate rather than accidental.
- Sweet and earthy: carrot peels, onion skins, onion ends, beet peelings, parsnip ends, squash and sweet potato peels. These give the broth its colour and its backbone.
- Aromatic: celery ends and leaves, leek greens, fennel fronds, scallion tops, shallot skins, garlic cloves that have gone soft or split. This is the savoury layer people are usually missing.
- Umami: mushroom stems, dried porcini, tomato ends, kombu or a strip of nori. A handful of mushroom stems in a bag of sweet scraps will noticeably deepen it.
- Herbal: parsley, thyme, rosemary, dill, cilantro and scallion stems. Add the delicate herbs late, or in a tea bag you can lift out.
On top of the scraps, a small aromatics kit does a lot of work: two bay leaves, a few whole black peppercorns, two crushed garlic cloves, and a strip of kombu if you have one. Keep salt out of the pot entirely and add it at the end, because salted liquid will not reduce down and it flattens the finished broth.
| Scraps that build flavour | What they contribute |
|---|---|
| Carrot, beet, parsnip peels and ends | Colour, sweetness, a heavy body |
| Onion skins and ends, shallot skins | The single biggest aroma boost |
| Celery ends, leek greens, scallion tops | Salt-kissed savoury depth |
| Mushroom stems, tomato ends | Umami weight |
| Fennel fronds, herb stems, parsley roots | Fresh lift, added at the end |
| Corn cobs cut from the kernel, pea pod tops | Natural sweetness and colour |
| Pepper, eggplant and courgette ends | Mild body, safe in quantity |
The skips matter just as much. Brassicas, potato peels, anything rotten, and very bitter greens are the four groups that ruin batches, and the reason for each is worth keeping in your head.
| Scraps to skip | Why it hurts the broth |
|---|---|
| Broccoli, cauliflower, cabbage, Brussels sprouts, kale | Cooked slowly they release sulphur compounds, which read as bitter and leave a lingering aftertaste |
| Potato and sweet potato peels | Starch leaches into the liquid and clouds it, and the skin carries a raw, earthier note |
| Rhubarb leaves, beet greens, chard stems in bulk | Very high oxalic acid, and too much oxalate makes the broth taste sharply metallic |
| Spoiled, slimy or mouldy scraps | Off flavours amplify with simmering, and the whole pot takes on the smell |
| Asparagus ends in large amounts | Fine on their own, but they turn grassy and soapy once you have a full bag |
| Large amounts of citrus peel | Zest oils turn bitter and muddy rather than bright in a long simmer |
Step-by-Step: How to Make Vegetable Broth from Kitchen Scraps
1. Collect and Inspect the Vegetable Scraps
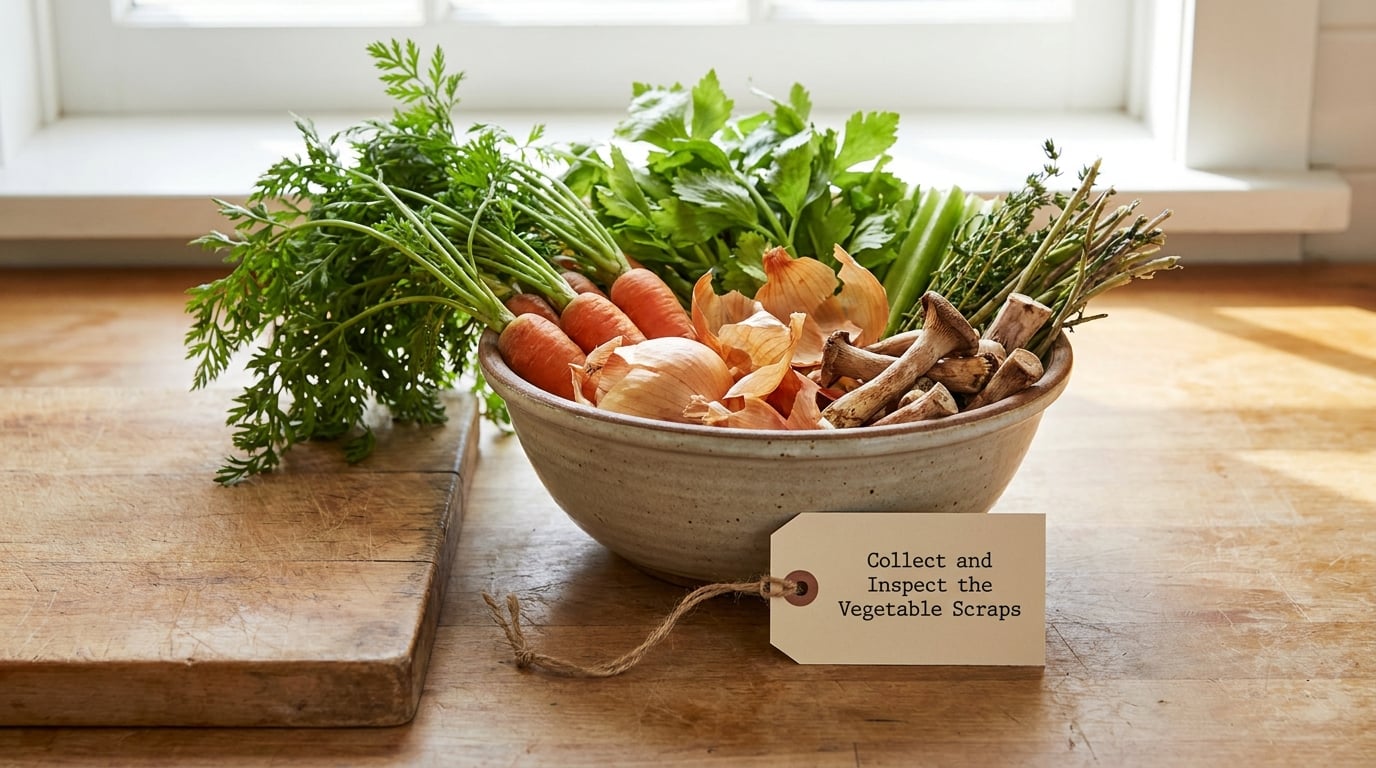
Keep a dedicated bag in the freezer and drop scraps in as you cook, rather than trying to make a batch from whatever is left on the counter at the end of the week. A quart freezer bag or a small silicone container both work, and the running-bag habit is what regular cooking forums call trashcan stock.
Frozen scraps keep for around six months and lose essentially nothing in the freezer, so label the bag with the month and stop thinking about it. Before you cook, pull anything slimy, frost-burned or soft enough to smear and toss it. If the whole bag smells sour, the broth will too.
Give the scraps a quick rinse and roughly chop the big pieces, mostly so they cook at the same rate. There is no need to peel anything for this, which is rather the point.
For sizing, about 2 cups of packed scraps plus 4 cups of cold water gives a quart to a quart and a half of broth. A full gallon bag of scraps will make roughly 4 quarts, so it is worth a session for two or three.
2. Choose the Flavor Base
Look at the bag before you add water and ask one question: is this mostly sweet, mostly aromatic, or all of one thing? A bag of carrot peels alone will taste like carrot water, which is the most common reason scrap broth feels flat.
Fix an unbalanced bag by adding from whatever column is missing. Sweet-heavy batch means more onion skins, a few celery ends and a handful of mushroom stems. Mostly mild greens and peppers means a couple of onion halves, a few peppercorns and two bay leaves.
If you have two tablespoons of olive oil and five extra minutes, soften onion, carrot and celery in the pot first until the edges colour, then add your water and scraps. It costs nothing and gives you a deeper, rounder broth.
3. Simmer the Broth
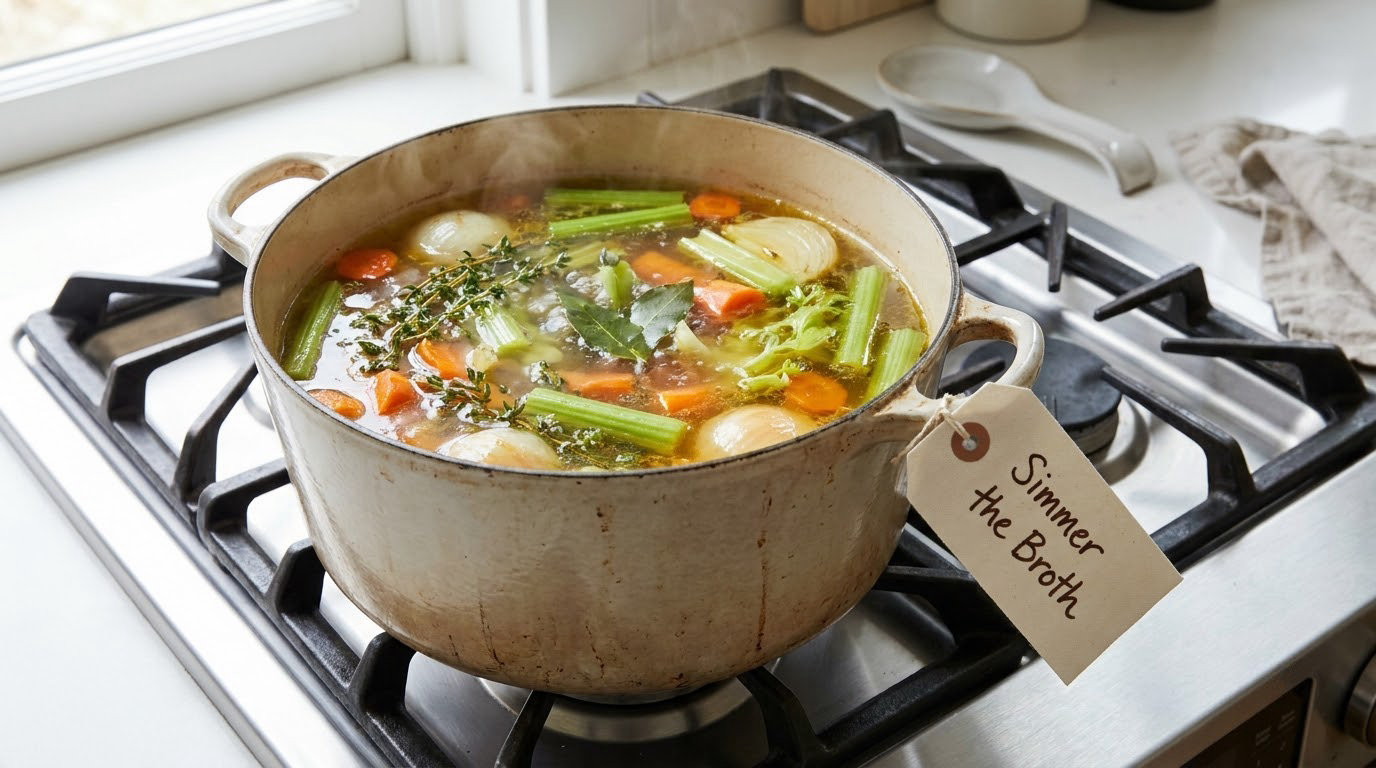
Start with cold water, which is the detail most guides leave out. Cold water extracts flavour and dissolved nutrients more evenly than water added to a boiling pot, and it helps you keep the broth clear. Cover the scraps by about 3 inches, bring it up to a bare simmer with the lid slightly ajar, then turn it down.
Here is the rule that settles the 30 minutes versus one hour argument. Simmer 30 minutes for a small, aromatic-heavy bag. Simmer 45 to 60 minutes for a normal mixed bag, which is the default. Anything past 60 minutes and you are extracting bitterness rather than flavour.
You will know it is done by smell and by taste. The kitchen should smell like a stock, and a teaspoon dipped from the pot should taste distinctly savoury rather than faintly watery. Taste at 30 minutes, then again at 45. Most people overcook it out of caution.
Three other methods work, with the same ingredients. In an Instant Pot, add everything, cover, and pressure cook on high for 30 minutes, then let the pressure release naturally for at least 20 minutes before you open it, so the pot does not spit. In a slow cooker, add everything and cook on low for 4 to 6 hours. Cold-steep broth goes in the fridge covered in cold water for 12 to 24 hours with no heat at all, which gives a lighter, cleaner-tasting result and takes nothing from your attention.
4. Strain, Cool, and Store
Lift the bay leaves and any kombu out with a spoon, then pour the pot through a fine mesh strainer set over a large bowl or the emptied pot. Press the solids firmly with the back of a spoon or a potato masher, because the liquid trapped in the fibres is a good share of what is left behind.
Get the broth cool fast and keep it out of the danger zone. Set the pot in an ice bath and stir, or divide it into shallow containers and refrigerate, then remove the fat that rises to the top once it has chilled. Once cold, keep it in the fridge and use within 3 to 4 days, which is the standard food safety guidance for homemade broth.
For longer storage, pour it into freezer containers or bags leaving an inch of headroom for expansion, label with the date, and freeze for 3 to 6 months. Ice cube trays are excellent for a quarter-cup measure of broth, since that is the amount most recipes want. A pint of broth reduced by half on the stove becomes a concentrate that freezes well and seasons soups in seconds.
The solids do not have to go in the bin. Onion skins, celery ends and herb stems go into the compost, or into a bag in the freezer marked soup stock if you make chicken or turkey stock, because they are exactly the parts people throw away. Drain them first, or your stock will be cloudy.
Common Mistakes
Bitter broth is the failure everyone meets once. The cause is nearly always a brassica, a peel, or an over-long simmer, and the tell is a bitterness that sits on the back of your tongue rather than in the front. If it has not happened yet, the fix is the skip list above. If it already has, dilute the batch with extra water, add a half cup of finely grated sweet potato or carrot and simmer 15 more minutes, and hold off on salt, because salt locks bitterness in. You may also add a small splash of vinegar or lemon at the very end, which lifts the bitter edge off entirely.
Cloudy broth usually traces back to potato or sweet potato peels, beans or starchy veg, or a pot that was boiled hard with the lid off. Use a lid ajar, keep the heat at a tremble rather than a rolling boil, and swap potato peels for carrots. You cannot fix a cloudy batch, so the next one is where you solve it.
Weak broth comes from two opposite errors. Too much water, when you filled the pot to the brim for a handful of scraps, or too little simmering, when you boiled it for ten minutes out of a busy morning. Fix weak broth by reducing it: simmer it uncovered for 15 to 20 minutes until it thickens slightly, or add a strip of kombu for the last 20 minutes. Add salt only once it tastes finished, and remember that underseasoned is the most common reason people describe scrap broth as bland.
Overcrowding the pot is the quieter mistake. A crammed stock pot cannot heat evenly, so the liquid barely reaches a simmer and you get an undercooked, slightly stewed result. Leave a third of the pot empty.
The one mistake that is not a flavour problem is leaving finished broth on the counter overnight because the pot looks too full to put anywhere. Homemade broth has not been pressure-canned, so it is not shelf stable. Cool it within two hours, refrigerate it promptly, and if you cannot get it cold fast enough, freeze it instead.
Frequently Asked Questions
What veggie scraps not to use for stock?
Skip the brassicas first: broccoli, cauliflower, cabbage, Brussels sprouts and kale all release sulphur compounds during a long simmer, which is what makes broth taste bitter. Leave out potato and sweet potato peels, which add starch and cloud the liquid. Skip anything mouldy or slimy, very bitter greens such as rhubarb leaves, and large amounts of citrus peel. If you have already added a brassica, simmering for less than 45 minutes and finishing with a splash of vinegar or lemon will soften the edge.
How long do I boil vegetable scraps for vegetable broth?
Simmer for 30 to 60 minutes, with 45 minutes as a good default for a mixed bag of scraps. Taste at the 30 minute mark and again at 45, and stop when it tastes distinctly savoury. Small aromatic-heavy batches need closer to 30 minutes, larger bags with more roots and stalks benefit from a full hour, and going past 60 minutes starts pulling bitterness out of the plant fibre. Start with cold water and keep the heat at a bare simmer, not a rolling boil.
How long can vegetable scraps stay in the freezer?
Frozen vegetable scraps keep well for around six months when stored in a sealed bag or silicone container. Freezing halts the spoilage that would make a counter bag go slimy within a couple of days, and there is no need to blanch anything first. Label the bag with the month you filled it. When you cook, pull out anything that is frost-burned, soft enough to smear or smells sour, because one bad scrap will flavour the whole pot.
How long does homemade vegetable broth last?
Homemade vegetable broth keeps in the fridge for 3 to 4 days when you cool it quickly and store it in a covered container. For anything beyond that, freeze it in bags or containers with a little headroom for expansion, where it stays good for 3 to 6 months. Ice cube trays are a practical option for quarter-cup portions. Do not leave broth on the counter, and do not try to store it in an open jar on a shelf, because homemade broth is not pressure-canned and is not shelf stable.
How much broth does one bag of scraps make?
The useful rule is 2 cups of packed scraps plus 4 cups of cold water for about 1 to 1.5 quarts of broth. A full gallon bag of scraps works out to roughly 4 quarts, so it is worth setting aside a session for two or three. Cover the scraps by about 3 inches rather than filling the pot to the top, and leave a third of the pot empty so the liquid can reach a proper simmer. Scraps do not lose volume when simmered, so the liquid level is the only real limit.
Do you have to peel vegetables before saving the scraps?
No, and skipping the peeling is most of the point, since vegetable peels hold a lot of the flavour compounds you are after. Give the scraps a quick rinse instead, especially anything that was sitting in muddy soil or an unwashed salad bag. Chop the large pieces so they cook at the same rate as the small ones, and pull out anything damaged or spoiled. Trim away bruised or mouldy sections rather than discarding the whole piece, which is where a surprising amount of usable food goes to waste.
Conclusion
The easiest first batch is a small one: whatever is in the bag, roughly 2 cups of scraps, 4 cups of cold water, two bay leaves and 45 minutes at a bare simmer. Taste at 30 minutes, strain it, and use it in a soup that week.
The habit that makes this stick is boring but effective. Get a labelled freezer bag, keep it by the bin, and stop thinking about it until it is full. It is the cheapest cooking base in the kitchen and it starts with scraps you were going to throw away.