
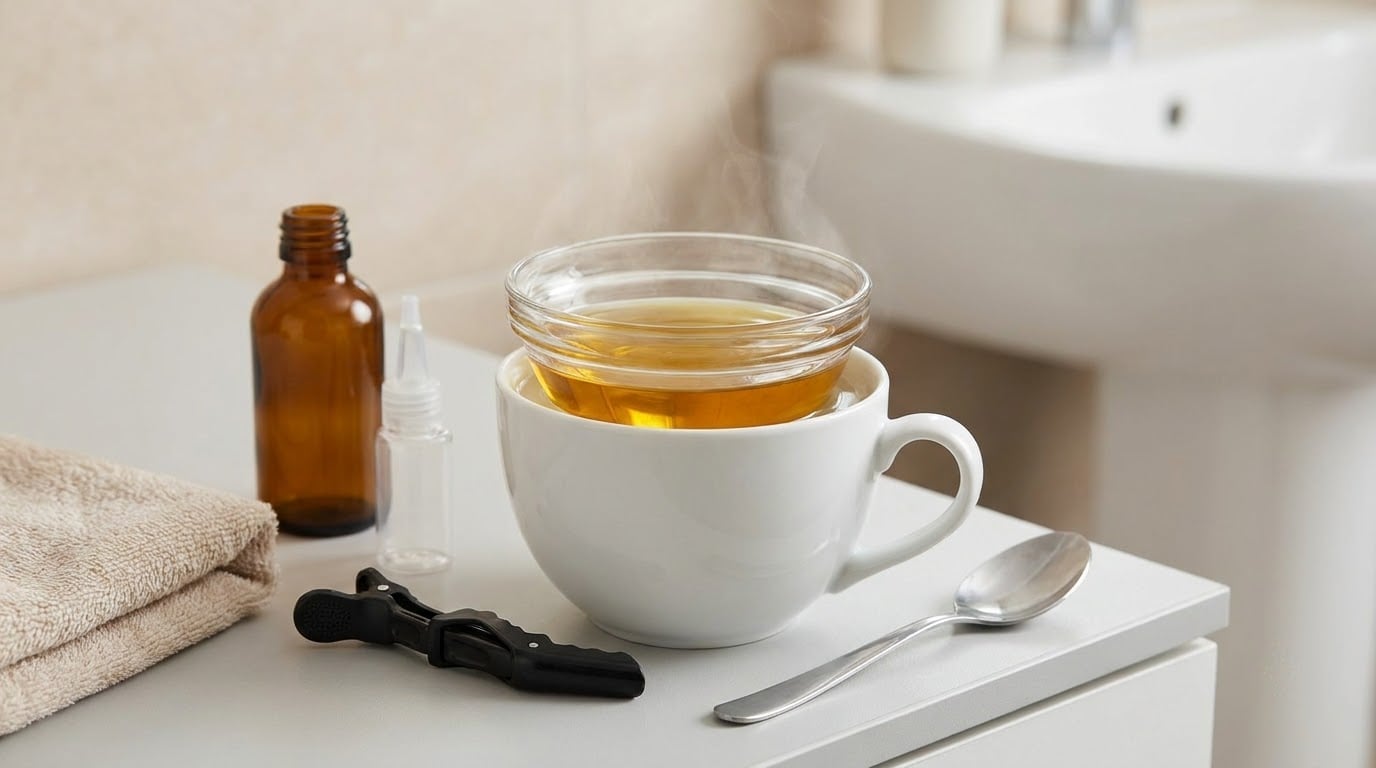
A hot oil treatment is a deep conditioning method where you warm a natural oil until it is comfortably warm, work it into your scalp and lengths, then cover your hair and wash it out later. The warmth loosens buildup on the strand and helps the oil soak in instead of sitting on the surface. You can do the whole thing in your kitchen in about 45 minutes including wash time, and the hardest part is keeping the oil warm rather than hot.
That last bit matters more than any recipe. Oil conducts heat far better than water, so oil that feels merely warm on your fingertips can still be hot enough to sting a scalp. Test it on your inner wrist every single time, and start with a short processing window until you know how your hair responds.
Table of Contents
- What You Need
- Step-by-Step: How to Do a Hot Oil Treatment for Hair at Home
- Common Mistakes
- Tips for the Best Results
- Frequently Asked Questions
- What is the best oil for a hot oil treatment for hair?
- How long should I leave hot oil in my hair?
- Should I use a hot oil treatment before or after shampoo?
- How do I do a hot oil treatment without making my hair greasy?
- Can I use coconut oil for a hot oil treatment?
- When should I avoid using hot oil on my hair?
- Conclusion
What You Need
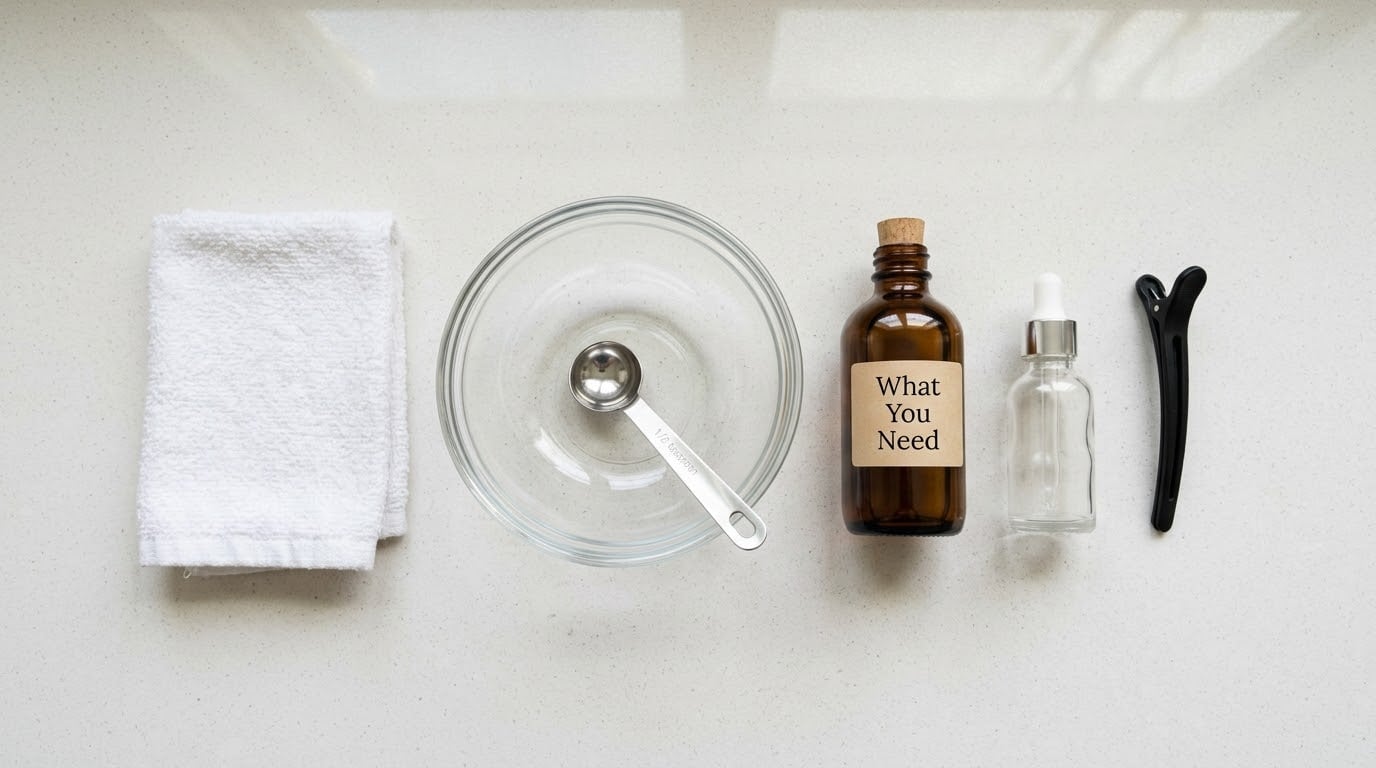
You need very little. Most of the work is done by the oil you already own and a rinse that actually gets it out.
- One carrier oil, or two. Coconut oil for reducing breakage and moisture loss on dry or thick hair, olive oil for deep moisture on coarse and very dry strands, jojoba oil for fine or low-porosity hair because it sits close to natural scalp oil, almond or avocado oil as a gentler everyday option, and shea butter for very dry and coily hair.
- Optional additives. A few drops of a wide-mouth oil like castor for slip when detangling, or a diluted essential oil such as lavender or rosemary for a dry, itchy scalp. Essential oils go in at drop level, never by the spoonful, and never straight onto skin.
- An applicator bottle or a wide brush. A bottle with a narrow nozzle gives you control and keeps the oil off your hands. A tinting brush works just as well for thick hair.
- A heat-safe bowl and a mug or pot of hot water for warming the mixture gently, plus a spoon.
- Sectioning clips, a washable towel or old towel, and a shower cap or plastic wrap.
- Shampoo, ideally a mild or clarifying one, and your usual conditioner.
Measure a small amount first. For shoulder-length hair, a tablespoon is plenty; long hair takes two. You can always add more, but soaking hair in excess oil is the fast route to hair that stays greasy the next day.
If coconut oil is your go-to, how to use coconut oil for a hair mask overnight covers the timing in more detail. For a longer routine built around dry hair, read how to use coconut oil on dry hair.
Step-by-Step: How to Do a Hot Oil Treatment for Hair at Home
Step 1: Patch-Test the Oil Mixture
Patch testing means putting a small amount of the diluted mixture on the skin behind your ear or inside your forearm, then waiting 24 hours to see how your skin reacts. Redness, itching, burning or swelling means you stop and skip that oil. Natural does not mean allergy-proof, and botanicals are common skin irritants even when the rest of the treatment would have suited your hair.
Step 2: Choose and Warm the Oil
Pick your oil for your hair type: a light oil such as jojoba for fine or low-porosity hair, a mid-weight one such as almond or olive for normal hair, and a heavier one such as coconut or shea butter for dry, thick or coily hair. Put the measured oil in a bowl and set that bowl in a mug of hot water, or put the oil in a bottle and stand the bottle in hot water for five minutes. The oil should feel warm and pour easily, never simmering.
Test the temperature on the inside of your wrist before it goes near your head. If it stings at all, it is too hot. Never heat oil directly over a flame or on a stove burner, and never leave a warming bowl unattended. Microwaves create uneven hot spots that can scorch one section of the bowl and leave another cool, so if you use one, heat in ten-second bursts, stir thoroughly and wrist-test twice.
How to Do a Hot Oil Treatment for Hair at Home
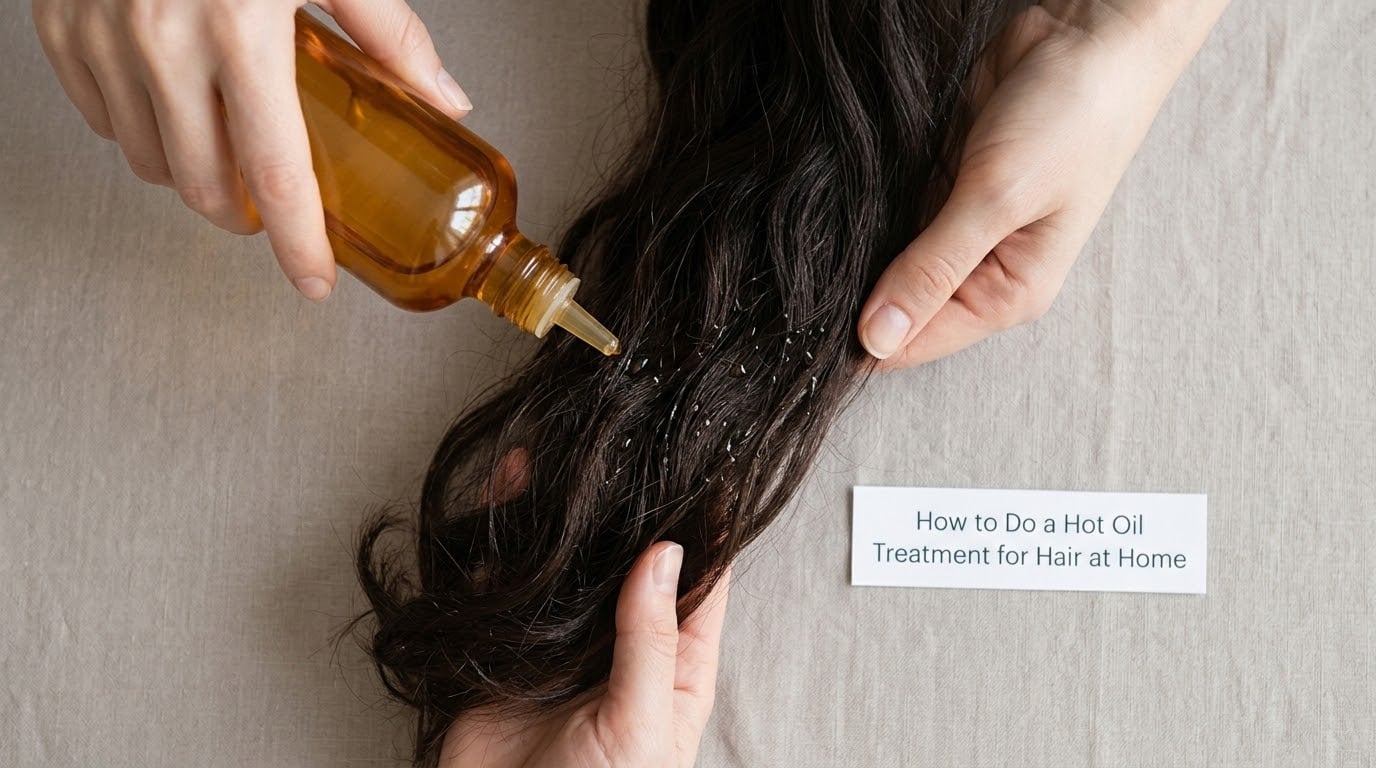
Start on clean or slightly damp hair, already combed through so tangles do not turn into knots. Divide your hair into sections with clips, then squeeze the warm oil from mid-length down to the ends first, working upward. Your fingers should glide through without pushing. Add a small amount near the roots only if your scalp is comfortable, since oil right at the scalp can make fine hair look flat by the next morning.
Saturation looks like evenly coated, slightly damp-looking hair with no dry patches and no dripping. If oil runs down your neck or onto your shirt, you have used too much. Blot the excess with a towel rather than rinsing it away, because rinsing at this point takes the treatment with it.
Step 4: Distribute, Cover, and Wait
Massage the oil through with your fingertips, then gather your hair loosely on top of your head or braid it. Cover with a shower cap or plastic wrap, or wrap a warm towel around your head to hold heat for longer. Wait according to your hair’s condition rather than automatically choosing the longest time: 5 to 10 minutes is enough for dry ends that just need a boost, and 15 to 30 minutes suits dry or very porous hair. Longer is not better here. Oil sitting warm for hours can work as an overnight pre-wash treatment, but only with a lighter dose.
Step 5: Rinse and Wash Thoroughly
Rinse with lukewarm water first and let the water run for a good minute, massaging as you go so the oil lifts instead of just spreading. Then shampoo, working small circles into the scalp and down the lengths. Most people need a second wash, and thick hair or heavy oils like castor or shea often need two or even three. If your hair still feels slick after two washes, a clarifying shampoo once will do it properly. Lukewarm water only; hot water sets oil and tightens the cuticle you just opened.
Step 6: Finish with Conditioning Care
Apply your usual conditioner to the damp lengths, let it sit a few minutes, rinse and finish. Blot dry with a microfiber towel or an old cotton T-shirt rather than rubbing. Air-dry when you can, or blow-dry on low heat, and never brush soaking-wet hair. The next morning, press a finger to a section near the roots: if it leaves an oily print, you used too much and should use half next time.
Common Mistakes
Using oil that is too hot. Scalp burns are the most common complaint about this treatment. Fix: wrist-test every time, and treat “hot” as warm.
Applying straight from a heating container. Water in a bowl can have a scalding spot you never touched with your fingers. Fix: transfer the oil to a separate bowl or applicator bottle before it goes near your hair.
Leaving your hair dripping. Saturated bedding and a greasy style are the results. Fix: blot with a towel, and use less product next time.
Over-processing. Two hours of warm oil under a heat cap is far more than most hair needs. Fix: 5 to 10 minutes for ends, 15 to 30 minutes for porous hair, then wash.
Using too much oil. More product means more surfactant to rinse, not more conditioning. Fix: measure with a spoon rather than pouring.
Skipping the patch test. New oils and essential oils can irritate skin even after years of using them on your hair. Fix: one drop, 24 hours, then judge.
Stopping before the oil is fully out. Residue attracts dust, flattens roots and smells different a day later. Fix: wash twice and add a clarifying shampoo if needed.
Tips for the Best Results
Test one new oil at a time for a few weeks before blending. If you mix five oils on day one and your hair feels wrong, you have no idea which one did it, and forum readers regularly report that coconut oil leaves some people’s hair limp or waxy rather than soft.
Match the dose to your hair. Fine or low-porosity hair wants a teaspoon spread lightly over the scalp and mid-lengths. Thick, coily or very porous hair wants a generous application with real processing time, which is where the pre-wash technique earns its keep.
Keep the focus on lengths and ends, since that is where dryness shows first, and let the heat do the work rather than the product. Follow with your usual routine rather than changing several things at once, so you can tell what helped. Adjust frequency to the response: once a week suits most people, while hair that gets oily fast may prefer every two weeks. If you are aiming for length retention, watch your ends and treat before splits travel up the strand.
Frequently Asked Questions
What is the best oil for a hot oil treatment for hair?
Coconut oil has the strongest published evidence behind it for reducing protein loss in the strand, so it suits dry, thick, damaged and color-treated hair. Jojoba oil is the safer pick for fine or low-porosity hair because it is light and sits close to natural scalp oil. Olive oil is a solid moisture option for coarse and very dry hair, and shea butter suits very dry and coily hair. Start with one oil before blending.
How long should I leave hot oil in my hair?
Five to ten minutes is enough for dry ends, and 15 to 30 minutes suits dry or very porous hair that needs real penetration. Longer is not automatically better. You can leave a lighter dose on overnight as a pre-wash treatment, which is common for thick and coily hair, but use less product than you would for a daytime treatment and protect your pillowcase.
Should I use a hot oil treatment before or after shampoo?
Apply it before shampoo, on clean hair that you have already combed through. Oil goes on dry or slightly damp hair rather than soaking wet hair, because water blocks the oil from spreading evenly and dilutes it. The treatment then acts as a pre-wash conditioner: you shampoo it out afterwards and finish with your regular conditioner.
How do I do a hot oil treatment without making my hair greasy?
Use less oil than you think you need, measured with a spoon, and keep it on the lengths and ends rather than the roots. Blot with a towel instead of rinsing early, wash twice, and finish with a clarifying shampoo if the first wash leaves a slick film. Check the roots the next morning: if a fingertip leaves an oily print, halve the amount next time.
Can I use coconut oil for a hot oil treatment?
Yes, coconut oil is the most common choice and the one with published research behind it for reducing protein loss and breakage in the hair shaft. It suits dry, thick, damaged and color-treated hair. It does not suit everyone: fine or low-porosity hair can end up limp or waxy, so use a lighter dose and keep it off the roots if you are fine-haired.
When should I avoid using hot oil on my hair?
Skip it if your scalp is irritated, broken out, inflamed or shedding heavily, and skip it on freshly relaxed, straightened or chemically treated hair unless a professional has advised otherwise. Wait after any scalp procedure until the skin has healed. Avoid it if you are allergic to the oil, if you cannot keep it below scalding temperature, or if you have a scalp condition you are still treating.
Conclusion
Patch-test the mixture, warm the oil until it is comfortable rather than hot, begin with a short processing window and rinse until nothing is left. Adjust the amount and timing to your hair type, not to a recipe, and you will get softer, less frizzy hair without the grease. If a scalp condition is behind your dryness, get that checked by a dermatologist before you start.