
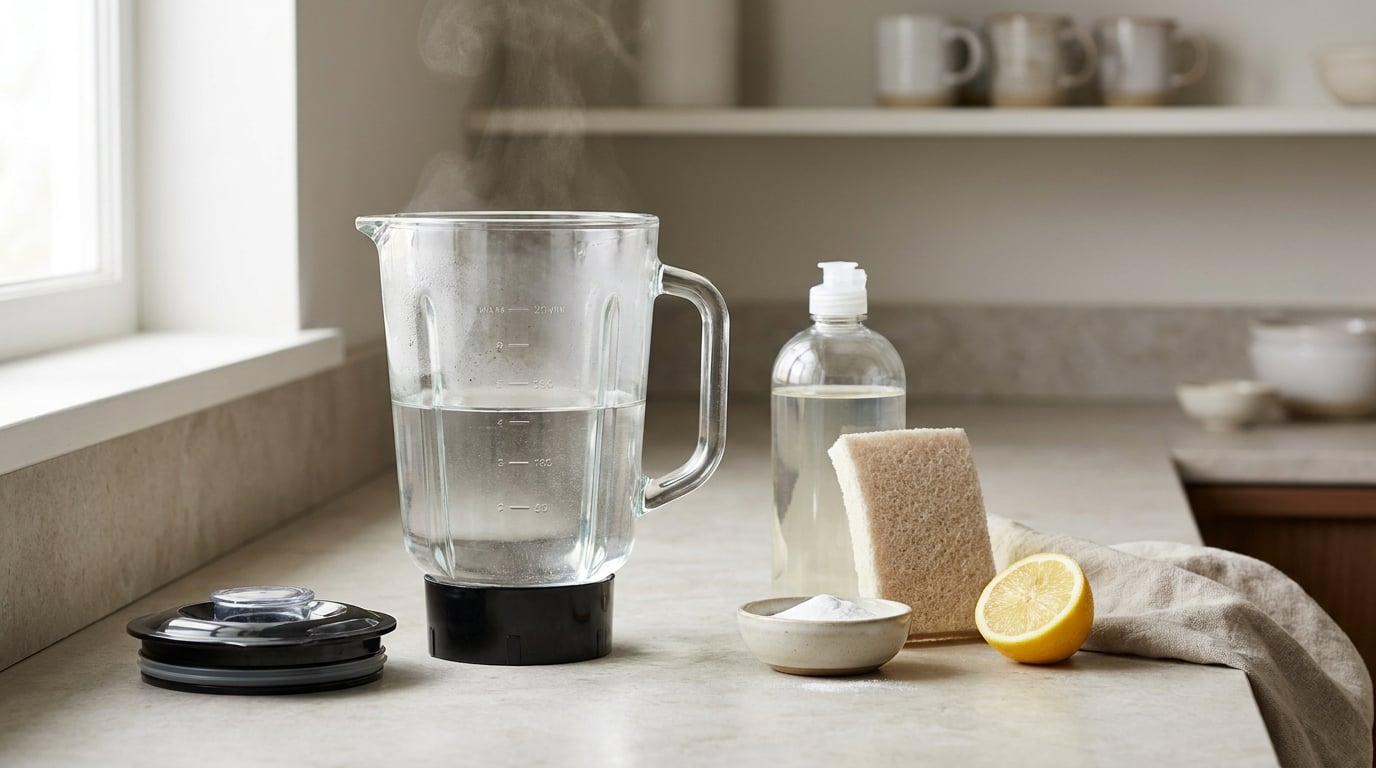
Cleaning a blender without taking it apart takes about two minutes. Fill the jar halfway with warm water, add one or two drops of mild dish soap, secure the lid, run the blender on low for 20 to 30 seconds, then tip it out and rinse under the tap. The spinning blades do the scrubbing for you.
That sounds too easy, and honestly I was skeptical the first time. The reason it works is basic physics: at speed the blades pull water into a vortex and throw it up the jar walls and back down around the blade assembly. Warm water loosens dried sugars and fats, detergent emulsifies them, and the shear of the blades lifts what a sponge cannot reach.
It is a maintenance habit, not a rescue mission. Run it after every use and residue never has time to harden into that concrete ring around the seal, which is the reason people end up reaching for a screwdriver in the first place. If you already have a jar that has gone crusty, skip ahead to the last step in the sequence below.
Table of Contents
What You Need
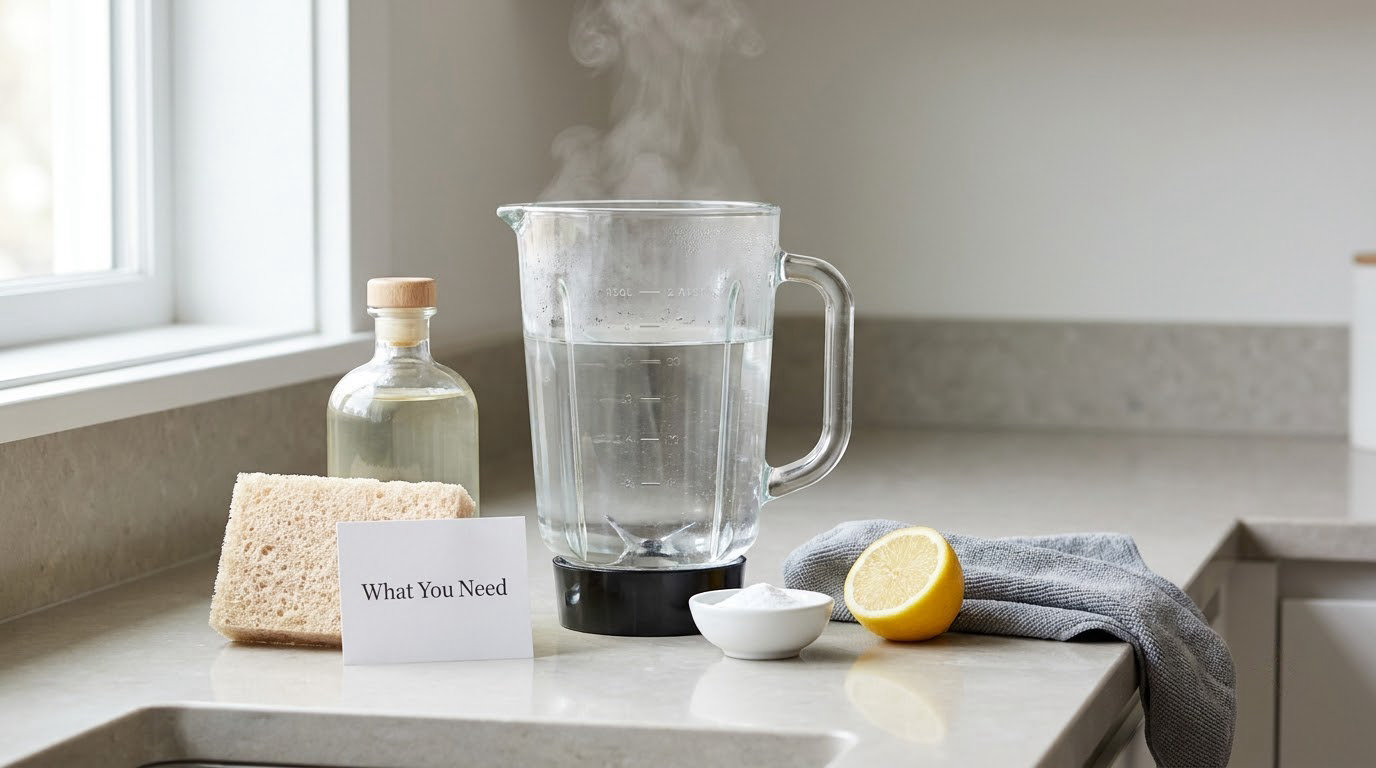
You need less than most people expect, and all of it is already in the kitchen:
- Warm water for the blend cycle and for loosening stuck-on food.
- Mild dish soap — a drop or two, not a pour.
- A nonabrasive sponge or bottle brush, plus an old soft-bristle toothbrush for the gasket groove and lid seams.
- Baking soda for odors and protein powder film.
- A lemon half or white vinegar for hard water clouding.
- A microfiber or soft cloth for the motor base.
One material note before you add water. A glass jar and a plastic jar are not the same appliance, and how to clean a blender without taking it apart safely can hinge on which one you own. Warm-to-hot tap water is generally fine for a plastic or Tritan jar unless your manual says otherwise, but a cold glass jar can crack if you pour near-boiling water into it, so let the water sit at room temperature for a few minutes or run the warm tap for a minute first.
Step-by-Step: How to Clean a Blender Without Taking It Apart
1. Unplug the blender and remove the lid
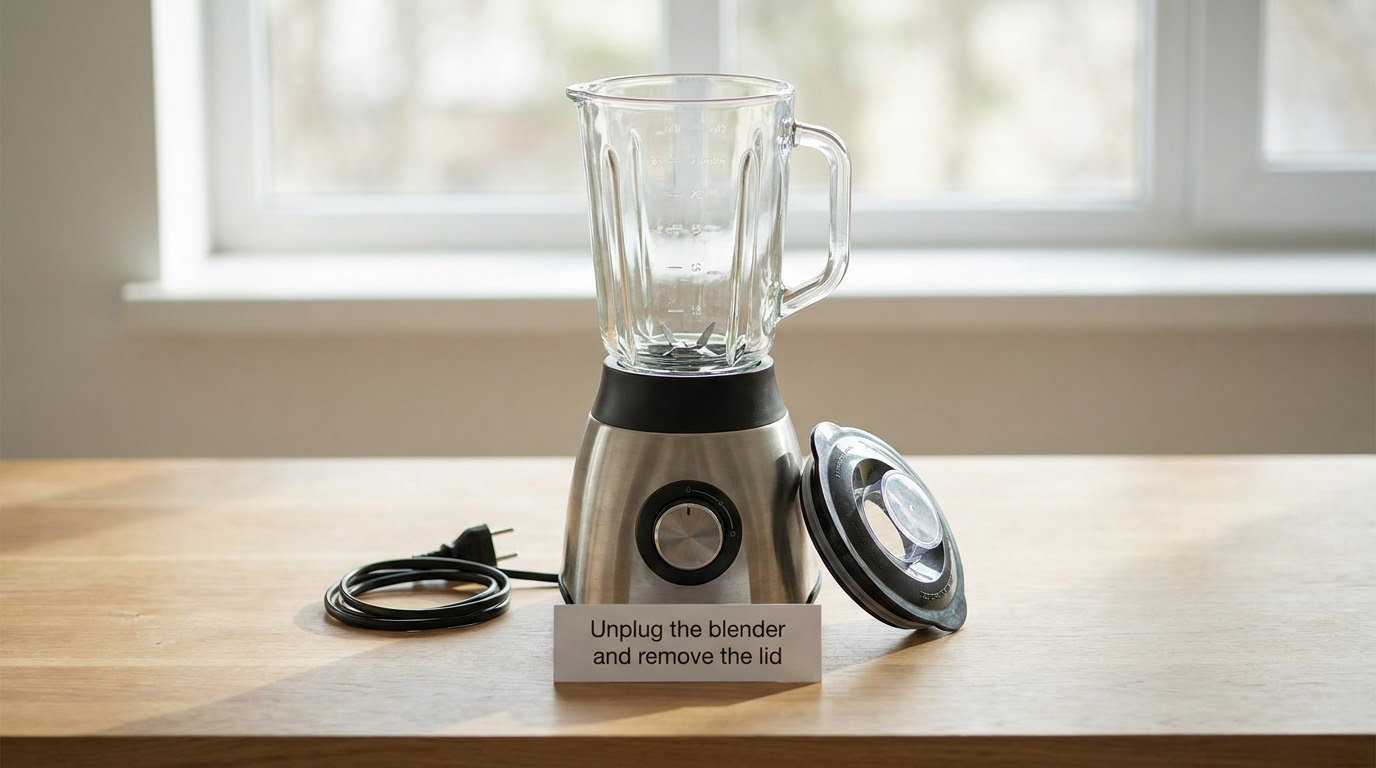
Pull the plug before anything else, even if the machine is off. Unplugging removes any chance of the blades spinning while your hands are in the jar, and it costs you three seconds.
Then take the lid off. On most models the lid lifts straight off and the small center cap unscrews separately, and both are the pieces people skip and then wonder why the jar still smells. Keep the jar seated on its base for all of this. Nothing in this method requires you to lift the jar off the base or loosen the blade assembly.
2. Add warm water and dish soap
Fill the jar about halfway with warm water and add one to two drops of dish soap. Halfway is the sweet spot — higher and the load throws the lid, lower and the vortex never forms properly.
Aim for the drop end of the scale. Extra soap does not clean better, it just leaves a film you have to rinse twice, and that film is one of the reasons people report a cloudy jar after a correct-looking clean. If you have already poured in half a capful, run a second clear-water cycle at step five and you will be fine.
3. Loosen residue around the blades
Put the lid back on, make sure it is seated and locked, and run the blender on low or medium for 20 to 30 seconds. High speed is unnecessary here and makes soapy water climb higher toward the lid seal.
If the ring around the blade assembly is thick, add three or four ice cubes before you run it. The ice knocks loose particles that have bonded to the plastic, and the cold slurry works into the seam under the blades where a sponge never reaches.
Then, with the machine off and unplugged, take a long-handled bottle brush, a glass cleaning wand, or the handle end of a plastic spoon and push the loosened gunk out from under the blade housing. A wand loaded with dish soap and a bit more pressure than you would normally use is what gets material out from around the blades and out of the seam underneath.
Never put fingers near the blades, even with the machine off. The blade assembly stays in the jar, and if you want to reach underneath, use a tool that is longer than your hand.
4. Scrub the jar, lid, and interior edges
Tip the jar out over the sink or the trash, then wipe the inside with your nonabrasive sponge. Work the sponge around the threaded rim and the vertical ribs, because that textured edge is where a thin oily film hides and where the lid seal sits.
The lid gets the same attention. Run the sponge along the underside of the lid, along the gasket groove where the seal seats, and inside the removable center cap. If your lid has a mesh sieve insert, hold it under the tap and rub the mesh gently with a soft toothbrush so the openings do not clog with pulp. That mesh is small, it traps fibers, and it is the part most often left behind.
A toothbrush is the right tool for the seam between the gasket and the lid wall, where a sponge cannot get in and where odors start.
5. Rinse, dry, and clean the base
Fill the jar halfway with plain warm water, put the lid on, and blend for another 15 to 20 seconds before rinsing. That second clear cycle is what removes the emulsified film rather than just diluting it, and it is the step that decides whether your jar looks clear or faintly foggy.
Rinse the jar, lid, center cap and gasket, then set them upside down on a towel or in a rack to air-dry. Air-drying matters more than it sounds. A jar reassembled with a damp gasket traps moisture against the seal groove, and that is exactly the place mold starts. Never put the blades back on while everything is still wet.
The motor base gets a damp cloth and nothing else. Wipe the outside, the seams and the drips around the top edge, keep liquid out of the ventilation slots, and never put the base under running water or in the dishwasher. If you spill into the top of the base, unplug it, leave it open on the counter, and let it dry completely before using it again.
6. Treat lingering odors and stubborn stains
When smell survives a normal cycle, it is almost always coming from the gasket, the center cap or the blade seam, not the jar walls. Add a tablespoon of baking soda to warm water, run it for 30 seconds, and let the jar sit for 15 to 30 minutes before you rinse. Baking soda is mild enough for a soak and lifts both odors and protein powder film.
For a stronger deodorizing pass, blend a roughly chopped lemon half with warm water and a drop of soap for about a minute. The citric acid cuts hard water build-up while the citrus smell covers what you are trying to remove, and it has been reported to do both jobs in a single pass. A soak of equal parts water and white vinegar works too, but rinse it twice afterward.
Match the method to the stain rather than reaching for the same cleaner every time:
- Protein powder film — warm water, baking soda, and a 20-minute soak before scrubbing.
- Turmeric and curry — a drop of soap, warm water, and a full 30-second blend; oil carries the pigment, so emulsifying the oil is the fix.
- Beetroot and tomato — baking soda soak, then a soft sponge on the ribbed walls.
- Coffee and chocolate — a drop of soap and a 30-second cycle, which loosens the oily residue the pigment sits in.
- Hard water clouding — lemon or vinegar, not more scrubbing. Mineral deposit is not dirt and soap will not shift it.
Do not blend dry baking soda on its own, and do not leave baking soda sitting in the jar for days. Prolonged contact can etch plastic and dull the finish over time. Use it as a soak, rinse it, move on.
Common Mistakes
Almost every frustrated blender-cleaning session comes down to one of these:
- Reaching in with fingers to check whether the residue is loose. The blades do not care that the machine is off. Use a brush, a wand, or the handle of a plastic spoon.
- Using steel wool or a scouring pad. A scouring pad takes the label off the jar, scratches Tritan, and dulls the seal surface that the lid presses against. Nonabrasive sponge only.
- Filling a cold glass jar with boiling or near-boiling water. Thermal shock cracks tempered glass, and the crack may not show until the next cold rinse. Warm water, or cold water warmed gradually.
- Submerging or rinsing the motor base. It is a sealed electrical housing. Damp cloth, dry vents, and if liquid gets in, unplug and let it air out for a full day.
- Cleaning the jar and leaving the lid alone. Most stubborn smells live in the gasket groove, the center cap, and the mesh in the lid. Cleaning only the jar is why the smell comes back two smoothies later.
- Stacking the parts back together while they are damp. Trapped moisture against the seal groove is the usual starting point for mold and mildew in the blade area.
One more worth naming: leaving the jar sitting dirty in the sink overnight. The “let it soak” habit is good for 30 minutes and terrible for 12 hours, because dried-on sugar and protein are harder to remove than wet ones. If you do not have time to clean it right away, fill it with warm soapy water and run one short cycle, then deal with the wash later.
Frequently Asked Questions
What is the easiest way to clean a blender?
The easiest way is a self-clean cycle: fill the jar halfway with warm water, add one or two drops of mild dish soap, lock the lid, run on low for 20 to 30 seconds, then tip it out and rinse. The vortex lifts residue off the jar walls and under the blade assembly. Follow it with a second short cycle of plain water to remove the soap film.
Why does my blender still smell even after I wash it?
The smell almost never comes from the jar walls. It comes from the gasket groove in the lid, the removable center cap, and the seam under the blade assembly, where food sits warm and damp. Soak all three with warm water and baking soda for 15 to 30 minutes, scrub the groove with a soft toothbrush, and let every piece air-dry fully before reassembling.
How do I clean under the blades without removing them?
Run a warm soapy cycle first to soften the buildup, then add three or four ice cubes and run it again so the cold slurry shifts particles loose. With the blender off and unplugged, push the residue out using a bottle brush, a glass cleaning wand, or the handle of a plastic spoon. Anything you use should be longer than your hand. Never put fingers near the blades.
Can I put a blender jar in the dishwasher?
Often yes, but the jar and the blade assembly rarely have the same rules. Many glass and Tritan jars are dishwasher-safe while the blade gasket, seals and a plastic base ring are not, and heat can make a seal lose its grip and start leaking. Check your specific manual rather than the general rule, and hand-wash anything with a rubber gasket or a printed fill line.
How do I deep clean a blender with stuck-on residue?
Skip the soap-only cycle and go acidic or alkaline. Add a tablespoon of baking soda to warm water, blend for 30 seconds, and let it sit 15 to 30 minutes. For turmeric, coffee, or protein film, blend a chopped lemon half with warm water and a drop of soap for a minute. Scrub the ribbed walls with a nonabrasive sponge, then finish with a clear-water cycle.
Can I use Dawn dish soap to clean my beauty blender?
A beauty blender is a makeup sponge, not a kitchen appliance, and the two get mixed up constantly. Kitchen blender owners can use a small amount of ordinary dish soap. For the makeup sponge, use a mild cleanser or a drop of gentle soap and lukewarm water, squeeze rather than twist, and let it air-dry overnight. Never put a kitchen blender jar and a beauty sponge in the dishwasher.
Conclusion
Warm water, one drop of soap, and a 20-to-30-second blend clears the jar and the blade area without a single tool. Follow it with a clear-water cycle, scrub the gasket and center cap with a toothbrush, air-dry every piece upside down, and wipe the base with a damp cloth. Do that after each use and the deep clean stays optional. Check your own manual before you deviate, since dishwasher rules and heat limits differ by jar material.