
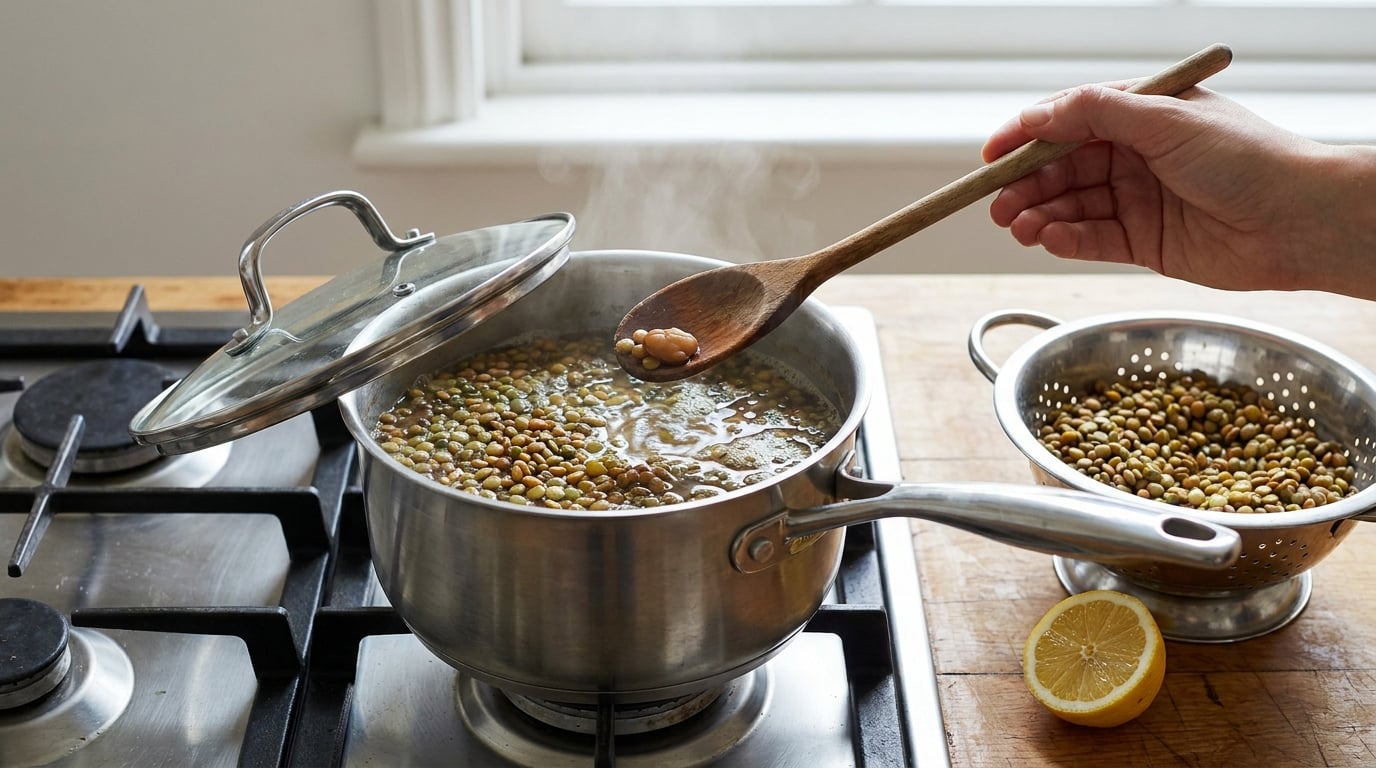
If you want to know how to cook lentils so they hold their shape, the whole game comes down to four things: pick a firm variety, keep the heat at a lazy simmer, salt once the skins have softened, and drain while the centers still have a tiny bit of resistance. Do those and you get distinct, spoonable lentils instead of grey glue. It takes about 25 minutes start to finish, and the only real skill is knowing when to stop.
A lot of recipes list a maximum cook time and nothing else, which is why so many home cooks end up with paste. The 20-minute mark is a starting point for tasting, not a finish line. Once you start tasting as you cook, the difference is night and day.
What You Need
Nothing here needs a trip to a specialty store. You want a pot with a heavy bottom, a fine-mesh strainer, and a wooden spoon for the all-important tasting.
- Lentils: 1 cup dried. For the best shape retention, choose Puy, French green (lentilles du Puy), or black beluga lentils. Standard green and brown work well too. Skip red and yellow for anything you want to keep whole.
- Liquid: 3 cups water, or a mix of water and vegetable broth. Broth adds flavor and salt, so taste before you season.
- Salt: 1 teaspoon, added late. More if you are seasoning to taste at the end.
- Equipment: a 3-quart saucepan, a fine-mesh strainer, a wooden spoon, and a colander or sheet pan for cooling.
- Optional aromatics: 1 halved onion, 2 smashed garlic cloves, 1 bay leaf, 1 teaspoon cumin seed, and a small knob of olive oil or butter for the end.
Step-by-Step
How to Cook Lentils So They Hold Their Shape
Four things decide the outcome, and none of them are secret. Start with a firm green or brown lentil rather than a red one. Hold a barely bubbling simmer instead of a rolling boil. Add your salt after the lentils have softened, not in the first minute. And stop cooking the moment the centers are just tender, then drain them promptly.
That is the full method. The rest is detail, and the detail is where the batches get lost.
1. Choose Firm Green or Brown Lentils
Variety does more for shape than any technique. French green lentils and Puy are small, dense, and dark, and they have the thinnest skins relative to their centers of any common variety, which is exactly why they survive cooking intact. Black beluga lentils are the same story in a dark shell.
Standard green and brown lentils are larger and thicker-skinned, so they hold shape reasonably well but need closer attention. Red and yellow split lentils have no intact skin left at all, and they are meant to collapse into dal and thick soup. Putting them in a salad is like expecting rice pudding to stay in grains.
Sort the dried lentils in a dry pan first and pick out stones and debris, then rinse them under cold water until the water runs clear. That rinse matters more than it sounds. The cloudy water you see is surface starch, and leaving it in the pot is the single biggest cause of a thick, gluey result.
2. Soak for Even, Predictable Cooking
Soaking is optional for green, brown, Puy, and beluga lentils. A quick soak of 30 minutes in plenty of cold water gets you more even cooking and slightly faster results. An overnight soak, 8 to 12 hours, does the same thing more thoroughly and works nicely if you are planning ahead.
Skip soaking for red and yellow split lentils. They break down during the soak, and they would need cooking under 10 minutes anyway, so the tradeoff is pointless.
Drain and rinse again after soaking. If you skip the soak entirely, no harm done. Just plan to start tasting at 18 minutes instead of 20.
3. Simmer Gently in the Right Amount of Liquid
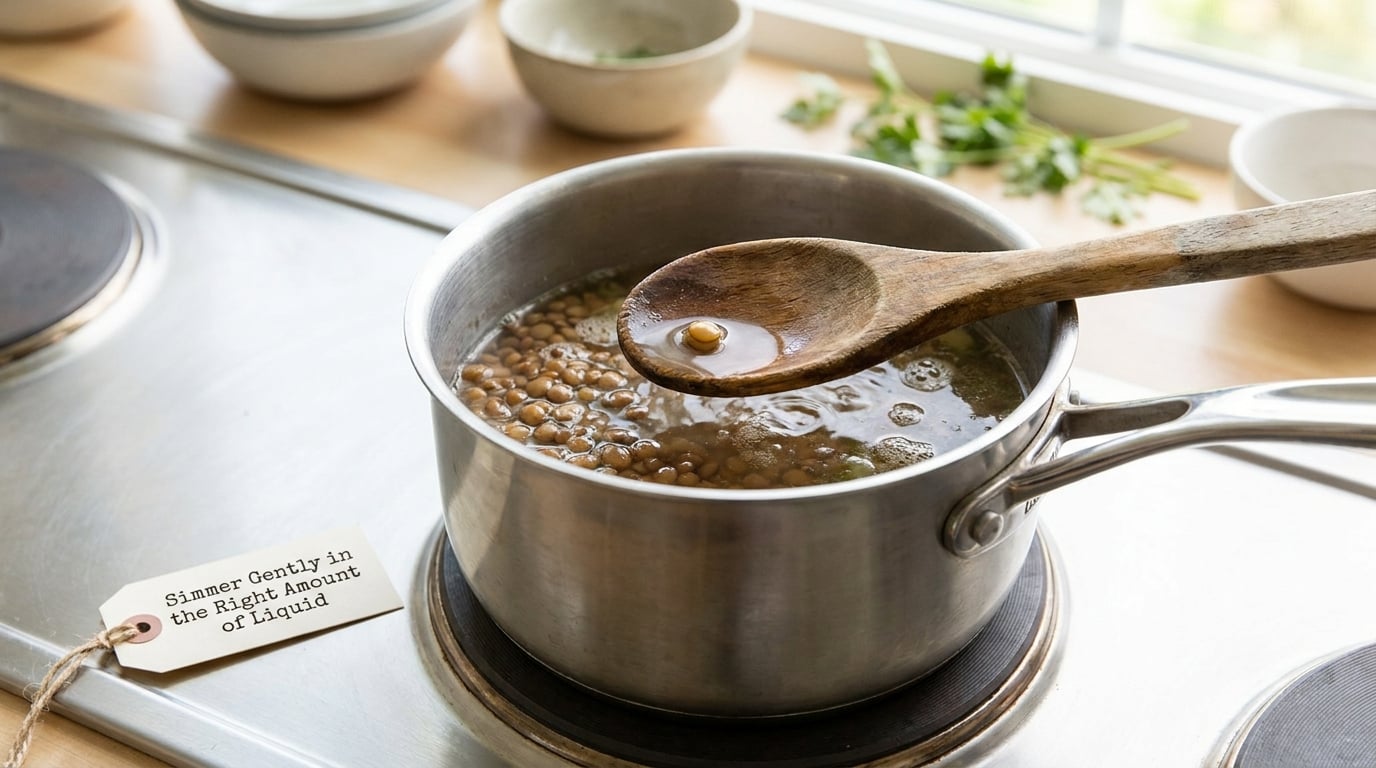
Use 3 cups of liquid for every 1 cup of dried lentils. That is the number to memorize. More liquid means the lentils sit and swell longer, and more of them rub against each other and against the pot.
Bring the pot to a boil, then drop the heat until the pot barely moves. You want one lazy bubble every second or two, not a rolling boil. A hard boil knocks lentils around the pot, and each collision is a small chance for a skin to split and release starch into the water. That starch is what turns a pot of lentils into a thick paste that coats the spoon.
If you use a smaller pot, the liquid level rises as the lentils swell, so you can go slightly drier. If you use a big pot, stay at 3 cups and stir once or twice, gently, so nothing catches on the bottom.
Expect around 20 to 25 minutes for green and brown lentils, 20 to 22 for Puy, and 25 to 30 for black beluga. Treat all of those as windows, not instructions.
4. Add Aromatics Without Overcooking
Onion, garlic, bay leaf, cumin seed, and a whole chile all work. Add the dried spices and bay leaf with the lentils, and add garlic or onion in the last 10 minutes. Garlic added at the start turns bitter over a long cook, and onion can go soft and sweet in a way that muddies a salad grain.
Save the vinegar, lemon juice, tomato, and other acidic ingredients for after the lentils are tender. Acid slows the softening of the interior, so an acidic pot at the start leaves you with firm outer skins and chalky centers, and more cooking time to fix it. Tomato-based stews are the one case where the acid is part of the dish and you simply cook the lentils first, then build the sauce around them.
Skip the baking soda unless your water is genuinely hard. A pinch will help in high-mineral areas, but it softens skins faster, which works against holding shape.
5. Salt Toward the End
The never-salt-beans-early rule came from beans, and it does not transfer cleanly to lentils. Lentil skins are full of pectin, and sodium weakens pectin, so a pot salted from the start softens the interior and the skin at roughly the same rate instead of leaving a firm shell around a chalky center. That is why this method still waits until the lentils have softened, about the 15-minute mark. A little salt earlier will not ruin a batch, but a lot will not help it either. The real enemy of texture is acid, not salt, which is where the old rule got its reputation from by association with beans and tomatoes.
In practice, add your teaspoon of salt once the lentils have softened, around the 15-minute mark for green and brown. Stir gently to dissolve it. It is worth a small pinch earlier than no salt at all, and much better than salting a finished pot of mush and calling it seasoned.
Season the cooking liquid too if you are keeping it as pot liquor for a soup. It is starchy, and it carries more flavor than the plain water you started with.
6. Stop While the Centers Are Just Tender
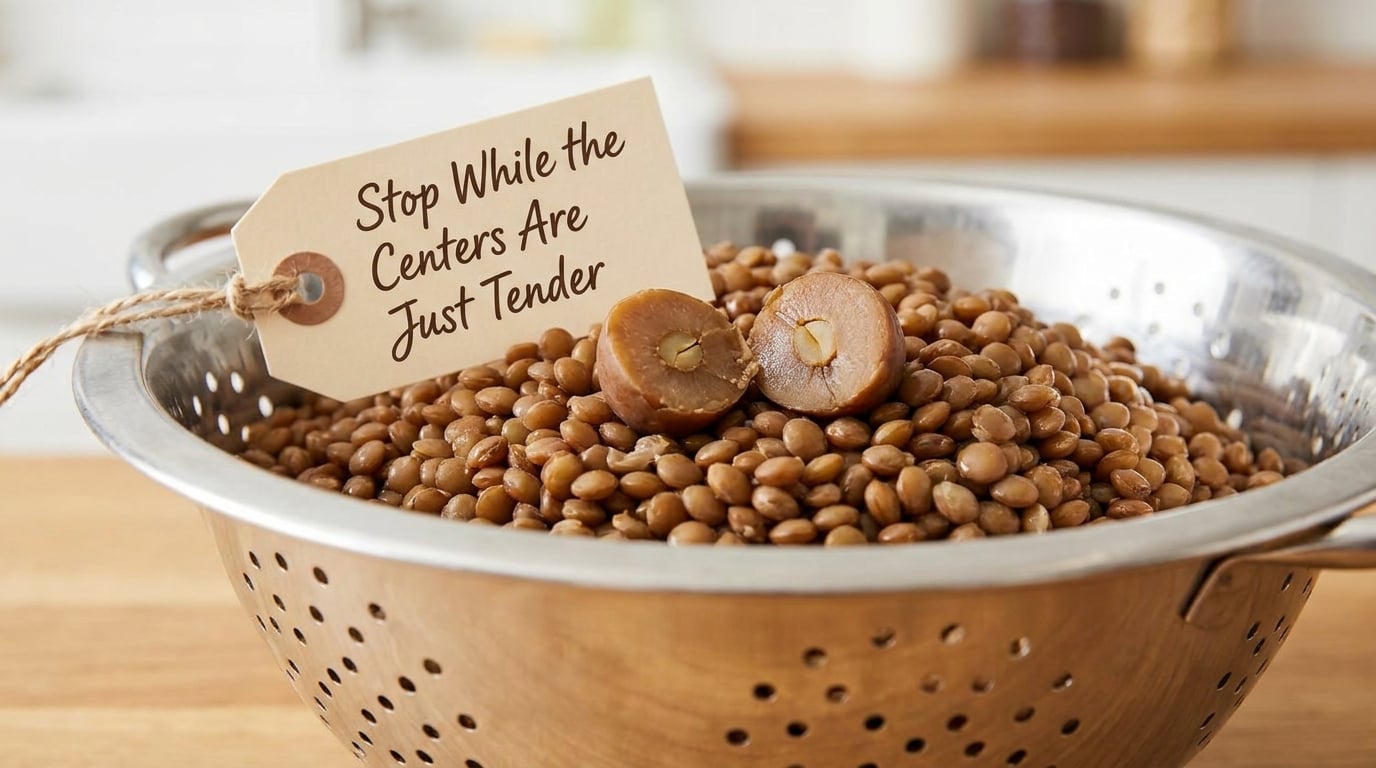
This is the step that decides everything. From minute 15 onward, pull one lentil out, squeeze it gently between your fingers, and then bite or cut it in half.
What you are looking for is a tender exterior, a skin that is intact, and a center that gives slightly but is not completely collapsing. If the center is white and chalky, give it more time. If the center is soft all the way through but the lentil still feels whole and springs back just a little when you press it, it is done.
The window between perfect and mush is short, often only three or four minutes at a gentle simmer. That is also why leaving them in the pot while you set the table is risky. Residual heat keeps softening them.
Drain into a fine-mesh strainer the moment you are happy with the texture, then spread the lentils in a single layer on a sheet pan or in the colander set over a bowl. Letting steam escape rather than pooling around the lentils stops carryover cooking. Toss with a little olive oil or butter once cooled enough to handle, and they will hold for hours.
Common Mistakes
Almost every disappointing batch of lentils comes down to one of these six things, and all of them are fixable.
- Cooking at a rolling boil. Fix: bring to a boil once, then turn the heat down until the pot only shivers. You should barely see a bubble break the surface.
- Using red or yellow lentils for a dish that needs shape. Fix: switch to Puy, French green, black beluga, or standard green and brown. There is no technique that will keep a split lentil whole.
- Salting in the first minute, especially with acid alongside it. Fix: salt at 15 minutes, and add vinegar, lemon, or tomato only after the lentils are tender.
- Overfilling the pot. Fix: use 3 cups of liquid per cup of lentils and keep the lentils in no more than two or three inches of water. A crowded pot means more bumping and more skins breaking.
- Leaving the burner on high because the recipe said 20 minutes. Fix: lower the heat and start tasting at 15. Heat, not time, is what softens them.
- Waiting after the texture is right. Fix: drain immediately and spread the lentils out to stop the cooking. If you are prepping ahead, a 30-minute chill in the fridge firms them up further for salads.
If a batch already went soft, you cannot uncook it, but you can make it work. Drain it well, dress it as a warm side with plenty of acid, herbs, and olive oil, and serve it over rice. If they are only slightly soft and you are making a salad, a short chill and a vinegar-based dressing will get you back to a pleasant bite.
For storage, cooked lentils keep in the fridge for 3 to 4 days in a sealed container, and they freeze flat in a bag or container for up to 3 months. Thaw in the fridge overnight, not on the counter, and dress them after thawing rather than freezing them already dressed. A spoonful of olive oil tossed in before freezing helps keep them from drying out.
One last note: if lentils sit raw for a year or two before cooking, they will often stay hard no matter how long you simmer them. If yours refuse to soften after 40 minutes in plain water, try a fresh bag before you blame your technique.
Frequently Asked Questions
Which lentils hold their shape best after cooking?
French green lentils, also called Puy or lentilles du Puy, hold their shape best of all. They are small, dense, and have very thin skins for their size. Black beluga lentils are a close second. Standard green and brown hold shape well enough for salads if you simmer them gently and drain early. Red and yellow split lentils will not hold shape under any method, because their skins are already broken off.
Do you have to soak or brine lentils before cooking?
No, not for most varieties. A 30-minute soak or an overnight soak of 8 to 12 hours gives you slightly more even cooking, which is nice but not required. Skip both for red and yellow split lentils, since they break down in the soak and cook in under 10 minutes anyway.
Why are my cooked lentils mushy?
Mushy lentils usually mean too much time, too much heat, or too much water. A rolling boil knocks the lentils against the pot and splits their skins, and the starch that leaks out thickens the pot liquor. Next time, simmer at a bare bubble, add acid only at the end, and drain the moment the centers are just tender.
Why are my lentils still crunchy after cooking?
The most common cause is old lentils, which have been sitting a year or more and will not soften no matter how long you cook them. Hard, alkaline water can also slow softening, and so can adding vinegar or tomato too early. Test a fresh bag first, and squeeze one lentil rather than trusting the clock.
Can I use canned lentils instead of cooking from dry?
Canned lentils hold their shape well in salads and are a reasonable shortcut when you need a batch today. They are softer than home-cooked lentils, so they suit salads and grain bowls more than dishes that need a firm bite. Rinse off the starchy packing liquid and dress them after.
Conclusion
Start here: grab firm green or brown lentils, use 3 cups of liquid per cup, bring it to a boil once and then turn the heat down until it barely bubbles. Salt around the 15-minute mark, save the vinegar and tomato for the end, and squeeze a single lentil between your fingers to test. When the center is tender with a hint of resistance, drain immediately and spread the lentils out. That sequence, more than anything else, is how to cook lentils so they hold their shape every time instead of every other time.