
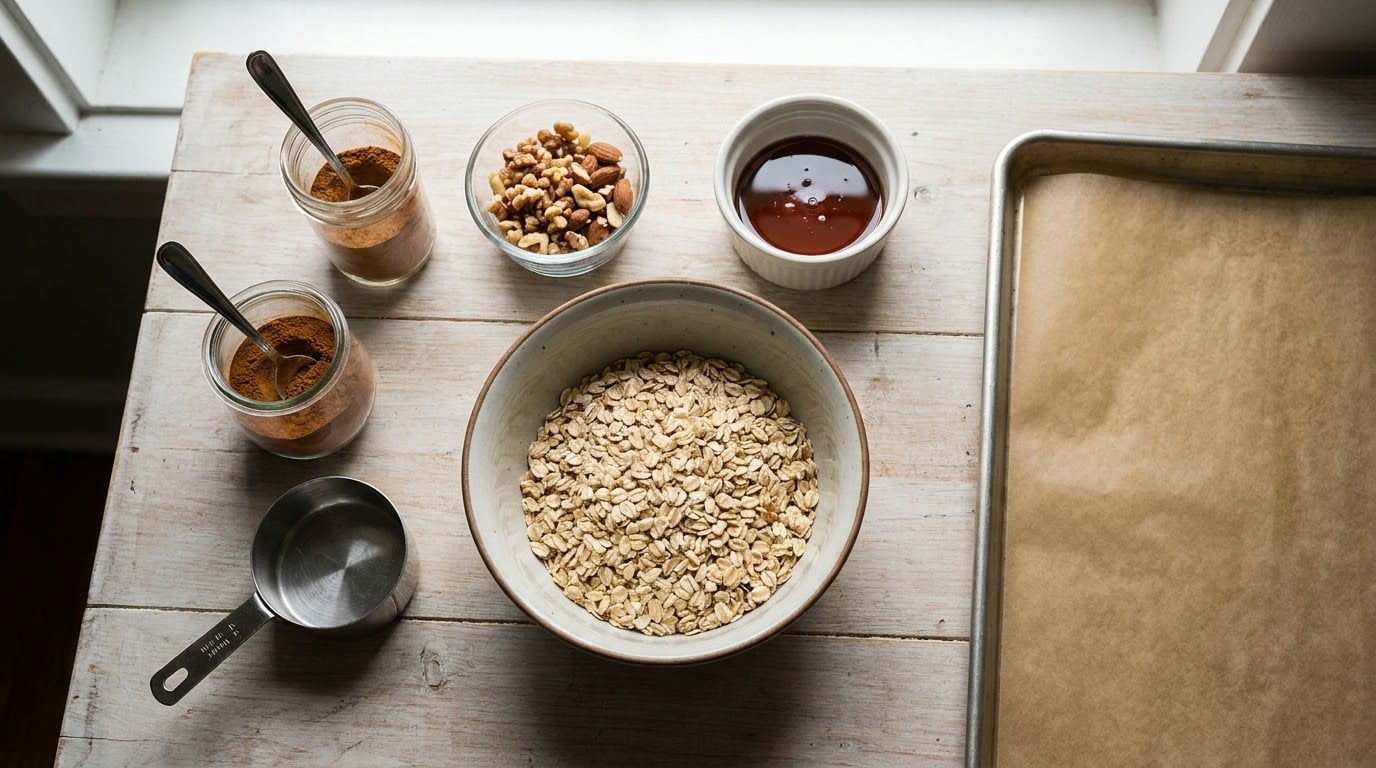
Making granola at home with less sugar comes down to one number: about 6 parts dry ingredients to 1 part wet. That ratio is the sweet spot home cooks on r/Cooking keep landing on, because it lets rolled oats, nuts and seeds bind into crunchy clusters without the pile of honey or syrup that turns most recipes into dessert. From start to cool, you are looking at roughly 45 minutes.
The catch with cutting sugar is that sugar does two jobs in a granola recipe. It sweetens, and it caramelizes into the binder that holds clusters together. If you just delete it, you get a tray of loose toasted crumbs. So the fix is to keep a small amount of a strongly flavored sweetener, add a fat that does some of the binding work, and lean on cinnamon, vanilla and salt to make the bowl taste like more than it measures.
Below is the base recipe I come back to, the swaps that actually work, and the fixes for the three things that go wrong most often: granola that stays chewy, nuts that scorch, and batches that crumble to dust.
Table of Contents
What You Need
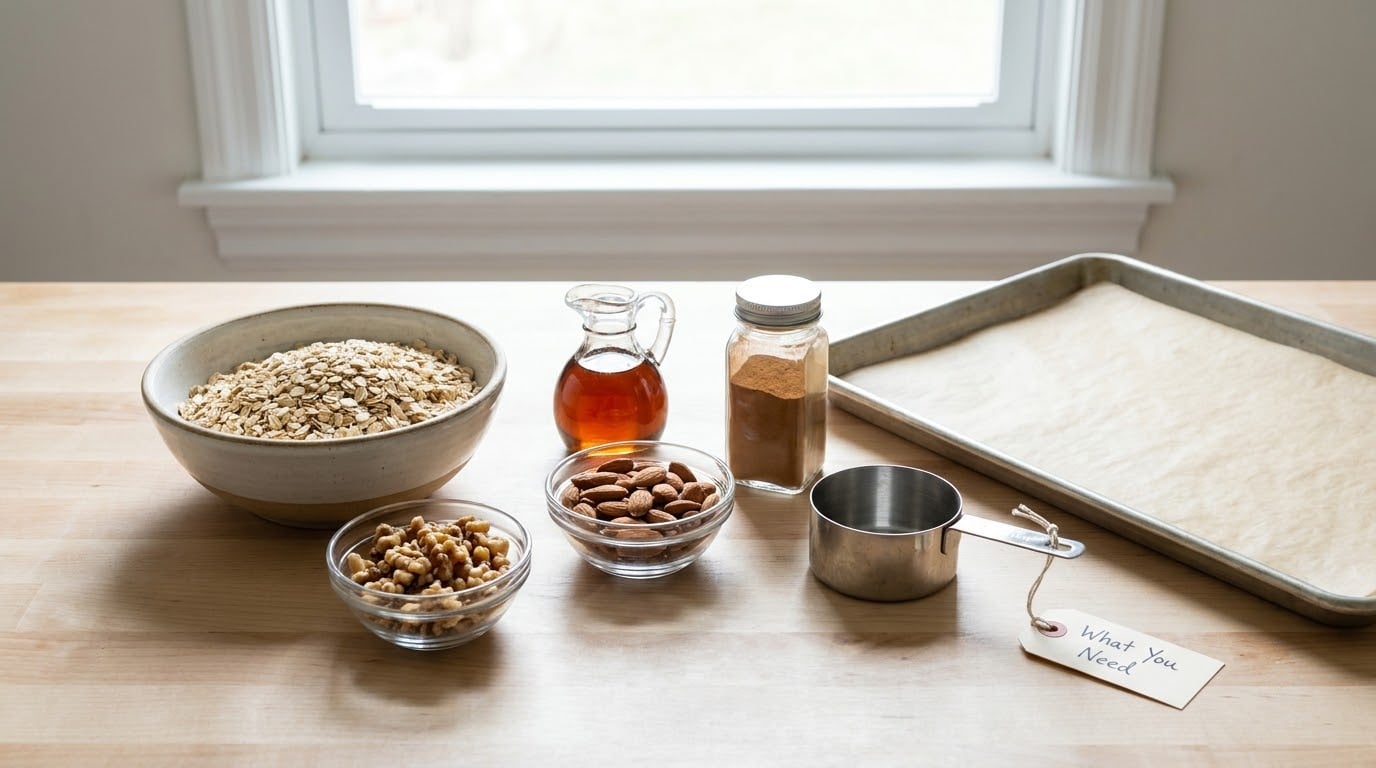
Here is the base low-sugar granola. It makes about 8 servings of roughly half a cup each.
- 3 cups rolled oats (old fashioned oats work too)
- 1 cup chopped nuts, such as walnuts, pecans, almonds or hazelnuts
- 1/3 cup seeds, such as pumpkin seeds, sunflower seeds or chia
- 3 tablespoons maple syrup
- 2 tablespoons coconut oil, melted, or olive oil
- 1 teaspoon vanilla extract
- 1 teaspoon cinnamon
- 1/2 teaspoon kosher salt
The oats are the structure, so pick them deliberately. Rolled oats hold up best: they are thick enough to stay distinct and they toast evenly. Quick oats cook faster but collapse into a uniform paste, and steel-cut oats are so hard they barely soften in a home oven.
For fat, coconut oil gives you the cleanest crunch and caramelizes fastest, while olive oil adds a fruitier, slightly savory note that works nicely with rosemary or a pinch of chili. Both are fine. Melted butter works too, just keep in mind it adds dairy to a batch you may want vegan.
Mix-ins carry most of the flavor once you have pulled the sugar back. Toasted nuts and seeds bring texture, spices do a lot of quiet work, and shredded unsweetened coconut adds chew. Hold the dried fruit until after baking. Fruit baked with the oats loses its moisture to the oven and comes out leathery, and store-bought sweetened cranberries can undo the whole exercise. If you want to know what to look for on a label when you are comparing options, how to tell if a granola bar is actually healthy breaks down the parts of the panel that matter.
Step-by-Step: How to Make Granola at Home with Less Sugar
Step 1: Choose Your Low-Sugar Base
The base is what determines your sugar total, so decide the sweetener before you touch anything else. Three tablespoons of maple syrup across three cups of oats and a cup of nuts lands near 3 grams of sugar per half-cup serving. A typical store-bought granola in the healthy aisle is closer to 10 to 15 grams added sugar per serving, so the gap is real.
| Sweetener | Amount for this base recipe | Approx. sugar in the batch | How it bakes up |
|---|---|---|---|
| Maple syrup | 3 tablespoons | about 26 g | Clean caramel flavor, loose clusters, easy to adjust |
| Honey | 3 tablespoons | about 50 g | Sweeter and stickier, bakes darker faster |
| Coconut sugar | 1/4 cup | about 50 g | Brown-sugar flavor with crunchy sugar crystals |
| Dates, pitted and blended | 3 medjool dates | about 85 g | Fruity and dense, needs more liquid to bind |
| Monk fruit or allulose blend | 1/4 cup | 0 to 2 g | Less caramelization, bake a few minutes longer |
| Nothing, plus egg white | 2 whites whisked | 0 g | Savory-leaning, best clusters of the no-sugar options |
Maple is my default because it tastes like something and it browns without going scorched as fast as honey. If you want to go further on the sugar side, I have a longer guide to substituting maple syrup for sugar in recipes that covers the other common swaps.
Whatever you pick, add flavor that reads sweet without being sweet. Cinnamon, vanilla, a pinch of cardamom, or a teaspoon of maple extract all work. The salt is not optional: a small amount makes everything else taste sweeter, which is exactly the trick you want when you have taken the sugar out.
Step 2: Mix the Ingredients Evenly
Drizzle the maple syrup and melted oil over the dry ingredients and fold with a spatula or clean hands until every oat looks damp. Dry oats are white and coated oats are uniformly golden-brown. If you still see pale patches, the finished granola will have pale patches too.
Add the nuts and seeds last, after the oats are coated. Nuts tossed in with the wet mixture brown faster and turn up at the edges of the pan as bitter little fragments, which is the usual reason people report burnt nuts in an otherwise good batch.
Step 3: Bake Until Golden and Crisp
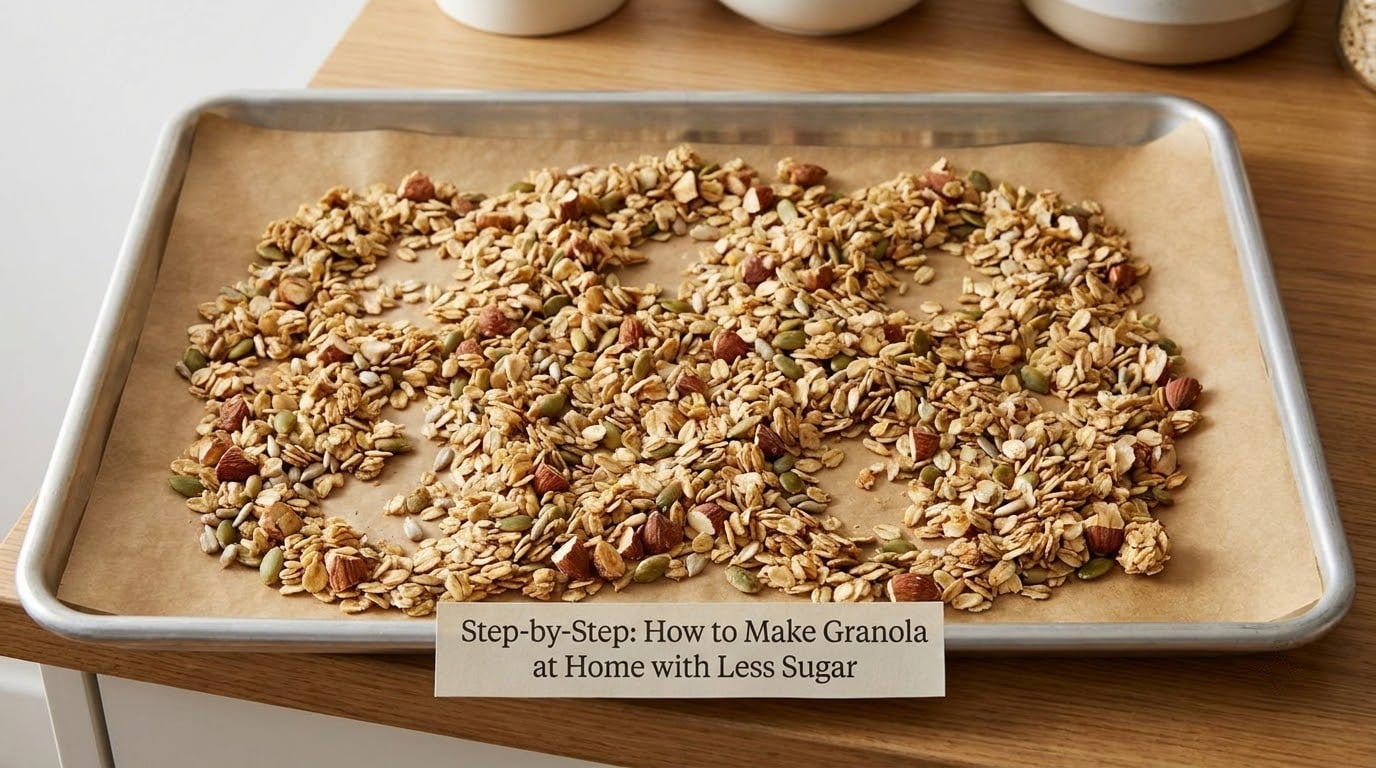
Heat the oven to 325°F and line a rimmed baking sheet with parchment. Spread the mixture in a single even layer, about half an inch thick. Crowding the pan steams the oats instead of toasting them, and that is the number one reason homemade granola ends up soft.
Bake for 25 minutes, stir with a spatula so the bottom comes up, then bake another 10 to 15 minutes. Home cooks split on temperature, with recipes ranging from 275°F to 350°F, and the lower end does produce better clusters. At 300°F expect closer to 40 minutes total.
Pull the tray when the oats are deep golden and the nuts smell toasted, not when they are dark. Granola crisps up hard as it cools, so a tray that looks slightly soft in the oven is usually right. If the bottom browns before the top, move the rack up one notch or tent a loose piece of foil over the pan for the last ten minutes.
Let the pan cool completely on a wire rack, around 30 minutes. Crunch develops during cooling, so breaking it up too early leaves you with crumbs.
Step 4: Break Up or Leave Large Clusters
Branching here depends on what you are making. Granola for breakfast cereal wants small pieces, so break it up with your hands or run it through a coarse knife chop. Big clusters are better for yogurt parfaits, snack mixes and lunchboxes, and you get them by pressing the mixture flat with a spatula before it goes in the oven and leaving it undisturbed while it bakes.
A second sheet pan pressed on top during the first 15 minutes produces the tightest clumps without using egg or syrup as glue. Once the granola is cool, keep the pieces you like and let the crumbs fall into a jar for yogurt or mixing into batter.
Common Mistakes and Fixes
It tastes too sweet even though you cut the sugar. The likely culprits are sweetened dried cranberries, a heavily frosted nut mix, or a nut butter blended into the oats. Check the labels on your mix-ins first. Vanilla, cinnamon and salt will fix a batch that is only slightly sweet; a tablespoon of lemon juice added at the mixing stage will rescue one that is not.
It is soft and chewy instead of crunchy. Moisture, not sugar. Either you overcrowded the pan or you pulled it out too early. Spread the granola in a single layer with space between the oats and give it the full time, stirring at the halfway mark. If it is already soft, five minutes back in a 325°F oven restores most of the crunch.
The bottom is scorched while the top stays pale. Dark baking sheets conduct heat hard, and ovens run hotter at the back. Use a light-colored rimmed pan, rotate the tray once at the halfway stir, and move your oven rack up a notch. A wire cooling rack set on the bottom of the oven also stops direct radiant heat from browning the underside.
It crumbles into dust and will not clump. Your dry-to-wet ratio drifted too far toward dry, or you stirred the pan instead of pressing it. Push toward 5:1 for a tighter cluster next time and press the layer flat before baking.
The dried fruit turned hard and leathery. Add it after baking. Toss the cooled granola with a small amount of dried fruit or freeze-dried berries right before serving. This is also how you control the portion, which matters more than most people expect since a generous handful of raisins can undo a whole low-sugar batch.
It goes soft again after a few days. Storage, not baking. Granola is crisp because it is dry, and it starts absorbing humidity the moment you seal it in anything loose.
| Where you store it | How long it stays crunchy | Notes |
|---|---|---|
| Airtight container, room temperature | 2 to 3 weeks | The default. A glass jar with a rubber gasket works better than a zipper bag |
| Airtight container, refrigerator | up to 6 weeks | Best option for humid kitchens; bring it out 10 minutes before eating |
| Freezer, in portions | 3 months | Spread on a tray to freeze solid first so clusters do not fuse together |
Make-ahead works in your favor here. A double batch keeps four to six weeks in the freezer, and portioning it into small bags means you are not re-exposing the whole batch to air every morning. If you want more snack formats than cereal, the same nuts, seeds and dried fruit work as a homemade trail mix, with granola clusters standing in for the sweet-salty part.
One more option worth knowing: gluten-free oats from a certified facility make this a gluten-free granola recipe without any other change, and coconut oil in place of butter keeps it vegan. Plant-based eaters can also skip the egg-white binder entirely and lean on a tablespoon of nut butter for the same binding job.
Frequently Asked Questions
Can I make granola without any added sugar?
Yes, and it still clusters. Whisk two egg whites with a tablespoon of melted coconut oil, pour it over your oats, nuts and seeds, and bake at 325F for 30 to 35 minutes. The egg proteins set into a crisp binder as they cool. Expect a savory-leaning flavor, so lean on cinnamon, vanilla and salt to keep it pleasant.
What is the best substitute for sugar in homemade granola?
Maple syrup is the easiest swap because it flavors as well as it sweetens. For zero sugar, use monk fruit or allulose blends, or skip sweetener entirely and bind with egg white. Blended dates work but bring roughly 85 grams of sugar into a standard batch, so they are not really a lower-sugar option. Coconut sugar tastes closest to brown sugar and carries the most sugar.
How do I make granola clusters instead of loose crumbs?
Press the mixture into a single even layer with a spatula before it goes in the oven, and do not stir during the first 15 minutes. Stirring breaks the pieces you are trying to build. Setting a second baking sheet on top during that window adds pressure and produces tighter clumps. Let the pan cool fully before breaking it apart, since clusters firm up as they cool.
Why is my homemade granola not crunchy?
Three things cause soft granola: a crowded pan, a short bake, and storing it loosely. Steam from a thick layer keeps the oats moist instead of toasting them, so spread everything in one thin layer. Bake the full 30 to 40 minutes at 325F. If a finished batch goes soft within days, the container was letting humidity in. Use an airtight jar, not a zipper bag.
How long does lower-sugar granola stay fresh?
Two to three weeks in an airtight container at room temperature, up to six weeks in the refrigerator, and about three months in the freezer when frozen in single-serve portions. Lower-sugar batches do not spoil faster than regular ones, but they are less forgiving about moisture because nothing extra is coating the oats. Always cool the pan completely before sealing it.
Can I use maple syrup, honey, or dates interchangeably?
Maple syrup and honey can be swapped one for one, though honey browns faster and needs a few minutes less in the oven. Chopped or blended dates are not a like-for-like swap: they are far sweeter and need extra liquid to bind, so cut the amount and add a splash of water or oil. In every case, hold the dry-to-wet ratio near 6 to 1 or the granola will not set.
If you make one change this round, go with three tablespoons of maple syrup and drop the dried fruit from the pan. That is the whole difference between a batch that tastes like candy and one that still passes for breakfast food.
Then add the cinnamon, the vanilla, and the half teaspoon of salt. People assume the sugar is doing the flavoring work, and it never was.