
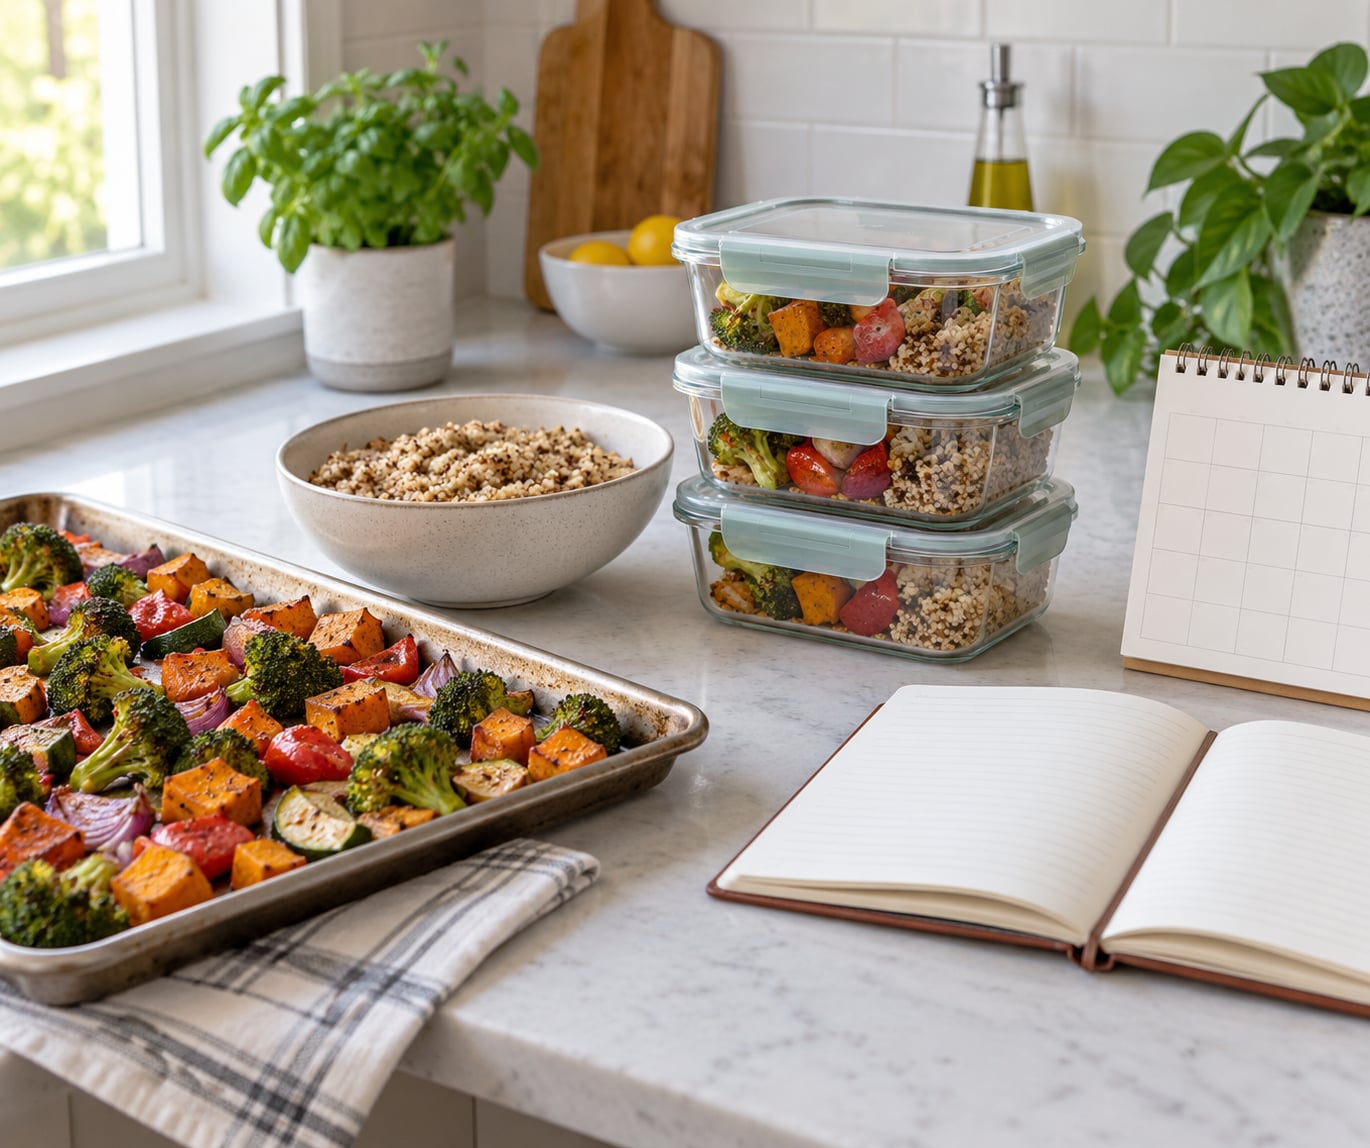
Meal prep means preparing and cooking part or all of your meals in one session, usually on a Sunday, then storing them in airtight containers so you can eat through the week without cooking every night. Here is how to meal prep for the week for beginners in short form: plan three or four meals instead of fourteen, shop once with a list built around shared ingredients, cook a handful of components together, and keep days one to four in the fridge.
Budget about two hours for your first session, though only 40 to 45 minutes of that is hands-on. The rest is oven time and tidying. If you can only spare an hour on a Wednesday evening, use the one-pan fallback near the end of this guide instead of a full session.
Can you meal prep for seven days? Partly. Cooked food kept at or below 40°F (4°C) stays safe in the fridge three to four days, so days one through four live in the fridge and anything for Thursday and Friday gets frozen that same evening. Beginners who try to eat fridge-stored meals straight through day seven are the ones who quit by Wednesday.
Table of Contents
What You Need — Containers, Tools and a Shopping List
You need less gear than the posts online suggest. The essentials are a set of containers in two or three sizes, a cutting board you can wipe between uses, a sheet pan, and a way to label what you cooked and when.
- Containers: three or four glass containers with locking lids are the workhorses. They go from fridge to microwave to table without warping. Plastic is fine and lighter to carry, but pick BPA-free and replace anything stained or cracked.
- Mason jars: good for foods you eat without reheating, like overnight oats, layered salads with dressing at the bottom, or snacks.
- Sheet pan: with a rim, for roasting vegetables and proteins on one tray while something else cooks.
- Kitchen scale: a cheap one makes portioning repeatable, which matters more for consistency than accuracy to the gram.
- Labels or masking tape and a pen: write the dish name and the date you cooked it. This is the single habit that stops food waste.
- Freezer-safe bags and a shallow tray: bags for components you freeze flat in single portions, a tray for freezing containers without tipping over.
- A small jar for sauces: keep dressings separate from food until eating time so nothing goes soggy.
You also need a place to plan. A notebook, a note on your phone, or a printed weekly template works fine. Write out the meals for the first three days only, and add a freezer backup for the second half of the week.
A word on planning materials: if you are still deciding between protein powders, it helps to read plant protein vs whey protein for beginners so you buy once and use it all week rather than a tub that sits open past its best.
One more thing you do not need: a full week of identical meals. Plenty of people get through five days on the same chicken, rice and roasted vegetables, and they are not excited about it. They are not bored, because they change the sauce and the vegetable. Variety comes from combinations, not from cooking fourteen separate dishes.
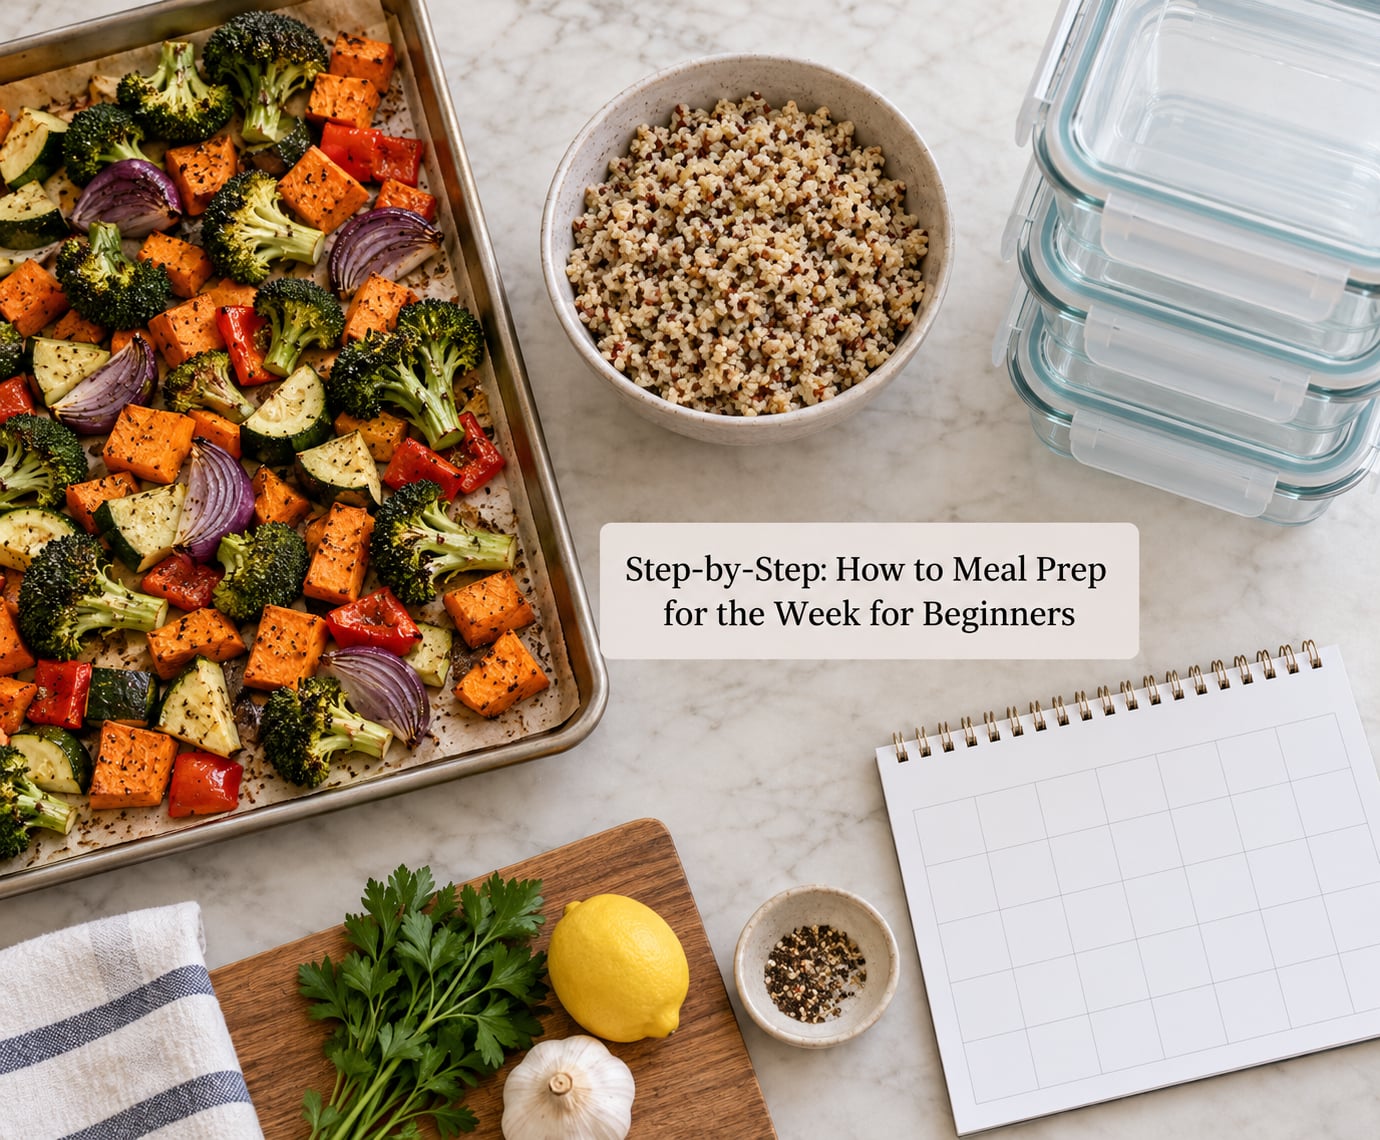
Step-by-Step: How to Meal Prep for the Week for Beginners
1. Choose a Simple Weekly Template
Start with three days, not seven. Beginners who prep a full week on day one usually end up throwing food away, which defeats the entire money-saving purpose. Three or four lunches for the first two weeks is plenty, and you can add days once the routine feels normal.
Use one formula for every container: one protein, one whole grain, one sturdy vegetable, one sauce. Cook brown rice once and it becomes the base for bowls, burrito wraps and side dishes all week. Chicken thighs roast on the same tray as broccoli and carrots, and the tray does the work while you do something else.
Two prep styles work well. Buffet style means cooking components separately and letting everyone or yourself combine them at eating time. Batch style means building finished meals in containers, which is faster on weekday mornings. Start with batch style because it is simpler, then move to buffet style once cooking feels boring.
If you want more on that switch, our guide to how to batch cook for the week without getting bored goes deeper on the combinations that keep a week of prep from tasting the same on day six.
2. Make a Short Shopping List
Build the list before you leave the house, and build it from meals you already picked rather than shopping and hoping inspiration shows up. Write your list in categories: proteins, grains, vegetables, sauces, snacks. Grouping keeps you from walking the store three times.
Aim for a short list of shared ingredients. One protein, one grain, two vegetables, one sauce, one fruit and a snack covers four or five different meals. Buy only what you can realistically finish this week or freeze. Produce is the biggest waste category, so buy the sturdy stuff — broccoli, carrots, sweet potatoes, Brussels sprouts, bell peppers — and skip the salad greens you will not eat by Thursday.
Then check your pantry before the store. Olive oil, spices, canned beans, lentils, stock and vinegar turn the same protein into three different meals for a few dollars.
3. Prep One Batch of Your Base — the Foundation of How to Meal Prep for the Week
Cook one base in a big batch and split it. Brown rice or quinoa for about four servings, a tray of roasted sweet potato cubes, a pot of noodles, or a big pile of chopped greens that get dressed later. Ambition here is the enemy: one base done well beats four bases done badly.
Here are your doneness cues. Rice is done when the grains are tender with no crunchy core and the liquid has absorbed, roughly 18 minutes for white rice on the stove. Quinoa shows tiny white spirals on each grain, about 15 minutes. Sweet potato wedges are done when a knife slides through with no resistance, about 30 minutes at 425°F (220°C). Greens just need to wilt, about 3 minutes in a hot pan with oil and a pinch of salt.
Cook a double batch of the base. Extra goes into the freezer flat, and now you have a backup meal for the second half of a week that gets away from you.
4. Cook Two or Three Versatile Components
One protein, two vegetables, one sauce is the sweet spot for a beginner. Chicken thighs, ground turkey, baked tofu, hard-boiled eggs or a can of chickpeas all work. Pick one and move on.
The sauce is the flexibility tool. A yogurt and lemon dressing, a tahini and honey drizzle, or a quick salsa made in the blender does more for variety than any extra recipe. Store it in a small jar or a sealed bag so you add it right before eating.
Cook the longest item first and let the oven handle the rest. Meat into the oven, then rice on the stove, then chop vegetables while both are going. Wash your board and knife between steps so cleaning happens during the gaps rather than at the end. Most people who quit meal prep do it over the washing-up, not the cooking.
5. Assemble and Portion Meals
Scoop the base into containers first, then the protein, then the vegetables. Think about how they sit all week: rice on the bottom, protein and vegetables on top, sauce on the side. Dressing poured over vegetables at prep time turns them to mush by day three.
Leave a finger of headroom in each container. Food expands when it freezes, and a container filled to the brim will split or pop its lid off.
Mix up the combinations on purpose. Monday is base plus chicken plus roasted broccoli with lemon dressing. Tuesday is the same chicken over greens with salsa. Wednesday is the same base with chickpeas and the tahini drizzle. You cooked once and still got three different meals, which is the whole trick.
Label each container with the dish and the date it was made. When you are tired on Thursday evening, the container labeled Wednesday gets eaten and the one labeled Sunday gets skipped. Six seconds of labeling saves a wasted container.
6. Cool and Store Everything Safely
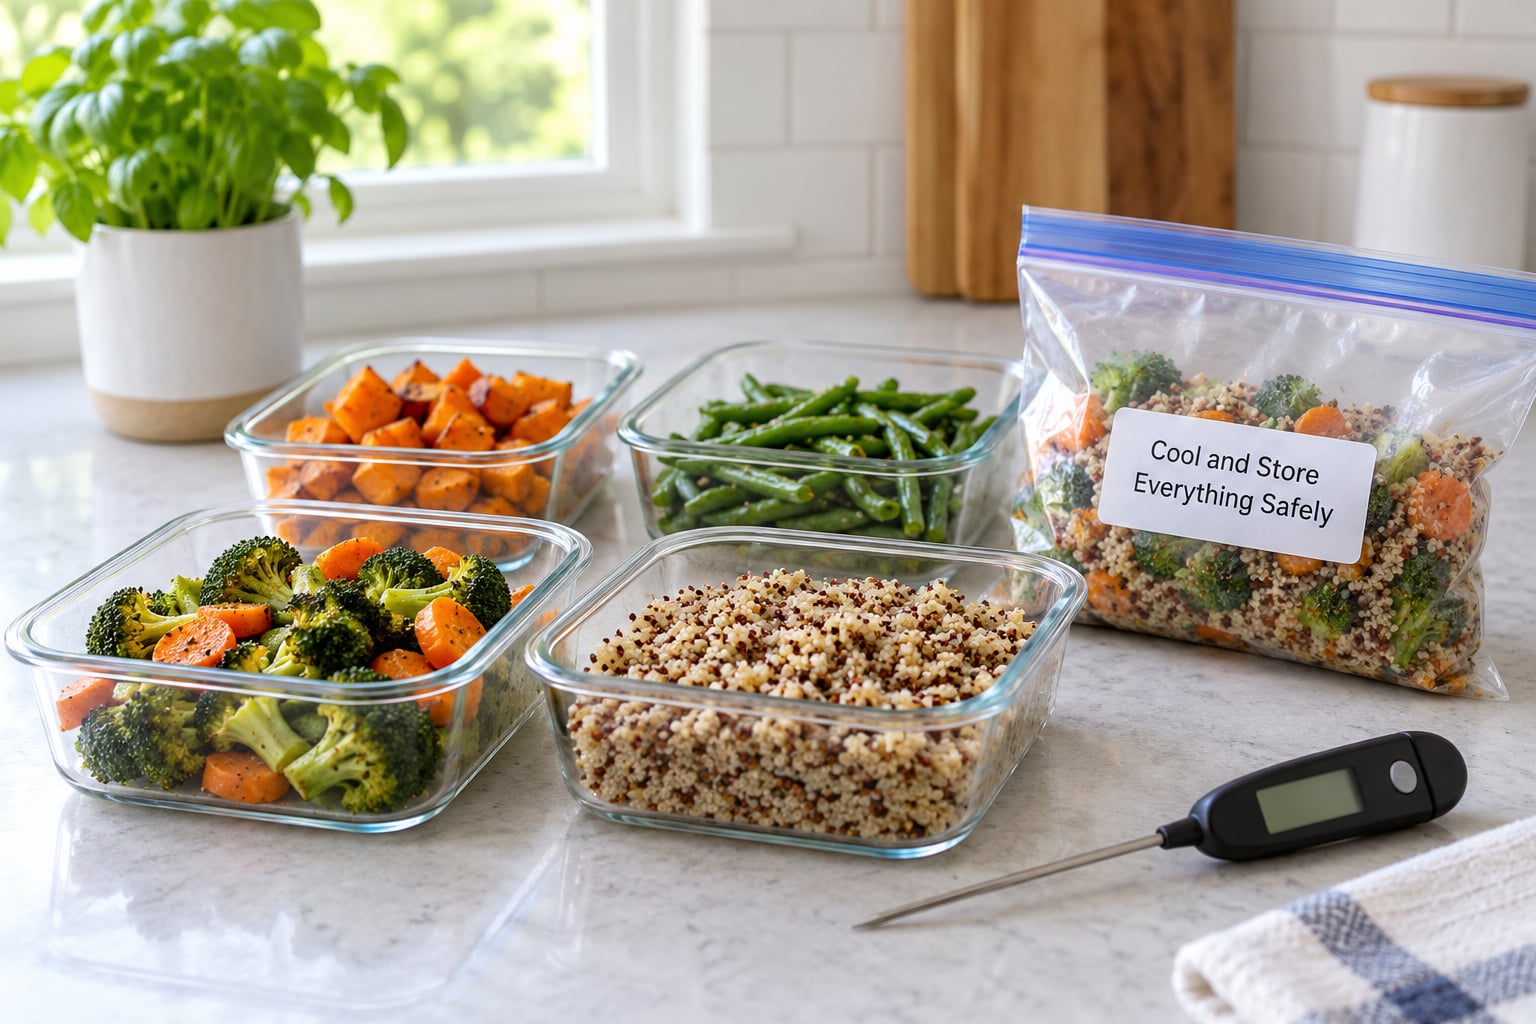
Cool food fast and cool it before you close it. USDA guidance is to get cooked food into the fridge within two hours, and to use shallow containers so heat escapes quickly. Sealing steaming food traps condensation, which is what makes prepped rice and roasted vegetables wet and limp by day four.
Cook foods reach a safe internal temperature before they go anywhere near a container: 165°F (74°C) for poultry, 160°F (71°C) for ground meat, and 145°F (63°C) for whole cuts of meat and fish. Reheat leftovers until they hit 165°F (74°C) and steam visibly through the middle.
Here is how long cooked food lasts, at or below 40°F (4°C):
- Cooked chicken, turkey, beef: 3 to 4 days in the fridge, 2 to 3 months in the freezer.
- Cooked rice and pasta: 3 to 4 days, though rice is best eaten within about 24 hours if you can. Both freeze well in single portions.
- Soups and stews: 3 to 4 days in the fridge, and they freeze well.
- Cooked grains such as quinoa: 3 to 4 days in the fridge, and they freeze well.
- Roasted and steamed vegetables: 3 to 4 days in the fridge, best quality within 1 to 2 months frozen.
- Salad greens, cucumber, tomato: 2 to 3 days in the fridge, and do not freeze them.
- Eggs, cooked or hard-boiled: about 1 week in the fridge, and do not freeze them.
- Pickles and yogurt-based dressings: 2 to 3 days in the fridge. Puddings freeze; dressed salads do not.
Freeze day five onward on prep night, not the night before. Portion into single servings, leave the headspace, lay bags flat on a tray until solid, then stack them upright. Label with the dish and the date it was cooked, not frozen, so you eat the oldest first.
Move frozen meals to the fridge the night before you plan to eat them. Nothing defrosts faster and safer on a counter, and you avoid the freezer-to-hot-pan thermal shock that toughens meat.
7. Use a Flexible Finishing Routine
Prepared meals stay interesting if you finish them at eating time. Add fresh crunch — raw cabbage, sliced radish, a handful of arugula — fresh herbs, a squeeze of lemon, or a spoonful of a sauce you did not cook this week. A cold component in a room-temperature bowl wakes up food that has spent three days looking flat.
Reheat with intent rather than just pressing start. Different foods need different methods.
- Microwave with a damp paper towel, best for grains and any mixed container. Tear a paper towel, dampen it, drape it over the food and heat in 60-second bursts. It steams the surface and stops rice drying out.
- Microwave with a splash of water, best for saucy dishes and curries. Add a tablespoon of water and stir halfway through. It loosens a thickened sauce without drying the meat.
- Stovetop with a splash of oil, best for chicken, tofu and single proteins. Medium heat with a teaspoon of oil per serving gives you browning you do not get in a microwave.
- Oven or toaster oven, best for crisp vegetables and sheet pan meals. 400°F (205°C) for 10 to 15 minutes, or use the broiler for the last two minutes to re-crisp the top.
- Cold or room temperature, best for grain bowls, chickpea salads and mason jar meals. Take the fridge out of the equation entirely — cold grain bowls need no reheating at all.
If you have no prep window one week, cook one sheet pan dinner instead and eat it for two nights. A habit you keep at 60 percent beats a perfect system you abandon.
Common Mistakes
Prepping a full seven days on day one. Fix: start with three or four meals. Scale to seven once you have eaten three weeks of prep without getting bored. Food you throw away costs money and time and makes the whole thing feel like a failure.
Using one flavor all week. Fix: cook one base and one protein, then buy two or three sauces you did not make yourself. Lemon and olive oil, a yogurt-herb dressing and a blender salsa will carry the same chicken across four meals.
Lidding food while it is hot. Fix: cool in shallow containers, uncovered or loosely covered, and get it into the fridge within two hours. Condensation is the reason your rice and vegetables go soft and watery.
Writing the same label on everything. Fix: label with the dish and the cooked date, and vary the order so containers are not identical. Wednesday’s box goes in first.
Treating meal prep as a test of willpower. Fix: keep one “escape hatch” meal a week that has nothing to do with prep. If every single lunch is a container, the plan will collapse on the day something runs late.
Skipping the shopping list. Fix: write it before you leave. The most useful beginner tip is boring: plan the list, not just the recipes. Impulse buys are where the money leaks.
One flexibility tip to keep all of this workable. Freeze a backup container every session, then treat it as an emergency lunch rather than a plan. It costs one extra portion and removes the reason people give up, which is always the same: something came up and there was nothing on hand.
Frequently Asked Questions
How long should beginner meal prep last?
Most cooked meals last three to four days in the fridge at or below 40°F (4°C). Some foods do less: cooked rice is best eaten within about a day, salad greens within two or three, and anything already in a salad bowl with dressing goes soft fast. Plan to eat fridge meals early in the week and freeze the rest on prep night. Keep an eye on the cooked date on each label.
Should I meal prep five days or seven days?
Start with three days. Most beginners who attempt seven end up eating three and discarding the rest, which defeats the money-saving reason for prepping in the first place. Once three days feels routine, move to four, then five. Seven days only works with a freezer split: days one to four in the fridge, days five to seven frozen and moved to the fridge overnight before you eat them.
What foods keep the best after being meal prepped?
Soups, stews, curries, cooked grains and braised proteins keep well because moisture helps them. Sheet pan chicken, tofu and roasted vegetables hold up well for three to four days. Foods that suffer are salad greens, cucumber, tomatoes and anything already dressed, since they release water and go limp. Cooked rice is safe in the fridge for a few days but dries out quickly, so dampen it before reheating.
Can I freeze meals I cooked earlier in the week?
Yes, and it is better than pushing your fridge limit. Freeze on the night you cook rather than days later. Portion into single meals, leave headroom for expansion, and lay bags flat on a tray until solid before stacking them in the freezer. Label with the cooked date, not the frozen date, so you eat the oldest first. Move each portion to the fridge the night before you plan to eat it.
How do I stop meal prep from getting boring?
Treat finishing at eating time as part of the meal. Store sauces and dressings separately and add them just before you eat, then add something raw: fresh herbs, a squeeze of lemon, raw cabbage or radish. Also vary the combinations from the same batch. Chicken, rice and roasted vegetables becomes a bowl with salsa on Monday and a wrap with yogurt dressing on Tuesday, without cooking anything new.
Do I need to label every meal-prep container?
Labeling is what keeps meal prep from wasting food, so yes, every container gets a dish name and a cooked date. When you are tired on Thursday, you eat the Wednesday box and skip the Sunday one instead of guessing and binning it. Two seconds of writing saves a container of food. Write directly on the lid with a permanent marker or use masking tape, whichever you find faster.
Conclusion
Start with two meals that share ingredients. Write them down, shop for the protein, the grain, two vegetables and the sauce that covers both, then prep three days of components and stop there. Everything else, the freezer backups, the six-day schedule and the sheet pan sessions, comes after that first week tastes easy.
Which meal would you prep first? If you tell me what you already cook most, you can build a shopping list and a container plan around it in a few minutes.