
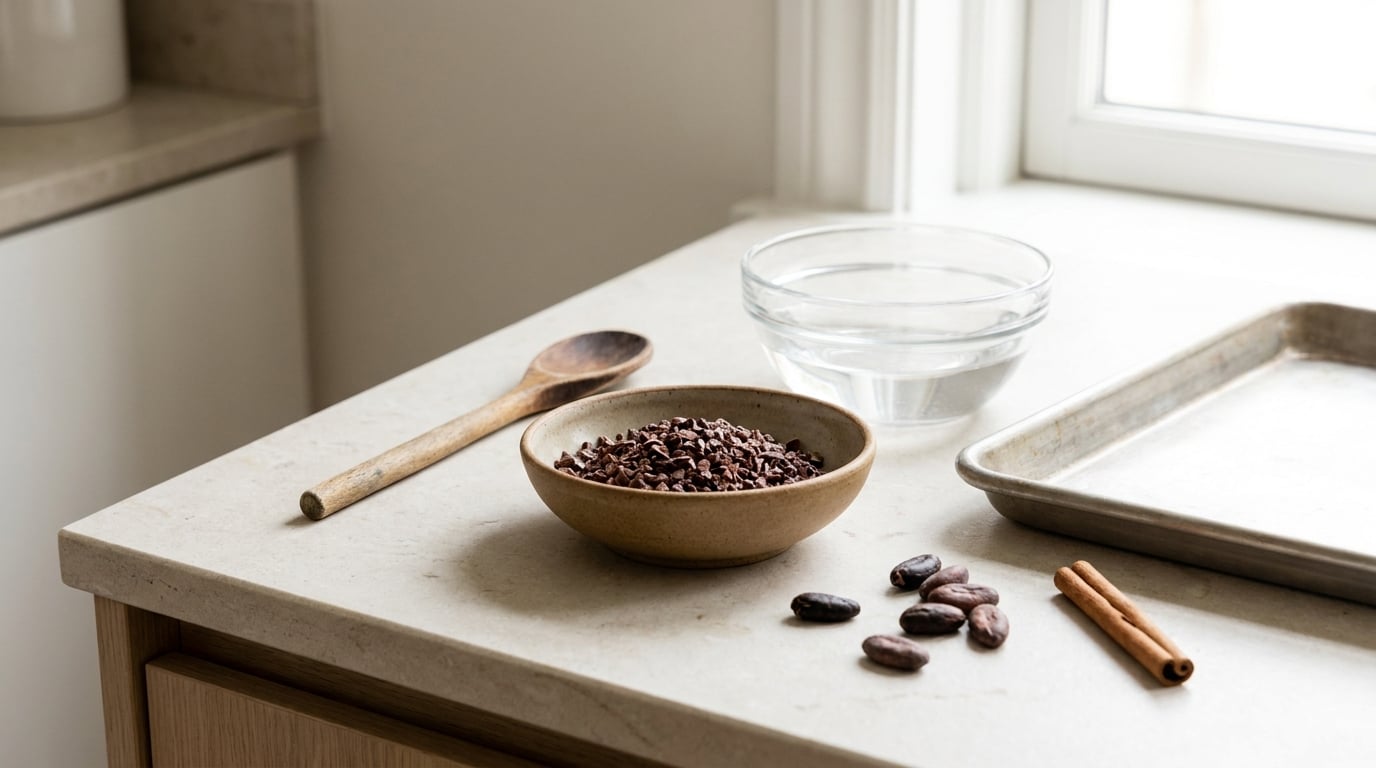
Cacao nibs taste bitter because they are pure cocoa with nothing to balance them: theobromine, polyphenolic compounds and tannins do all their work unsweetened, and heat makes it worse. To make cacao nibs taste less bitter, pick a lighter roast, soak or rinse them briefly, dry or toast them gently, grind only a little, and finish with fat, sweetness and a pinch of salt.
Most of it takes under 30 minutes of active time, and none of it needs special equipment. Start with the soaking-and-pairing method at the bottom of the steps if you want the least change in flavor — it softens the harsh edge while leaving the cocoa character intact.
Table of Contents
- What You Need
- Step-by-Step: How to Make Cacao Nibs Taste Less Bitter
- Common Mistakes
- Frequently Asked Questions
- Does soaking cacao nibs reduce bitterness without removing all their nutrients?
- How long should cacao nibs soak before they become soft?
- Are raw cacao nibs less bitter than roasted cacao nibs?
- How should I store cacao nibs after soaking or grinding them?
- What can I add to cacao nibs to make them taste better?
- Conclusion
What You Need
The essentials are cheap. Everything else depends on which method you decide to use.
- Cacao nibs — the starting point. Check the bag for a roast level; light or medium roast nibs need far less work.
- Cold water and a bowl — for soaking or rinsing, which is the fastest way to take the edge off.
- Fine mesh strainer or a clean towel — for draining, so the nibs do not waterlog.
- Low oven or dry skillet — for drying and light toasting. A skillet gives you more control over heat.
- Blender, spice grinder or food processor — for pulsing nibs into a coarser or smoother texture.
- Flake salt or fine sea salt — a pinch genuinely blunts perceived bitterness rather than covering it.
Optional, and only for the pairing step: nut butter, coconut oil or coconut cream, maple syrup, honey, dates, vanilla, cinnamon, citrus zest, or rolled oats. If you want to stay sugar-free, monk fruit and stevia work in small amounts, and fat plus salt does most of the balancing on its own.
Step-by-Step: How to Make Cacao Nibs Taste Less Bitter
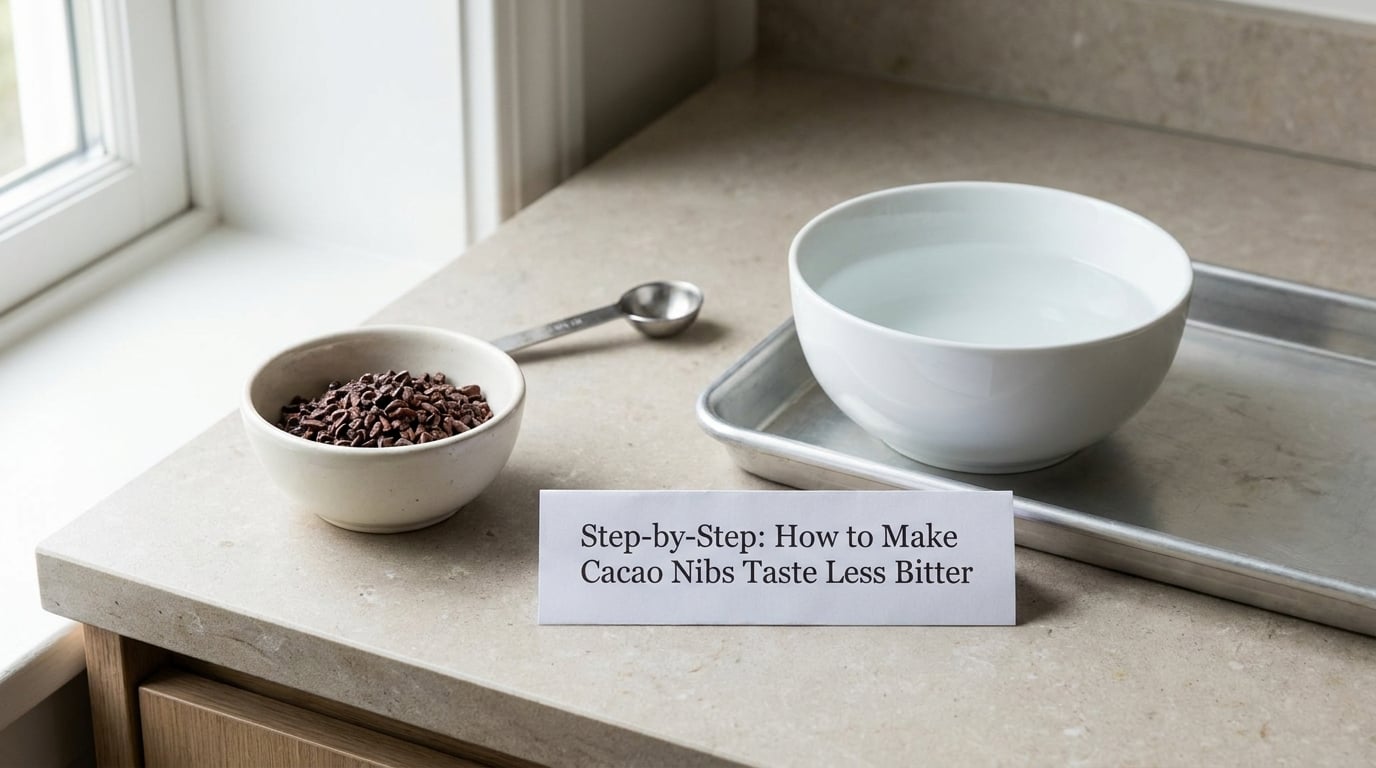
Work through these in order. The early steps reduce actual bitterness, and the last step controls how strongly it lands on your tongue.
Step 1: Choose or Adjust the Roast Level
Roast level decides most of the outcome before you touch anything. Darker roasting pushes bitterness up as the beans’ polyphenols and sugars react, so a dark-roast nib needs more intervention than a light one. If your bag says dark roast, or the nibs taste smoky and sharp right out of the bag, treat the rest of these steps as mandatory rather than optional.
Raw or unroasted nibs are the other end of the spectrum: they are less aggressively bitter but taste grassy and flat, and they need a gentle toast to develop any chocolate character. Home cacao makers generally point to 275 F for 10 to 15 minutes as the safe zone for a first pass, which is well short of what industrial roasting reaches.
How to tell it worked: at the end of a light roast the nibs smell of toasted bread rather than smoke, and they are still hard and dry inside when you bite one.
Step 2: Soak or Rinse the Nibs
This is the step most people skip, and it is the one that genuinely lowers harshness. Some water-soluble polyphenols and tannins migrate out of the nib when it sits in water, which is also what makes the mouthfeel less drying.
Cover the nibs with cool or barely warm water and leave them for 10 to 20 minutes. Homebrewers chasing a milder result go further, soaking roasted nibs in rum or vodka for a week or more and reporting the bitterness all but gone, and the same principle works with plain water in a much shorter window.
Drain them well and dry immediately. You want them damp, not soggy — any water left behind makes them soft and stale within a day. Never use boiling water; it drives off aroma and cooks the surface into a gummy shell.
How to tell it worked: the raw, sour edge drops noticeably and the nib smells cleaner, though the flavor is now quieter rather than stronger.
Step 3: Dry or Lightly Toast Them
Put the drained nibs on a towel or a low rack, then dry them at 200 F for about 10 minutes, or in a dry skillet over medium-low heat for 5 to 8 minutes, stirring often. The goal is bone dry, not browned.
Over-roasting is the single most common way people make bitter nibs worse. Past roughly 300 F, or once you see smoke, the nibs develop deeper bitter and acrid compounds that soaking cannot fix later. If they start to darken unevenly, pull them off the heat and finish on residual warmth.
How to tell it worked: the nibs are dry to the touch, snap cleanly, and give off a warm roasted smell with no acrid edge. Cool them fully before grinding.
Step 4: Grind or Blend for a Milder Flavor
Particle size changes how fast flavor arrives. A coarse nib releases its compounds slowly and tastes milder; a fine powder dumps everything at once and reads as far more bitter and more astringent.
Pulse in a spice grinder or food processor in short bursts, checking after each one, and stop while the texture is still sandy rather than dusty. A spice grinder gives you the best control; a high-powered blender heats the nibs from friction and warms the aroma out of them.
A related trick from pastry kitchens is nib sugar: pulse 1 tablespoon of cacao nibs with 1 cup of granulated sugar until the sugar turns uniformly brown, then sift. The sugar crystals cut the bitterness per bite and turn the result into a fine dusting sugar for baking. Watch the jar, though — blended sugar dusts fast and burns at high heat.
How to tell it worked: the texture reads as coarse sand under your teeth, with no powdery residue on your fingers.
Step 5: Add Flavor Pairings
Pairing does not remove bitterness, but it changes what your tongue notices. Each option works on a different mechanism, so use two together rather than piling on one.
- Fat — nut butter, coconut oil, coconut cream or full-fat yogurt. Fat coats the tannins and slows their release, which is why a nib sprinkled on ice cream tastes so much softer than the same nib eaten dry.
- Sweetness in small ratios — roughly 1 tablespoon of nibs to 1 teaspoon of maple syrup or honey, or one chopped date blended with the nibs. Dates work best because they add body as well as sugar.
- Salt — a pinch of flake salt, about 1/16 teaspoon per tablespoon of nibs. Home fermenters describe it as reducing your ability to taste bitterness while bringing out the roasted chocolate notes.
- Aromatics — vanilla, cinnamon and orange zest. A split vanilla bean added before or during a soak is folklore-strong among home chocolate makers, and they say it pulls the harshness together into something that tastes like chocolate.
- Savory anchors — chili, smoked paprika, cumin or a little espresso. Coffee’s own bitterness reads as balance rather than clash, and mole or chili con cacao leans into the bitterness deliberately.
How to tell it worked: you still get the cocoa hit on the finish, but the first two seconds no longer make you reach for water.
Common Mistakes
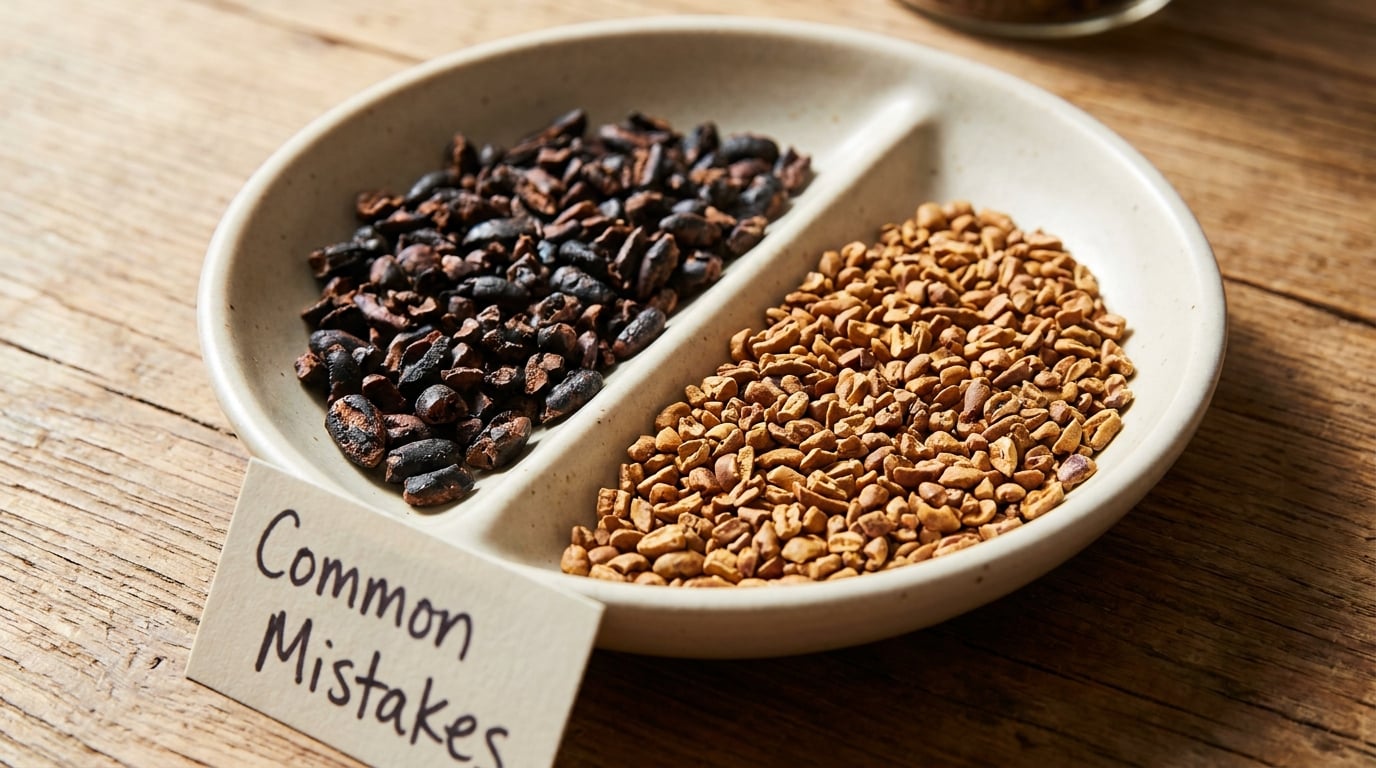
Almost every disappointing batch traces back to one of these.
- Boiling water. Use cool or warm water. Boiling scorches the surface and drives off the aromatics you are trying to keep.
- Soaking for hours. Past about 30 minutes the nibs turn soft and lose their crunch, which is the whole appeal. Twenty minutes is plenty.
- Roasting hot and fast. Anything above 300 F or any visible smoke creates harsher compounds than the ones you started with. Low and slow, 250 to 275 F, and keep stirring.
- Grinding to powder. Fine powder makes the same nibs taste several times more bitter. Stop at a coarse grind.
- Loading on sugar. Four teaspoons of syrup to one tablespoon of nibs just makes a sweet cocoa-flavored syrup. Balanced ratios leave the cocoa readable.
- Confusing bitterness with acidity. Sharp and sour needs different handling than harsh and dry, and the fix for one rarely helps the other. Nut butter helps with astringency; roast control helps with true bitterness.
For the cleanest-tasting nibs, buy small bags and look for a named origin and a stated roast date. Beans that were under-fermented or over-roasted are the ones people blame on cheap nibs, and no technique at home fully rescues a bad batch. A vanilla pod split into the soaking water costs almost nothing and does more for a mediocre bag than doubling the sweetener.
Store finished nibs airtight, away from light and heat, and use the smell test before eating them. A fresh batch smells of chocolate and toast; a stale one smells flat, then faintly of old nuts or crayons, and that is the rancid point where the cocoa butter has gone off. Move softened or ground nibs to the fridge, and expect around 6 to 12 months at room temperature in a sealed jar or about a year refrigerated.
Frequently Asked Questions
Does soaking cacao nibs reduce bitterness without removing all their nutrients?
Partly. Soaking draws off some water-soluble polyphenols and tannins, which is where much of the harshness lives, while the fiber, cocoa butter and most of the mineral content stay in the nib. A 10 to 20 minute soak is a light trade rather than a strip. For a detailed look at how the technique works, the soaking step in our step-by-step method is the place to start.
How long should cacao nibs soak before they become soft?
About 10 to 20 minutes in cool or barely warm water is enough to soften the flavor. Go past 30 minutes and the nibs start losing their crunch and turning mealy, which is usually where the texture goes wrong. Drain them on a towel and dry them straight away in a low oven so they stay crisp.
Are raw cacao nibs less bitter than roasted cacao nibs?
Raw nibs are less aggressively bitter but they are not really more enjoyable. They taste grassy and flat because the roast is what builds the chocolate aroma. If you want fewer bitter compounds, a light roast gives you chocolate flavor with less harshness than a dark roast, and toasting raw nibs at about 275 F for 10 to 15 minutes is a common home approach.
How should I store cacao nibs after soaking or grinding them?
Dry them completely first, then store them in an airtight jar away from light, heat and humidity. Softened or ground nibs pick up moisture faster, so I keep those in the fridge and use them within a few months. Whole dry nibs keep roughly 6 to 12 months in a cool cupboard, and refrigeration stretches that to about a year.
What can I add to cacao nibs to make them taste better?
Fat, a little sweetness and a pinch of salt do most of the work. Nut butter or coconut cream coats the tannins, one teaspoon of maple syrup per tablespoon of nibs balances the cocoa, and about 1/16 teaspoon of flake salt blunts the perceived bitterness. Vanilla, cinnamon and orange zest round it out without adding sugar.
Conclusion
The three moves with the best return are a shorter soak, a gentler roast, and a coarser grind. Those are what make cacao nibs taste less bitter at the source instead of hiding the flavor under sweetness.
Start with the soaking-and-pairing route: pick light roast nibs, soak them for 15 minutes, dry at 200 F, then eat a tablespoon with a little nut butter and a pinch of salt. If that lands for you and you want more cocoa depth later, add a short toast. If you are new to nibs and mostly want the nutrition, cocoa nib sugar pulsed with sugar is the gentlest entry point I know.