
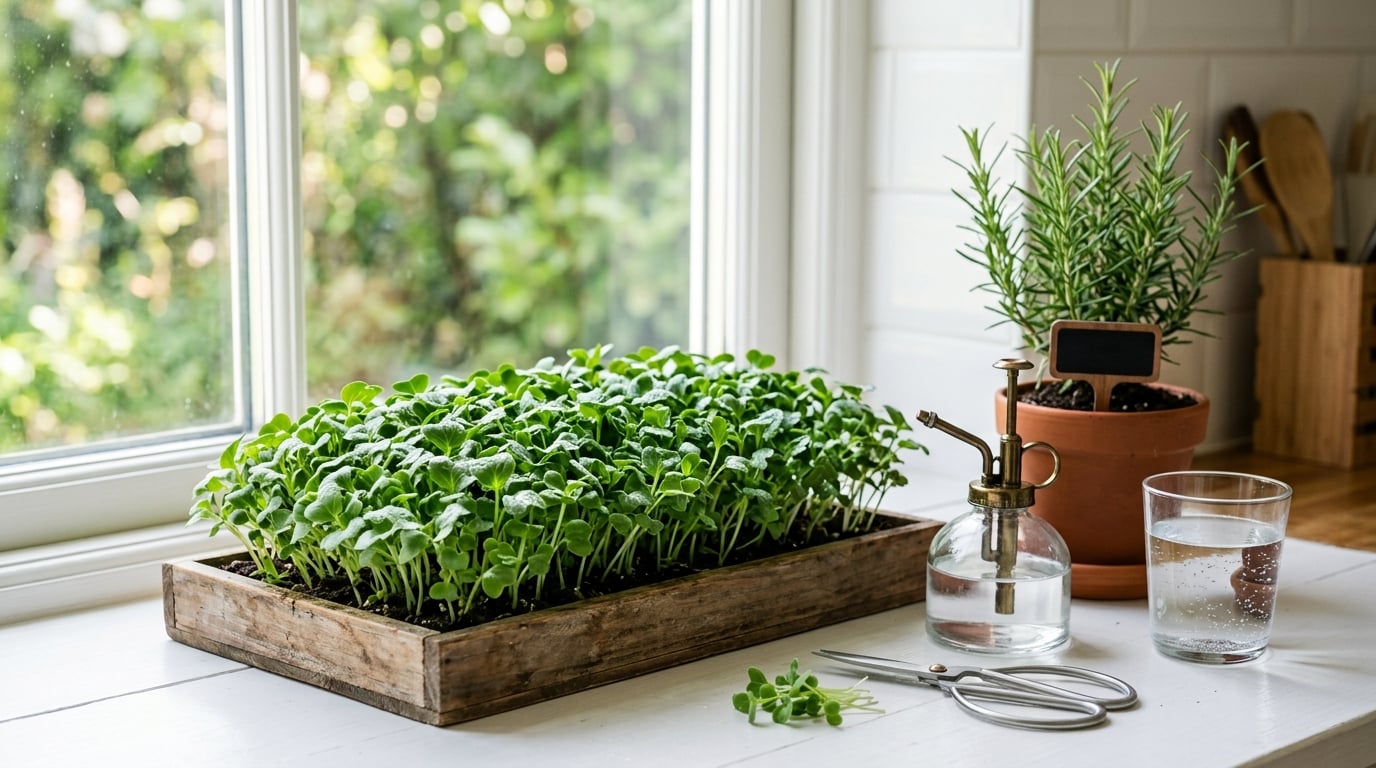
Yes, you can grow microgreens on a windowsill, and a tray sown today is usually ready to cut in 7 to 12 days. How to grow microgreens on a windowsill comes down to four things: scatter seed densely in 1 to 1.5 inches of moist medium, keep the container covered and dark for 2 to 4 days, then move it to a spot that gets 4 to 6 hours of direct sun, and water it from below once a day. A shallow container with drainage, some growing medium, seed and a spray bottle are the only supplies you actually need.
The daily attention is about ten minutes. If you have a sill where the sun lands on the leaves rather than just brightening the room, a beginner variety like radish will do most of the work for you.
Table of Contents
What You Need
Six items cover the entire process. Anything beyond that is a refinement you can add after the first tray proves you will actually keep going.
- A shallow container, 1 to 2 inches deep, with drainage holes, plus a saucer, a plate or a second container to catch the water that runs through.
- Growing medium 1 to 1.5 inches deep: a soilless coir and peat blend, or a coir or hemp mat that sits flat in the bottom of the tray.
- Microgreen seed. Brassicas such as radish, broccoli and mustard are cheap, fast and forgiving.
- A weight to press the seed into the medium: an empty container of the same size, a small plate, or a sealed bag of dried beans.
- A cover to hold humidity: an upside-down second tray, a clear dome, or a large plastic clamshell from the kitchen.
- A spray bottle of room-temperature water, set to a fine mist.
Optional, and worth adding only when a specific problem shows up: a small desk fan for airflow, a hygrometer if you want to watch humidity, clean scissors, masking tape and a marker for labels, and a clip-on grow light for winter or a dim window.
Skip anything that arrives as a sealed kit with a pump, a dome and fertiliser in the box. A ten-day crop is finished before feeding matters, and a pump does not stop mold. If you already own a black seed tray, use it, but see the last section for containers that do not look like hardware on your kitchen sill.
Soil is optional. A coir or hemp mat is soaked, laid in the tray, sown onto and watered from below, and it is the cleanest way to grow with no soil at all. A jar of seeds, water and no medium is a different crop, though: those are sprouts, eaten whole with the root still attached, and the food-safety advice for them is stricter than for microgreens. The FDA has long warned that bacteria including Salmonella, Listeria and E. coli can multiply during sprouting, and people with weakened immune systems, older adults, pregnant people and young children are advised to cook sprouts rather than eat them raw.
Step-by-Step
Work through these in order. The covering period comes before the light, and that order is where most first attempts go wrong.
Choose an Easy Microgreen Seed
Pick on three things: how fast it germinates, how it tastes, and how it copes with a crowded, humid tray. Radish is the fastest and the most forgiving, ready in about a week, and it holds up in cool nights. Pea shoots are the most trouble-free visually, with thick stems that stay upright even in a dim room. Sunflower is nearly as quick, though the large seeds germinate better after a 4 to 8 hour soak.
Broccoli, kale, mustard and radish are all brassicas, which mature at the same rate and are usually harvested the same way. Basil, cilantro and dill are slower, fussier and more prone to damping off, so save them for the second or third tray.
Prepare a Shallow Container
Wash the container with hot soapy water and rinse it well, especially if a previous crop failed in it. Check that the drainage holes are open. A solid-bottom tray with no holes works only if you tip the water out by hand every time, which is exactly how beginners end up with a sour, moldy tray.
Depth matters more than width. One to two inches is plenty, and anything deeper holds more water than a small crop can drink. If you are reusing a container from a takeaway, skip anything that held food and held moisture at the same time.
Add the Growing Medium and Sow Evenly
Spread 1 to 1.5 inches of medium and level it. Pre-moisten it until it holds together in your hand but still falls apart when you squeeze, since dry medium repels water and leaves bald patches along the edges.
Scatter seed as evenly as you can. Seeds should sit close together, roughly an eighth of an inch apart, touching in places but not buried and not stacked in drifts. After sowing, press the seed into the surface with the weight and mist the medium until it darkens evenly. Do not bury the seed under more medium; it does not need covering, only contact.
Mist and Place the Container on the Windowsill
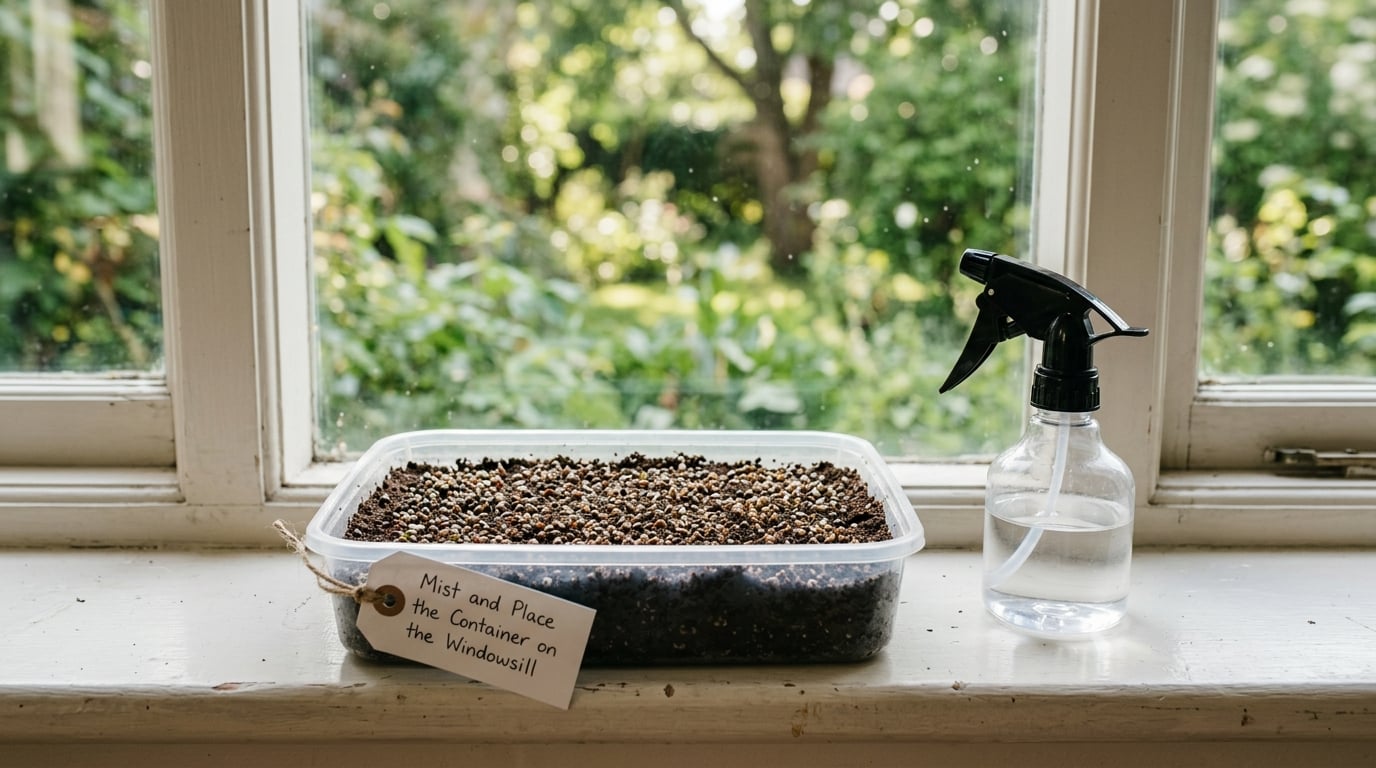
Mist the surface once more, set the cover on top, and put the container somewhere warm and dark inside the room rather than on the bright sill. This blackout period lasts 2 to 4 days and keeps humidity high enough for the seed to swell and push a root down. Most brassicas show a white stem within 48 hours.
Check the container each morning. If the surface has dried to a pale colour, mist it again. The moment most seeds have broken the surface, the cover comes off, even if a few stragglers are still down.
Give the Microgreens Light and Airflow
Move the uncovered tray to the brightest part of the sill. The test is simple: hold your hand about 12 inches above the surface on a sunny day between 10am and 2pm. A sharp-edged shadow means a south, east or west window will carry a full crop, a soft blurry shadow is workable, and no shadow at all means you need a grow light.
Rotate the container 180 degrees every day or two, because everything grows toward the glass. Keep air moving with a desk fan on low, aimed across the tray rather than at it. A constant layer of still, wet air over a dense canopy is what turns a tray fuzzy.
Water Lightly and Remove Mold
From about day 4, stop misting from above and switch to bottom watering. Put a half-inch of water in the saucer or lower tray, set the container on it for 5 to 10 minutes, then lift it and dump whatever did not soak in. The touch test decides it: press a finger a centimetre into the medium, and water only if it feels dry and dusty at that depth.
White fuzz has two very different causes, and telling them apart saves a good tray. Root hairs grow evenly along the base of every stem, stay attached when you tug them, and match the roots underneath. Mold starts in one damp patch, spreads a little each day, sits on the surface of the medium, and wipes or lifts off leaving a wet mark. A sour smell, stems that collapse at the base, or fuzz on the canopy means damping off, and that tray is gone.
If the fuzz is still one small patch with healthy white roots around it, lift out the affected medium, spread the remaining seedlings out, and move the tray somewhere with moving air. Once mold has covered more than a fifth of a tray, or the smell has turned, discard it rather than trying to rescue it, and clean the container before the next round.
Harvest Microgreens at the Right Height
Harvest when the first true leaves are opening above the cotyledons and the stems stand up on their own without support, which is usually 7 to 12 days from sowing. Radish and broccoli are ready at roughly 2 to 3 inches; pea shoots keep growing and can be cut taller.
Use clean scissors and cut 1 to 2 cm above the medium in the morning, before the day has dried the leaves. Cutting at that line keeps the roots in the mat, which stops the remaining material from turning into a mold source. Most varieties do not regrow after this cut. Pea shoots are the partial exception and often give a thinner second harvest; brassicas sometimes throw up a single small leaf. Plan on one real cut per tray.
Wash the greens gently in cold water, spin or pat them completely dry, and store them in a lidded container lined with a paper towel in the fridge for up to 5 to 7 days. If the paper towel is damp when you open it, swap it. Eat them raw as salad toppings, in sandwiches and wraps, or chopped over eggs and grain bowls. A healthy adult can eat them daily, though radish and mustard are sharp enough that a generous handful is plenty.
Common Mistakes
- Leaving the cover on past germination. Etiolated seedlings stretch pale and collapse under the weight. Take the cover off as soon as most seeds have sprouted, usually day 2 to 4.
- Misting from above every day. A wet canopy is the fastest route to mold. Switch to bottom watering once true leaves appear.
- Standing water in the saucer. Empty it after every soak. Constant saturation starves roots of air and invites damping off.
- Trusting a bright room instead of direct sun. Rooms feel bright long before leaves get enough energy. Use the hand shadow test, not your eyes.
- Sowing too thin or too thick. Thin sowing leaves bare patches; heavy sowing gives seedlings no air. Aim for seeds touching at about an eighth of an inch.
- Ignoring the first fuzzy patch. Mold spreads by a couple of centimetres a day. Deal with it the day you see it, and fix the airflow or the watering that caused it.
Tips for Better Windowsill Microgreens
Run two containers on an offset, sowing the second one when the first is halfway up. That stagger gives you a cutting roughly every week without a weekly system that assumes a fixed crop time, which real windows never keep to. Keep the two batches in separate containers, because seeds sown together ripen at different rates and the tray gets harvested half done.
Write the variety and the sow date on masking tape stuck to the container. You cannot tell arugula from radish once they are up, and a dated label is the only honest record of how many days your own window actually took.
Move the tray a few inches back from the glass in cold weather. Cold pane slows germination and the seedlings nearest the glass stay behind, which is the usual reason a tray looks lopsided in winter. Brassicas and fenugreek also give off a noticeable smell when airflow is poor, and more air fixes it faster than discarding anything.
To keep the sill looking like a kitchen rather than a grow room, use a shallow ceramic or stoneware dish, a glass jar with a wide mouth, or a small wooden tray with holes drilled in the base, and weight the seed with a wooden lid or a slice of hardwood instead of a black plastic dome. People grow food in living rooms all the time; a thread on r/GardeningUK about winter windowsill microgreens kept circling the same objection, that black seed trays and covers do not belong in the room they sit in.
The same process, day by day, with no guessing about when to move or water:
| Day | What is happening | What you do |
|---|---|---|
| Day 0 | Sowing. Seeds are swollen and starting to split. | Level and moisten medium, sow evenly, press with a weight, mist. |
| Days 1 to 2 | Germination under the cover. Stems appear, roots anchor. | Keep covered in a warm dark spot. Mist only if the surface pales. |
| Days 3 to 4 | Cotyledons push up and often lean. | Remove the cover, move the tray to the bright sill, start rotating it. |
| Days 5 to 7 | True leaves open. Roots fill the medium. | Bottom-water daily if the top centimetre feels dry. Run a fan on low. |
| Days 8 to 10 | Colour deepens and stems firm up. Radish and broccoli are usually ready. | Water less often as growth slows. Watch the base of the stems for fuzz. |
| Days 11 to 12 | Pea shoots and sunflower reach harvest height. | Cut 1 to 2 cm above the medium, wash, dry, store in the fridge. |
Frequently Asked Questions
How much sunlight do microgreens need on a windowsill?
Aim for 4 to 6 hours of direct sun a day, where the sun actually lands on the leaves rather than just brightening the room. East and west windows are usually fine and a south window is generous, while a north-facing sill rarely carries a brassica crop. If the tray leans hard toward the glass, rotate it 180 degrees every day or two. Under roughly 3 hours of direct sun, expect pale, stretched seedlings.
How long does it take to grow microgreens indoors?
Radish and broccoli microgreens are usually ready 7 to 10 days after sowing, and sunflower takes 8 to 12. Pea shoots grow tall but more slowly, often 10 to 14 days, and cold window glass in winter stretches any of these by a few days. Judge readiness by the plants rather than the calendar: cut when the first true leaves open above the cotyledons and the stems stand upright on their own.
Can microgreens grow without soil?
Yes. Microgreens need a clean, moist surface for roots to hold, not soil itself. Coir and hemp mats are the cleanest option: soak the mat, lay it in a tray, sow onto it and water from below. Coarse soilless coir and peat blends work just as well. A jar holding only seeds and water is a different crop, though, since those are sprouts eaten whole with the root attached and the food-safety advice for them is stricter.
Do microgreens regrow after being cut?
Usually not. Once cut above the medium, most varieties have spent their energy on their first leaves and will not send up a second flush. Pea shoots are the partial exception and often give a shorter, thinner second cut, and brassicas such as broccoli sometimes regrow a single small leaf. Plan on one harvest per tray, then compost the mat and sow again.
Why are my microgreens growing unevenly?
Three causes cover most uneven trays. Uneven watering leaves the dry side behind, so bottom-water instead of sprinkling from above. Thin sowing leaves bare patches, while crowding in a wet canopy stalls whole sections. Light also pulls the crop one way, so a tray that leans toward the glass needs a half-turn daily, and in cold weather the edge nearest the pane germinates later than the rest.
What is the easiest microgreen variety for beginners?
Radish. It germinates in 2 to 3 days, is ready in about a week, tolerates crowding and cool nights, and its peppery flavour means you will use the harvest even if a tray only partly succeeds. Pea shoots are the most forgiving visually, with thick stems that still look good in dim light. Sunflower is nearly as fast, though its larger seeds germinate better after a 4 to 8 hour soak.
Conclusion
Start with one container, one variety and no purchase beyond seed and a growing medium. Fill it with 1 to 1.5 inches of moist medium, sow radish densely, cover it, and put it in a dark warm corner for three days rather than straight onto the sill.
Then move it into the sun, bottom-water when the top centimetre feels dry, and take the cover off the moment the stems appear. Choose a radish, broccoli or pea shoot seed for the first tray, since those three forgive the small mistakes everyone makes in week one. If you want to see whether the light is up to the job, hold your hand 12 inches above the sill and check that the shadow has a sharp edge.