
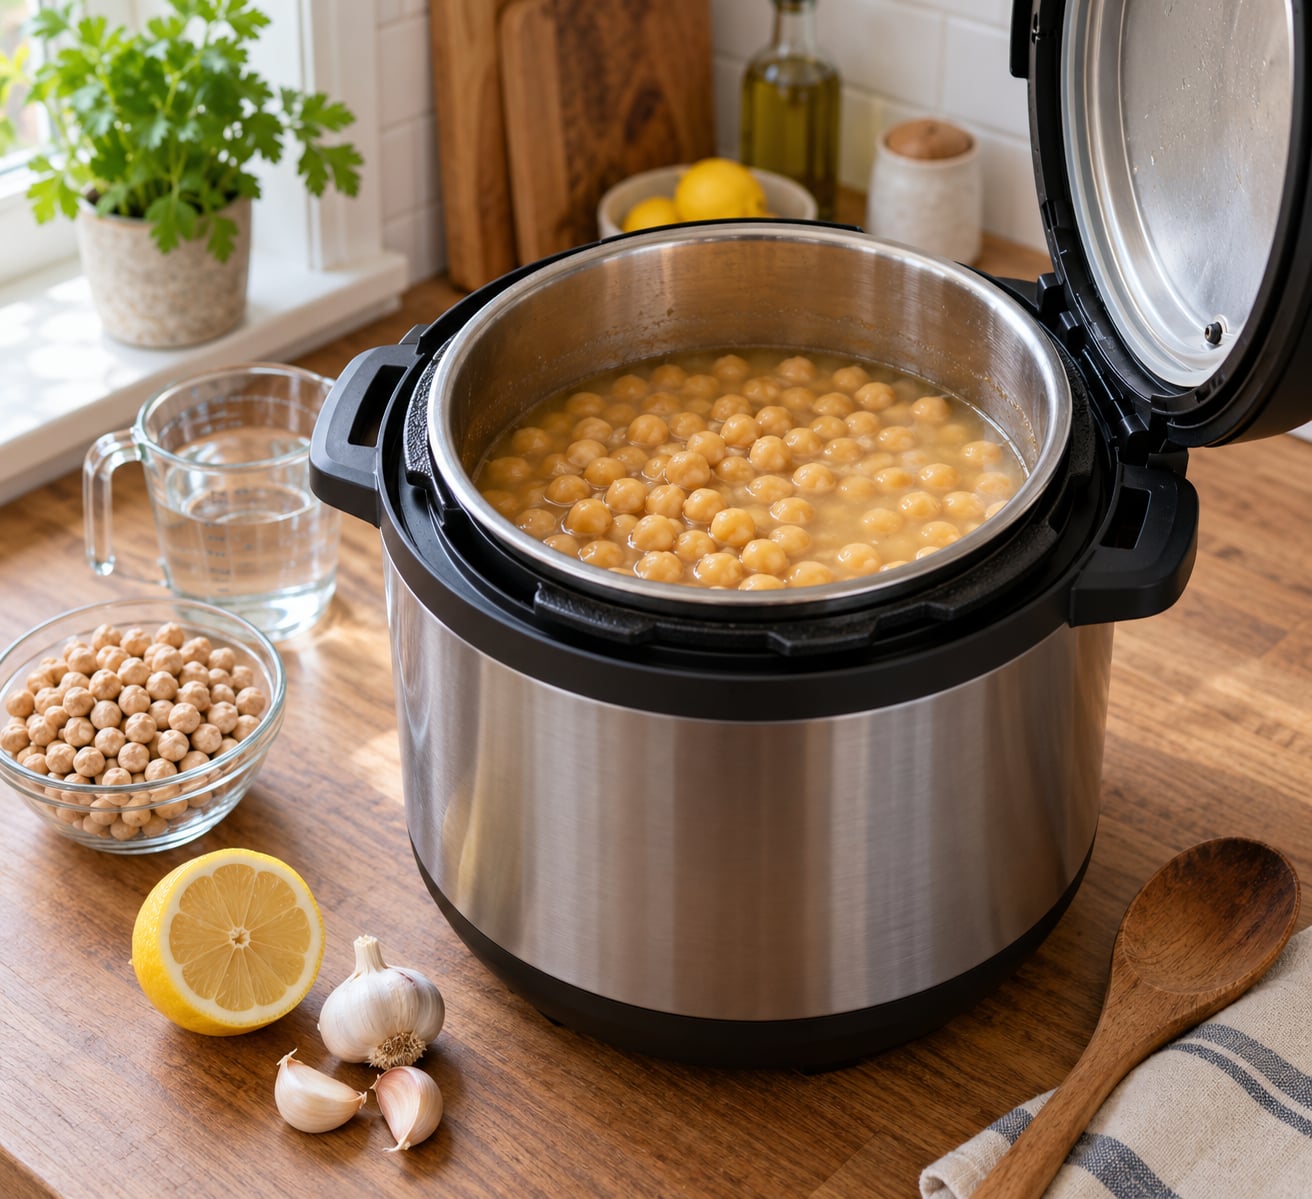
To cook chickpeas in an Instant Pot, rinse 1 pound (about 2 cups) of dried chickpeas, cover them with roughly 6 cups of water, add 1 teaspoon of salt, and pressure cook on high for 45 to 50 minutes, then let the pressure release naturally. No soaking required. If you soak them overnight first, the same batch is done in 15 to 20 minutes.
That is the whole method, and it is why pressure cooking has overtaken the stovetop for legumes. Chickpeas are one of the densest dried beans, and an open pot can take two hours to get them properly tender. The Instant Pot does it in under an hour with no watching and no scorching the bottom of a pan.
I cook a batch most weeks, usually 1 pound at a time, then freeze it in portions. The whole batch fits comfortably under the fill line of a 6-quart pot, which matters more than anything else people get wrong. Here is the full method, the timings for both soak methods, and the fixes for the mistakes that turn beans into paste.
Updated for October 2026.
Table of Contents
What You Need
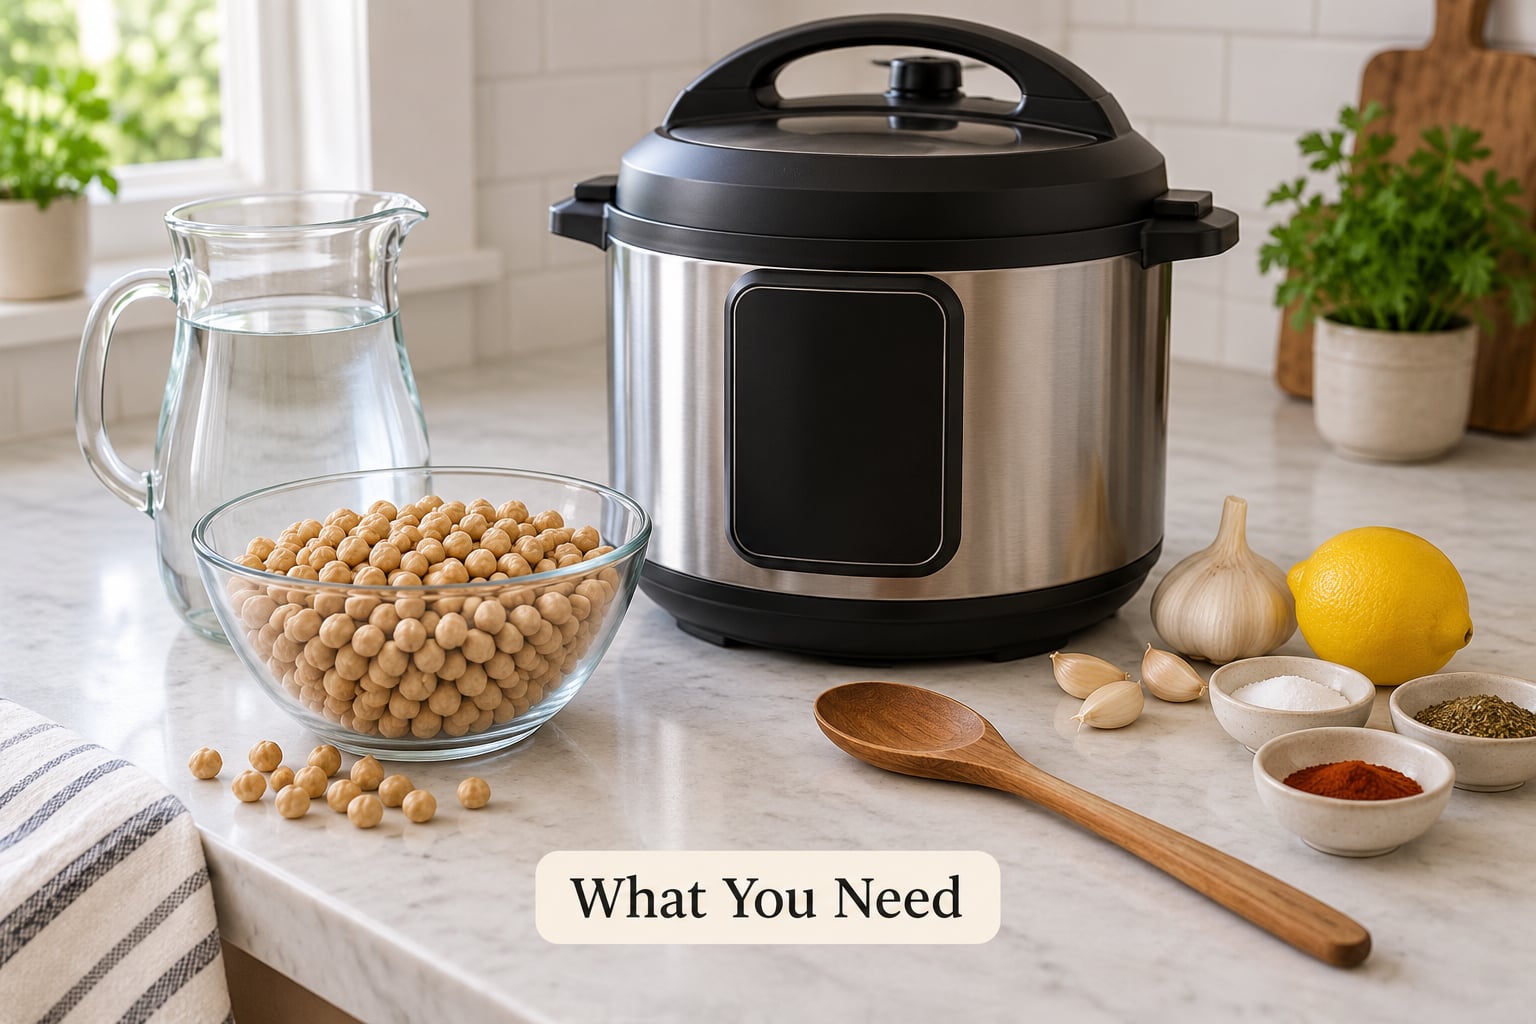
For the base recipe you need very little. Dried chickpeas, water, and salt are enough, and the cooking liquid comes out starchy enough to blend straight into hummus.
- Dried chickpeas or garbanzo beans: 1 pound (about 2 cups). Chickpeas and garbanzo beans are the same legume, sold under two names.
- Water: about 6 cups for 1 pound of beans. That is roughly 1 to 2 inches above the chickpeas in the pot.
- Fine sea salt: 1 teaspoon. Add it at the start; salt hardens skins during soaking, but in the cooking water it seasons the beans all the way through.
- Optional: 1 tablespoon olive or avocado oil, 1 bay leaf, 2 garlic cloves, a strip of lemon peel, or 1 teaspoon ground cumin.
You also need a 6-quart electric pressure cooker with its stainless steel inner pot, a colander, and a cup of water for the quick-release method. Dried beans are one of the few foods that expand during cooking, so a 3-quart pot is not a good choice if you want to cook more than half a cup of dry beans at a time.
Canned chickpeas need none of this. Drain them, rinse, and use them directly. They are already cooked, so putting them in the pressure cooker only reheats them.
Step-by-Step: How to Cook Chickpeas in an Instant Pot
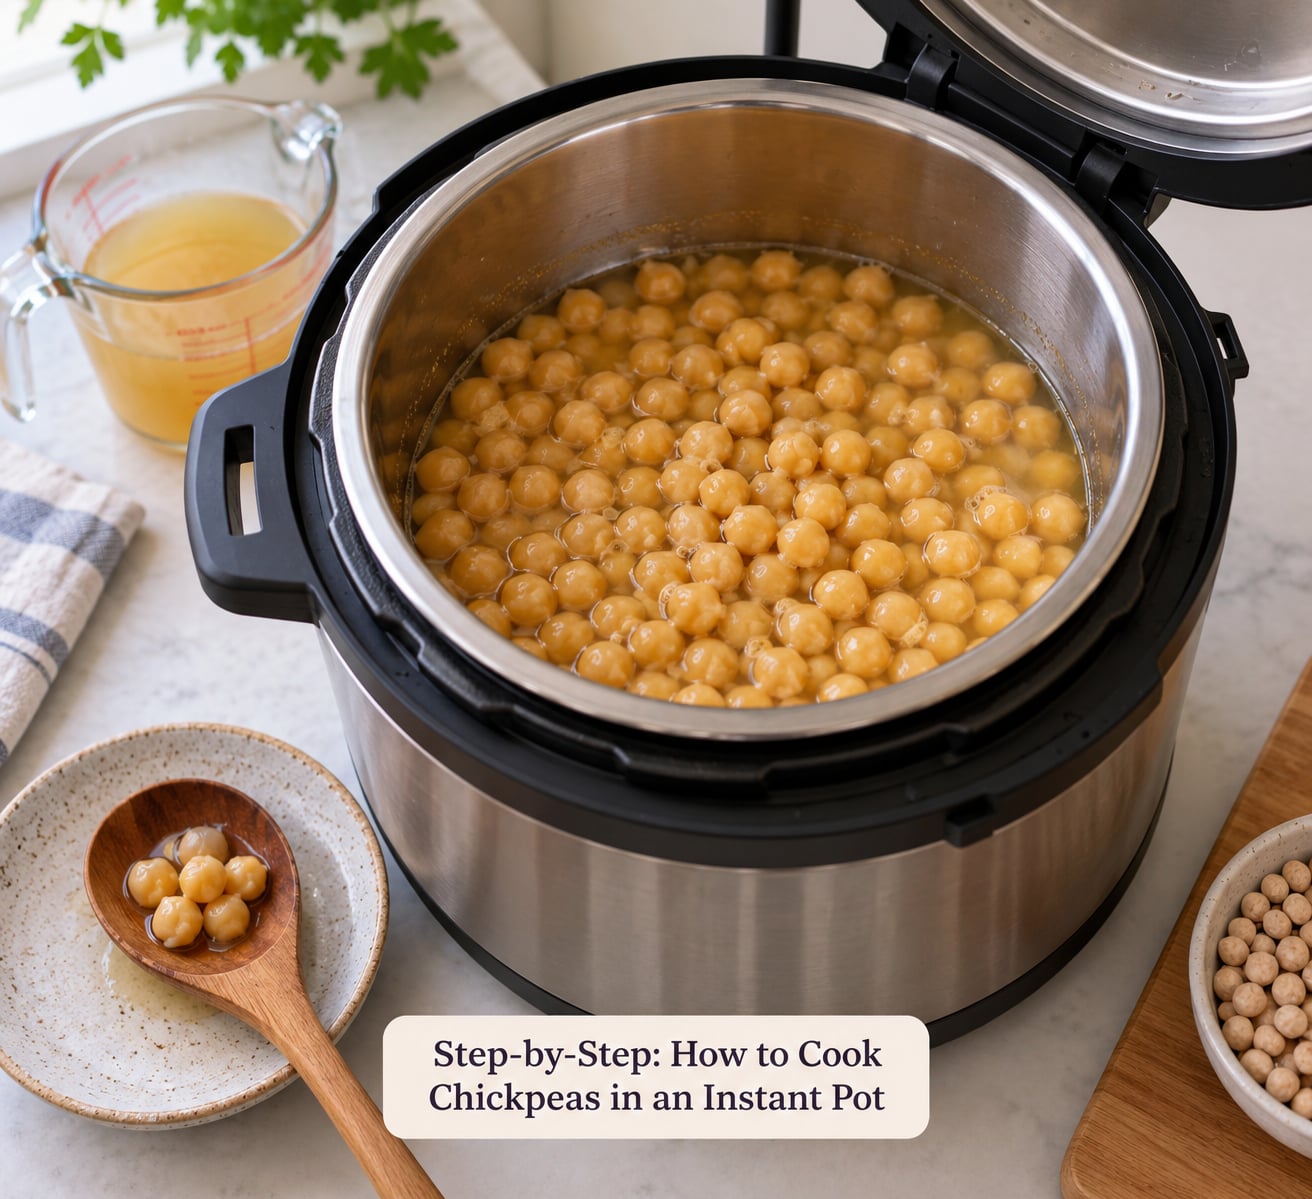
1. Decide Whether to Soak the Chickpeas
Soaking is optional with a pressure cooker, and it is not a safety measure the way it is for kidney beans. Its two real benefits are a shorter cook time and easier digestion.
A 12 to 24 hour cold soak in room-temperature water, with a teaspoon of baking soda if you want, softens the skins and drops the cook time roughly in half. Rinse the beans in that discard water, not the soaking water, then start fresh water in the pot. If you are short on time, skip it entirely and give yourself the extra 25 to 30 minutes under pressure.
One thing to avoid is a warm soak left for days. Beans sitting at room temperature for more than about 24 hours can grow bacteria, and over-soaked beans break down faster once heated. If you plan ahead, cook dried beans without soaking covers the no-soak case in more detail.
2. Rinse the Chickpeas and Prepare the Pot
Rinse the dried chickpeas under cold running water and pick out anything shriveled, dark or broken. Sorting takes a minute and it is the difference between a clean bowl of chickpeas and one with odd soft bits in it later.
Put the beans in the inner pot and add cold water until the level sits 1 to 2 inches above them. Then check the fill line on the pot wall. Dried chickpeas roughly double in volume as they cook, so beans should not fill more than half the stainless steel insert. Overfilling is the most common reason home cooks end up with crunchy bean centers and a burnt-smelling pot, because the liquid foams up into the vent.
| Dried chickpeas | Water | Cooked yield | Fits a 6-quart Instant Pot |
|---|---|---|---|
| 1 cup (about 0.5 lb) | 3 cups | 2.5 to 3 cups | Yes, plenty of room |
| 2 cups (1 lb) | 6 cups | 5 to 6 cups | Yes |
| 3 cups (1.5 lb) | 9 cups | 7 to 9 cups | Check the fill line first |
Some cooks go with a tighter 2:1 ratio and it works fine on a 6-quart pot. More water is safer, though, and it costs you nothing but an extra pot to drain. If you plan to blend the cooking liquid into hummus, the extra water helps there too.
3. How to Cook the Chickpeas Under Pressure
Lock the lid on and make sure the steam release valve is set to sealing, not venting. Add 1 teaspoon of fine sea salt and a tablespoon of oil if you have it. Drop the inner pot into the cooker base, lock the lid again and set it to Manual or Pressure Cook at high pressure for 45 minutes if the beans were not soaked, or 15 to 20 minutes if they were.
That 45 minutes is active cook time, not total time. The come-to-pressure stage on a full pot adds another 8 to 12 minutes before the timer starts, and the natural release afterward adds roughly 15 to 20. Budget close to 75 minutes of wall-clock time for the no-soak method from cold pot to serving. Getting how to cook chickpeas in an Instant Pot right comes down to that single number: pressure time, not total time.
4. Release the Pressure Safely
For beans, natural release is the right call every time. The residual heat and steam keep cooking the chickpeas as the pressure drops, which softens them further, and a quick release stops that softening and leaves the skins tough.
When the pressure pin drops on its own, turn the cooker off, wait a few seconds, then move the steam release valve to venting with a long-handled utensil or oven mitt in your other hand. Stand back and slightly to the side while you do it. A pot full of starchy water can spit foam out of the vent, and the contents are hot enough to burn.
If you need to get out of the pot faster, a quick release works and the beans will be a firmer, more salad-friendly texture. Just accept that they will not reach hummus softness in the same cook. Here is how the timings shake out:
| Method | High pressure time | Release | Resulting texture |
|---|---|---|---|
| No soak, firm beans | 35 to 40 minutes | Quick release | Firm, holds shape, good in salads |
| No soak, standard | 45 minutes | Natural, 15 to 20 minutes | Bite-through, works for most uses |
| No soak, hummus soft | 50 minutes | Natural, 15 to 20 minutes | Very soft, blends smooth |
| Overnight soak | 15 to 20 minutes | Natural, 10 to 15 minutes | Soft even at the short end |
If you live above about 3,000 feet, add 5 to 10 minutes to the pressure time. Water boils at a lower temperature up there, which is why stovetop beans stay crunchy in mountain towns and pressure-cooked beans mostly do not.
5. Check the Texture and Season
Drain the chickpeas and taste one. If it gives easily between your finger and thumb but still has a bit of resistance in the middle, you have salad beans. If it crushes with almost no pushback, it is hummus-ready.
Still crunchy in the center? Put them back in the pot with a cup of water, seal it and run 5 more minutes at high pressure. This is far better than adding more time to the first cook, because by then the beans are already soft and you are adding mush to the whole pot.
Season after draining, not before. Salt and acid behave differently once the beans are out of their cooking water, and lemon juice added at the end tastes much brighter than lemon simmered for 45 minutes. A good starting point is olive oil, a squeeze of lemon, flaky salt and a pinch of cumin for a salad, or warm the beans with garlic and cumin in the last few minutes for curry. Keep a cup of the cooking liquid; it makes soups taste rounded and it blends into the smoothest hummus.
Common Mistakes
Filling the pot more than halfway. Beans swell, and a full inner pot foams into the valve and often trips the burn sensor. Cook a pound at a time in a 6-quart unit, and check the fill line before you close the lid rather than after.
Not enough liquid. If the water line sits level with the beans instead of above them, the bottom can scorch during the long no-soak cook and the beans develop a raw, starchy edge. Keep 1 to 2 inches of water above them.
Ignoring bean age. This is why cook times online look like a mess, with numbers from 12 to 50 minutes floating around. Beans cooked within the last year are softer and faster; older beans need more time, and no batch will behave exactly like the last one. Treat the times as starting points and test.
Opening the lid before the pin drops. The pressure pin rising is the pot telling you there is still pressure inside. Forcing the lid open risks a spray of hot starchy liquid. Let it release naturally, or use the quick-release valve properly.
Cooking to mush on purpose. Several home cooks describe simmering until the beans collapse, and that is a texture people end up disliking. Most complaints about Instant Pot chickpeas come from cooking past 50 minutes or from quick-releasing beans that were meant to be soft. Pick a target from the table above instead.
Skipping the oil. A tablespoon of oil and a bay leaf cut down on foam and keep starch from plugging the vent. If you already own a trivet, dropping it in on top of the beans does the same job and is what I use when I scale up.
Texture control is easier once you know the timing. If you also cook lentils and want them to keep their shape instead of collapsing, how to cook lentils so they hold their shape covers the same pressure-cooker logic in about half the cook time.
Frequently Asked Questions
How long do I cook chickpeas in an Instant Pot?
Unsoaked dried chickpeas need 45 to 50 minutes on high pressure with a natural release for a hummus-soft texture. Soaked chickpeas need only 15 to 20 minutes the same way. Add 5 to 10 minutes if you live above 3,000 feet, or if the beans are more than a year old. Remember that come-to-pressure time adds 8 to 12 minutes and the natural release adds another 15 to 20 on top of the cook time.
How many cups of water do I need for 1 cup of chickpeas?
About 3 cups of water for every 1 cup of dried chickpeas, which means 6 cups for a standard 2-cup or 1-pound batch. The rule of thumb is 1 to 2 inches of water above the beans in the inner pot. A tighter 2:1 ratio works on a 6-quart cooker and saves you a pot to drain, but the extra water costs nothing and makes blending smoother.
Do I have to soak chickpeas before cooking them in the Instant Pot?
No. Pressure cooking softens the chickpeas in a single step, and a 12 to 24 hour cold soak only exists to cut cook time roughly in half and make the beans easier to digest. Skip the soak and give yourself 45 to 50 minutes on high pressure. Avoid a long warm soak, though, since beans left at room temperature for more than about a day can grow bacteria.
Why are my Instant Pot chickpeas mushy?
Three things usually cause it: cooking well past 50 minutes, choosing quick release when you wanted a soft texture, or filling the pot too full so the beans cooked unevenly. Mushy beans also happen when the batch sat on a warm burner after cooking. To fix mushy beans next time, pull the cook time back by 5 minutes and let the pressure release naturally so the residual heat finishes the softening.
How do I store cooked chickpeas?
Cool the beans quickly, then refrigerate them in an airtight container for 3 to 4 days, which is what USDA guidance recommends for cooked legumes. For longer storage, freeze them in single-serving portions on a lined tray, then move the frozen pieces into a bag or container. Keep some of the cooking liquid in the container, and thaw overnight in the fridge rather than on the counter.
Can I cook canned chickpeas in the Instant Pot?
You can, but there is no reason to. Canned chickpeas are already cooked, so the pressure cooker only reheats them, and long reheating makes them softer and pastier than you want. Drain and rinse them if you are adding them to a curry or salad. Save the Instant Pot for dried beans, which is where the time and texture control actually pay off.
Conclusion
Here is how to cook chickpeas in an Instant Pot in three decisions: pick dried chickpeas, decide whether to soak them overnight or go straight in dry, and set the pressure time that matches the texture you want. One pound of dried beans, 6 cups of water, a teaspoon of salt, high pressure for 45 minutes and a natural release gets you most of the way there.
Everything past that is a test and an adjustment. Taste one bean, give it five more minutes if it needs it, and keep a portion of the cooking liquid for soups and hummus. If you cook from dry on a schedule, batch cook for the week without getting bored covers how to vary the same base batch so you do not eat the same bowl five days in a row.