
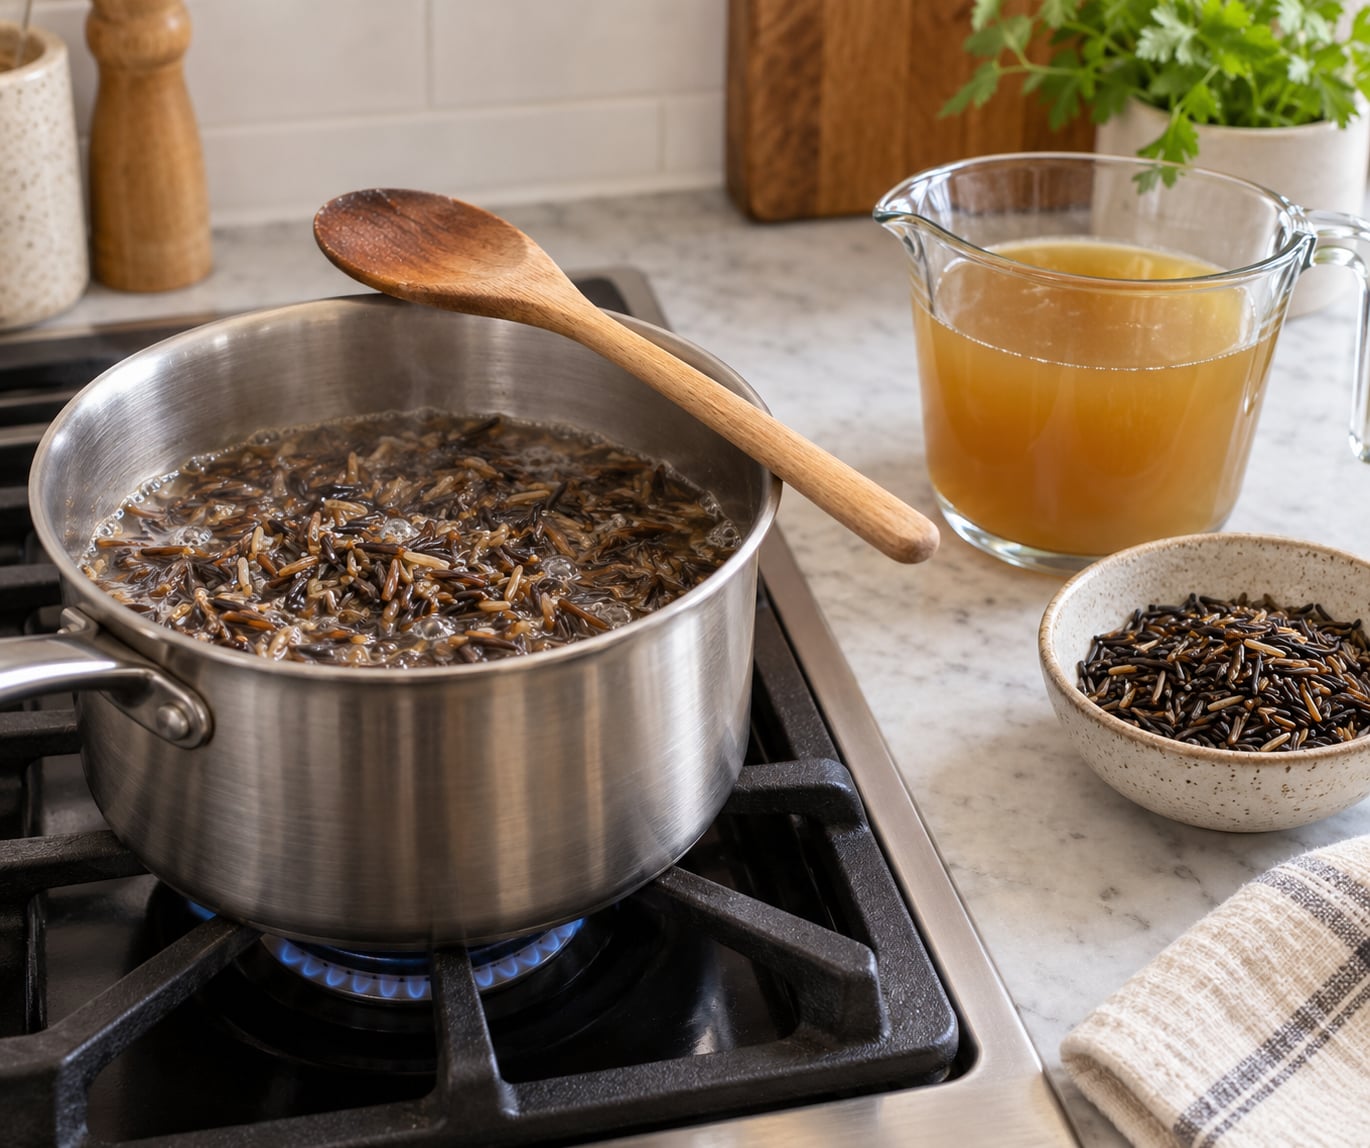
To cook wild rice on the stove, rinse 1 cup of grain, cover it with 3 cups of water or broth, bring both to a boil with the lid on, then turn the heat down and let it simmer for 40 to 45 minutes until the liquid is gone and the kernels split open. From start to finish it takes about an hour, and most of that is hands-off simmer time.
The reason it’s worth the wait is what you get back: a cooked cup of wild rice runs roughly 166 calories, 6.5 g of protein and 3 g of fiber, plus magnesium and B vitamins, with no gluten anywhere in it. Cooking it wrong, though, turns all that into a crunchy or gluey mess, and that’s what most people hit.
Table of Contents
What You Need
The ingredient list is short. Everything else is optional.
- 1 cup wild rice, rinsed and drained
- 3 cups water, chicken stock or vegetable broth
- 1/2 teaspoon kosher salt
- 1 tablespoon butter or olive oil (swap oil for butter if you cook vegan)
- 1 tablespoon finely chopped onion or shallot, optional
Equipment-wise, you need a saucepan with a tight-fitting lid, a fine-mesh strainer for rinsing, and a fork for fluffing. A wooden spoon is useful but not required.
On ratio, here’s the shortcut that answers most ratio questions in one line: stovetop wild rice wants 3 parts liquid to 1 part grain. Brown rice wants closer to 2:1, and white rice about 1.5:1. Wild rice drinks more because the grain is dense and long, and it keeps absorbing after you think it’s done.
| Method | Liquid per 1 cup dry | Cook time |
|---|---|---|
| Stovetop, saucepan | 3 cups water or broth | 40-45 min simmer |
| Rice cooker | 2 cups water or broth | 45-55 min on normal |
| Microwave | 3 cups water or broth | 31-36 min at full power |
| Pressure cooker | 1 1/2 cups water or broth | High pressure, natural release |
One cup of dry wild rice turns into roughly 3.5 to 4 cups cooked, so plan your servings from the dry measurement, not the cooked one.
Before you start: soaking is optional, not required. Two hours in cold water softens older grains and reduces some of the phytic acid, but leave the rice in longer than 3 hours and the outer layer starts to break down. Skip it if you like, and results will still be fine.
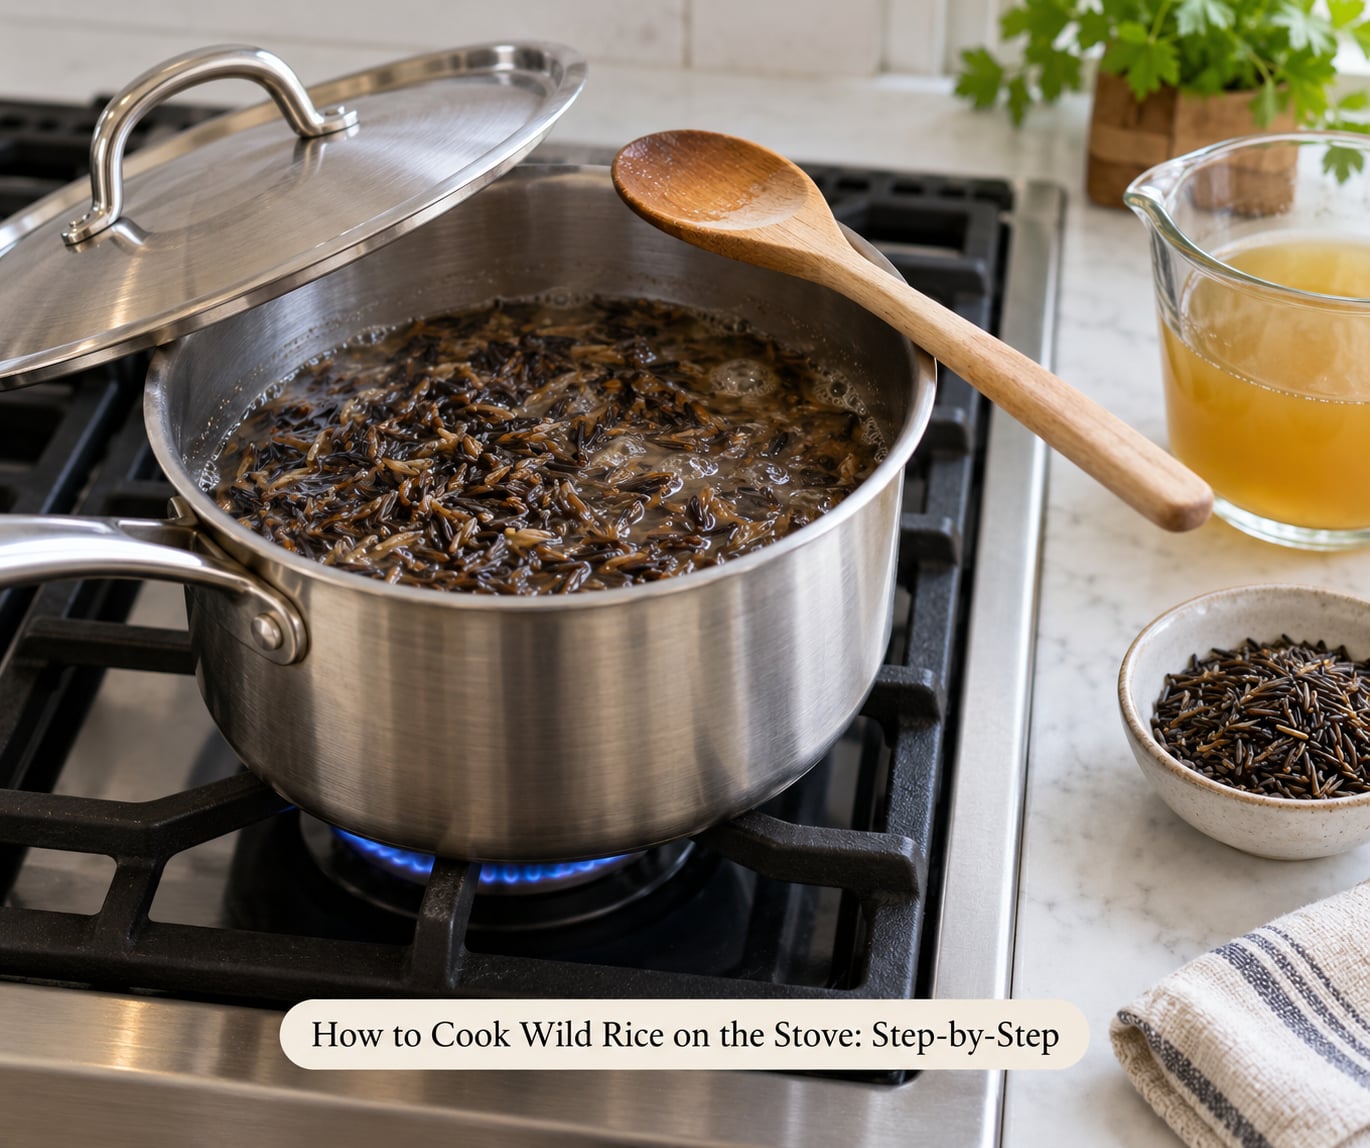
How to Cook Wild Rice on the Stove: Step-by-Step
1. Rinse and Inspect the Wild Rice
Put the grain in a fine-mesh strainer and rinse under cold water for 30 to 60 seconds, swishing it with your fingers until the water runs clear. That rinses off surface starch, which is the main cause of gluey grains.
While it’s draining, pick through it. Wild rice is a whole aquatic grass seed harvested from the water, and the real, hand-harvested version often arrives with a few stones, husks or broken pieces mixed in. Most grocery bags are cultivated wild rice or a blend of cultivated wild rice with brown and long-grain rice, which is cleaner and cheaper and cooks in about the same window.
2. Bring the Rice and Water to a Boil
Put the rinsed grain in the saucepan with 3 cups of liquid. Melt the butter or heat the oil in it first if you’re using either, then add the rice and stir once so nothing clumps along the bottom. Add the salt now, not later, because rice absorbs what it’s cooking in and can’t take seasoning back out.
Bring it to a full boil over medium-high heat, lid on. Stir a couple of times on the way up so nothing catches. You’ll know it’s boiling when the liquid moves fast in rolling bubbles and steam fogs the lid. Expect this to take 6 to 10 minutes.
Cooks over and over report the same mistake: lifting the lid partway through. Every time you open it you lose steam, the ratio tightens, and the grains turn dry and hard. From the boil to the end, the lid stays on.
3. Simmer Until the Liquid Is Mostly Absorbed
Turn the heat down to its lowest setting so the pot barely bubbles, and leave the lid on. You want a lazy simmer, not a second boil. Cooking wild rice hot and fast is what splits the kernels and dumps their starch into the pot.
Simmer for 40 to 45 minutes. Around the 30-minute mark, lift the lid just once and check the bottom of the pot for standing liquid. If there’s a visible puddle, give it another 5 minutes. If the pot looks dry and the grains have elongated and opened slightly, move on to the rest.
Package cook times vary widely by brand, so trust the pot over the back of the bag. Older grain sitting in a bin for a year will drink more liquid than a fresh bag; if you suspect yours has been around, keep a kettle of hot broth on the stove to add a quarter cup at a time.
4. Let the Wild Rice Rest Covered
Take the pot off the heat and leave the lid on for another 10 to 15 minutes. This is the step people skip, and it’s the one that separates good wild rice from great wild rice. The residual heat finishes the inside of each grain while the surface moisture settles instead of steaming away.
You should be able to bend a grain gently and see a curl at the tip with a pale white fleck in the center. That’s the done cue. If the kernels are still chalky white through the middle, give it five more minutes off the heat before you add any water.
5. Fluff and Taste Before Serving
Run a fork through the rice, lifting from the bottom rather than stirring, to separate the grains without crushing them. Taste it before you season again. Wild rice usually needs less salt than you think at first, because the grain has a deep, earthy, almost smoky flavor on its own.
Serve it as a side next to roast chicken or roasted squash, spoon it into soup, or let it cool and fold it into a salad with apples, dried cranberries and toasted walnuts. It also works as the base of a stuffing. If you’re cooking for a week ahead, wild rice holds up well for meal prep; keep it airtight in the fridge and reheat with a splash of broth.
If you like the flavor but not the texture, wild rice blends and lentils both take to the same stovetop method. You can see how to cook lentils so they hold their shape for a very different texture from the same kind of pot.
Common Mistakes and Fixes
Crunchy or hard centers. Not enough liquid, or the heat was too high and the outside cooked before the middle softened. To rescue a batch that’s already done and still crunchy, put the pot back on low heat with the lid on and add a quarter cup of hot broth or water. Give it 5 to 10 minutes, then rest it again. One or two splashes fix a slightly dry batch; three cups is starting over.
Mushy or gummy texture. Usually too much liquid, not rinsing, or cooking at a boil instead of a simmer. Grain that sat at high heat splits open and releases its starch, which turns the pot gluey. There is no undo for mushy rice, but you can drain it in a colander and spread it on a tray to dry, then serve it as a pilaf rather than a side.
Uneven cooking, crunchy in spots and soft in others. The pot is too wide for the amount of rice, so the liquid evaporates before the center catches up. Use a saucepan where the rice sits one or two grains deep. Stir once at the halfway simmer mark with a wooden spoon, moving from the edges toward the middle.
Watery liquid left in the pot. You took it off the heat too early, or the simmer was too vigorous and the lid wasn’t tight. If the grains are cooked but there’s liquid standing, put the lid on and let it sit off the heat another 10 minutes. If that doesn’t absorb it, drain and return the rice to the warm pot for a few minutes.
Bland seasoning. Salt added at the end never fully dissolves into the grain. Put the salt in with the liquid, then finish with a squeeze of lemon, a spoon of butter or a handful of toasted nuts. A stock or broth instead of plain water is the single biggest upgrade, and a vegan version with vegetable broth and oil is just as good as the butter one.
Cooked rice dries out in the fridge. Wild rice keeps absorbing moisture from anything near it. Store it airtight, and when reheating, add a tablespoon or two of broth and cover the bowl loosely so the steam does the work. Reheating it dry is the reason people decide they don’t like leftovers.
Cooking more than you need is the practical habit here, since the grain is expensive and gets used fast. Wild rice shows up in soups, salads and casseroles all week, which is exactly what batch cooking for the week without getting bored is for.
Frequently Asked Questions
What is the ratio of water to wild rice on the stove?
Use 3 cups of water or broth for every 1 cup of dry wild rice. That is a 3:1 ratio, which is more liquid than you would use for white rice because the grain is long and dense and keeps drinking after you think it is done. Add a quarter cup more if the grain is old or if you want it softer.
Do you cook wild rice with the lid on or off?
Lid on, from the moment you start cooking until the rice is finished. Wild rice needs the trapped steam to soften the center of each grain. If you lift the lid partway through, you lose that moisture, the effective ratio drops, and the grains end up dry and crunchy in the middle.
Do you have to soak wild rice before cooking it?
No, soaking is optional. Two hours in cold water softens older grains and reduces some of the phytic acid, which is the compound that can make grains harder to absorb. Do not soak longer than about three hours, because the outer layer of the grain starts to break down and the texture turns pasty.
How long does wild rice take to cook on the stove?
About 40 to 45 minutes of low simmering after you bring the pot to a boil, plus roughly 10 minutes to bring it up to temperature and 10 to 15 minutes resting off the heat. The whole job takes close to an hour. One cup of dry rice makes about 3.5 to 4 cups cooked.
How do you know when wild rice is done?
The kernels should be elongated and split open with a curl at the tip and a small pale white fleck showing in the center. Bend one gently with a fingertip: it should flex rather than snap. No liquid should remain in the bottom of the pan, and a second taste should be nutty and tender, not grassy.
Why is my wild rice crunchy, and how do I fix it?
Crunchy centers mean the grain ran out of liquid, usually from a little water or a simmer that was too hot. Put the pan back on low heat, add a quarter cup of hot broth or water, cover and give it 5 to 10 minutes, then rest it covered again. Add liquid a splash at a time rather than all at once.
Conclusion
Start by measuring 1 cup of dry wild rice and 3 cups of liquid, then give the pot your full attention for about ten minutes and nothing at all for the next hour.
Rinse it, salt it early, boil it with the lid on, drop to the lowest simmer for 40 to 45 minutes, and let it rest covered before you fork it. That last minute or two off the heat is what makes the difference between chewy grains and grain that bends. After that, the seasoning is yours to decide: broth instead of water, a squeeze of lemon, toasted nuts, or herbs stirred in at the end.
If you’re cooking for a table of mixed diets, wild rice works well because it fits naturally into a plan for a family with different diets since it is gluten-free and easily made vegan.