
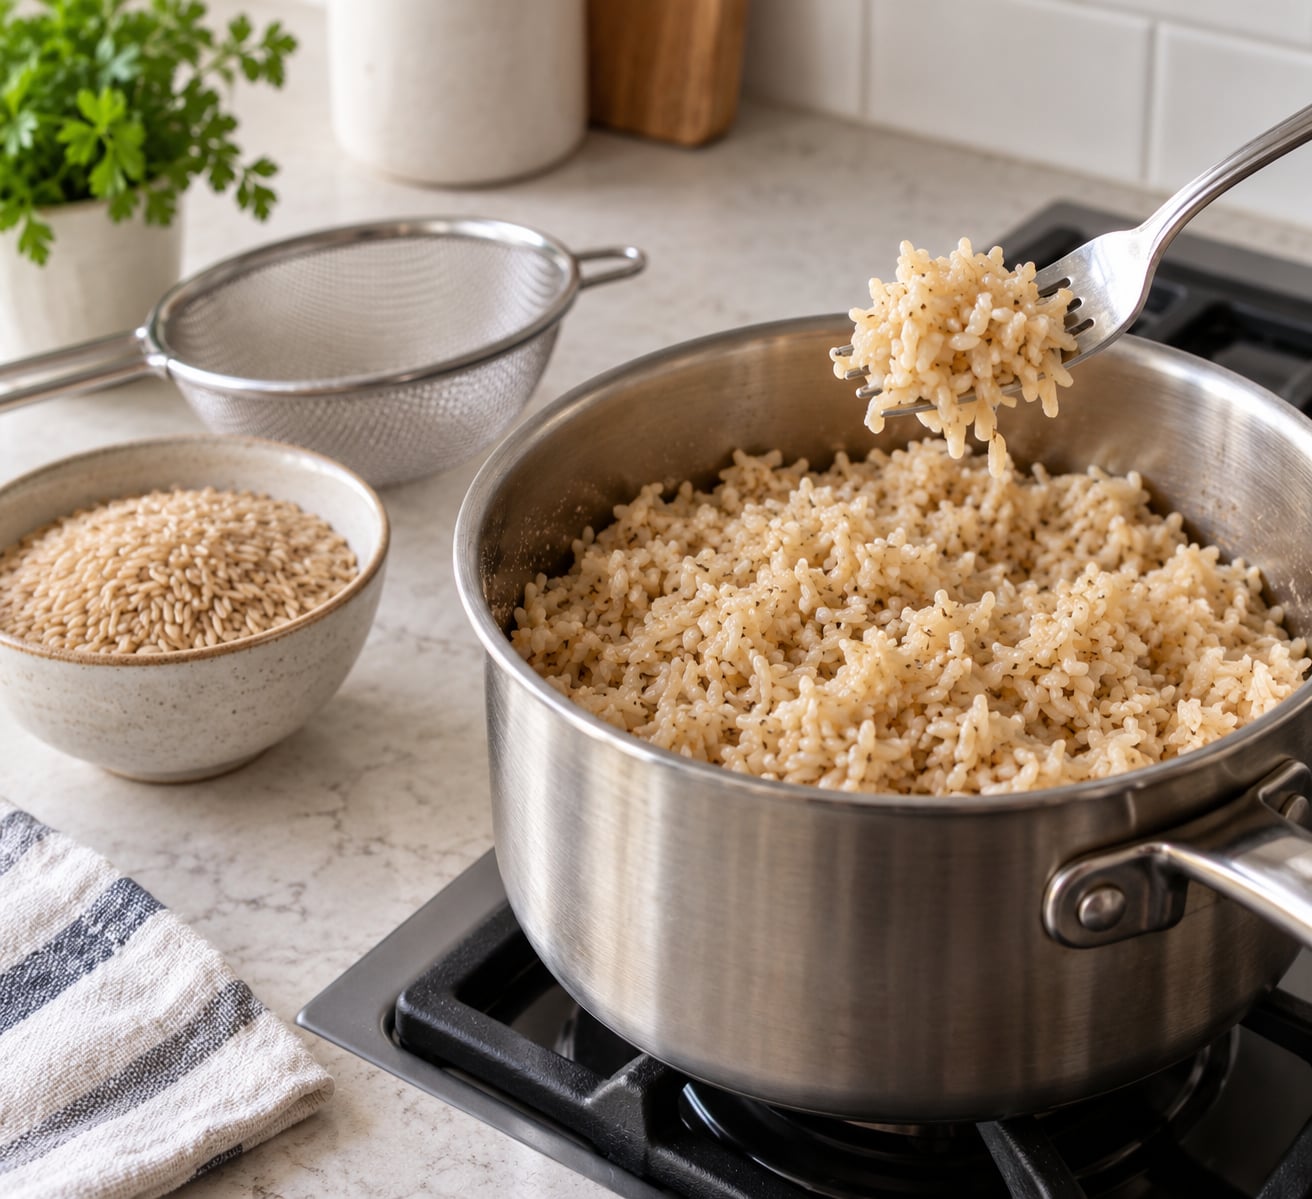
To cook brown rice so it is not mushy, use about 2 cups of water for every cup of dry rice, rinse the grains until the water runs nearly clear, bring the liquid to a rolling boil, then hold the pot covered on the lowest simmer without stirring and let it rest 10 minutes off the heat. Most mush comes from one of those five things being skipped.
From dry grain to fluffy bowl takes about 45 to 50 minutes, and about 35 of those are hands-off. There is no special equipment and nothing tricky to learn. It is just more precise than the two-minute directions on the bag, and the precision is the whole trick.
Brown rice keeps its bran layer, the fibrous part that gets milled away to make white rice. That layer is why it cooks slower, why it stays chewy instead of soft, and why it turns gluey when it sits in water longer than it needs to. Learn where that boundary sits and the porridge texture disappears.
Table of Contents
What You Need
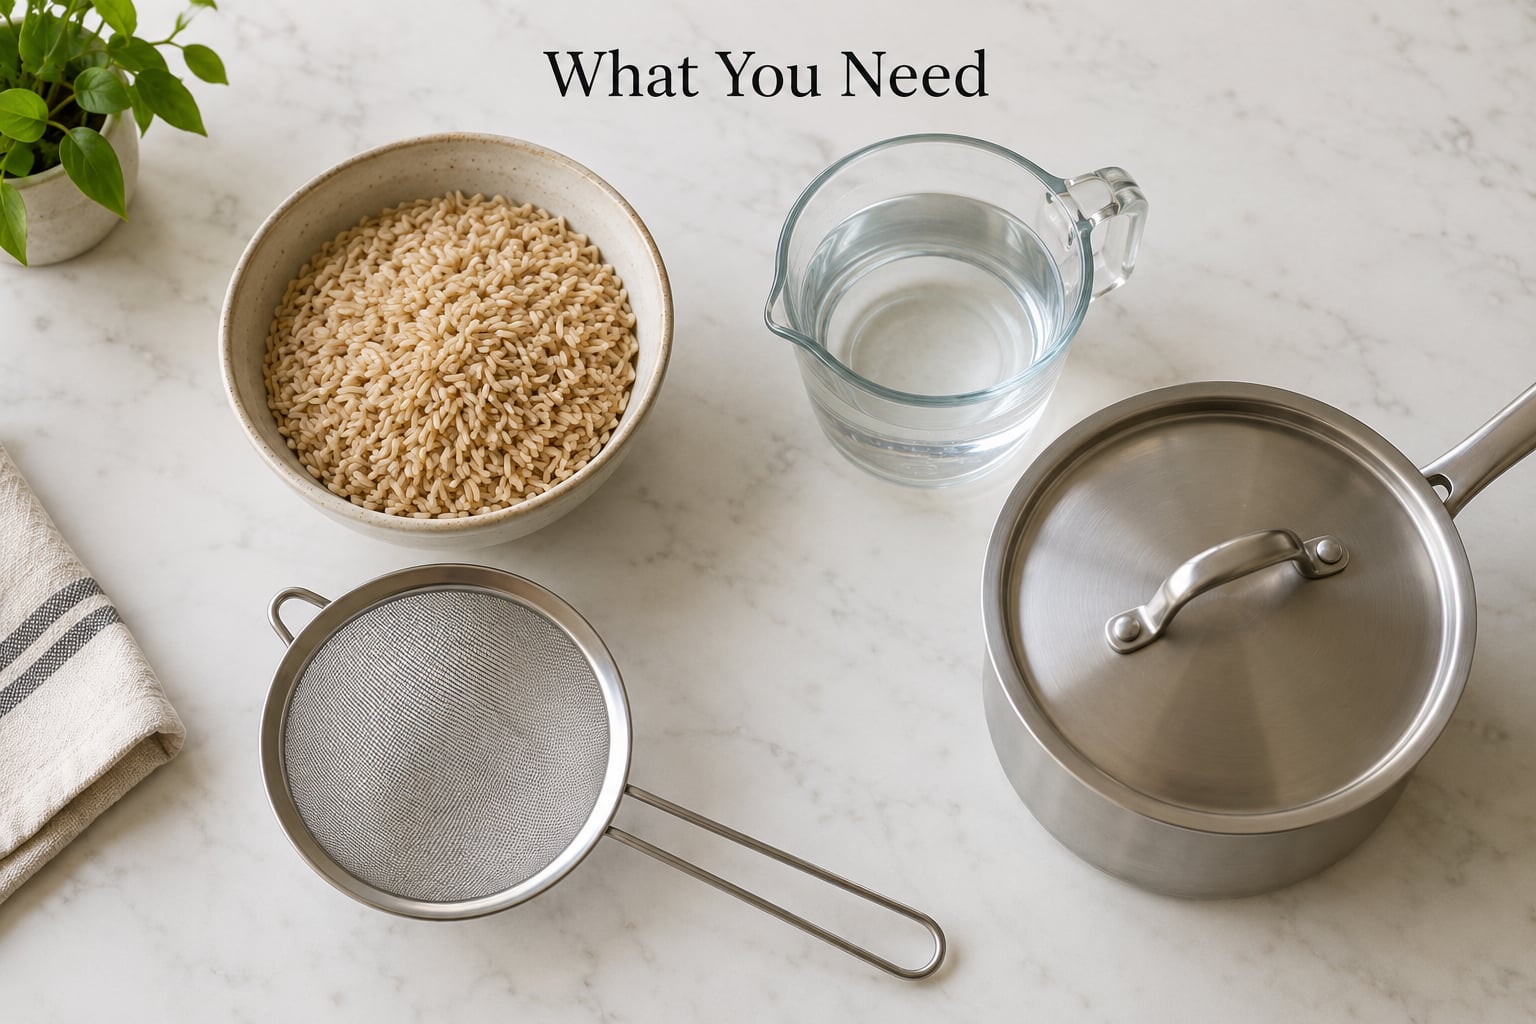
Four things matter: dry brown rice, water or broth, a fine-mesh sieve, and a saucepan with a tight-fitting lid. Everything else is convenience.
A measuring cup beats eyeballing by a lot. Eyeballing is where the extra half cup comes from that quietly turns grains to paste. A wooden spoon or a fork handles the fluffing, and a fork does it better because it separates grains instead of smearing them.
Broth instead of water is an easy upgrade. It adds flavor directly to the grain, which is nice because brown rice eats up seasoning rather than letting it sit on the surface. Use it the same way you would use water, one and three-quarter to two cups per cup of rice.
Toasting the dry grains in a tablespoon of oil in a hot pan for two minutes before the liquid goes in gives a nuttier, fuller grain. It is the cheapest upgrade in this whole method, and most people skip it only because they are in a hurry on a Tuesday.
The pot matters more than recipes admit. A heavy pot spreads heat evenly, so the bottom layer finishes at the same time as the top. A thin one hits a hard boil the second the flame touches it, and that is exactly how you get paste on the bottom and raw grain at the edges. A wide, heavy-bottomed saucepan is the best tool here.
Step-by-Step: How to Cook Brown Rice So It Is Not Mushy
Measure the Rice and Liquid Correctly
One cup of dry long-grain brown rice takes about 2 cups of liquid on the stovetop. Long grain needs the most water because it cooks loose; short grain needs closer to 1.5 cups because its starch is meant to cohere.
Measure the rice first, level in the cup, and note that it expands to roughly three cups cooked. If you are doubling the recipe, do not double the confidence. Measure twice.
Rinse Until the Water Runs Clearer
Put the dry rice in a fine-mesh sieve and run cold water over it, swishing the grains with your fingers. You are washing off surface starch, and that starch is what turns to glue when it cooks. Keep going until the water below runs noticeably clearer than when you started, usually four to six changes.
Thirty seconds of lazy rinsing does very little. Two full minutes of active swishing does most of the work. If the rice came from a bulk bin or an unsealed bag, give it the full rinse. Packaged long-grain brown rice is usually clean enough that a quick rinse and one water change will do.
Bring the Liquid to a Boil First
Heat the liquid to a full rolling boil before the rice goes in. Dropping grain into already-boiling water gets the outside of each kernel cooking immediately, which means even cooking from the outside in instead of a slow soak that ends in waterlogged centers.
Add the rinsed rice, stir it once for about five seconds so no grains are fused in a clump on the bottom, and wait for the boil to return.
Simmer Low, Cover, and Stop Opening the Lid
Drop the heat to the lowest simmer your stove has, cover tightly, and set a timer for 40 to 45 minutes. Long grain usually finishes around 40. Medium and short grain need closer to 45.
This is where most people go wrong. Every peek lets steam escape, the pot temperature drops, the water stops converting to steam, and the grains sit in liquid longer than they should. Do not stir. Stirring breaks the bran-coated grains and releases more starch into the pot, which is the second half of the glue problem. Set it and walk away.
Rest the Rice Covered Before You Fluff
When the timer goes off, kill the heat but leave the lid on for 10 minutes. Residual heat and trapped steam finish cooking the centers while the surface moisture dries off. Skip this and you will serve damp grains that feel heavy, even if the pot absorbed everything.
To check, peek once at the end of the rest: if you see standing liquid at the bottom, give it two more minutes. If the grains look dry and the pot is quiet, it is done.
Fluff Gently and Taste Before Seasoning
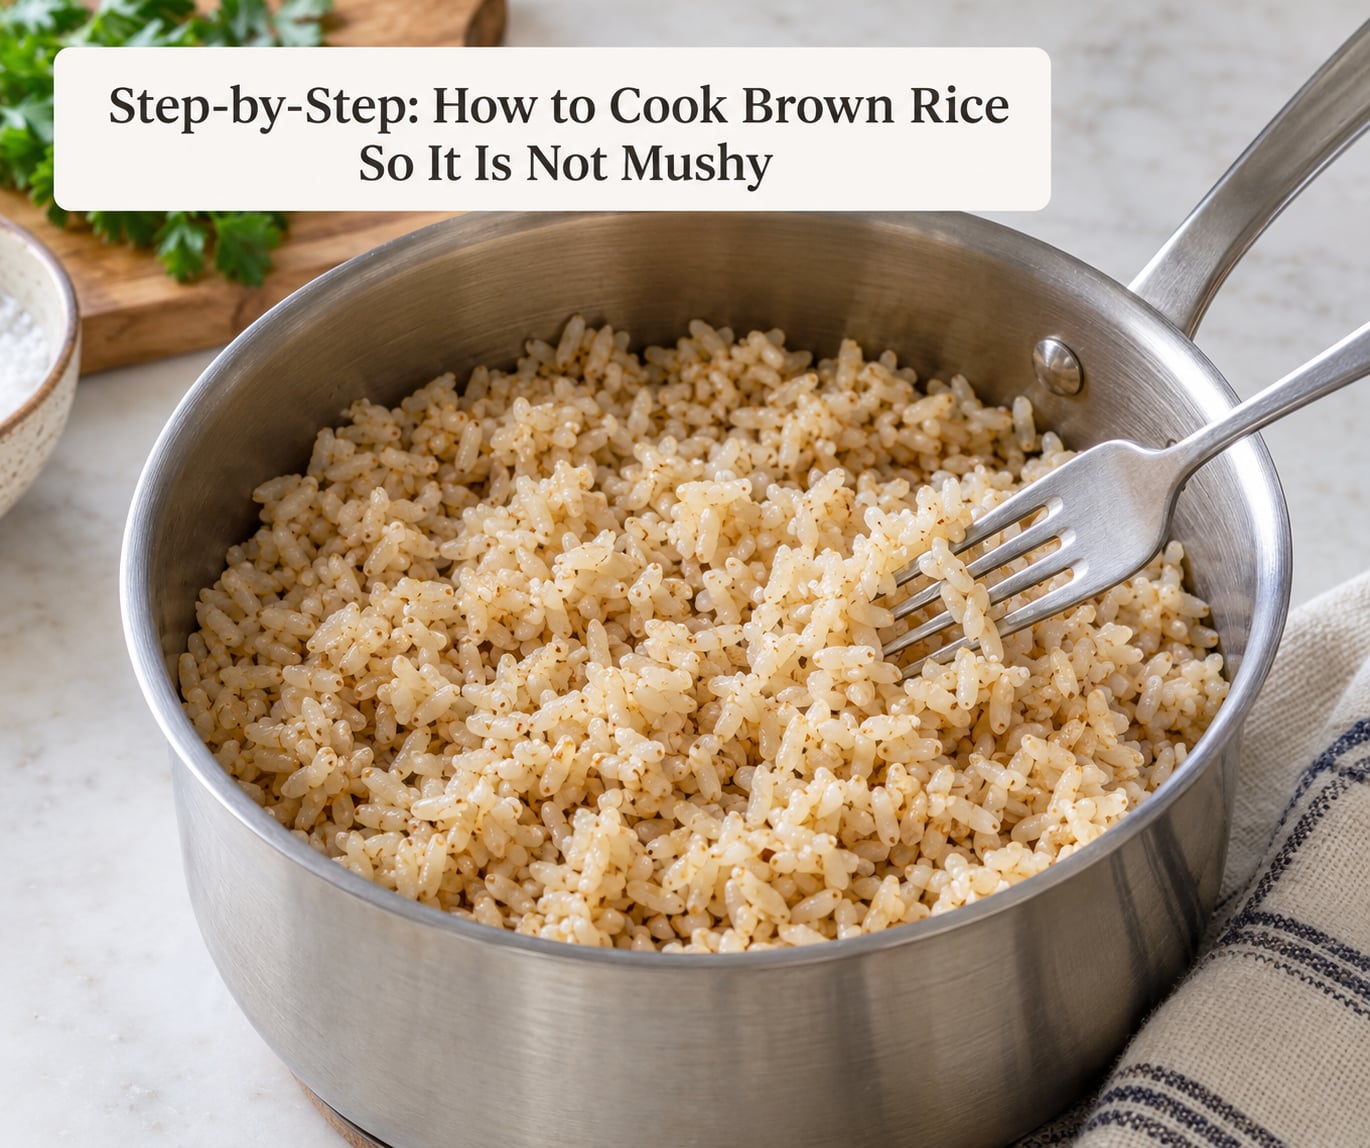
Take the lid off, press a fork into the rice and lift gently from the bottom, fluffing as you go. Use a light hand. Rice that gets crushed while fluffing turns to paste in the bowl.
Season after cooking, not before. Salt in the cooking liquid pulls starch out of the grain and makes it stickier, and it also seasons the water, which mostly runs away. A pinch of salt and a spoonful of butter folded in at the end tastes better and keeps the grains separate.
Properly cooked brown rice has distinct, tender grains with a slight chew and a light, dry-feeling texture. No wet patches, no glossy sheen, and a nutty aroma when you lift the lid.
Two More Methods That Fix Mushy Rice Every Time
The Boil-and-Drain Method for Guaranteed Separate Grains
If stovetop absorption has betrayed you more than once, cook brown rice like pasta. Bring a large pot of salted water to a boil, add the rinsed rice, and cook 25 to 30 minutes until the outside of each grain is tender. Drain immediately in a sieve.
You end up with grains that cannot clumped together because they were never sitting in still, starch-soaked water. Toss with a little butter or oil and season. It takes a little longer and gives up none of the nutty flavor.
Still deciding which grain fits your weeknight rotation? We weigh up [quinoa vs brown rice for everyday meals](/quinoa-vs-brown-rice-for-everyday-meals/) and where each one holds up better.
Instant Pot and Rice Cooker
For an Instant Pot, use 1.5 cups water per cup of rice for long grain. Rinse and drain first, add to the pot, and cook on high pressure for 20 minutes. Let the pressure release naturally for 10 minutes before you open the lid and fluff.
The trap with pressure cooking is the release. A quick release drops the temperature while liquid is still in the pot, and the grains keep absorbing it. Natural release only. The same drain-first logic is what makes [lentils hold their shape instead of turning to paste](/how-to-cook-lentils-so-they-hold-their-shape/) on a similar timeline.
For a rice cooker, use the brown rice setting with roughly 2 cups water per cup of grain, rinse first, and skip the quick-soak button. Rice cookers run hot and wetter than stovetop, so check 5 minutes early and trust the texture over the timer.
Common Mistakes That Make Brown Rice Mushy
Too much liquid. The classic error, especially when the pot is wide and evaporates less than you expect. Start at 2 cups per cup of long grain and add more only if the grains are still hard after the rest.
Skipping or rushing the rinse. Surface starch is the glue. Rushing it leaves the same starch that makes short grain rice properly sticky in sushi, which is not what you want here.
Lifting the lid. Every peek drops the pot temperature and lengthens the cook. One peek during the simmer can add enough time to turn tender grains soft.
Stirring during cooking. It breaks grains apart, exposes more starch, and drags the bottom layer into the top. One stir at the start, none after.
Full heat for the whole cook. A gentle simmer keeps water moving slowly around the grains. A hard boil agitates them and drives starch out faster.
Scooping it into a container while hot. Rice packed tightly while warm steams itself into a solid, gummy mass. Spread it in a single layer and let steam escape before you cover it.
Trusting the package time. Packet times assume a specific pot and a specific burner. A wide pot on a strong gas flame finishes early; a heavy pot on a weak flame runs dry. Texture beats the clock.
Brown rice is more forgiving about a hard center than it is about mush. Undercooked grain can be steamed out with a splash of water and five more minutes. Overcooked grain cannot be rescued.
How to Keep Brown Rice Fluffy After Cooking
Spread the cooked rice in a shallow layer on a tray or plate, not a deep bowl. Let it cool uncovered for 20 to 30 minutes until it stops releasing steam. Only then transfer it to an airtight container in the refrigerator.
Cooked brown rice keeps well for three to four days refrigerated and about three months frozen. Cool it fully before sealing, and press a layer of parchment or a thin coat of oil on top if you plan to freeze it, which helps stop grains welding together.
To reheat without turning it into paste, add a tablespoon of water per cup of rice, cover loosely, and warm it in the microwave or in a covered pan over low heat. The steam loosens the grains. Microwaving it dry and uncovered is what reheated rice usually deserves, and it shows.
For fried rice, cook the batch a day ahead and refrigerate it unseasoned. Day-old grains have dried out just enough to hit a hot pan without turning to glue. If you are cooking for more than one person, our guide to [batch cooking for the week without getting bored](/how-to-batch-cook-for-the-week-without-getting-bored/) covers how to stagger the grains so they all cool at the same rate.
Frequently Asked Questions
Do you need to rinse brown rice before cooking it?
Yes, most of the time. Rinsing washes off surface starch, which is what makes grains gluey and the finished rice mushy. Swish the rice in a fine-mesh sieve with cold water until the water below runs noticeably clearer, usually four to six changes. Packaged long-grain brown rice needs less rinsing than bulk bin rice, which picks up dust and broken grains from the bin.
What is the right water to rice ratio for brown rice?
On the stovetop, use about 2 cups of water or broth for every cup of long-grain brown rice. Short grain needs less, closer to 1.5 cups per cup, because its starch is meant to cohere. A pressure cooker needs less still, about 1.5 cups per cup of long grain. Measure rather than eyeball, since an extra half cup is the most common cause of mushy rice.
Why does my brown rice stay crunchy in the middle?
Usually it needed more time or more water, not more heat. The bran layer slows the center of the grain, so after cooking, let the covered pot sit off the heat for 10 minutes and the residual steam will finish it. If it is still hard after that, add a quarter cup of hot water, cover, and give it five more minutes on the lowest simmer. A wider, flatter pot also evens out the cooking.
Should I soak brown rice before cooking it?
Soaking works and it is optional. Cover the rinsed rice with water and leave it 30 minutes to an hour, then drain it well. Soaked rice cooks in closer to 30 minutes on the stovetop and cooks more evenly, which helps in very hard water. The important part is draining well afterward, since water left in the pot counts toward your ratio and pushes you straight toward mush.
Why is my brown rice mushy in a rice cooker?
Rice cookers run hotter and wetter than most people expect, and many models add extra water or a soak cycle on top of the setting you pick. Rinse the rice first, use about 2 cups of water per cup of long grain, avoid the quick-soak button, and check the texture at the early end of the cycle rather than trusting the timer. Open it once at the end, not during.
Can you cook brown rice in the oven?
Yes, and the oven is forgiving about temperature. Add 2.25 cups of water per cup of rinsed rice to a covered oven-safe dish, bring it to a boil on the stovetop first if you have time, then bake at 350°F for 25 minutes. Let it sit covered for 10 minutes before fluffing. Skipping the stovetop boil means longer baking and slightly softer grains.
Conclusion
Start with the four things that actually decide the texture: measure the rice, rinse it until the water runs clearer, hold a low covered simmer without touching the lid, and let the pot rest 10 minutes before you fluff. Change one variable at a time and you will find the ratio your pot and your burner like.
The method is the same for everyone; the exact cup count shifts with grain length, pot width, and how hot your stove runs. Learn yours once and the problem is gone for good.