
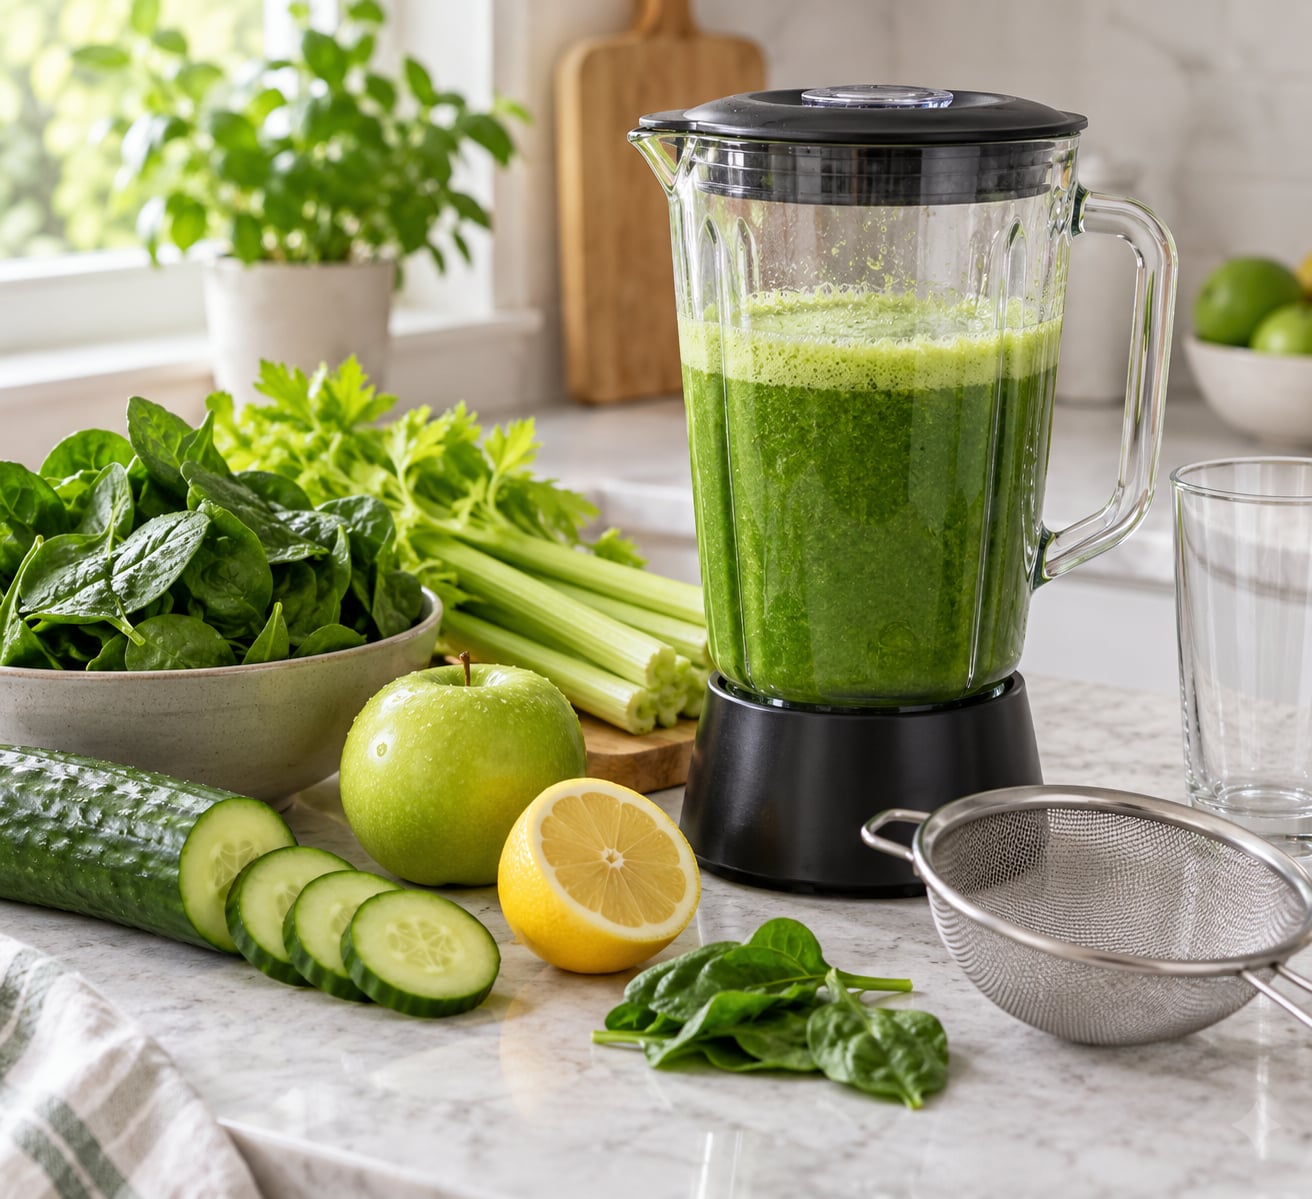
You can absolutely make green juice without a juicer. Blend chopped greens, cucumber, celery, green apple and lemon with a splash of water, then pour the mixture through a nut milk bag or fine mesh strainer to catch the pulp. Ten minutes of prep, one blender, and you have a glass of fresh green juice that tastes far better than anything from a bottle.
A juicer pushes produce through a mesh screen and spits most of the fiber into a pile you may or may not use. A blender breaks the cell walls down and keeps that fiber in the drink, which is why the result is thicker and slightly pulpy. If that is not your thing, straining fixes it in about a minute.
I drink this most mornings. The version below makes about two 10 ounce glasses, and it is forgiving enough that you can swap ingredients without weighing anything.
Table of Contents
- What You Need
- Step-by-Step: How to Make Green Juice Without a Juicer
- Common Mistakes
- Tips for Serving and Storage
- Frequently Asked Questions
- Can I make green juice in a regular blender?
- Do I need to strain green juice made in a blender?
- What greens work best in a blender-based green juice?
- Why does my blender green juice taste bitter?
- Can I add fruit to make green juice taste better?
- How long does homemade green juice keep in the refrigerator?
- Conclusion
What You Need
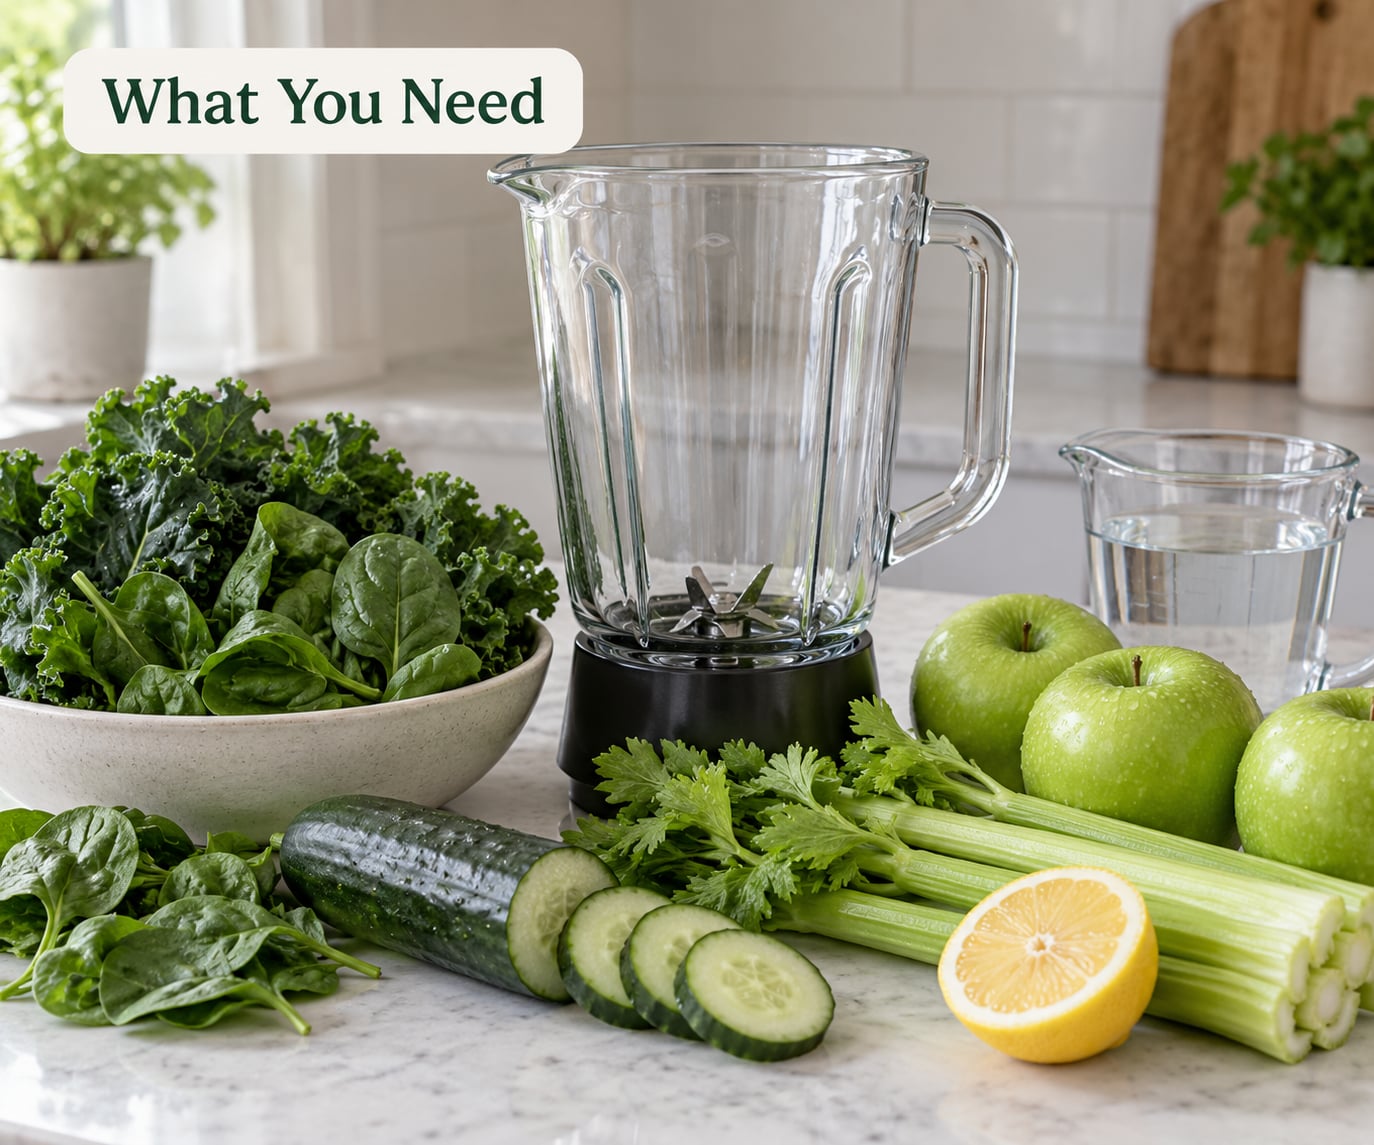
A blender of any kind, plus a way to strain. That is the whole equipment list, and every item is already in a normal kitchen.
- Blender: a countertop blender with a 40 to 64 ounce pitcher. A high speed blender gives the smoothest result, but a standard model works if you give it longer.
- Strainer: a nut milk bag is the most reusable option. A fine mesh sieve held over a bowl does the same job, and a paper towel folded over the rim catches small flecks.
- Base greens: 2 packed cups of spinach, or 1 cup of kale with the stems pulled out, or 1 cup of parsley.
- Vegetables: 1 cucumber and 2 celery stalks for water and mild sweetness.
- Fruit: 1 green apple, peeled, and half a lemon for brightness.
- Liquid: half a cup of cold water, plus ice if you like it colder and thinner.
Optional extras worth keeping nearby: a small piece of ginger for heat, a handful of frozen mango for sweetness, a pinch of salt, or a tablespoon of nut butter if you want the juice to fill you up like a light meal.
Step-by-Step: How to Make Green Juice Without a Juicer
Choose a Blender for the Smoothest Results
What matters is blade power, wattage and pitcher size. For hard vegetables such as carrots and beets you want at least a 1,000 watt motor, and anything above 1,400 watts will take care of ice and frozen fruit without straining.
Leafy greens are easier. A weaker blender handles spinach and cucumber, it simply needs more time. If yours stalls, give it a ten second rest, then run again. Pulse in short bursts at first so nothing bridges over the blades.
Keep the pitcher no more than two thirds full. Overfilling is the number one reason a blender leaves chunks behind, and extra volume also makes the motor work harder and warm up faster.
Prepare the Vegetables and Fruit
Wash everything under cold running water and dry it well. Wet produce makes the blend thinner and dilutes the flavor more than most people expect.
Cut produce into pieces about the size of a golf ball, roughly three quarter inch chunks. Anything much larger than that will still have chunks in it when you stop.
Strip the strings off celery and remove the tough rib from each kale leaf by running your fingers down the stem. Pull the woody part off the parsley stems. Those fibers are the main reason blended juice feels stringy.
Peel only when it earns its place. Cucumber and celery skins are fine in a blender and add fiber. Apple peel is fine too, though peeling gives a cleaner flavor if you are sensitive to it.
Blend in the Right Order
Load the pitcher in layers. Liquid goes in first because it moves the blades, then the soft ingredients, then the greens, then the hard vegetables on top.
That order matters more than it sounds. Hard items sitting at the bottom get ground against the blades, which is exactly what you want. A cucumber sitting loose on top just knocks around and aerates the mix.
Start on low for fifteen seconds, then run high for sixty to ninety seconds. If a standard blender struggles, give it another thirty seconds rather than trying to force it.
You will know it is done when there are no visible flecks and the color is even, one shade of green rather than a speckled mix. Freshly blended juice looks like paint. That is normal.
Strain and Adjust the Juice
Straining is optional and it depends on what you want. Leave the pulp in if you like a thicker, fiber rich drink and are fine with some texture. Strain it out for a lighter glass that pours like store bought juice.
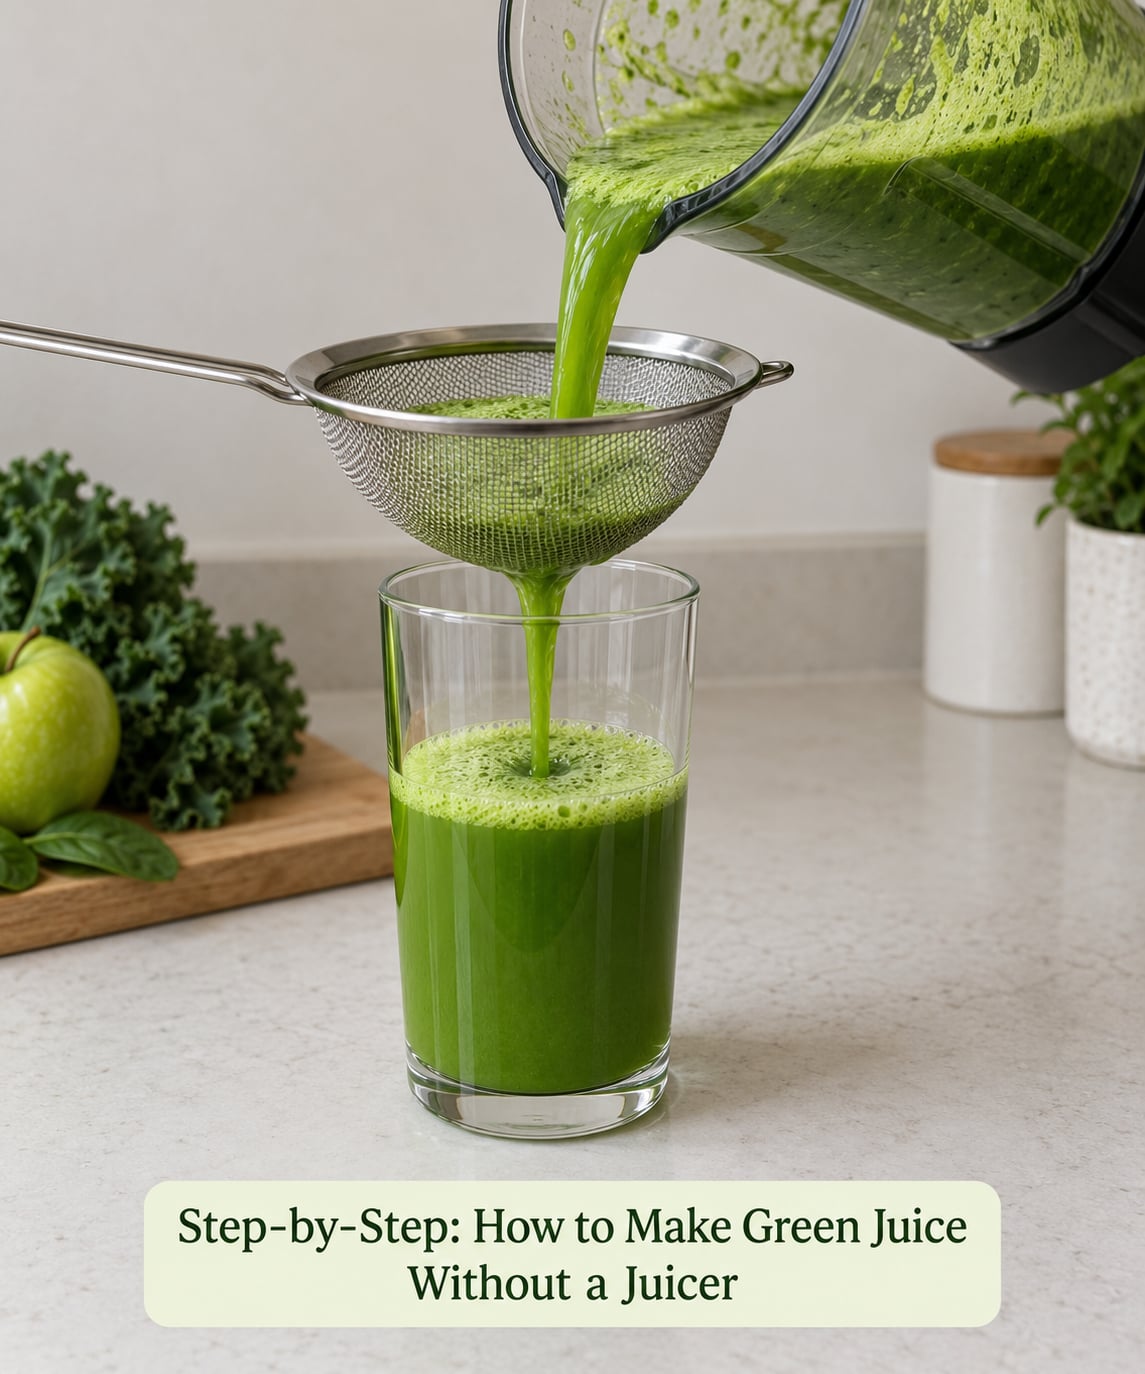
To strain, set a nut milk bag over a bowl or pitcher and pour the blend in slowly. Work the bag gently with your hands, then press the pulp with the back of a spoon. Push hard, because the liquid trapped in that fiber is a large share of what you just made.
Too thick means add water a tablespoon at a time. Too thin and watery means blend a few more pieces of cucumber or apple and let it run a little longer.
Too bitter almost always means not enough sweet. Add half an apple and blend again rather than reaching for sugar. A pinch of salt also softens bitterness, and a squeeze of fresh lemon at the end lifts a juice that tastes flat or dull.
Pour into a cold glass and drink it right away, within fifteen minutes if you can. That is when the color and flavor are at their best.
Common Mistakes and Simple Fixes
Chunky juice means the pieces were too big or the blend stopped too soon. Cut smaller, add a splash of liquid, and run another thirty seconds.
Watery juice is usually over blending. Very long blends break down the pulp into a thin liquid that has lost body. Stop at sixty seconds and check.
Bitter juice is a ratio problem, not a blending problem. More apple, a piece of ginger, or a small splash of pineapple fixes it faster than any amount of extra blending.
Foamy juice comes from air pockets. Let the mixture rest for a minute after blending, or spoon off the foam on top before you strain.
A hot or burning blender means the pitcher was overfilled, the motor was weak, or you blended too long without a break. Stop, rest it a minute, and cut the volume next time.
How to Make It More Nutrient-Dense
Add a second green rather than more fruit if you want more of what makes it green juice in the first place. Broccoli, chard, and celery all blend in well, though chard carries more of an earthiness that cucumber hides better than most people expect.
Frozen fruit raises the nutrient load and the sweetness at the same time. Half a banana, a handful of mango, or a few pineapple chunks work, and they cool the juice as they go in.
Seeds are an easy addition. A tablespoon of hemp, chia, or ground flax adds texture and staying power without changing the flavor much. Nut butter does the same thing with more richness.
Ginger, turmeric and a crack of black pepper are a good trio if you want it to taste like more than vegetables. Keep the amounts small, because turmeric stains everything it touches.
Common Mistakes
Four errors account for most disappointing glasses. Overfilling the pitcher is the big one, and cutting everything smaller than you think you need handles most of the rest.
Fibrous produce that never got stripped leaves a juice you have to strain hard to drink. Celery strings and kale ribs are the usual culprits, and removing them takes about a minute.
Too much liquid washes the flavor out and leaves you drinking tinted water. Start with half a cup of water and add more only if the blend looks thick.
Serving separated juice is fine, not a failure. Green juice separates as the fiber settles, and a thirty second shake fixes it completely. Stir or shake any container you pour from a day later.
Tips for Serving and Storage
Drink it fresh. Green juice has no preservatives, and the color starts shifting toward brown within a few hours of hitting the air, which is oxidation rather than spoilage.
For the rest, pour leftover juice into a glass jar with a lid, leave a little headspace, and refrigerate it right away. Airtight glass works better than plastic, and filling the jar close to the top limits the air that darkens it.
Airtight jars keep it drinkable for about 24 to 36 hours in the fridge, with the flavor fading toward the end of that window. Write the preparation date on masking tape on the lid so you are guessing less in a week.
Frozen single portions work too. Pour small amounts into silicone ice trays, freeze, then move the cubes to a bag. Thaw one in the fridge overnight when you want it.
Do not throw the pulp away. Freeze it in small portions and it drops straight into smoothies, or stir it into oat or buckwheat batter, or blend it into a salad dressing with olive oil and lemon.
Frequently Asked Questions
Can I make green juice in a regular blender?
Yes. A standard countertop blender handles leafy greens, cucumber, apple and celery just fine, because those ingredients are mostly water and soft fiber. Give it 60 to 90 seconds on high instead of the 30 seconds used for smoothies, and pulse in short bursts at the start so nothing locks against the blades. A high speed blender reaches a smoother texture with less time, but it is not a requirement.
Do I need to strain green juice made in a blender?
It depends on the texture you want. Unstrained juice keeps all the fiber and stays thick, which many people prefer because it fills them up and settles the stomach. Strained juice pours like the stuff you buy in a bottle and loses the stringy bits. Most people start unstrained, then pour through a nut milk bag when pulp bothers them. Either way you are still getting real vegetable juice, not a watered-down smoothie.
What greens work best in a blender-based green juice?
Spinach and kale are the reliable everyday choices, and both blend smoothly once the stems and ribs are removed. Cucumber and celery add water and a mild, clean base. Parsley adds a sharper, cleaner note in small handfuls rather than large ones. Avoid very tough stalks like rhubarb or mature kale ribs unless they are cooked first, because they will not break down in a home blender.
Why does my blender green juice taste bitter?
Bitterness comes from imbalance, almost never from the blender itself. Dark leafy greens, kale stems, and cucumber peel all carry more bitter compounds, and without enough sweet fruit to balance them the flavor tips harsh. The fix takes one extra step: blend in half a green apple, a small piece of ginger, or a few pineapple chunks and blend again. A pinch of salt also softens the sharp edge.
Can I add fruit to make green juice taste better?
Yes, and most people end up adding some. Green apple is the least sweet option and keeps the drink tasting green, while banana, pineapple, and mango push it toward a tropical flavor that masks the vegetable taste almost completely. Grated apple is a good substitute when you have no blender-safe fresh apple on hand. A frozen banana also thickens the juice into something closer to a smoothie.
How long does homemade green juice keep in the refrigerator?
Plan on drinking it within about 24 hours for the best flavor, though an airtight glass jar will hold it safely for two days in the refrigerator. The color slowly dulls and the taste gets more vegetal as it sits, which is oxidation rather than spoilage. Shake the jar before pouring, since the fiber settles and separates within a few hours. Freezing in ice cube trays works well if you want to keep a larger batch.
Conclusion
Start with the simplest version: spinach, one cucumber, two celery stalks, one green apple, half a lemon, and half a cup of water. Blend for sixty seconds, taste it, and strain only if you want it lighter.
Once that works, the next useful upgrade is a nut milk bag, since straining through a bag takes a fraction of the effort of holding a sieve under the tap.
If you are juicing carrots more than greens, read how to make carrot juice with a blender. For a concentrated single-serving shot instead of a full glass, try how to make a wheatgrass shot without a juicer. And once you are blending every morning, how to clean a blender without taking it apart will save you real time at the sink.
One last note on frequency. Most mainstream nutrition guidance treats juice as one more way to get vegetables, not as a treatment or a meal replacement, and anyone with a medical condition, on medication, or pregnant should check with a doctor or registered dietitian before making it a daily habit.