
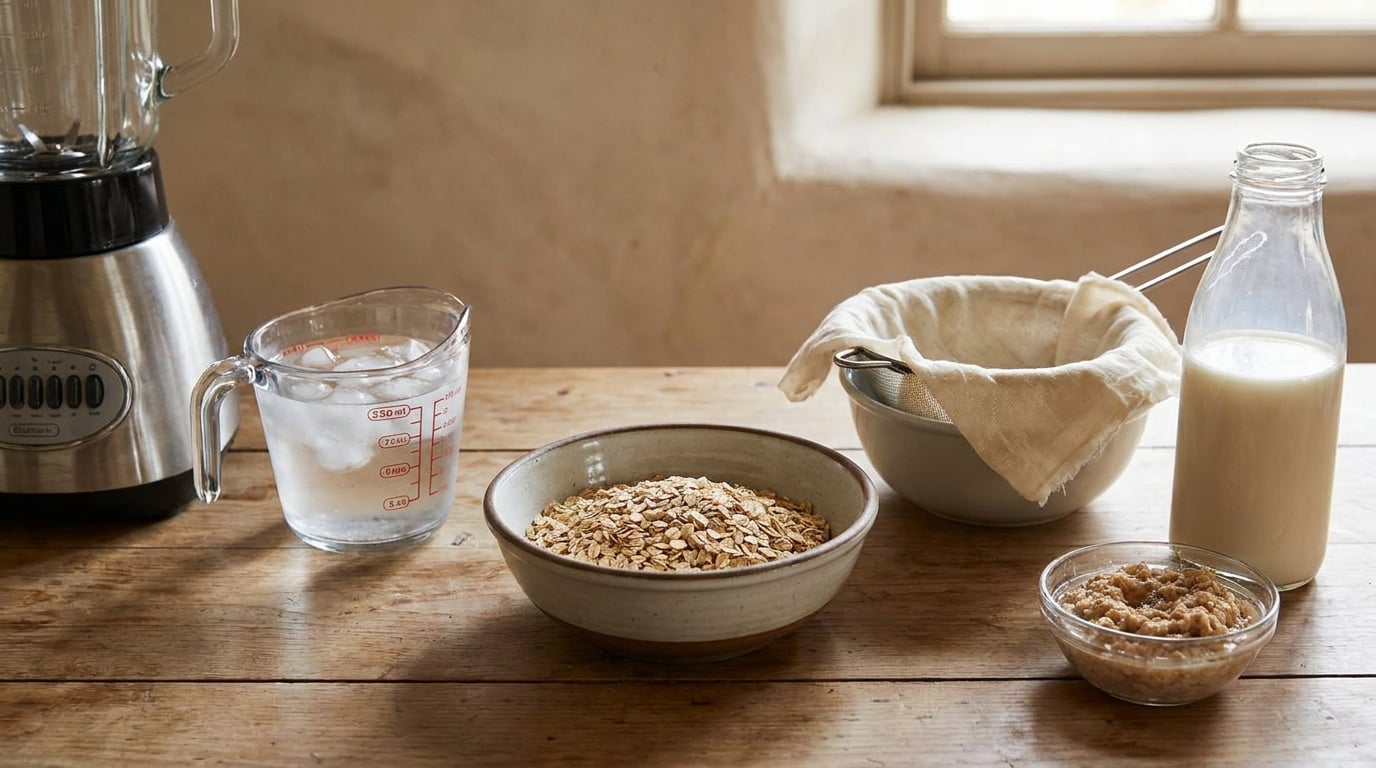
The slime in homemade oat milk comes down to three things: warm water, too many seconds in the blender, and squeezing the pulp when you strain it. To make oat milk that is not slimy, blend 1 cup of rolled oats with about 4 cups of ice-cold water for no more than 30 seconds, then drain it through a fine-weave nut milk bag and let the pulp drain without pressing it. Ten minutes of work, no additives.
The mechanism is simple, and once you understand it you never have to guess again. Oats are a starch-dominant, fat-poor cereal grain, and starch does not dissolve in cold water — it just sits there as a fine suspension. Agitation and heat are what force it out of the oat, where it swells into a gel. Every technique below is a way of keeping that starch locked inside the grain.
One honest warning before we start. Fixing sliminess usually makes the milk thinner, because the same steps that keep starch from escaping also keep solids from suspending. A batch that is smooth but light is a success, not a failure. A quarter cup of raw sunflower seeds thickens it without adding starch, if you want body back.
Table of Contents
What You Need for Oat Milk That Is Not Slimy
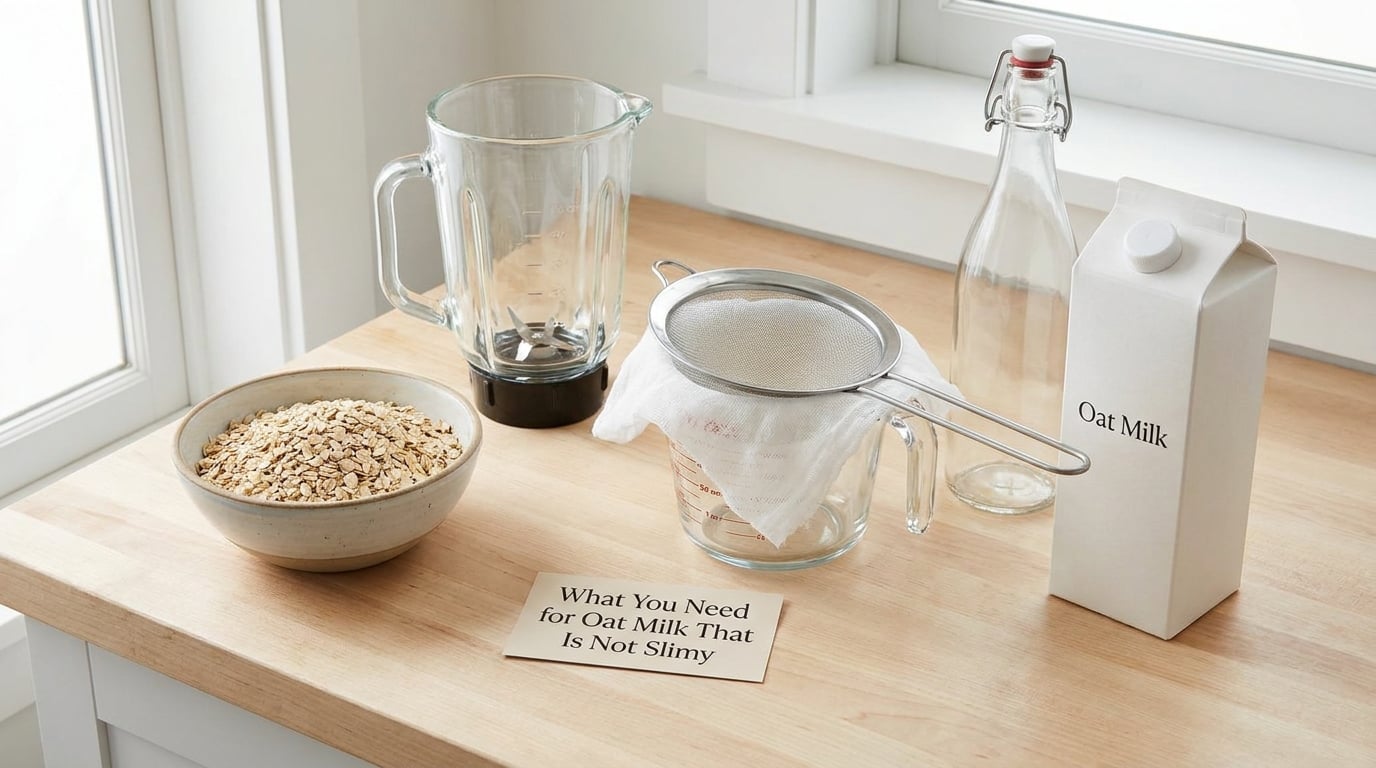
For roughly 1 quart of finished milk, you need very little:
- 1 cup rolled oats (old-fashioned or traditional style, not quick or instant)
- 4 cups cold water, plus a handful of ice cubes — fridge-cold is not cold enough for some blenders, and the cubes are the fix people usually discover on their own
- A pinch of salt, about 1/4 teaspoon. It is not for flavor; salt keeps the fine solids in suspension so they do not drop out as sediment
- Optional sweetener: 1 to 2 pitted Medjool dates, 1 tablespoon maple syrup, or 1 teaspoon vanilla extract
For equipment, a blender is the only real requirement, and almost any one works as long as you can hit a high speed for 30 seconds. A nut milk bag is the ideal strainer because the weave is tight enough to catch the finest particles. If you do not have one, a fine-mesh sieve lined with muslin, or a thin cotton dish towel draped over the sieve rim, works nearly as well.
Skip paper coffee filters. They clog within seconds and end up leaving more pulp in the bag than they catch. A regular slotted colander is worse — nothing gets through the holes except water.
A tall glass bottle or jar with a lid is the last piece. Wide-mouth jars are easier to shake and pour from, and that matters more than it sounds, because separation is normal in homemade milk.
Step-by-Step: How to Make Oat Milk That Is Not Slimy
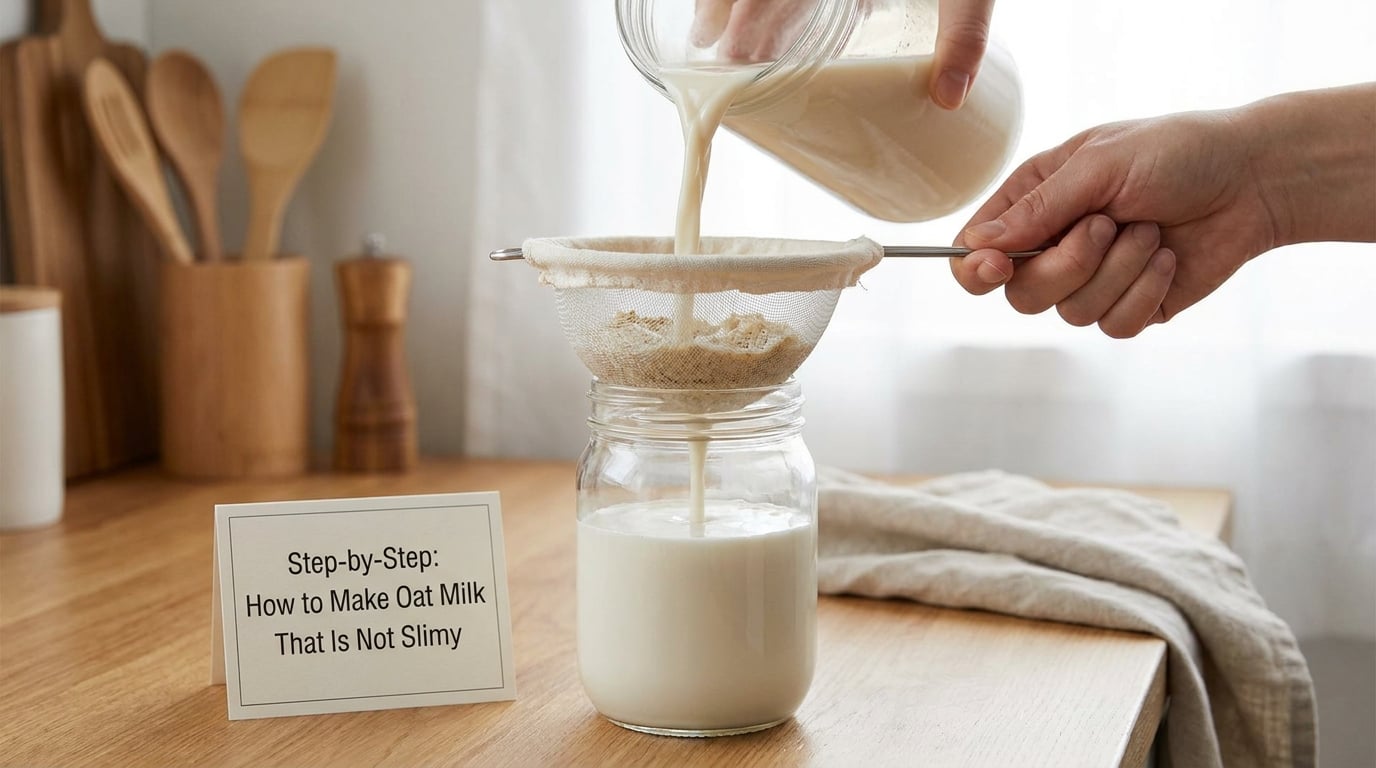
Five steps, about ten minutes end to end. Read the whole thing once before you start, because the two places people go wrong are a soak they did not need and a squeeze they did not realize they were doing.
Step 1: Choose Oats and Rinse Them Well
Rolled oats are the reliable choice. The oat types behave differently, and the difference comes down to how much surface area the grain has already been given:
- Rolled oats — a good middle ground. The flakes are thin enough to break down in about 30 seconds, and the starch stays mostly inside the grain. Use these.
- Steel-cut oats — too hard for a short blend. They need a long soak and a long blend, both of which pull starch out. You end up working hard for a slimier result.
- Quick oats — rolled thinner and meant to cook in two minutes, so they break down almost instantly and release starch fast.
- Instant oats — pre-steamed and often pre-sweetened. Worst option here, and the added sugar is a second reason to skip them.
- Oat flour — pure starch by weight. It works, but you have to use roughly a third of what you would use in flakes and expect a thinner, chalkier milk.
Now rinse them. Tip the cup of rolled oats into a fine-mesh strainer and run cold water through it for about 30 seconds, stirring with your fingers, until the water runs mostly clear. This washes off the loose surface starch that sits on the outside of the flake — the starch that has never been bound into the grain and has no reason to stay there. It costs you nothing and it is the single cheapest improvement to the recipe.
Ratios: 1 cup of oats to 4 cups of water gives you a drinkable, everyday milk. Go to 1 cup of oats to 3 cups of water if you want something closer to a cream. Do not go beyond that, and this is the part most people get wrong: a thicker batch spoils faster, and pushing the ratio is a much worse route to creaminess than adding seeds or a stabilizer.
Step 2: Soak the Oats Without Making Them Slimy
You do not need to soak the oats. This surprises a lot of people, because the internet has turned soaking into a required step inherited from almond milk, where it serves a completely different purpose — softening a hard nut. If you do soak, the answer is a quick one: 10 minutes in cold water, which hydrates the flakes just enough to blend evenly.
Skip these three versions, all of which are common and all of which make slime:
- Overnight soaking. Hours in water give enzymes time to work on the grain and begin breaking starch down into soluble sugars. You get a sweeter, thinner milk with a thinner mouthfeel.
- Warm or hot water. Anything above room temperature starts gelatinizing starch, which is exactly the gel you are trying to avoid. The stovetop “gravy method” some people swear by does work for them, but it is a different recipe with a different texture, not a fix for sliminess.
- Soaking with an acid. Vinegar, lemon juice or a wheat starter in the soaking water all accelerate starch breakdown for the same reason. It also changes the flavor.
How to tell the oats are ready: they should be plump and slightly softened, still holding their shape, and if you pinch one between your fingers it should bend rather than snap. If the water in the bowl has turned cloudy and starchy, you have gone too far — rinse and start over.
Step 3: Blend the Oats in Small Batches
This is where the control happens. Put the rinsed oats, 4 cups of cold water, a handful of ice cubes and the salt into a clean blender and blend on high for 20 to 30 seconds, then stop.
Blender blades generate heat through friction. That heat gelatinizes starch, and starch that has been gelatinized is permanent — you cannot un-set it later. A 30-second blend releases enough starch to make a smooth milk; a 90-second blend is making pudding. Set a timer. People who do this without a timer reliably overshoot.
Batch size matters too. Fill the jug no more than half full. A full jug barely moves, so you blend longer and harder to get the same result, and both of those create heat.
If your blender has a pulse button, use it: five or six one-second pulses, then a few seconds continuous, and stop. Pulsing breaks the oats down without giving the heat time to build. If your fridge water is not cold enough — the classic sign is that the jug walls get warm within the first 10 seconds — freeze your water into ice cubes ahead of time and blend with those. Same volume, colder mix, no slime.
What a good blend looks like: when you stop, the liquid is opaque and pale, and there is no foam standing on top. Thick foam means you went too far.
Step 4: Strain the Mixture So the Milk Is Not Slimy
Pour the blended mixture into a nut milk bag, or a fine-mesh sieve lined with muslin or a thin cotton towel. Let it drain for 5 to 10 minutes, and then — this is the part that undoes all your careful work — do not press, squeeze, or wring the pulp. Let gravity do it.
Squeezing feels wasteful, which is exactly why people do it. But the pulp in the bag is a filter full of the exact starch you are trying to leave in the oats, and forcing liquid through it pushes that starch straight into your finished milk. You will notice the difference immediately: squeezed pulp gives you a thicker, slicker milk within hours. The reward for patience is a milk that stays smooth for its whole shelf life.
Double strain for the silkiest result. After the first straining, run the collected milk through a second clean strainer or a fine sieve. The second pass catches particles that were suspended in the liquid rather than sitting in the pulp, and it costs about a minute. The difference in mouthfeel is bigger than you would expect.
You should end up with roughly 3 cups of milk and a fist-sized ball of wet pulp. Do not throw that out: it carries the same starch that would have ruined the milk, so it is fine folded into granola, mixed into bread or muffin dough, dropped into pancakes, or even smoothed into a face mask.
Step 5: Adjust the Texture and Store It
Thin it with cold water, a tablespoon at a time, and whisk until smooth. Thickening it is harder without starch, so use the non-starch options: 1/4 cup of raw sunflower seeds blended with the final milk for genuine body, or 1/8 teaspoon of xanthan gum whisked in with a fork. Both are honest routes; both keep the milk pourable.
For flavor, blend the sweetener in with the oats rather than stirring it in afterward, so it disperses properly. A pitted Medjool date gives a rounded caramel note, maple syrup gives a straightforward sweetness, and a teaspoon of vanilla plus a pinch of cinnamon makes it taste like the drink you order out.
Pour into a clean jar, leave headroom, lid on, straight into the fridge. Homemade oat milk keeps about 4 to 7 days refrigerated. Freeze it in ice cube trays for smoothies, or in a silicone mold for baking, and move cubes to a bag once solid.
Shake before every use. Separation is not spoilage, it just means the starch and fine solids have settled, which they will do in any homemade milk because there are no emulsifiers holding them in place. Twenty seconds with a tight lid and it is back to normal. Discard the batch if it smells sour or fermented, tastes off or fizzy, or has visible mould — texture alone is never a reason to throw milk out.
Common Mistakes: Why Your Oat Milk Turns Slimy
Nearly every slimy batch comes down to one of these. Work down the list and the cause is usually obvious:
- Over-blending. The single most common cause. Set a 30-second timer, fill the jug half full, and stop the second the liquid turns opaque.
- Warm or hot water. Cold water keeps starch suspended; warm water gelatinizes it. Use fridge-cold water or ice cubes.
- Squeezing the pulp. Drip only, never press. The pulp is a starch reservoir and squeezing empties it into your milk.
- Soaking too long or in warm water. An overnight or warm soak activates enzymes that break starch down and thin the milk. Skip it entirely, or soak 10 minutes cold.
- Too many oats. Heavy-handed measuring turns the batch into a slurry before you even start. Weigh 1 cup of oats at about 100 grams if you are unsure.
- Not rinsing, and straining too loosely. Unrinsed oats carry loose surface starch, and an ordinary sieve lets fine pulp through. Rinse, then double strain.
Match the symptom to the cause
- Slimy when cold. Over-blended, or the pulp got squeezed. Change: 30-second limit, drip-drain only.
- Thickens into a gel the moment you heat it. Starch gelatinizing at temperature, not a blending problem. Change: heat gently, whisk constantly, and add a splash of cold water.
- Watery, tastes like oat water. Too few oats, or the milk was thinned while hot. Change: use 1 cup oats to 3 cups water, and thin only with cold liquid.
- Chalky, flat, slightly gritty. Starch never hydrated, or too much oat flour. Change: blend longer within the 30 seconds, and strain twice.
- Oily layer on top. Fine solids and natural oils have risen, with no emulsifier to hold them. Change: whisk hard or shake in a sealed jar before use.
- Sediment at the bottom. Normal settling without stabilizers. Change: shake, and add the salt next time.
- Turns thick and sour fast. Too concentrated, and stored warm. Change: loosen the ratio, refrigerate within an hour.
How to fix a batch that is already slimy
Do not heat it. Whisk in cold water a tablespoon at a time until the slickness lifts — dilution is the reliable move, because a thin, thin milk is far less noticeable than a slick one.
Then strain it again through a clean fine-mesh sieve or a second nut milk bag, and if you still need body, blend the strained liquid with a handful of ice cubes for 10 seconds. Never try to cook the sliminess out, and never add more oats to the existing batch; that only makes the slurry thicker.
Slimy when you heat it is a separate problem
Heated oat milk that turns to pudding is not an over-blending mistake, so no amount of care in the blender will fix it. It is the same starch, now heated instead of agitated. Add a splash of cold water, keep the heat low, and whisk constantly from the moment the liquid hits the pan — that keeps the starch granules apart before they can link up.
For matcha, chai or golden milk, whisk the powder into a few tablespoons of cold milk first, then stir that slurry into the warmed liquid. For coffee, steam the milk separately and pour it over the espresso at the end. Both keep the temperature spike small.
The amylase option, and what it costs you
There is a sixth technique, and it is genuinely different from everything above. Amylase is the enzyme that breaks starch down into maltose. Add a small amount after blending, once the strained liquid is close to body temperature, and the starch that would have gelled gets converted into sugar instead. Creamier, never slimy, and slightly thinner as a result.
Pure alpha-amylase is sold in tiny packets and is potent — roughly 1/10 to 1/3 teaspoon handles a gallon. Two things to know: cold starch resists the enzyme, so add it warm rather than to the dry oats, and the enzyme is inactivated around 160F, so it cannot be used in any heated method. It also means you need far less sweetener, because converting starch makes its own sugars.
Routes without a nut milk bag or a blender
A cold-press juicer that handles nuts or seeds can make oat milk, and it works well because it is slow and cold, though you will want to add water through the feeding chute. An immersion blender in a tall, narrow cup works as a direct substitute for a full blender — keep the cup narrow so the mixture moves. A soy milk maker programs the soak and heat cycles for you, and the result is reliably smooth.
None of these fix a too-small mesh, though. Whatever you blend with, strain through muslin or buy the bag; a sieve alone is why so many people conclude that their oat milk failed.
Frequently Asked Questions
Can you drink slimy oat milk?
Yes. Sliminess is a texture problem, not a food safety problem. It means starch has been released from the oats and swollen into a gel, which tastes unpleasant and looks wrong but is not harmful. Throw the batch away only if it smells sour or fermented, tastes off or fizzy, or shows visible mould. Separation on its own is also harmless and just means you need to shake the jar.
How can I make homemade oat milk that is not slimy?
Use ice-cold water, blend for no more than 30 seconds in a half-full jug, and never press or squeeze the pulp when straining. Rinse the oats under cold water first to wash off surface starch, and strain twice through a fine nut milk bag or muslin-lined sieve. Skip soaking, and skip warm water, because both activate the starch you are trying to keep locked in the grain.
Why is my homemade oat milk so slimy?
Oats are mostly starch, and starch does not dissolve in cold water, it just hangs there. Agitation and heat force it out of the grain, where it swells into a gel. So the causes are: too many seconds in the blender, warm water, squeezing the pulp while straining, a long or warm soak, or too high an oat-to-water ratio. Anything that adds heat, time or pressure makes it worse.
How can I tell if homemade oat milk has gone bad?
Trust your nose first. Sour, fermented or boozy smells, an fizzy or off taste, and any visible mould mean discard it. A thick gel or clumping on its own can just be the starch sitting at the bottom, so shake the sealed jar before you decide. Homemade oat milk keeps roughly 4 to 7 days in the fridge, shorter if your kitchen is warm or you used a heavy oat-to-water ratio.
Why does my oat milk turn slimy when I heat it?
This is a different failure from over-blending. Heat gelatinizes oat starch, and once set it cannot be un-set. Whisk constantly, keep the heat low, and add a splash of cold water to give the granules room. For lattes, whisk the powder into a few tablespoons of cold milk first, or steam the milk separately and pour it over the coffee at the end.
How do I make homemade oat milk thicker without it turning slimy?
Adding more oats mostly makes the milk spoil faster, and the extra starch is what causes sliminess in the first place. Instead, blend a quarter cup of raw sunflower seeds with the finished milk for real body, or whisk in an eighth of a teaspoon of xanthan gum. Both keep the milk pourable. A pinch of salt also helps, by keeping the fine solids in suspension instead of letting them drop out as sediment.
Conclusion
If your last batch was slimy, change one thing before you change anything else: use ice-cold water, or freeze your water into cubes, and set a 30-second timer on the blender. Then strain through a bag or muslin and let the pulp drip instead of squeezing it. Those three changes fix the large majority of bad batches, and the rest is down to the oats you started with — rinsed rolled oats, no soak, and a pinch of salt.