
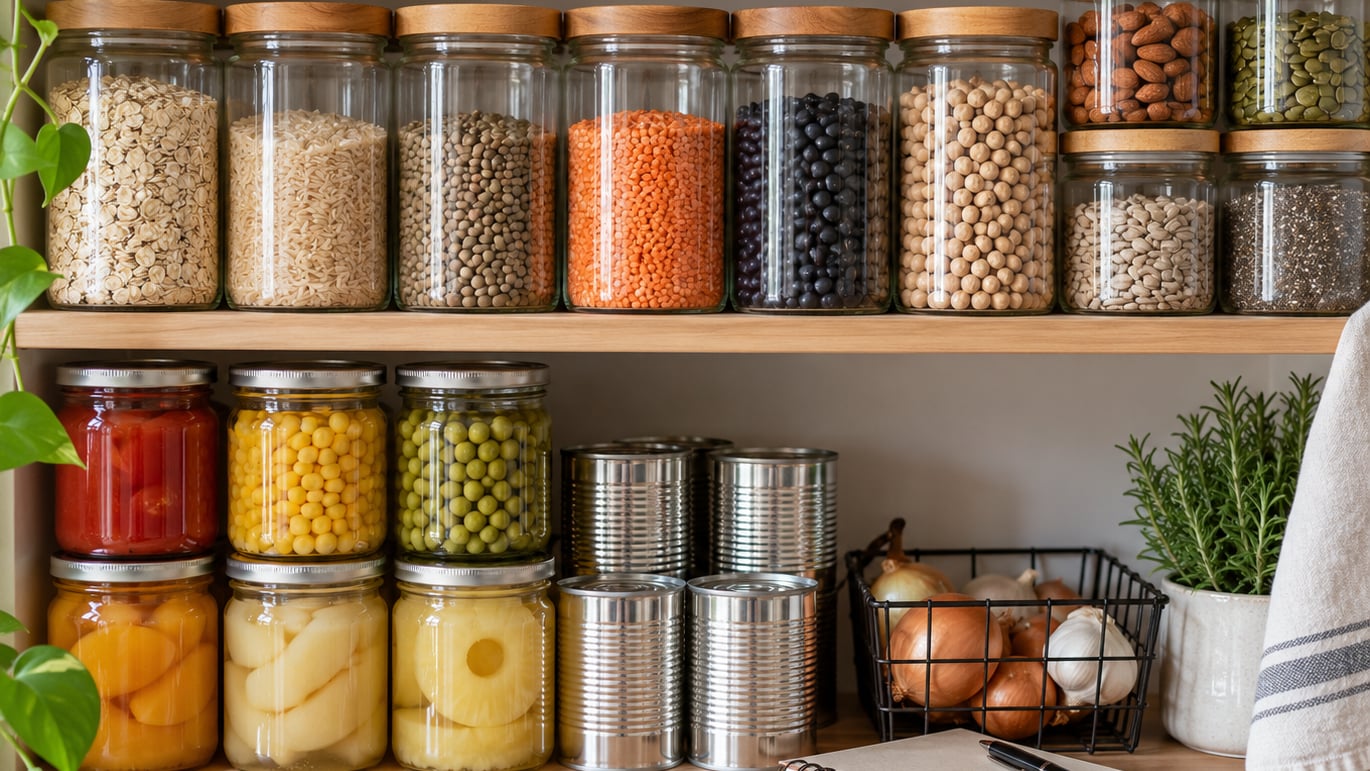
Building a healthy pantry from scratch takes about an hour of planning and three shopping trips, not a weekend of extreme cooking. The method is simple: find out what your household actually eats, buy shelf-stable foods that cross over into several meals, and store them so you can see and reach them. No fancy equipment, no specialty aisle required.
Most people fail at this in the same place. They buy a beautiful haul of whole grains and fermented foods, cook none of it, and find the leftovers a year later. This guide flips the order, so meals come first and the shopping list follows.
Updated for 2026. Everything below is general food-handling guidance based on published USDA and FDA recommendations. If you have a medical condition, a food allergy, or questions about nutrition for your situation, talk with a registered dietitian or your doctor.
Table of Contents
- What You Need
- How to Build a Healthy Pantry From Scratch: Step-by-Step
- 1. Assess Your Kitchen and Eating Habits
- 2. Plan How to Build a Healthy Pantry From Scratch Around Meals
- 3. Shop by Food Group and Pantry Zone
- 4. Start With Versatile Everyday Staples
- 5. Add Flavor Without Rebuilding the Pantry
- 6. Store Everything for Freshness and Safety
- 7. Create a Weekly Restock and Rotation System
- What Meals Come Out of This
- Common Mistakes
- Frequently Asked Questions
- Conclusion
What You Need
A pantry build needs five things, and most households already own four of them.
- A meal inventory — a note on your phone or a piece of paper listing the meals you genuinely cooked in the last two weeks. This single list prevents most wasted spending.
- Clear airtight containers — glass jars with lids, or rectangular plastic containers that stack. Clear matters more than expensive.
- A marker and masking tape — for writing the food name and the month it was opened.
- A small step stool — so you can see and reach the back of every shelf instead of pulling everything forward.
- Pantry-safe shelving — a sturdy shelf rated for the weight you plan to load. Wire shelving is fine; untreated particleboard sagging under canned goods is not.
Decide a spending limit before the first trip and write it down. When you know the ceiling, you choose fewer things on purpose rather than by impulse at aisle six.
How to Build a Healthy Pantry From Scratch: Step-by-Step
1. Assess Your Kitchen and Eating Habits
Start by measuring what you have, not what you wish you had. Count the shelves you can actually use, note whether any are near the oven or a hot pipe, and check whether you have a cool spot out of direct sunlight.
Then write down the practical constraints: how many people eat there, who cooks, how often, and how much time a weeknight meal realistically gets. Households of one should buy the smaller package of everything. Buying family-size beans for a single person is how good food goes bad.
Note allergies and dietary limits now, not at the shelf. If someone in your house avoids gluten or tree nuts, decide which categories get a substitute from the start rather than improvising later. Our guide to building an immune-supporting shopping list covers the same principle from the nutrition side.
You know the step worked when your list of meals matches your calendar instead of an idealized version of it.
2. Plan How to Build a Healthy Pantry From Scratch Around Meals
Turn one week of breakfasts, lunches, dinners, and snacks into a single combined shopping list. That overlap is what makes a pantry cheap to run.
Oats appear in breakfast, in a baked version, and as a thickener for soup. Canned tomatoes go into pasta, chili, curry, and a sauce you can freeze. Chickpeas work in a salad, in a curry, crisped in a pan, and mashed into a weeknight dip.
People on cooking forums keep repeating the same lesson: familiar staples beat exotic ones. Whole-food kitchens built on rice, pasta, canned beans, and canned tomatoes produce far more actual meals than shelves full of grains nobody has tried yet.
Write each planned meal’s ingredients on one list, then strike out duplicates. What survives the strikeouts is your shopping list, and it should be two to three pages at most.
3. Shop by Food Group and Pantry Zone
Shopping by food group instead of by aisle keeps you from ending up with ten jars of pasta sauce and no beans.
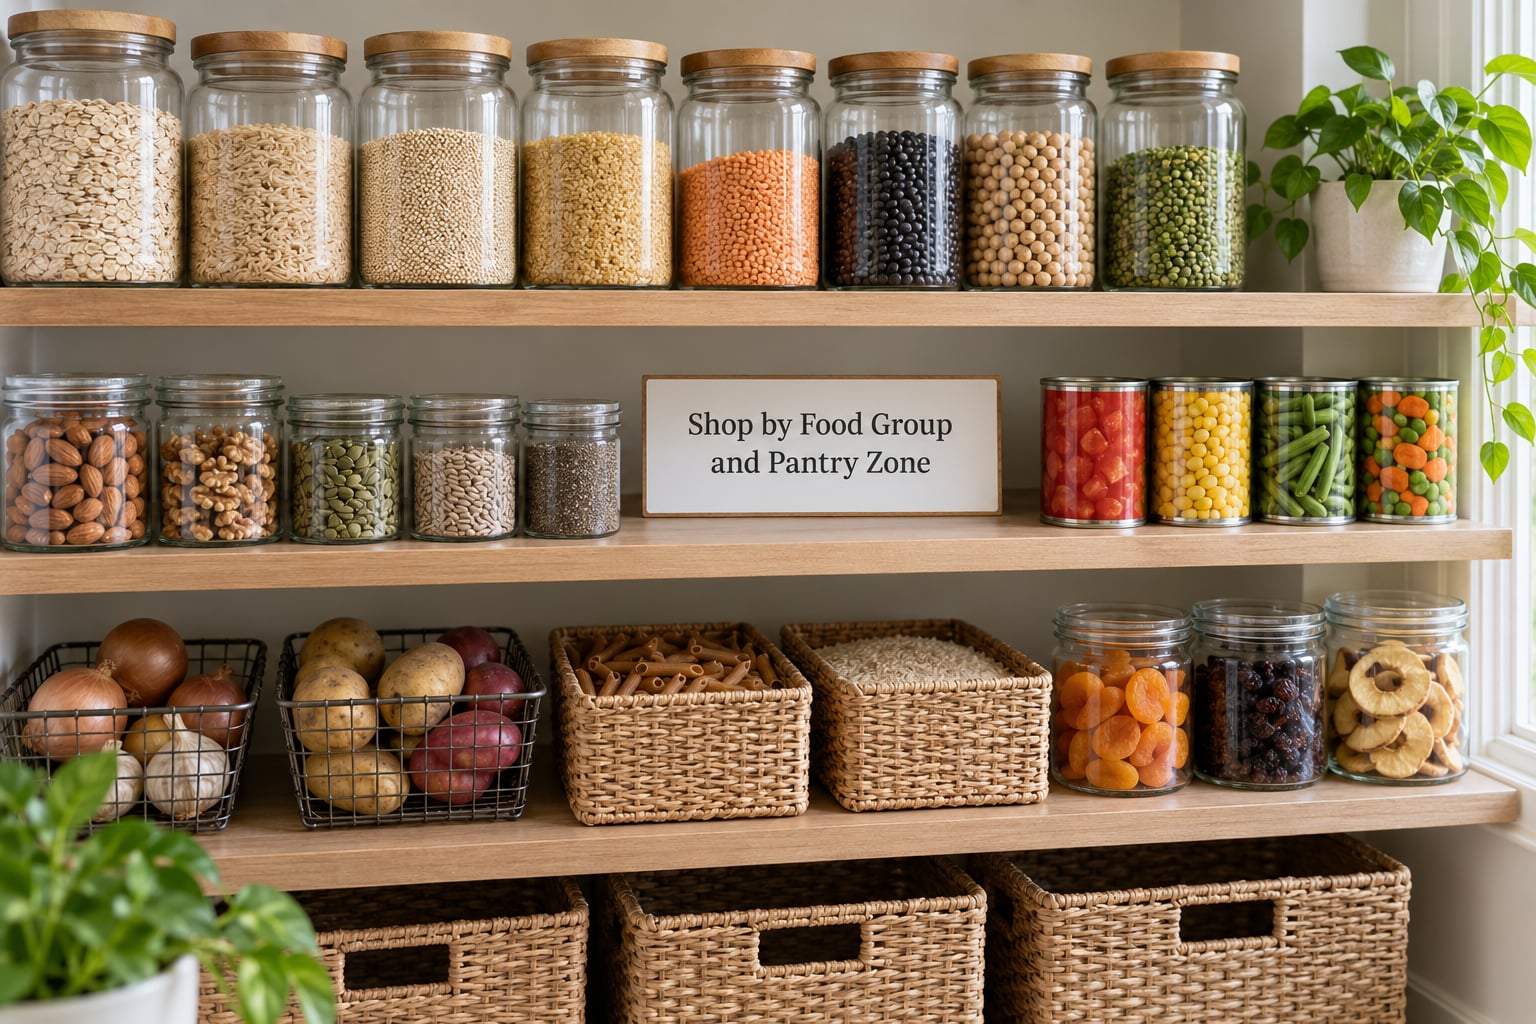
- Grains — oats, brown rice, quinoa, whole-grain pasta, rolled oats for breakfast. Look for whole grain or whole wheat as the first ingredient.
- Legumes — black beans, chickpeas, lentils, kidney beans. Pick the no-salt-added cans; you can add salt, you cannot take it out.
- Canned vegetables and tomatoes — diced tomatoes, crushed tomatoes, green beans, corn, carrots. Frozen vegetables count too and often cost less per serving.
- Canned fruit — fruit packed in juice or water with no added sugar, not in syrup.
- Nuts and seeds — peanuts, walnuts, almonds, pumpkin seeds, sunflower seeds, chia and flax. Small bags, because these turn rancid.
- Healthy fats — olive oil, avocado oil, and nut or seed butters with no added sugar and no hydrogenated oils.
- Protein foods — canned fish, tuna packed in water, eggs if you keep them cold, plus plenty of legumes.
- Flavor builders — vinegars, mustard, low-sodium broth, spices, garlic powder, canned tomatoes with herbs.
- No-cook staples — nut butter, tuna, crackers, dried fruit, popcorn kernels, a few shelf-stable milk options.
At the store, compare the label, not the front of the package. Two-minute check: ingredients first, then added sugars, then sodium.
4. Start With Versatile Everyday Staples
Your first trip should be small and boring. Boring is good. You are buying the ingredients that appear in four or more of your planned meals, so they will get used.
The buy-small versus buy-large decision is per category, not per aisle. Buy large for canned beans, canned tomatoes, and pasta, which keep for a year or more and lose little flavor in storage. Buy small for nuts, seeds, oils, and nut butters, which turn bitter as their oils oxidize and are wasted in bulk.
Buy the smallest size of anything you have never cooked with. One bag of quinoa to find out whether you like it beats a five-pound bag you avoid.
5. Add Flavor Without Rebuilding the Pantry
A plain bean tastes like a plain bean until it meets acid, salt, and heat. A small flavor kit fixes most of that without adding a single new ingredient to the shopping list.
- Two vinegars: one everyday white or apple cider vinegar, one balsamic or red wine vinegar.
- Two mustards: yellow and Dijon or whole grain.
- Low-sodium broth in two varieties, vegetable and chicken, in cartons or cans that fit your shelf.
- A compact spice set: black pepper, garlic powder, onion powder, chili flakes, cumin, smoked paprika, oregano, and cinnamon.
- One sauce that does work: tomato paste, coconut milk, or a jarred pasta sauce with a short ingredient list.
Broth and canned tomatoes unlock the most meals per jar of anything in this kit. If you are short on room, buy those first.
6. Store Everything for Freshness and Safety
Store dry goods only after they are completely cool. Warm rice sealed into a jar traps condensation, and that moisture invites mold.
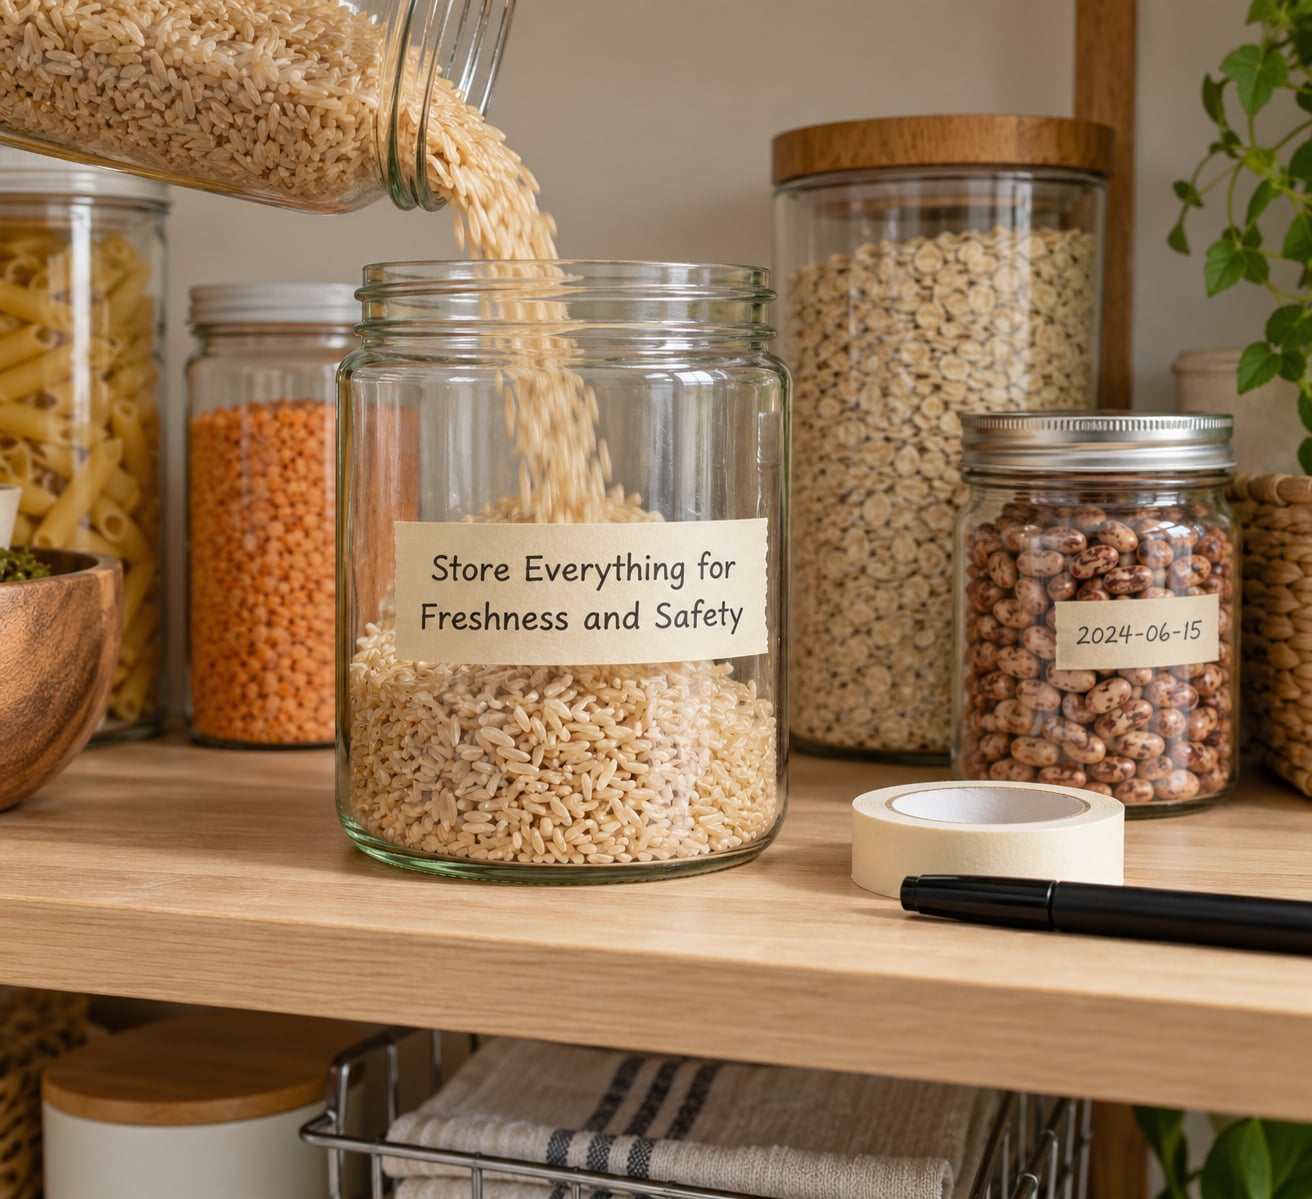
Pour grains, beans, and nuts into airtight containers, label each one with the contents and the month, and put heavier cans at the bottom of the lower shelf. Keep the pantry cool, dry, and dark, and away from the oven. If your pantry gets warm in summer, move the nuts, seeds, and oils to the refrigerator or freezer.
Decanting is worth doing for anything you will not finish in one use. It stops pantry moths and weevils, and it lets you see what you have at a glance instead of reading six labels in the dark.
Move opened and perishable pantry items to cold storage. Opened nut butter, most oils, and jarred condiments belong in the refrigerator after opening, following the label. Cooked and canned beans go into the refrigerator within two hours of cooking, and eat refrigerated leftovers within three to four days. Frozen food keeps quality for the whole freezer, once fully frozen.
If a package has gotten wet, swollen, dented at the seam, or smells sour, discard it. A can with a bulging end should never be opened or tasted.
7. Create a Weekly Restock and Rotation System
The pantry is a system, not a one-time event. A fifteen-minute weekly check keeps it working.
Before you shop, take one photo of each shelf with your phone. Look at the photo instead of the shelf. You will spot the empty pasta and the forgotten lentils faster than walking the aisle twice.
Rotate using first in, first out: when you refill a container, move the remaining contents into a fresh container and put the new bag behind them, or set fresh items at the back of the shelf and pull from the front. Label the new container with this month’s date.
Keep a running list on the pantry door for two things: what ran out, and what sat there untouched for months. If something sits untouched three trips in a row, stop buying it. That list is the most honest budget tool you own, and it is what stops the cycle of buying a staples list over and over without checking what you already have.
What Meals Come Out of This
A stocked pantry is only worth what you can make from it. Once the staples are in place, meals come fast: bean and rice bowls with canned broth and spices, lentil soup that simmers while you do something else, chickpea curry with coconut milk, tuna and white bean salad, pasta with a short-ingredient sauce, sheet-pan roasted vegetables with canned chickpeas, overnight oats with nut butter, popcorn with a small amount of oil, and hummus from chickpeas with lemon and olive oil.
Several of these start from the same core ingredients, which is the point. If you like the grain-bowl version, our grain bowl from pantry staples guide shows how one base builds several meals.
Common Mistakes
Almost every wasted pantry comes down to one of these seven errors, and each has a simple fix.
- Buying a large first haul. You will cook two items and lose interest. Fix: buy one week of each staple, then restock. Two trips beat one enormous one.
- Overbuying perishables. Fresh produce in the pantry turns in days. Fix: keep fresh items in the fridge, and buy frozen vegetables for the shelf instead.
- Storing food in the package it came in. Cardboard and thin plastic let in moisture and insects. Fix: decant dry goods into airtight containers the day you buy them.
- Ignoring the label guidance. Opened jars and nut butters stay out too long. Fix: read the storage line, write the opened month on the label, and follow it.
- Treating trendy foods as required. You do not need every fermented, adaptogenic, or superfood item to eat well. Fix: check the marketing claims against the ingredient list, and see our guide to telling good nutrition advice from hype.
- Skipping the meal plan. A list without meals becomes clutter. Fix: write the week of meals first, and shop from that.
- Never auditing. Forgotten jars quietly turn into a compost-bin project. Fix: a monthly 20-minute reset, discarding anything expired and refreshing the door list.
Two habits carry most of the weight. Put the foods you eat daily at eye level and the occasional items above them, since people reach for what they see. And keep one shelf honestly boring, because your most-used cooking items deserve the easiest reach.
Frequently Asked Questions
How much food should I buy when building a healthy pantry from scratch?
Enough for about two weeks of meals across each food group, not a month. Start with two to three grains, three or four canned beans, canned tomatoes, two vinegars, and a small spice set. Add items as you notice a gap in a week’s meal plan. Households of one should buy standard packages rather than family sizes.
How long should a healthy pantry last before it needs restocking?
A well-planned pantry of shelf-stable staples covers two to six weeks of regular meals without a major shop, depending on household size. The limit is usually fresh produce and refrigerated items, not the shelf. Check before you shop with a phone photo of each shelf, and restock what is actually gone rather than what the original list said.
Do I need airtight containers for every pantry item?
You need them for dry goods you have opened: grains, legumes, nuts, seeds, flour, and cereal. Airtight, clear containers stop moisture, insects, and staleness and let you see what is inside without opening twelve packages. Canned and sealed jarred goods can stay in their original packaging as long as the seal is intact and the can is not dented or bulging.
Which foods should not be kept in the pantry?
Anything perishable belongs elsewhere. Fresh produce, dairy, eggs, raw meat, and opened packages of deli meat go in the refrigerator. Opened nut butter, most oils, and jarred condiments move to the refrigerator after opening, and nuts and seeds go there or to the freezer if the pantry runs warm. Discard any food that smells sour, looks swollen, or has a bulging can seal.
How can I restock a healthy pantry without wasting food?
Photograph each shelf before you shop and shop from what is missing, not from a memorized list. Rotate with first in, first out so older bags get used first, and label containers with the month they were filled. Keep a door list of what ran out and what nobody touched, and stop buying items that sit for three trips in a row.
Conclusion
Start with the boring part: check your storage and what you already own, pick one week of meals your household genuinely eats, and buy a handful of versatile staples. Organize them into labeled containers, put the everyday items at eye level, and set up the weekly restock list.
Add the extras once the basics are running out. A pantry built around meals you cook is worth more than one built around foods you meant to try, and it takes three short shopping trips instead of a chaotic weekend overhaul.