
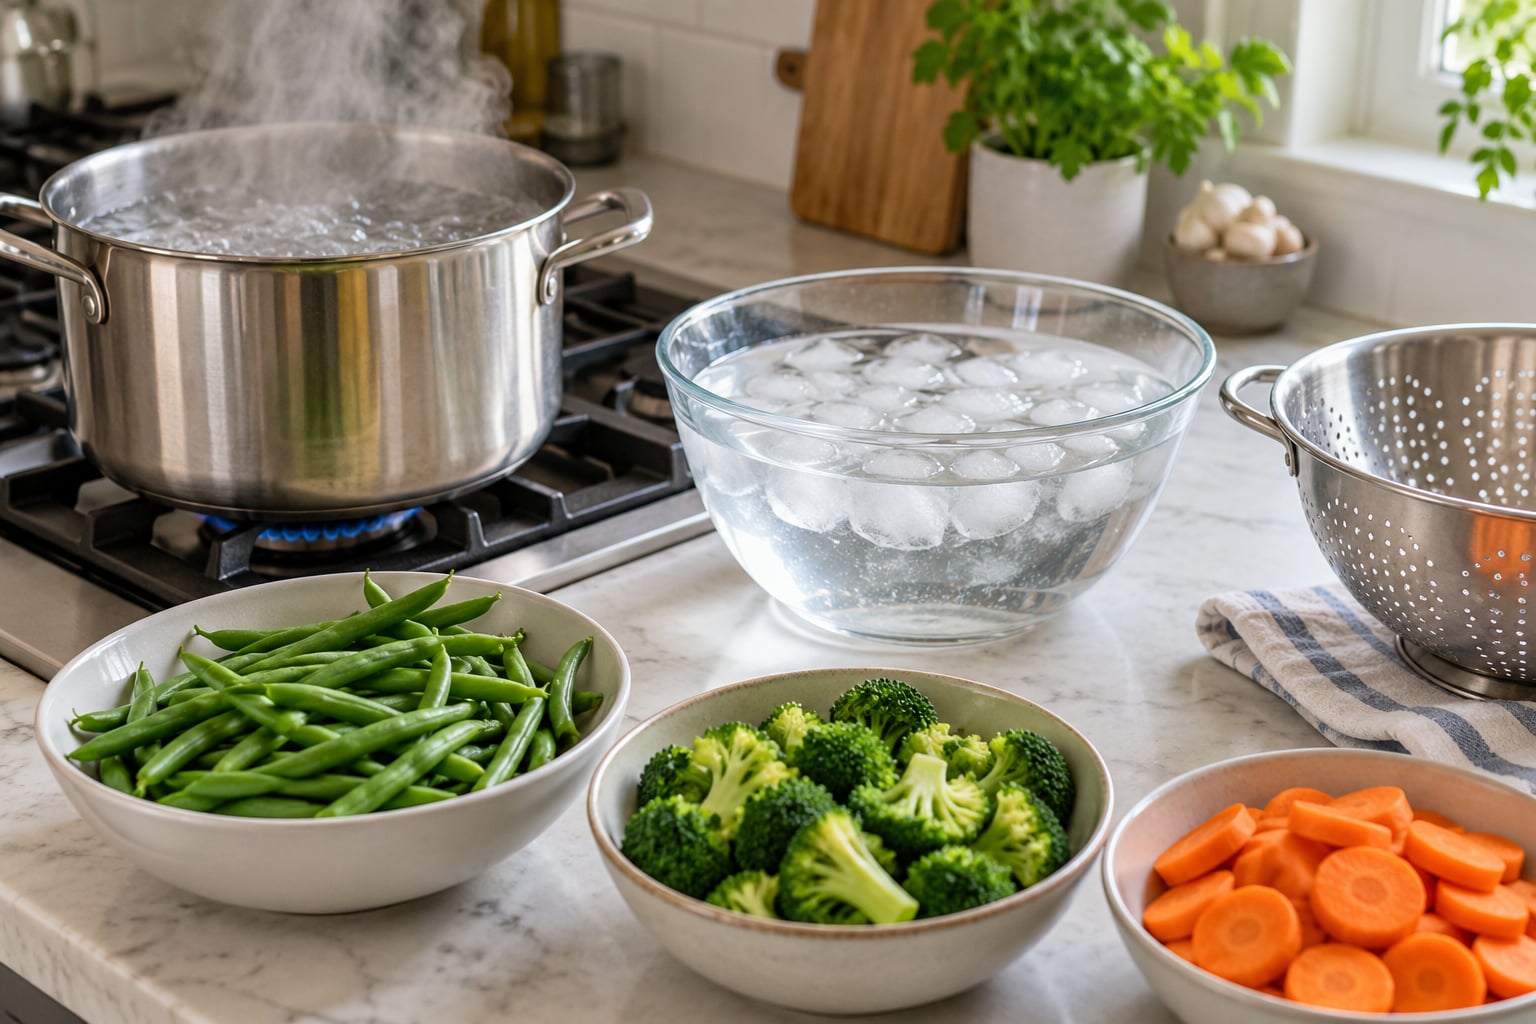
Blanching is a quick dunk in boiling water followed by an ice bath, and it takes maybe 10 minutes per batch. Learning how to blanch vegetables before freezing is the difference between a bag of greens that comes out bright and crisp and one that turns grey, limp, and faintly sour two months later.
Here is the short version: wash and cut the vegetables, boil a large pot of water, cook them for a few minutes, shock them in ice water, dry them well, then pack and label. The whole process scales fine, and the timing chart below covers the vegetables people actually freeze.
If you are doing this because a garden or a market share just produced more squash than one household can eat, start with the prep first. Getting every piece cut and within arm’s reach of the pot turns a forty-minute scramble into a ten-minute assembly line.
Table of Contents
- What You Need for How to Blanch Vegetables Before Freezing
- Step-by-Step
- Common Mistakes
- Frequently Asked Questions
- Do all vegetables need to be blanched before freezing?
- How long should blanched vegetables be cooled before freezing?
- How long do blanched vegetables last in the freezer?
- Can I cook blanched vegetables from frozen without thawing them?
- What happens if I skip blanching vegetables before freezing?
- Should I salt vegetables before blanching and freezing them?
- Conclusion
What You Need for How to Blanch Vegetables Before Freezing
The equipment list is short, and most kitchens already have everything on it.
- A large pot with a lid, big enough that the vegetables move freely. Crowding drops the water temperature and gives you uneven cooking.
- A steamer basket or a clean colander that fits the pot, so you can lift vegetables in and out without draining the pot.
- A large bowl of ice water, mixed right before you start. This is your shock bath.
- Tongs or a slotted spoon for moving vegetables quickly.
- Clean towels or a salad spinner for getting the surface water off.
- Freezer-safe bags or rigid containers, plus a permanent marker for labeling.
- Salt, optional, and a squeeze of lemon for greens that tend to discolor.
A pound of cut vegetables needs roughly a gallon of water. If you are freezing a big haul, set up two pots and run them side by side rather than cramming everything into one, and keep a bowl of ice water circulating with fresh cold water between batches.
Step-by-Step
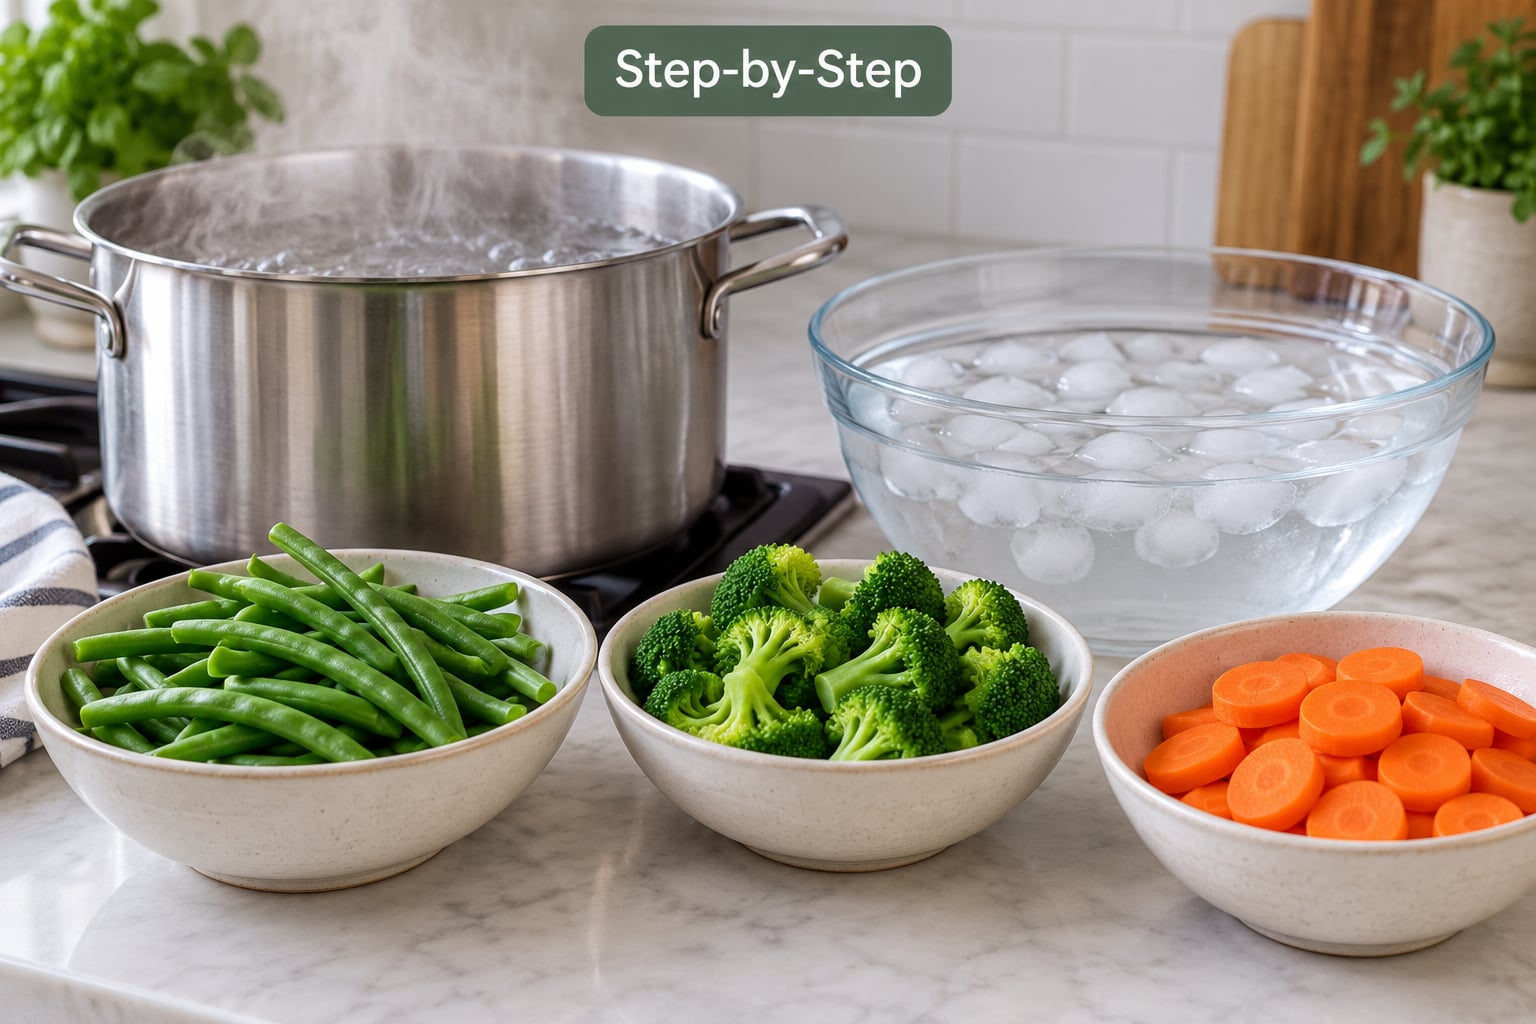
How to blanch vegetables before freezing using the basic method
Follow these eight steps in order, and the whole thing takes less time than most people spend preheating the oven for dinner.
- Wash and cut. Rinse the vegetables under cold running water and trim them. Cut into pieces of roughly even size, because a thin carrot slice and a thick chunk will not finish at the same moment.
- Bring water to a full boil. Use about one gallon per pound of vegetables, and let it return to a rolling boil between batches.
- Add the vegetables. Use a basket or colander so you can start the timer the second they go in. Work in small batches so the water stays at a boil.
- Time the blanch. Most vegetables need only 2 to 5 minutes. Start with the short end of the range and pull them early, since a piece that is underdone for two more seconds is recoverable but an overcooked one never comes back.
- Move straight to ice water. Lift them out and dunk them in the ice bath for about the same length of time as the blanch. This is the step people skip, and it is the one that keeps broccoli green instead of olive.
- Drain thoroughly. Shake the colander dry, then pat the vegetables on a clean towel. Water left in the bag freezes into ice crystals and turns everything watery.
- Pack in single layers. Spread them on a rimmed baking sheet and freeze for 1 to 2 hours, then transfer to bags or containers. This tray-freezing step stops peas and green beans from freezing into one solid block.
- Label and seal. Write the vegetable, the date, and roughly how many servings are in the bag. Squeeze out the air, leave a little headspace, and close it up.
Once the bags are sealed, keep the freezer at 0°F, which is minus 18°C, and away from the door. Blanched vegetables hold their best quality for 8 to 12 months that way.
How long to blanch common vegetables
These are boiling-water times for pieces cut to about half-inch chunks. Steam blanching, where the vegetables sit above the water in a basket, generally needs about half again as long.
| Vegetable | Blanching time |
|---|---|
| Asparagus | 2 to 3 minutes |
| Beets, whole small | 3 to 5 minutes |
| Bell peppers, strips or dice | 3 minutes |
| Broccoli florets | 3 minutes |
| Brussels sprouts, halved | 3 minutes |
| Carrots, sliced | 5 minutes |
| Cauliflower florets | 3 minutes |
| Chinese cabbage, shredded | 2 minutes |
| Corn, cut kernels | 4 minutes |
| Corn, whole ears | 7 to 11 minutes |
| Eggplant, cubed | 3 to 4 minutes |
| Green beans | 3 minutes |
| Kale and collard greens, chopped | 2 minutes |
| Kohlrabi, sliced | 3 minutes |
| Leeks, sliced | 3 minutes |
| Lima beans, large | 3 minutes |
| Okra, whole pods | 3 minutes |
| Onions, mature, sliced | 3 minutes |
| Peas, green shelling | 2 minutes |
| Radishes, sliced | 1.5 to 2 minutes |
| Rutabaga, cubed | 3 minutes |
| Spinach, packed dry | 2 minutes |
| Summer squash, sliced | 3 minutes |
| Sweet potatoes, cubed | 5 to 10 minutes |
| Turnips, cubed | 3 minutes |
| Watercress | 2 minutes |
| Winter squash, small pieces | 10 to 15 minutes |
A few vegetables skip the blanch entirely because blanching costs them more than it saves. Peppers, onions, tomatoes, and hot peppers freeze fine raw for cooked dishes, as do all the herbs except basil and parsley, which go limp. If you have a melon or a winter squash sitting on the counter, [using a whole watermelon before it spoils](https://www.superfoodliving.com/how-to-use-a-whole-watermelon-before-it-spoils/) is a better use of it than trying to freeze it in chunks.
Cooling, drying, and packaging the vegetables
The ice bath is not optional. Vegetables keep cooking from residual heat the moment they leave the pot, which is why unblanched or badly shocked broccoli develops that dull, swampy flavor people complain about after thawing. Give the bath the same time as the blanch, and if the ice melts while you are working, dump it and refill it with cold water and fresh ice.
Drying is the second step people rush. Spinach and other greens hold a surprising amount of water, and packing it wet is the main reason frozen vegetables come out mushy. Use a salad spinner for greens, towels for everything else, and let the pieces sit spread out for a few minutes if you have the time.
For packing, tray-freezing wins for anything that clumps: spread the vegetables in a single layer on a rimmed sheet, freeze for 1 to 2 hours until solid, then bag them. Go straight into containers for larger cuts like squash or corn, leaving about half an inch of headspace so the contents have room to expand. Squeeze the air out of bags before sealing, and label with the vegetable, the date, and the quantity.
Finally, cook from frozen. Drop frozen vegetables into a hot pan or boiling salted water without thawing, and give them a minute or two less than fresh would need. Thawing first is what makes frozen peas soft and colorless.
Common Mistakes
Over-blanching. Waiting for a vegetable to be completely tender before pulling it out costs you texture you can never get back. Pull at the first sign of give, and remember that a whole ear of corn or a big chunk of winter squash is meant to stay slightly firm after thawing.
Skipping or rushing the ice bath. This is the number one cause of off-flavors and grey vegetables, and it costs about a minute to fix. Shocking for the same duration as the blanch is the rule.
Overcrowding the pot. Ten pounds of broccoli in one pot drops the temperature and produces unevenly cooked, unevenly frozen vegetables. Small batches beat one heroic batch every time.
Blanching unwashed produce. Dirt, especially garden soil, carries its own microbes straight into the package. Rinse everything, and scrub anything that grew near the ground.
Packing wet vegetables. Extra water freezes into crystals and gives you watery, limp results. Spin it, pat it dry, then pack.
Forgetting to label. A freezer bag of unidentifiable green cubes gets skipped forever. Date every package, and list the vegetable first.
On salt: a teaspoon in the blanching water seasons the vegetables and helps a small amount of water soak in, which is useful for sturdy ones like carrots. It is not required, and for tender greens and squash it can make the texture a bit grainy.
If blanching a large quantity feels like a chore, most of the work is up front. Cut and sort everything into bowls, boil both pots at once, and label your bags before you start so packing takes seconds. If you are already tired of cooking vegetables every night, [how to eat more vegetables without cooking every night](https://www.superfoodliving.com/how-to-eat-more-vegetables-without-cooking-every-night/) covers the frozen side of that habit.
Frequently Asked Questions
Do all vegetables need to be blanched before freezing?
No. Most vegetables that lose color, texture, or flavor in the freezer benefit from blanching, including broccoli, cauliflower, green beans, peas, spinach, carrots, and all squash. Peppers, onions, tomatoes, citrus, and most herbs can be frozen raw for cooked dishes, where the change in texture does not matter much. Cucumbers, lettuce, and potatoes freeze poorly either way.
How long should blanched vegetables be cooled before freezing?
Cool them in the ice bath for about as long as you blanched them, usually 2 to 5 minutes, then drain and dry thoroughly. The bath is there to halt cooking and stop color loss, so vegetables that sit in warm water keep cooking and keep fading. If the ice melts between batches, empty it and refill with fresh cold water and ice.
How long do blanched vegetables last in the freezer?
Blanched vegetables keep their best color, flavor, and texture for 8 to 12 months at 0°F, which is minus 18°C, if they are packed airtight. They remain safe to eat well past that, but quality fades and nutrients decline. Keep the freezer full and avoid opening the door often, since temperature swings cause condensation and freezer burn.
Can I cook blanched vegetables from frozen without thawing them?
Yes, and thawing first is the most common mistake. Add frozen vegetables straight to a hot skillet or to boiling salted water, and cook for one to two minutes less than you would for fresh. Thawed vegetables reabsorb water and steam themselves, which is why they turn soft and washed-out. If serving to kids who are wary of new vegetables, [these tips on getting kids to try vegetables](https://www.superfoodliving.com/how-to-get-kids-to-try-new-vegetables/) help on the flavor side.
What happens if I skip blanching vegetables before freezing?
Enzymes that stay active through freezing keep working on the vegetable, which is why unblanched broccoli and cauliflower develop a dull, off smell and a bitter or sour aftertaste, and why greens lose their color. Texture softens and vitamin C drops too. Freezing slows this dramatically but does not stop it, so unblanched vegetables are best used within a few months rather than kept for a year.
Should I salt vegetables before blanching and freezing them?
It is optional. A teaspoon of salt per gallon of blanching water seasons the vegetables and helps a little water penetrate dense ones like carrots and beets. Skip it for tender greens, summer squash, and anything where you want the cleanest flavor, and season at cooking time instead. Salt added before freezing can make some vegetables feel slightly soft or grainy after thawing.
Conclusion
Start by washing and cutting the vegetables while the water heats up. Blanch in small batches for the time listed for that vegetable, shock in ice water for the same duration, dry the pieces completely, and pack them in labeled bags with a little headspace. That sequence takes about ten minutes per batch and gives you vegetables that still look and taste like vegetables when 2026 is long past the harvest.