
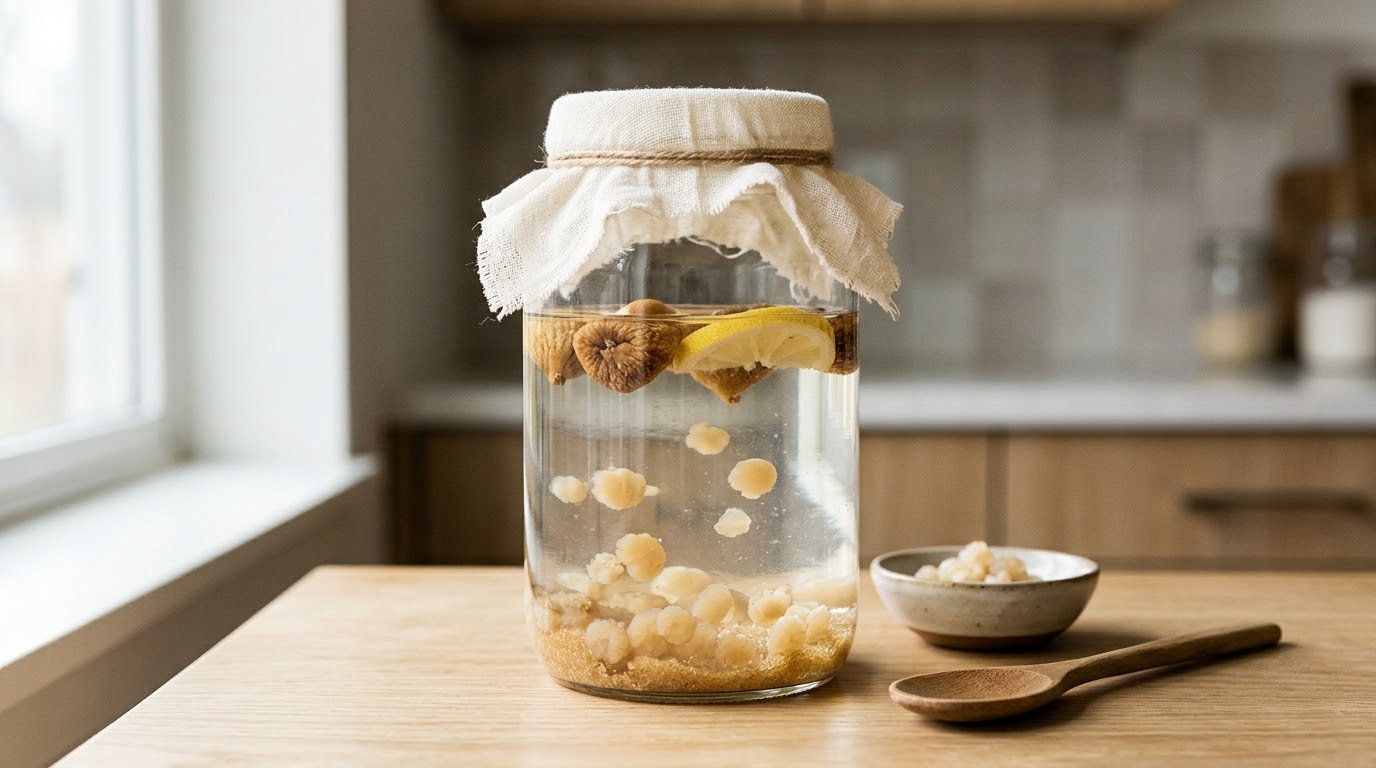
Making water kefir at home is a two-stage job: ferment sugar water with live kefir grains for 24 to 48 hours, then bottle the strained liquid for a second ferment that gives you natural fizz. You need four things — a clean glass jar, sugar, chlorine-free water and about a quarter cup of active grains. The whole first batch takes under an hour of your attention, then it does the work on your counter while you get on with your day.
People find kefir confusing because milk kefir and water kefir behave nothing alike. Water kefir is dairy-free, sharper, faster and fizzy, and it works with grains you can keep for years instead of a mother of milk you tend weekly. If you can boil a kettle and wait a day, you can make it.
Table of Contents
How to Make Water Kefir at Home: What You Need
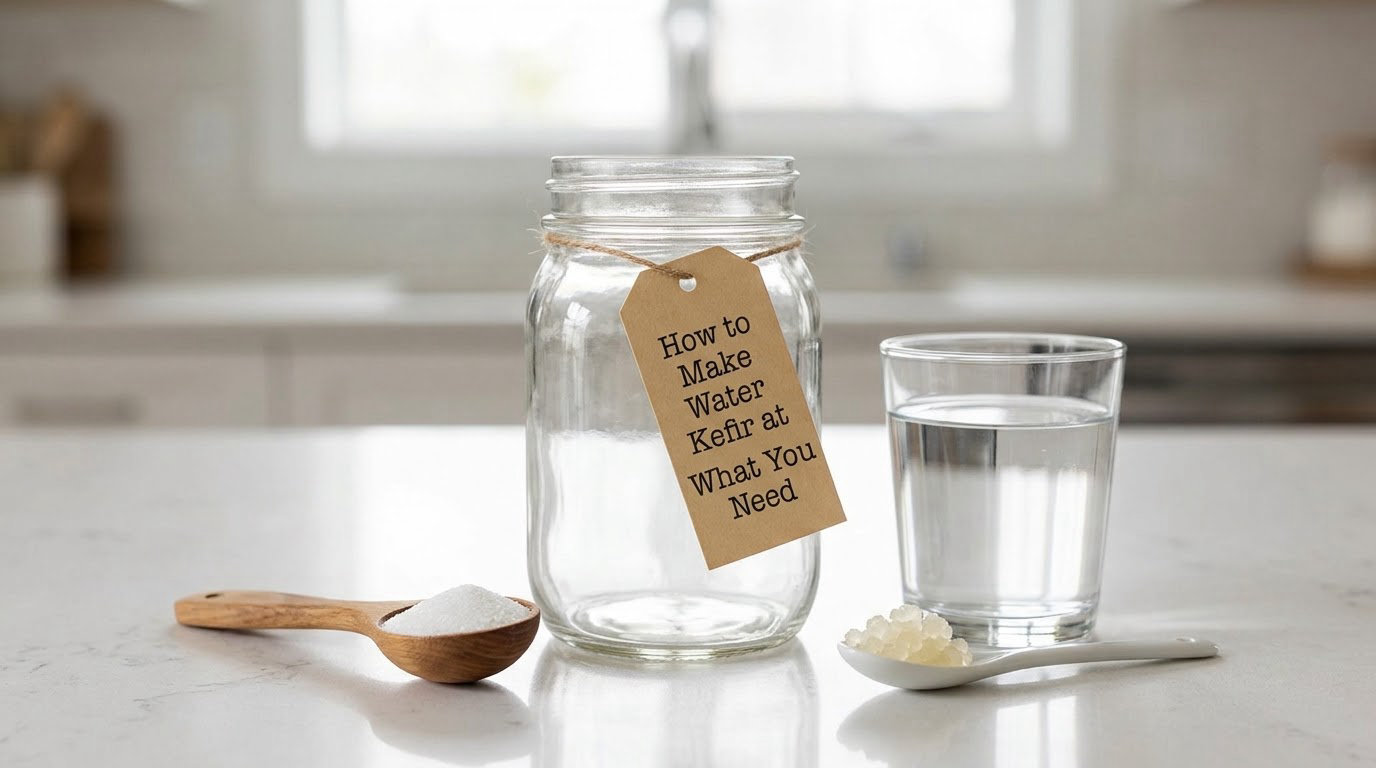
The ingredient list is short enough to memorise. Here is the exact setup I would start with, scaled for one quart:
- 1 quart chlorine-free and fluoride-free water — filtered, spring, or tap water boiled and cooled
- 1/4 cup white, cane, turbinado or raw sugar, plus 1 to 2 tablespoons more if you like a sweeter drink
- 1/4 cup active water kefir grains, roughly two tablespoons by volume
- One-quart glass mason jar with a loose lid
- Plastic or wooden spoon — never metal
- Fine-mesh plastic or stainless strainer
- Clean cloth, paper towel or coffee filter plus a rubber band for a breathable cover
- Plastic funnel and bottles with headspace for the second ferment
What are water kefir grains, really?
Grains are a mixed culture of lactic acid bacteria, acetic acid bacteria and yeasts, sold in dried form and often called tibicos or a SCOBY. Many people lump a kefir grain in with a kombucha SCOBY because both are described as a “symbiotic colony of bacteria and yeasts,” but they are different organisms and they behave differently. A kombucha SCOBY is a large, flat cellulose mat that sits on top of sweet tea. Kefir grains are small, lumpy, translucent clusters, often with a cauliflower or “tibicos” look, that sit at the bottom and can be broken into pieces.
Where you get grains matters more than any brand would like to admit. Look for sellers who ship them with an active date or a recent start date, and ask whether the culture arrives already alive or dried. Dried grains are not a dead product — they are dormant. Fresh ones can start fermenting within a day. Dried ones usually need several days of fresh sugar water, sometimes a week or more, before the activity shows up.
Step-by-Step
How to Make Water Kefir at Home: Activate the Grains
The basic ratio is one part grains to about 30 parts water to 5 parts sugar by volume. That means roughly 2 tablespoons of grains to 1 quart of water and 2 tablespoons of sugar. Forum practice skews sweeter: people on r/fermentation report success with a cup of grains and a cup of white sugar per gallon, which is heavier than most written recipes. Start with the milder ratio. You can always add sugar to the next batch.
Give the culture room to work, which is why the jar should only be about half to two-thirds full. A wider shape also helps, because most of the fermentation happens where the grains meet the air at the top, not deep in the liquid. If your very first batch is thin and weak up top while the liquid below stays flat, that unevenness usually sorts itself out as the grains acclimatise.
Prepare the Jar and Dissolve the Sugar
Wash the jar with hot water and detergent, rinse well, and let it cool to room temperature. Then the actual method for how to make water kefir at home starts with sugar: stir it into the cool water until completely dissolved and the liquid runs clear.
Water temperature decides whether this works. Hot water kills the culture outright, so you can stir sugar into boiling water and then cool the whole batch before the grains ever touch it, but never pour boiling water over grains. Chlorine and fluoride are the other killers — municipal tap water can wipe out an otherwise healthy culture in one batch. Filtered water, spring water, or tap water boiled for a minute and cooled to room temperature are the three dependable options.
Metal is the third problem area. Metal spoons, tongs and strainers can inhibit the culture, and some people also avoid plastic containers, though food-safe plastic is generally tolerated. Glass is the safe default and costs nothing.
Ferment Until Tart and Fizzy
Drop the grains in, stir gently so they are submerged, and cover the mouth with a clean cloth or paper towel secured by a rubber band. The jar needs to breathe: carbon dioxide has to escape, and an airtight lid is the most common beginner mistake in the whole process. Leave the jar at room temperature, out of direct sun, and out of reach of children.
Twenty-four to forty-eight hours is the usual first-ferment window, and the number is genuinely approximate. A warm kitchen in the 75 to 80°F range finishes a batch in a day. A cool room can stretch the same batch to three or four days, which people on homebrewtalk and r/Kefir mention constantly once autumn arrives. Temperature, not the calendar, is the variable that matters.
Taste moves through a clear sequence. Day one is mostly sweet with a faint tang. By day two the sweetness has been replaced by a clean acidity and there is a light effervescence in the liquid. Push much past that and you get vinegar-sharp liquid that most people describe as a failed batch.
Taste, Strain, and Adjust
Use a clean straw or pipette to draw a small taste from the middle of the jar, not the surface. Day-old kefir that looks fizzy at the top is not a sign of danger. You want a pleasant tartness, roughly like plain yogurt diluted with water, with bubbles that tingle rather than bite.
Strain the liquid through the fine-mesh strainer into a clean bottle, leaving the grains behind. If you want carbonation, leave two inches of headspace, cap it loosely, and let it sit at room temperature for another one to three days until it is fizzy. Then refrigerate. People who cannot get past the fizz report watering the finished drink down with still water or sparkling water.
Adjust the next batch, not this one: less sugar for a tarter drink, more sugar for a sweeter one, a shorter ferment for fizz that stays gentle, a cooler spot for a milder result.
Know When the Kefir Is Ready
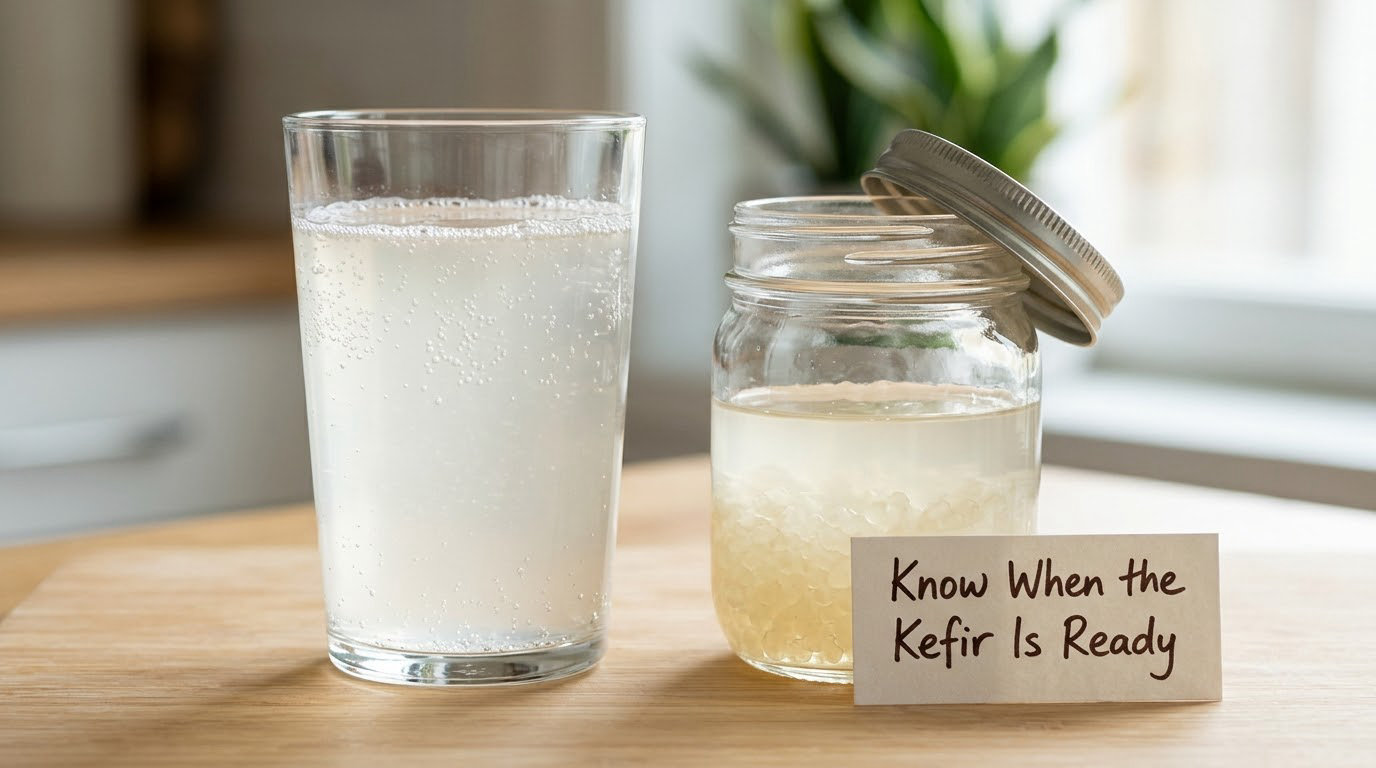
Check five things rather than trusting the clock. Smell it first: it should be pleasantly tart and slightly yeasty, never nail polish or rotten. Taste it next: sweet means too soon, pleasantly tart means ready, harsh and stinging means too long. Look for visible bubble activity in the liquid and at the surface. Check that the grains look plump and gelatinous. Note that the liquid is often cloudy or slightly separated, and that separation is normal.
Cloudy liquid, browny sediment at the bottom, and pale pink or apricot treads on the grains all show up in healthy batches. Clear liquid does not mean something went wrong, and cloudy liquid does not mean something did. Grain size and colour vary widely between batches and even between batches from the same jar.
Store the Grains and Finished Kefir
Storing grains and storing kefir are two separate jobs. The finished drink goes straight into the fridge in a sealed bottle, where it keeps for roughly one to two weeks and gets more tart the whole time.
Grains live on sugar water. Put them in a small jar with roughly a tablespoon of sugar per tablespoon of grains, cover loosely, and refrigerate. Top up the sugar water weekly. Long-term fermenters report this arrangement holding for years, and one writer on r/Kefir revived grains that had sat neglected on a counter for nine months, so a holiday is not the disaster people expect.
Two weeks to a month without any sugar at all is what actually weakens a culture. Feed it, keep it cold, and it will outlast you.
What Not to Mix With Kefir, and What Not to Add in Ferment One
Keep the first ferment plain. Skip honey, because its antimicrobial activity works against the culture, and skip artificial sweeteners entirely. Do not add dark or strongly coloured ingredients during ferment one — the grains absorb colour and you get a dingy drink and a stained culture.
Fresh fruit, ginger, lemon, spices, and small amounts of molasses can go in during ferment two, once the plain kefir is strained and refrigerated-safe. If you want a sugar-lighter drink, ferment a batch on pure mango or grape juice instead of sugar water; people on kitchenknifeforums report success with straight mango juice, straight grape juice, and lemon-ginger.
Common Mistakes and How to Fix Them
Almost every failed water kefir batch traces back to one of a short list of causes. Here is how to tell normal from genuinely wrong:
| What you see | What it usually is | What to do |
|---|---|---|
| Thin, papery film floating on top | Kahm, an acetic acid bacteria film; harmless but unpleasant, it flattens the flavour | Skim it off and continue. Reduce oxygen by using a narrower jar and topping up the liquid |
| Brown, fuzzy or fluffy patches clinging to the jar or grains | Mold. Fuzzy texture is the giveaway; kahm is smooth and papery | Discard liquid and grains. Clean everything with hot soapy water and dechlorinated water, then start over with fresh grains |
| Pink, orange, apricot or beige stringy growth | Yeast overgrowth, or discoloured grains | Usually harmless at these colours. Remove loose strands and continue |
| Nothing happens after two days | Too cold, or the grains were dried and are still dormant | Move the jar somewhere warmer, or add fresh sugar water every day for a week |
| Fermenting in the top inch only, liquid below stays thin | New grains acclimatising, or too little headspace | Stir, then let it finish; next batch use a narrower jar so the liquid column is shorter |
| Tastes like vinegar after 48 hours | Fermented too long in a warm room | Use it in smoothies, dressings, marinades or bread baking rather than drinking it straight |
A few practical habits keep batches consistent. Wash equipment with hot soapy water rather than chemical cleaner, rinse with filtered water, and use non-metal utensils. Label each jar with the date you started it, because the difference between 24 and 48 hours is the whole ballgame. Keep the temperature moderate and steady rather than swinging between cold and warm, since a jar on a warm stove will sour a day ahead of schedule. Taste every batch and write down what you did — after three or four batches you will be able to read your own kitchen’s rhythm.
If grains stop multiplying, check three things in order. They may be starved, meaning no fresh sugar for weeks. They may be too crowded, so split a dense lump into smaller pieces and give it more surface area. Or they may be too cold, since reproduction slows right down below room temperature. Address the sugar first.
Two safety notes. Discard liquid or grains that show persistent fuzzy mold or an unmistakably rotten smell, and do not try to rescue them by skimming. And keep this in perspective as food, not as medicine: kefir is a fermented food, not a treatment for any condition, and anyone with a medical concern, or on a Candida or histamine-limited diet, should talk to a doctor or registered dietitian first.
Frequently Asked Questions
Can I make water kefir in a plastic jar?
Yes, most fermenters use plastic successfully and it is the standard choice in commercial operations. The rules are simple: the plastic must be food-safe, free of scratches or cracks, and never previously used for chemicals or bleach. Wide-mouth plastic jars are easier to clean and let you reach the grains. Glass is the safest default, but clean plastic works fine if that is what you already own.
What should homemade water kefir taste like?
Pleasantly tart, lightly sweet underneath, and faintly fizzy — closer to diluted yogurt or dry kombucha than to milk kefir. A good two-day batch has a clean acidity with a little prickly carbonation. If it is flat and cloyingly sweet, ferment it longer. If it stings and smells harsh, it has gone too far and should go into the blender rather than the glass.
Can I use bottled or tap water to make water kefir?
Bottled spring or mineral water works well, as does any filtered or chlorine-free water. Tap water is the risk: chlorine and fluoride are there specifically to kill bacteria, and they will flatten a healthy culture. Boil tap water for about a minute, let it cool fully to room temperature, then use it. Never pour boiling water directly over the grains, since heat destroys them instantly.
What do I do when the water kefir grains are too many?
Split them into smaller pieces, move a portion to a storage jar of fresh sugar water, or divide them with a friend. Dense, tightly packed grains ferment poorly in the centre, so breaking up the colony usually improves the next batch. Storage ratio is roughly one tablespoon of sugar per tablespoon of grains, covered loosely and refrigerated, topped up about once a week.
Why did my water kefir stop fermenting?
The usual reasons are cold, starvation or a sealed jar. Cold slows or stops activity — in a chilly kitchen the same batch that took 24 hours can take four days. Starvation means the grains ran out of sugar, so refresh them with fresh sugar water. A sealed lid traps carbon dioxide and suffocates the culture, so always use a breathable cover. If the grains smell mouldy, discard them and start fresh.
Before your next session, it is worth getting your shelf organised. If you keep homemade ferments and drinks on hand, you may want to see how to make oat milk that is not slimy for a plant-based base you can also ferment, and how to grow wheatgrass at home in a tray if you want fresh greens alongside it. For snacking rather than sipping, how to make your own trail mix is an easy win.
Conclusion
Start with one jar: a quarter cup of active grains, a quarter cup of sugar dissolved in a quart of chlorine-free water, covered loosely, sitting on your counter. Taste it daily and pull it when it hits a pleasant tartness, usually somewhere between one and two days. Be gentle on the fizz if it bothers you, refrigerate the finished drink promptly, and keep feeding your grains a little sugar water each week. Expect the first batch to be a learning experience and the third to be genuinely good.