
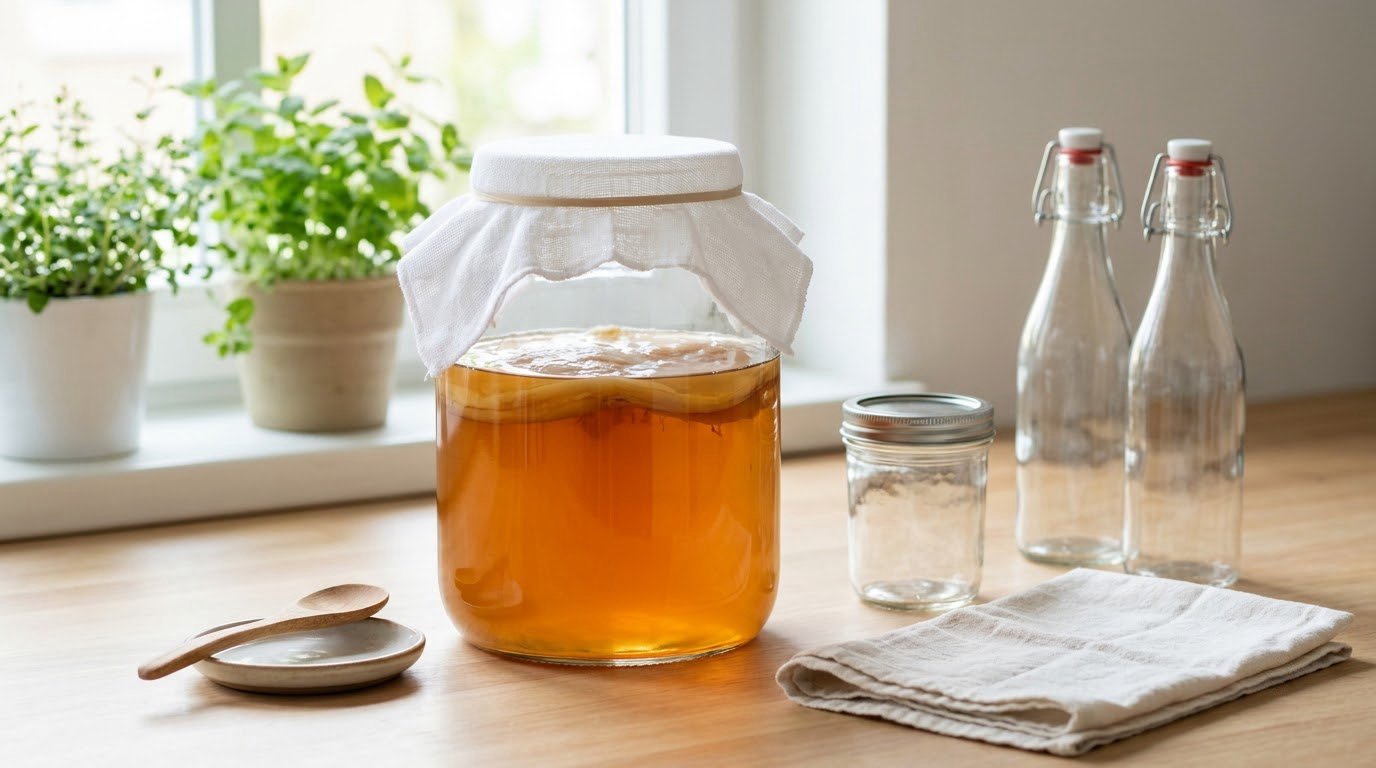
Yes, kombucha is safe to make at home, and the whole process takes about two weeks. If you are wondering how to brew kombucha safely at home, the short answer is clean equipment, a live starter, cool tea, and daily checks. Make sweet tea, cool it, add a healthy SCOBY and starter liquid, let it ferment for 5 to 10 days, then bottle and refrigerate it. The recipe is forgiving; the safety habits are what beginners get wrong.
Kombucha is a fermented tea made by a SCOBY, a symbiotic culture of bacteria and yeast. The bacteria turn sugar into acetic and gluconic acid, the yeast makes the alcohol and flavor, and the combination gives you the tart, fizzy drink. Because you control the ingredients and can inspect the jar daily, home brewing is often cleaner and cheaper than buying bottles.
Below is the method I would hand a first-timer, plus the checks that decide whether a batch is ready or has to go in the sink. Updated for October 2026.
Table of Contents
How to Brew Kombucha Safely at Home: What You Need
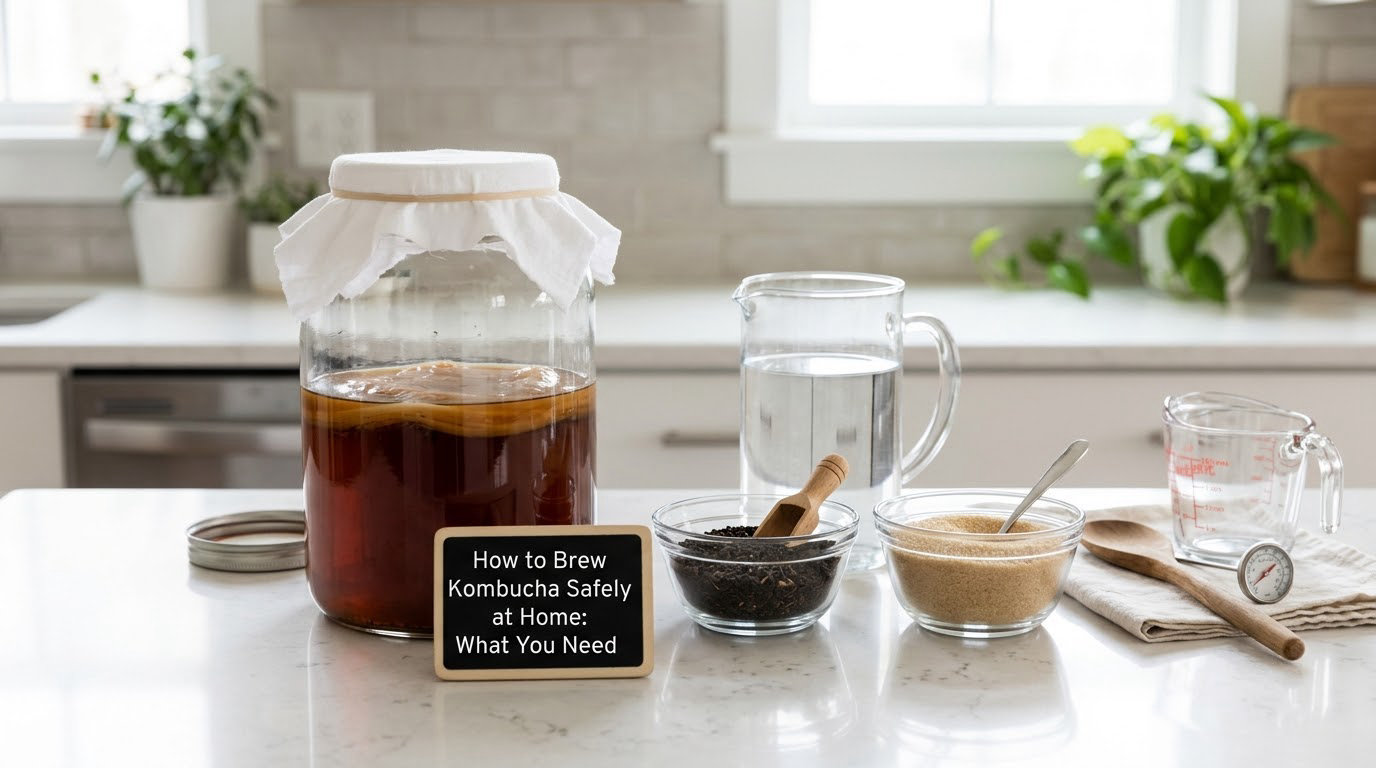
You need remarkably little. A 1-gallon glass jar with a loose lid, some tea, sugar, filtered water, and a starter culture. Everything else is optional and mostly helps with flavor or control.
Equipment
- One 1-gallon glass jar for the first ferment. Wide-mouth is easier to clean and to reach into.
- A cloth or muslin cover plus a rubber band. Air needs to get in, pests need to stay out.
- Two plastic bottles for the second ferment, ideally swing-top or PET. Skip square glass bottles for now.
- A kitchen thermometer so you are reading the temperature instead of guessing at 90 degrees in a hot kitchen.
- A strainer or a new paper towel for fruit in the second ferment.
- A hydrometer or pH strips if you want an objective read instead of taste alone.
Wash everything with hot water and a little white vinegar, then rinse. No dish soap, no bleach residue. A soak in 1 part vinegar to 4 parts water for ten minutes is plenty.
Ingredients for one gallon
- 4 to 8 tea bags. Black or green Camellia sinensis is the classic; the tannins and polyphenols give body. Herbal blends are riskier because essential oils can kill the culture.
- 1 cup of white granulated or demerara sugar per gallon. Molasses and agave work too, in roughly the same amount.
- About 1 gallon of filtered or purified water. Chlorine and fluoride both suppress the bacteria, so skip straight tap water if you can.
- 1 healthy SCOBY plus 2 cups of starter liquid.
Avoid raw honey, which carries its own bacteria, and avoid stevia and xylitol, which the culture cannot use at all.
Where to get a starter, and what to skip
You can brew from liquid starter alone, from a friend, or from a seller who ships a live SCOBY in liquid. Skip anything dried, dehydrated, or vacuum-packed. Those arrive dead. Also skip store-bought kombucha as a starter, especially pasteurized, filtered, or flavored bottles, because those have been heat treated and often contain no live culture.
A healthy starter is a plain off-white pellicle with a slightly sour, musty smell. You want it to smell clean and acidic, never fruity-sweet or boozy.
Step-by-Step
How to Prepare the Sweet Tea
Bring about a gallon of filtered water to a boil. While it boils, get the sugar ready in your jar, because once you add hot water it dissolves on contact and takes less stirring. Pour the boiling water over the sugar, stir until it clears, then drop in the tea bags.
Steep 5 to 7 minutes. Longer steeping pulls more tannins, and the result gets harsher fast. Pull the bags out at the 7-minute mark even if they look light, then let the tea cool all the way to room temperature, roughly 68 to 75 degrees F. Warm tea kills the culture, and a finger-warm guess is the single most common reason a first batch never starts.
Look at the jar before adding anything. If the tea is cloudy with film or smells off, throw it out and start over. Clean tea, no film, no spots. That inspection is the cheapest part of learning how to brew kombucha safely at home, and it takes ten seconds.
How to Add the Starter Without Introducing Mold
Wash your hands with unscented soap, dry them fully, and keep soap out of the jar from here on. Handle the SCOBY with clean tongs or clean hands, never the edge of the jar lid. Pour in 2 cups of starter liquid, then slide the pellicle in flat so it floats rather than folded, and stir gently once.
Cover with the muslin and secure it with the rubber band. A sealed lid is a mistake in the first ferment: the culture needs oxygen. Muslin keeps fruit flies and dust out, which matters more than beginners expect, since one fly can carry enough contamination to spoil a gallon.
How to Ferment Kombucha Safely at the Right Temperature
The culture works between about 68 and 86 degrees F. Warmer means faster and sourer, cooler means slower and sweeter. A closed cupboard away from direct sunlight is ideal, and a summer kitchen without air conditioning will push you to the top of that range fast.
Start tasting with a clean straw or pipette on day 5. You are looking for a shift from sweet tea to something mildly tart and lightly fruity. By day 7 most batches taste right for bottling. Taste every day after that, because from around day 10 the acidity climbs fast and the pleasant window narrows.
Slow fermentation usually means the tea was still too hot, the water was chlorinated, or the room is cold. Fix the next batch rather than rescuing this one. Fast fermentation, meaning sharp vinegar within three days, means it is too warm, so move the jar somewhere cooler and taste twice a day.
A hot, solvent-like smell that reminds you of nail polish remover means the batch has fermented past the point you want. The alcohol level is under 0.5 percent ABV during the first ferment and can reach roughly 2.5 percent once bottled. Keep that in mind if you are avoiding alcohol for religious reasons, if you are pregnant, if you are giving it to a child, or if you take a medication that alcohol interacts with. Talk to your doctor or pharmacist about that last one rather than guessing.
If you want a rough number, a hydrometer reading should land in the low single digits. A pH strip is more useful for safety, because you want the liquid at roughly 2.5 to 3.5.
How to Bottle Kombucha for Controlled Carbonation
Bottle only after the first ferment tastes right, ideally between day 7 and day 14. Pour off with a strainer, leaving the SCOBY behind, and leave 2 to 3 inches of headspace at the top. That empty space is what keeps pressure from building against the cap.
Use plastic bottles or swing-tops. The yeast keeps working in the sealed bottle and makes carbon dioxide, and a rigid glass bottle with no give is how batches end up sprayed across the ceiling. That is why most beginners stay on plastic until their timing is trustworthy.
Cap tightly, then refrigerate. After two or three days at room temperature, or once you have the fizz you want, move the bottles to the fridge and burp them daily for the first few days as the pressure settles. If a bottle feels hard or swollen, chill it first and open it over a sink, slowly.
How to Tell When the Batch Is Ready
Taste is the main call, and appearance is the safety call. Three things can grow in a jar, and only one of them is mold.
| What you see | Texture and smell | What to do |
|---|---|---|
| Healthy pellicle (SCOBY) | Wet, smooth, translucent, slightly shiny. Sour and vinegary. | Keep it. Reuse it for the next batch. |
| Kahm yeast | Flat, wet, film-like layer across the surface. Yeasty or vinegary. | Often clears on its own. Skim it off and move on. |
| Mold | Dry, fuzzy, hairy, or powdery patches, often in distinct spots. | Discard the whole batch and the SCOBY. Do not skim it. |
White spots on a SCOBY bother people more than anything else in this hobby, and in most cases they are harmless: the pellicle grows in layers, and a young culture often looks patchy. But fuzzy and powdery is a different category entirely, and there is no trimming or rinsing your way out of it in a liquid batch. You cannot cut mold off kombucha the way you can off firm cheese.
A batch is ready when the taste is where you want it, the liquid is clear to slightly cloudy rather than ropy or slimy, and there is no fuzzy growth anywhere in the jar. If the liquid develops a thick, gelatinous, stringy texture, discard it rather than straining it.
Common Mistakes
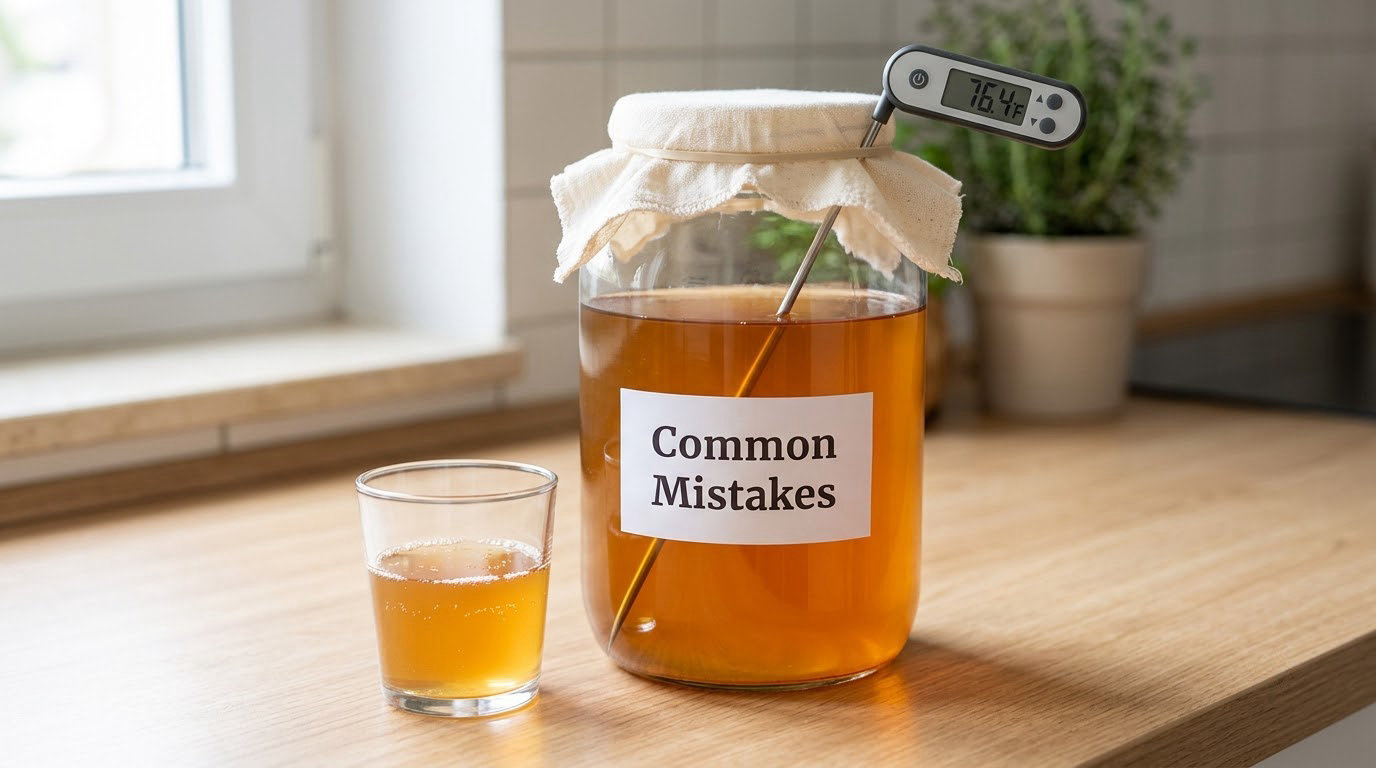
Almost every ruined batch traces back to one of a handful of mistakes, and they are all recoverable habits rather than exotic problems.
| Symptom | Likely cause | Fix |
|---|---|---|
| Nothing happens after two weeks | Tea was above 100 degrees F, or chlorinated tap water | Cool fully and use filtered water next time |
| Tastes like vinegar in three days | Room too warm, or too much starter | Ferment cooler and start with half the starter |
| Sour with no fizz after bottling | Bottled too late, or the culture had slowed down | Bottle earlier, around day 7, and keep the culture healthy |
| Slimy or stringy liquid | Contamination, often from unsanitized utensils | Discard, then sanitize everything before the next batch |
| Pellicle looks weak and translucent | New culture, or a batch that was too cold | Keep feeding it sugar; it thickens with each batch |
| Dark liquid | Long brewing time or strong black tea | Taste it. If it is clean and tart, use lighter tea next time |
These are the rules I would not skip.
- Never add the starter to tea that is above room temperature.
- Never use soap, scented detergent, or bleach in any jar, lid, or utensil that touches the brew.
- Never use a sealed lid during the first ferment; use muslin or a cloth.
- Never use a dried, dehydrated, or vacuum-packed SCOBY.
- Never use store-bought pasteurized, filtered, or flavored kombucha as a starter.
- Never trim or rinse mold off a SCOBY. Discard the batch and the culture.
- Never bottle in rigid square glass. Use plastic or swing-tops.
- Never leave headspace out of the bottle, and never skip refrigeration after bottling.
- Never taste-test with a straw that touches your mouth and goes back in.
- Never rush the timeline to hit a date. Slow is fine; contamination is not.
One more habit worth building: keep a second SCOBY in a jar of starter liquid, sometimes called a SCOBY hotel. If your main culture gets contaminated you have a backup, and if you are busy for a few weeks you can park the culture without losing it. Some kitchen herbs, like basil or cloves, added to the hotel liquid will deter pests.
Handling heat and oil in the kitchen has its own rules worth keeping straight, so I wrote up how to use coconut oil for cooking at high heat safely as a companion read.
Frequently Asked Questions
Is it safe to make kombucha at home?
Yes. Home brewing is low risk when you start with clean equipment, cool the tea to room temperature, and inspect the jar every day. The risks are mold contamination from unsanitized hands or utensils, and pressure from bottling too early. Both are manageable with basic hygiene, and the acidic liquid keeps most unwanted bacteria from taking hold.
How long does homemade kombucha take to brew?
Plan on two weeks end to end. The first ferment takes roughly 5 to 10 days, and you start tasting on day 5. The second ferment, where the drink gets its fizz, takes 2 to 3 days in the bottle. Once chilled, homemade kombucha keeps for several weeks in the fridge.
Do I need a SCOBY to make kombucha?
No, but you do need a living culture of some kind. Plenty of brewers use liquid starter alone, sometimes called backslop, and it works fine. What does not work is a dried SCOBY, a vacuum-packed one, or a bottle of store-bought kombucha that has been pasteurized or filtered. Those contain little or no active culture.
What does normal kombucha fermentation look like?
A young SCOBY is flat, wet, translucent, and slightly shiny, with a sour or vinegary smell. The liquid moves from sweet tea to lightly tart and fruity over about a week, sometimes with a thin film or a few brown strands of yeast in it. A fuzzy, dry, or powdery patch is not normal and means you should discard the batch.
When should I throw out a batch of kombucha?
Discard it if you see fuzzy, dry, hairy, or powdery growth, if the liquid is slimy or stringy, if it smells strongly of nail polish remover, or if it fizzed up violently after bottling. You cannot cut mold off a liquid the way you can off hard cheese. Throw out the batch and the SCOBY together, then sanitize before starting again.
Conclusion
The safest first batch is a simple one: clean equipment sanitized with vinegar and water, a live starter from a trusted source, one cup of sugar per gallon of filtered water, and a fermentation window of 5 to 10 days at a steady room temperature. Taste it daily from day 5 and do not rush it.
Mold is the only thing that ends a batch early, and it is easy to spot once you know the difference between a wet pellicle and something fuzzy. Keep a backup culture in your fridge for the same reason you would keep a spare starter. If you like working with jars and ferments at all, our jar method for sprouting mung beans uses the same skills.