
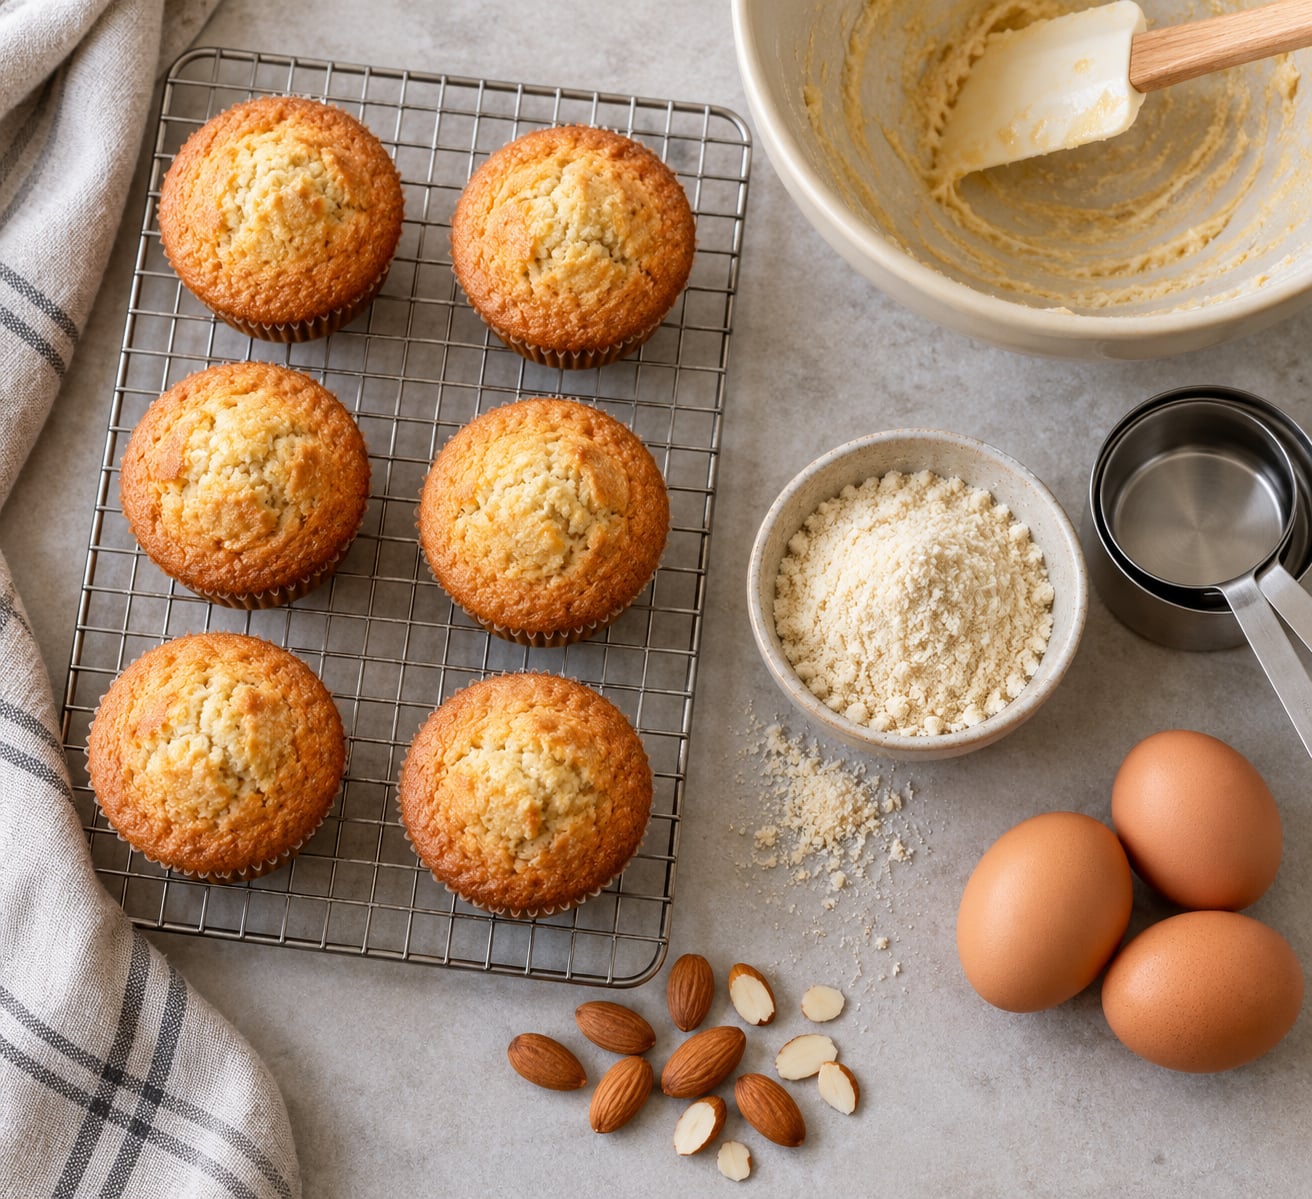
Learning how to bake with almond flour for beginners comes down to three adjustments: add a binder, drop the oven temperature, and give the dough time to set. Almond flour is blanched almonds milled into a soft, pale, protein-rich powder with no gluten in it at all, so it cannot give you the chew or the lift that a wheat batter builds on its own. Used correctly it bakes moister, richer and nuttier than its wheat counterpart, and it is a natural fit for gluten-free, grain-free and lower-carb kitchens.
I bake with it almost every week and I wasted more than one batch figuring out the rules. This guide is the shortcut: what to buy, what a cup of it actually weighs, how many eggs a recipe needs, and what to look at in the oven so you know when it is done rather than guessing from a timer.
A note before you start. If anyone eating the bake has a tree nut allergy, almond flour is not an option, and sunflower seed flour or pumpkin seed flour are the usual stand-ins with different ratios again. If you are baking for someone with celiac disease, buy sealed certified gluten-free flour and skip bulk bins, which are scooped with shared scoops and are not reliably free from cross-contact. More on that below.
Table of Contents
- What You Need to Bake with Almond Flour for Beginners
- Step-by-Step: How to Bake with Almond Flour the First Time
- Common Mistakes When You Bake with Almond Flour
- Frequently Asked Questions
- Can I use almond flour in any regular baking recipe?
- How much almond flour should I use in place of wheat flour?
- Why are my almond-flour baked goods crumbly?
- Do I need eggs or another binder when baking with almond flour?
- Can almond flour be used in cookies, cakes, and muffins?
- What is the best way to store baked goods made with almond flour?
- Start With One Batch
What You Need to Bake with Almond Flour for Beginners
You need very little. A bag of fine almond flour, eggs, a light-coloured baking pan, parchment paper and a wire rack cover about ninety percent of beginner baking. Everything else is a technique habit rather than a piece of equipment.
The flour to look for
Check the bag for the word flour rather than meal. Almond meal is the same nut ground more coarsely, and it is speckled if the skins were left on. Fine almond flour is the useful kitchen product for cakes, cookies and muffins; coarse meal belongs in rustic breads, coatings and crumb.
Blanched versus unblanched is the other choice. Blanched almond flour has the skins removed, so it is pale and tastes cleanly of almond. Unblanched keeps the brown skins in the grind, which costs less, adds faint colour and speckle to whatever you bake, and leans a little more bitter. Experienced gluten-free bakers use both, mostly for taste and appearance. For a very first bake, blanched is the forgiving one.
Flour, meal and the other gluten-free options compared
| Flour | Gluten | Texture | Best use | Watch out for |
|---|---|---|---|---|
| Almond flour (fine) | None | Soft, fine, slightly oily | Cookies, cakes, muffins, quick breads, crusts | Spreads and browns fast; needs a binder |
| Almond meal (coarse) | None | Grainy, speckled | Rustic breading, almond crusts, biscotti | Can read as gritty in fine bakes |
| Coconut flour | None | Very fine, absorbent | Combining with almond flour, cakes | Soaks up liquid; cannot be swapped cup for cup |
| Wheat flour | Yes | Elastic, chewy, light | Everything, structurally | The comparison point, not a substitute target |
What a cup actually weighs
A cup of almond flour is light, around 96 grams, while a cup of all-purpose wheat flour is roughly 120 grams. If you bake by volume and your recipe came from a wheat original, weigh the flour first. It is the fastest way to stop a cake coming out short and dense. Spoon the flour into the cup, level the top with the back of a spoon or a knife, and never press it down. Packing a cup of almond flour can add fifteen grams with no change in the measuring cup at all.
Equipment and base ingredients
- Fine almond flour: blanched is easiest for a first bake, and unblanched works just as well if you want colour.
- Eggs at room temperature: the single most important ingredient in the bowl.
- Baking powder and baking soda: one is nearly always called for, since there is no gluten to trap gas. Check the can and use the one the recipe names.
- Fat: butter, oil, or melted coconut oil for tenderness.
- A light-coloured metal pan: a dark or black pan scorches the edges before the centre sets.
- Parchment paper or a silicone mat: almond flour bakes stick more stubbornly than wheat batter.
- A wire cooling rack: so steam escapes and the base does not go damp.
- An oven thermometer, if you have one: home ovens run hot or cool by enough degrees to matter for a nut-rich batter that browns fast.
Households where several people eat different ways benefit from keeping a small bag of this flour on the shelf next to their usual wheat one, since it slots into the same cakes, muffins and quick breads as everything else. You can see that approach in our plan for how to cook for a family with different diets.
Making your own flour from raw almonds
Blending your own takes about a minute and costs pennies per cup. It is also the easiest way to control grind size.
- Use blanched, skinless raw almonds for a pale flour with no bitterness.
- Put them in a food processor or blender and pulse in one-second bursts.
- Stop when the texture looks like coarse sand, roughly fifteen to twenty pulses.
- Run your finger through a spoonful. It should feel fine and slightly powdery, not sandy and gritty.
- Sift through a fine sieve if you want a cake-pan-smooth flour.
Do not keep grinding past the sandy stage. Almonds release their oils quickly, and the flour turns to a paste before it turns to powder, so a blender left running gives you nut butter rather than flour.
What it does for you
Almonds are a source of protein, unsaturated fat, vitamin E and magnesium, and almond flour is low in carbohydrate, which is why low-carb bakers adopted it. Per quarter cup you get roughly 6 grams of protein and 3 grams of net carbohydrate. That is a nutrient snapshot, not medical advice, and anyone with specific dietary or blood sugar concerns should talk to their doctor or a registered dietitian.
Step-by-Step: How to Bake with Almond Flour the First Time
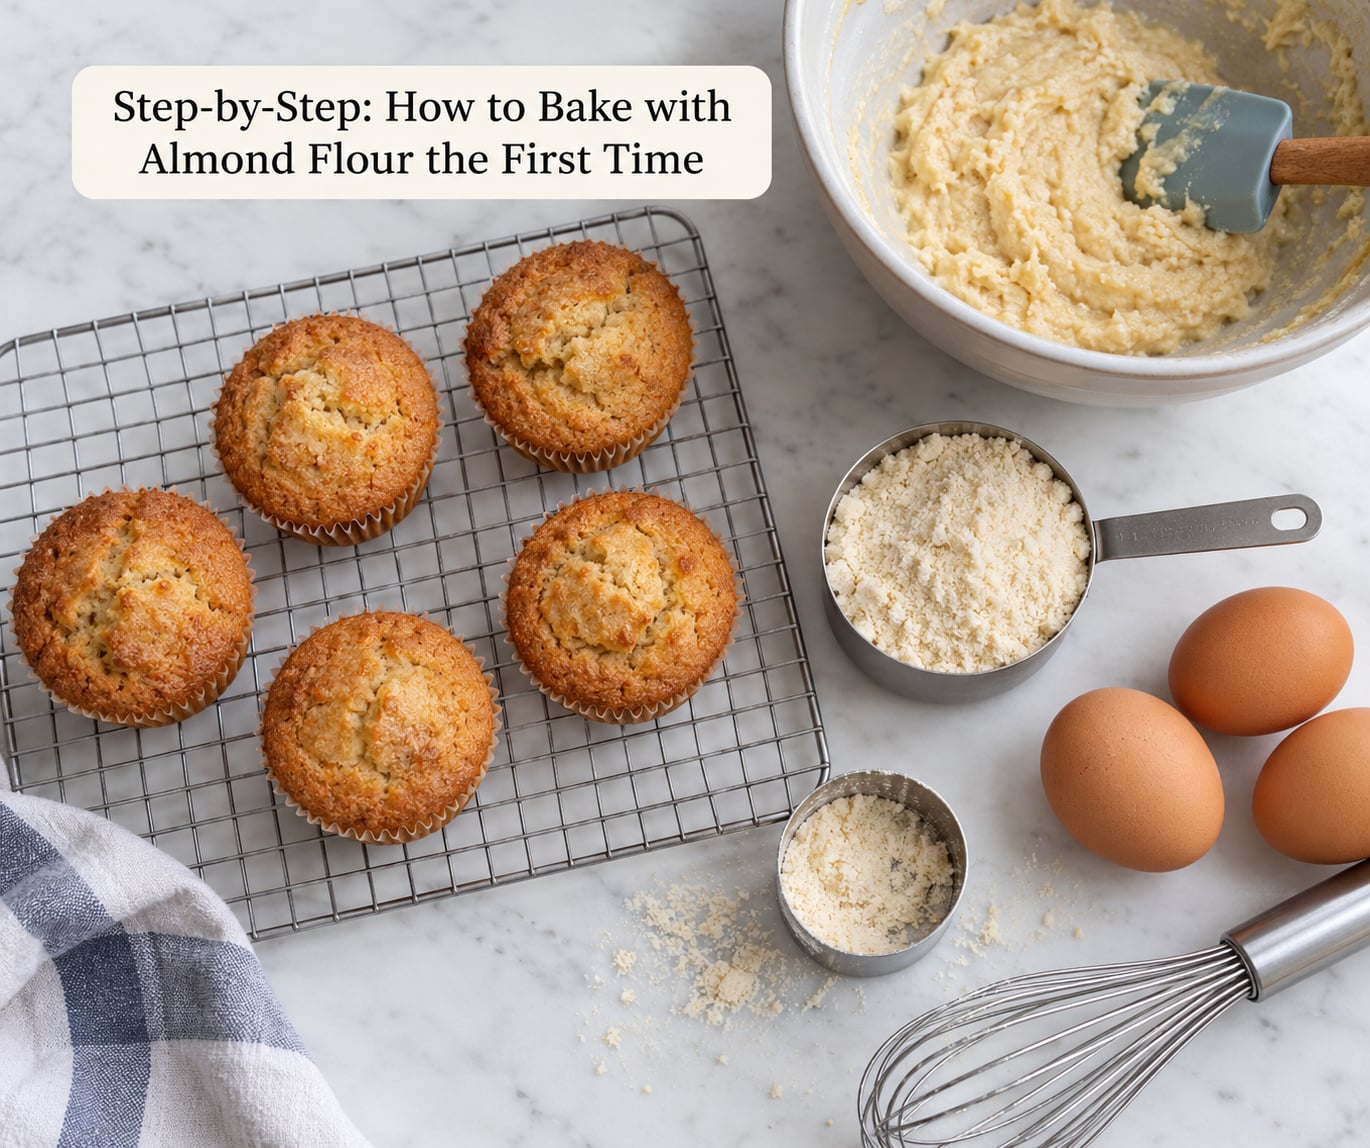
The most forgiving first bake is a one-bowl muffin or a tray of chocolate chip cookies. Both show you the three things that matter: measuring, mixing gently, and reading the colour. This version makes eight muffins.
1. Choose the Right Almond Flour and Pan
Read the label and confirm it says almond flour and that it is finely ground. If the bag only says meal, run it through a food processor as described earlier before you start.
For the pan, reach for a standard 12-cup metal muffin tin, light-coloured rather than dark. Line every cup with parchment squares; they peel off cleanly and stop the almond proteins from welding themselves to the metal. Silicone liners work too, though they run hotter than paper and pull a little more colour on the base.
The easiest format for a beginner is a one-bowl batter, meaning the wet and dry go into the same bowl in a sensible order with no separate creaming step and no mixer. Muffins, quick breads, brownies and one-bowl cakes all fit. Yeast breads, croissants and laminated pastry are the wrong place to start.
2. Measure and Mix the Batter Correctly
Heat the oven first. Almond flour browns faster than wheat, so most bakes do better about 25 degrees lower than the wheat recipe states, and they usually need 10 to 20 percent longer in the oven. For these muffins that means 325°F, which is 165°C, instead of 350°F.
Whisk the dry ingredients together first: 1 cup almond flour, 2 teaspoons baking powder, a quarter teaspoon of salt and any cinnamon or cocoa. Baking powder does the lifting here, and if the recipe calls for baking soda instead, use soda and bring something acidic such as buttermilk, yogurt or a little extra sugar.
Melt half a cup of butter and let it cool for a few minutes. Add 2 eggs, a quarter cup of maple syrup or sugar, 120 millilitres of buttermilk, and a teaspoon of vanilla. A quarter cup of chopped chocolate or a handful of blueberries folded in at the end gives you something to look forward to.
Pour the wet into the dry and fold with a spoon for about fifteen seconds, until no dry flour streaks remain. Stop there. Gluten-free batters have far less structure than wheat batter, and the extra strokes that would help a cake rise are what turn this one gummy. Let the bowl rest for ten minutes while the oven finishes heating, which lets the flour drink up the liquid.
3. Rest or Bake Until the Batter Is Set
Fill each lined cup about two-thirds full. Bake at 325°F for 18 to 22 minutes, but start checking at 16 rather than trusting the timer alone.
Three cues tell you what is happening. Golden edges and a browned top mean the outside is far enough along. A center that springs back lightly when you press it, without leaving a dent, means the starches have set. A toothpick that comes out with a few moist crumbs is fine; wet batter on the toothpick means give it three more minutes. If the tops darken early, tent the tin loosely with foil, which is the quickest fix for a nut-rich batter burning before the middle cooks.
Loaves and cakes follow the same rule at a larger scale. They take longer than muffins, and the middle is where underbaking hides, so give it extra time rather than pulling it the moment the top browns.
4. Cool and Store the Finished Bake
Cool in the tin for five minutes, then turn out onto a wire rack and cool completely. Almond flour bakes are fragile while hot because the structure has not finished setting, and that is exactly how beginners pull a muffin apart and wonder what went wrong.
For sticking, parchment is the answer. If a liner is not available, brush the pan with a thin layer of melted butter or oil and dust it lightly with almond flour before the batter goes in.
Store the finished bake once it is completely cool. Muffins and quick breads keep about three to four days at room temperature in an airtight container, and wrapping them while still warm traps steam and softens the crust into a gummy shell. Cookies keep around five days in a sealed container at room temperature. Refrigerating either one buys a day or two, at the cost of a firmer texture.
Store the flour bag away from the stove and out of the light, in a sealed container rather than the open bag, since almond oils go rancid faster than most people expect. Large bags can be portioned into a cup or two at a time and frozen in a freezer bag for several months, and frozen flour needs no thawing for baking. If you open the container and smell a stale, cardboard note, throw it out; no amount of baking hides that.
If you like to bake portable snacks as well as sweet ones, our guide to how to fuel a long walk or hike with real food has the same shelf-life thinking applied to savoury batches.
Common Mistakes When You Bake with Almond Flour
Almost every disappointing first bake comes down to one of five things. Find your symptom in the table, change that one thing, and try again.
| What you got | Why it happened | The fix |
|---|---|---|
| Cookies spread into thin wafers | No gluten to set the dough, plus fat and sugar, plus a warm pan | Chill the dough 30 minutes, bake on a cool lined sheet, and pull them while the centre still looks underdone |
| Crumbly, falls apart when sliced | Too little binder or too little liquid | Add an egg, or one more tablespoon of milk or oil per cup of flour |
| Dense, heavy, sink in the middle | Overmixing, a packed cup, or underbaking | Spoon and level the flour, stop folding at fifteen seconds, add three more minutes to the bake |
| Gummy or doughy centre | Pulled from the oven while the middle was still wet, often a loaf rather than a muffin | Bake two to four minutes longer, tent the top, cool fully before cutting |
| Greasy or oily texture | Fat and sugar went in too high, or it was underbaked | Cut the added fat a little, and use the toothpick test rather than colour alone |
| Burnt edges, raw middle | Almond flour browns fast; oven too hot or too dark a pan | Drop 25°F, switch to a light-coloured pan, tent with foil from halfway |
| Grainy, sandy bite | Coarse almond meal used where fine flour was needed | Sift it, or blitz it in the food processor for a few pulses |
A few habits do more for consistency than any single ingredient. Weigh the flour instead of scooping it. Read the leavening label out loud so baking powder and baking soda never swap places, since one needs acid and heat and the other needs heat alone. Rotate the baking sheet halfway through if your oven has a hot spot, which is why cookies on one tray can brown faster than the tray below it.
Some things almond flour simply will not do, and knowing that early saves frustration. There is no gluten, so cookies come out tender and cakey rather than chewy, and that is not a fault you can correct. Yeast-only breads, croissants and puff pastry will collapse. Thin crackers with no egg in them shatter, because the egg is what holds the shape.
Beginners also ask about xanthan gum, guar gum and tapioca starch. Almond flour usually does not need them for cakes and cookies, and plenty of people with digestive trouble find those gums hard to tolerate. Skip them at first, and add them later only if a specific recipe calls for it.
Frequently Asked Questions
Can I use almond flour in any regular baking recipe?
Not all. It works best in cookies, cakes, muffins, quick breads, brownies, scones and pie or tart crusts, where eggs and sugar or fat already provide the structure. It struggles in yeasted breads, laminated pastry and anything meant to be thin and crisp without egg. Treat a wheat recipe as a starting sketch and expect to lower the oven about 25 degrees and add time.
How much almond flour should I use in place of wheat flour?
For cookies, cakes, muffins and quick breads, one cup of almond flour replaces one cup of wheat flour, but weigh it if you can: a cup of almond flour is roughly 96 grams against about 120 grams for wheat, so packing a cup changes the recipe more than the swap does. Coconut flour is different and needs far less, around a third to a half as much by volume.
Why are my almond-flour baked goods crumbly?
Crumbly usually means not enough binder or not enough moisture. Almond flour has no gluten to hold a crumb together, so it leans on eggs and on fat for structure. Add one more egg per cup of flour, or an extra tablespoon of milk, oil or melted butter, and let the batter rest ten minutes after mixing so the flour hydrates. Over-baking dries it out further, so pull it while the centre still looks slightly underdone.
Do I need eggs or another binder when baking with almond flour?
Yes, in most recipes eggs are doing the work that gluten does in wheat baking. One egg works for about half a cup to one cup of flour, two eggs for a full cup, and cookies or muffins often take more than you expect. Eggs also help with lift, so skipping them is the most common reason a beginner bake crumbles when you cut it.
Can almond flour be used in cookies, cakes, and muffins?
Those three are the sweet spots, along with brownies, quick breads and crusts. Cookies come out tender and slightly cakey with no chew, cakes and muffins come out moist, and both brown faster than wheat recipes, which is why the oven temperature usually drops. Muffins are the most forgiving place for a first attempt because the small cup forgives a little underbaking.
What is the best way to store baked goods made with almond flour?
Cool the bake completely on a wire rack first, then store it airtight at room temperature. Muffins and quick breads keep about three to four days, cookies about five, and wrapping anything while warm traps steam and softens the crust into a gummy shell. Refrigerating buys a day or two for a firmer crumb, and slices freeze well in a single layer for a month or more.
Start With One Batch
Buy a small bag of fine blanched almond flour, weigh a cup of it, and bake the eight muffins above at 325°F with lined tins. Watch the colour instead of the clock, cool them fully on a rack, and taste one the next morning. That single batch teaches you more about the flour than another hour of reading, and the second one comes out better every time after that.