
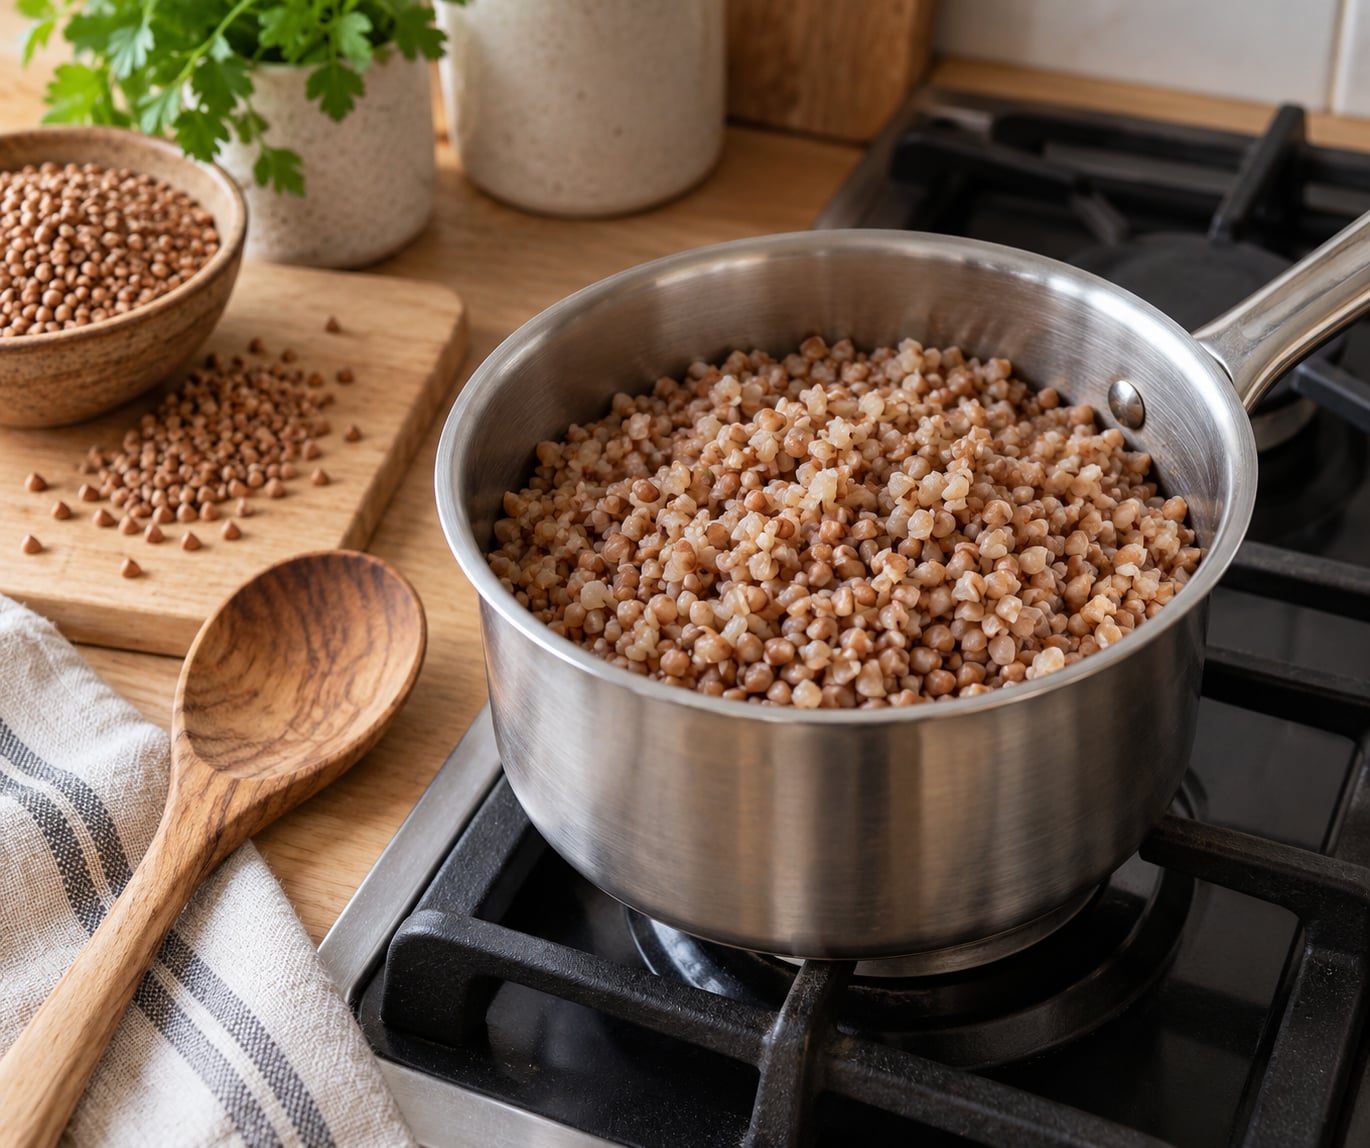
Cooking buckwheat groats on the stovetop takes about 15 minutes of actual cooking and the result is nutty, fluffy and holds its shape like a good rice. The method is simple: rinse 1 cup of groats, add 1.5 cups of water or broth, bring it to a gentle simmer, cook covered for 10 to 15 minutes, then let it rest off the heat before you fluff it. Beginners often need one warning more than anything else. Don’t stir while it cooks.
Stirring breaks up the groats and turns them into porridge, and no amount of extra water brings that back. Set a timer, put the lid on, and walk away. That single habit covers most of what separates fluffy buckwheat from the gluey batches people complain about on cooking forums.
Buckwheat isn’t a wheat and it isn’t a true grain. It is the hulled seed of a plant related to rhubarb, and the groats are the whole kernel with the inedible hull removed. Because nothing is milled away, the seeds cook with more fiber, more magnesium and a fair bit of plant protein than white rice, and the groats are naturally gluten free.
Table of Contents
What You Need
The ingredient list is short, which is one of the reasons buckwheat is such a good weeknight grain. Most cooks keep a bag of it in the pantry for exactly this reason.
- 1 cup raw white or hulled buckwheat groats
- 1.5 cups water, broth, or milk (see the ratios below)
- A saucepan with a tight-fitting lid, ideally 2 to 3 quart
- A fine mesh strainer, only if you rinse
- A fork for fluffing
The base ratio is 1 cup of groats to 1.5 cups of liquid for fluffy, separate grains. Go to 2 cups of liquid when you want a softer, creamier result or a breakfast porridge, and drop to 1.25 cups if the groats are already toasted. Toasted kasha, sold as kasha in most Eastern European markets, drinks up less water than raw groats and cooks faster.
Butter or a spoonful of oil in the pot is optional but worth it. It coats the grains, cuts sticking in a stainless steel pan, and adds a round flavor to a savory side. Broth instead of water works the same way and turns a plain grain into a pilaf base.
No lid is the one piece of equipment you can’t skip. Steam is what cooks the groats from the inside while the bottom stays from scorching, so a lid that doesn’t seal is the fastest route to a scorched ring around the edge. A rice cooker works too and needs roughly the same 1:1.5 ratio, so if you have one, treat it as a hands-off stovetop alternative.
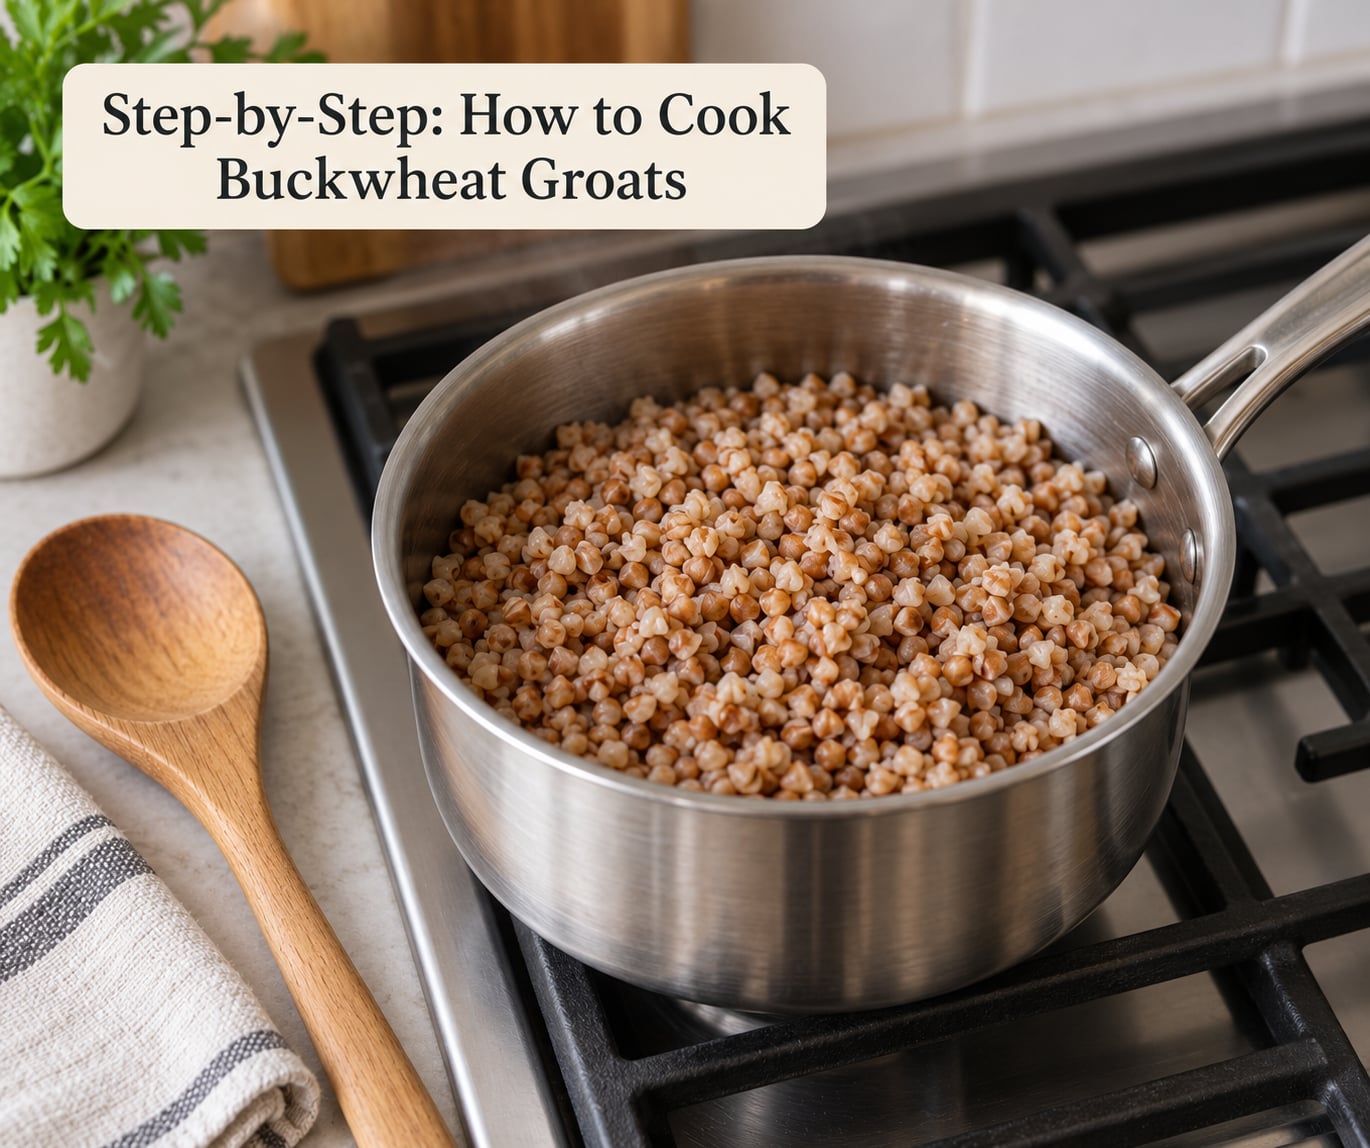
Step-by-Step: How to Cook Buckwheat Groats
Rinse and inspect the groats
Measure the groats and tip them into a fine mesh strainer. Run cold water through them for about 30 seconds and look at what comes out. A surprising amount of grey dust on a pale grain usually means it’s carrying hull fragments, and hull fragments are where the bitterness lives.
Rinsing also washes away surface starch, which is the second reason people end up with mush instead of grains. You don’t need to soak. Soaking for two hours or overnight makes the groats cook faster and softer, but it is optional, and soaked groats need slightly less liquid than dry ones because they start with water inside.
Toast the groats for more flavor
Put the drained groats into a dry saucepan over medium heat and stir them for 3 to 5 minutes. You’ll know they’re ready when they smell nutty and toastier than they did cold, and when the color shifts from pale grey-tan to a warmer brown. Some people press a single grain between two fingers at this point and expect it to crush. If it won’t break, give it another minute.
This step is where raw groats become something that tastes like more than a side dish, and it’s the same step that happens before packaging for the kasha sold in Russian and European markets. Toasting costs five minutes and nothing else. It also reduces sticking, because the surface is now drier and slightly roasted.
Add liquid and bring to a simmer
Pour in 1.5 cups of liquid for toasted groats, 1.5 to 1.75 cups for raw ones, and stir just once or twice until the liquid turns cloudy and the groats are evenly distributed. Add a pinch of salt now if you want it in the grain itself, and add butter or oil if you’re using it.
Bring the pan to a boil uncovered, then drop the heat to the lowest setting that still shows a bubble every second or two. A gentle simmer is the target, not a rolling boil. Cover, set a timer for 12 to 15 minutes, and do not lift the lid or stir again until the timer goes off.
Rest, fluff, and check the texture
When the timer ends, turn off the heat and leave the pot covered for 5 to 10 more minutes. Steam trapped under the lid keeps cooking the groats during this pause, and that’s how the centers soften without the outside breaking down.
Fluff with a fork rather than a spoon. Push the tines straight down and lift, in short movements, until every grain has separated. If the grains still look tight and glassy in the middle, put the pan back on low heat for two more minutes with a splash of water. If they’re tender with a slight chew and visible separation, they’re done.
Common Mistakes
Too much liquid. This is the number one complaint in cooking forums and it produces a thick, spoon-coating texture. Fix it by measuring rather than eyeballing, and remember that raw groats and toasted groats drink different amounts. If a batch already turned soupy, drain it in a strainer for a minute or spread it on a tray to dry.
Not enough liquid. The opposite failure leaves hard little cores stuck to the bottom of the pan, and the batch smells scorched. Fix it by adding hot water a quarter cup at a time, stirring gently, and giving it two minutes between additions.
Stirring while it cooks. Frequent stirring releases starch and physically breaks the groats. One stir after adding the liquid is enough; after that, the lid does the work.
A full rolling boil. Violent bubbling knocks grains against each other and drives off the liquid faster than the groats can absorb it. Bring it up to a boil once, then drop to the lowest simmer.
Salting at the start. Salt early can make the hull skins tough and slow the softening of the center. If you salt before cooking, use less; if you salt after, you get a cleaner, brighter grain that seasons the surface where you taste it.
Leaving cooked groats uncovered. Buckwheat dries out fast once the steam escapes, and the grains harden within an hour. Fluff, cover, and refrigerate within two hours, or spread it in a thin layer on a tray so it cools fast and doesn’t steam itself soggy.
Two more habits worth building in. Cook a double batch on a Sunday and portion it out — buckwheat holds well for meal prep and reheats better than most grains in a skillet with a splash of water. And if you notice different results from different bags, that’s real: groats vary in hull removal and grain size between brands, so pick one and stay with it for a few cooks while you learn its timing.
Frequently Asked Questions
What is the ratio of water to buckwheat groats?
Use 1.5 cups of water or broth for every 1 cup of raw buckwheat groats on the stovetop. Toasted kasha needs less, closer to 1.25 cups, because it has already absorbed some moisture during toasting. Go up to 2 cups when you want porridge or a very soft grain, and measure with a cup rather than eyeballing, since that is where most mushy batches start.
How long do you cook buckwheat groats on the stovetop?
Raw groats simmer covered for 12 to 15 minutes after the liquid comes to a boil, then rest covered off the heat for 5 to 10 minutes. Toasted groats cook faster, around 10 to 12 minutes. If you toasted the groats first, subtract about two minutes from the simmer time. Check by pressing a grain: tender with a slight chew means done, while a hard, glassy center means it needs more time.
How do you cook buckwheat so it doesn’t go mushy?
Use exactly 1.5 cups of liquid per cup of groats, keep the heat at a gentle simmer instead of a rolling boil, and do not stir after the liquid goes in. Stirring is what releases starch and breaks the grains into paste. Rest the pot covered off the heat for 5 to 10 minutes so steam finishes cooking the centers, then fluff with a fork rather than stirring. A little butter or oil in the pot also cuts sticking.
Do buckwheat groats need to be soaked before cooking?
No. A quick rinse under cold water is enough for most cooks, and it removes surface starch that causes mushiness. Soaking for two hours or overnight gives you softer, slightly faster-cooking groats, which is worth it if you plan to eat them as porridge or in a grain bowl. Soaked groats already hold water, so reduce the liquid slightly and shorten the simmer by a few minutes.
How do I store and reheat cooked buckwheat?
Cool cooked groats quickly, then refrigerate them covered for up to three to four days. Reheat in a skillet over low heat with a splash of water and a lid on for three to four minutes, stirring once at the end, which brings back the grain texture better than a microwave. For a fuller reheat, spread a damp paper towel over the bowl before microwaving, and stir halfway through.
How do Russians eat buckwheat for breakfast?
Grechka, as Russians call it, most often appears at breakfast as a plain cooked grain with a knob of butter stirred through, sometimes loosened with a little milk. Savory is the default, and onions cooked down in butter are a common addition. Sweeter versions exist, with honey, sugar or dried fruit, but the everyday plate is buttered buckwheat next to eggs, tea, or cottage cheese rather than a porridge.
Conclusion
If you only remember three things about how to cook buckwheat groats, make them these: rinse the groats first, measure 1.5 cups of liquid for every cup of grain, and keep the pot covered at a gentle simmer without touching it until the timer rings. Toast them for a few minutes in a dry pan first if you want the flavor to taste like more than a side dish, and let the pot sit covered for five minutes before you fluff.
What you do with the finished grain is where it gets flexible. Serve it with butter and a boiled egg for breakfast, fold it into a salad with roasted vegetables for lunch, cook it in broth with onions for a pilaf-style dinner, or spread it in a baking dish as a stuffing for vegetables and chicken. If you like cooking for a group where everyone eats differently, buckwheat is an easy base for that too, since it is gluten free and it takes flavor from whatever you add to it.
Cooking other pantry staples from scratch without soaking, planning meals for a family with different diets, and batch cooking a week of grains without getting bored all pair well with a pot of buckwheat.