
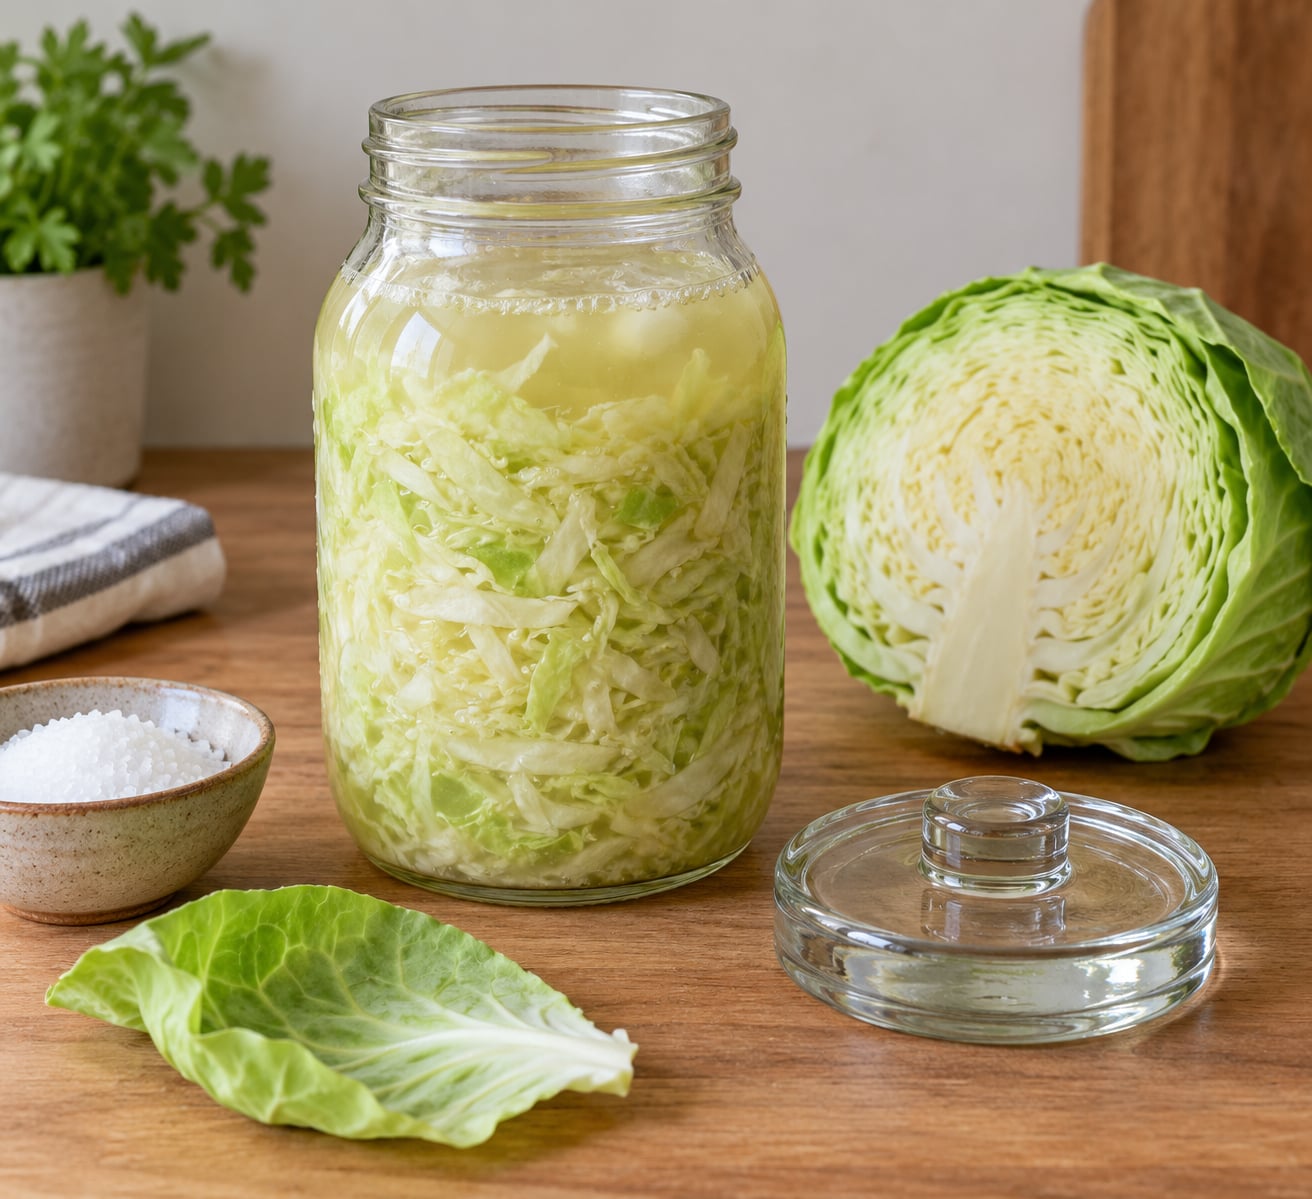
To make sauerkraut in a mason jar you need only two things: shredded cabbage and non-iodized salt at about 2% of the cabbage’s weight by mass. Massage the salt into the cabbage until it collapses into its own brine, pack it firmly into a clean jar, and hold it under that brine with a weight while it ferments at room temperature for one to three weeks. Hands-on time is about 20 minutes. The waiting does the rest.
That is the whole method. Traditional crock kraut and mason jar kraut are the same ferment in different containers, as long as one rule holds: cabbage stays below the brine line. Anything above it meets air, and air is what grows mold and yeasts you did not invite.
Here is the short version before the detail:
- Ratio: 2% salt by weight of shredded cabbage, which is roughly 1 tablespoon of pickling salt per pound of cabbage.
- Jar: one-quart wide-mouth mason jar works well; regular-mouth jars ferment fine too, they just take more fiddling to pack.
- Weight: anything that holds the cabbage down, from a spare cabbage leaf to a glass fermentation weight.
- Temperature: 65 to 75°F. Warmer means faster and softer, cooler means slower and crunchier.
- Time: start tasting at day 7, expect to refrigerate somewhere between day 10 and day 21.
- Two ingredients, honestly: cabbage and salt. Caraway, juniper, or garlic are optional extras, not requirements.
If you have never fermented anything before, this is a forgiving place to start. Unlike a vinegar pickle, a salt ferment is hard to ruin outright, and if a batch goes sideways you have learned something useful for about the price of a cabbage.
Table of Contents
What You Need
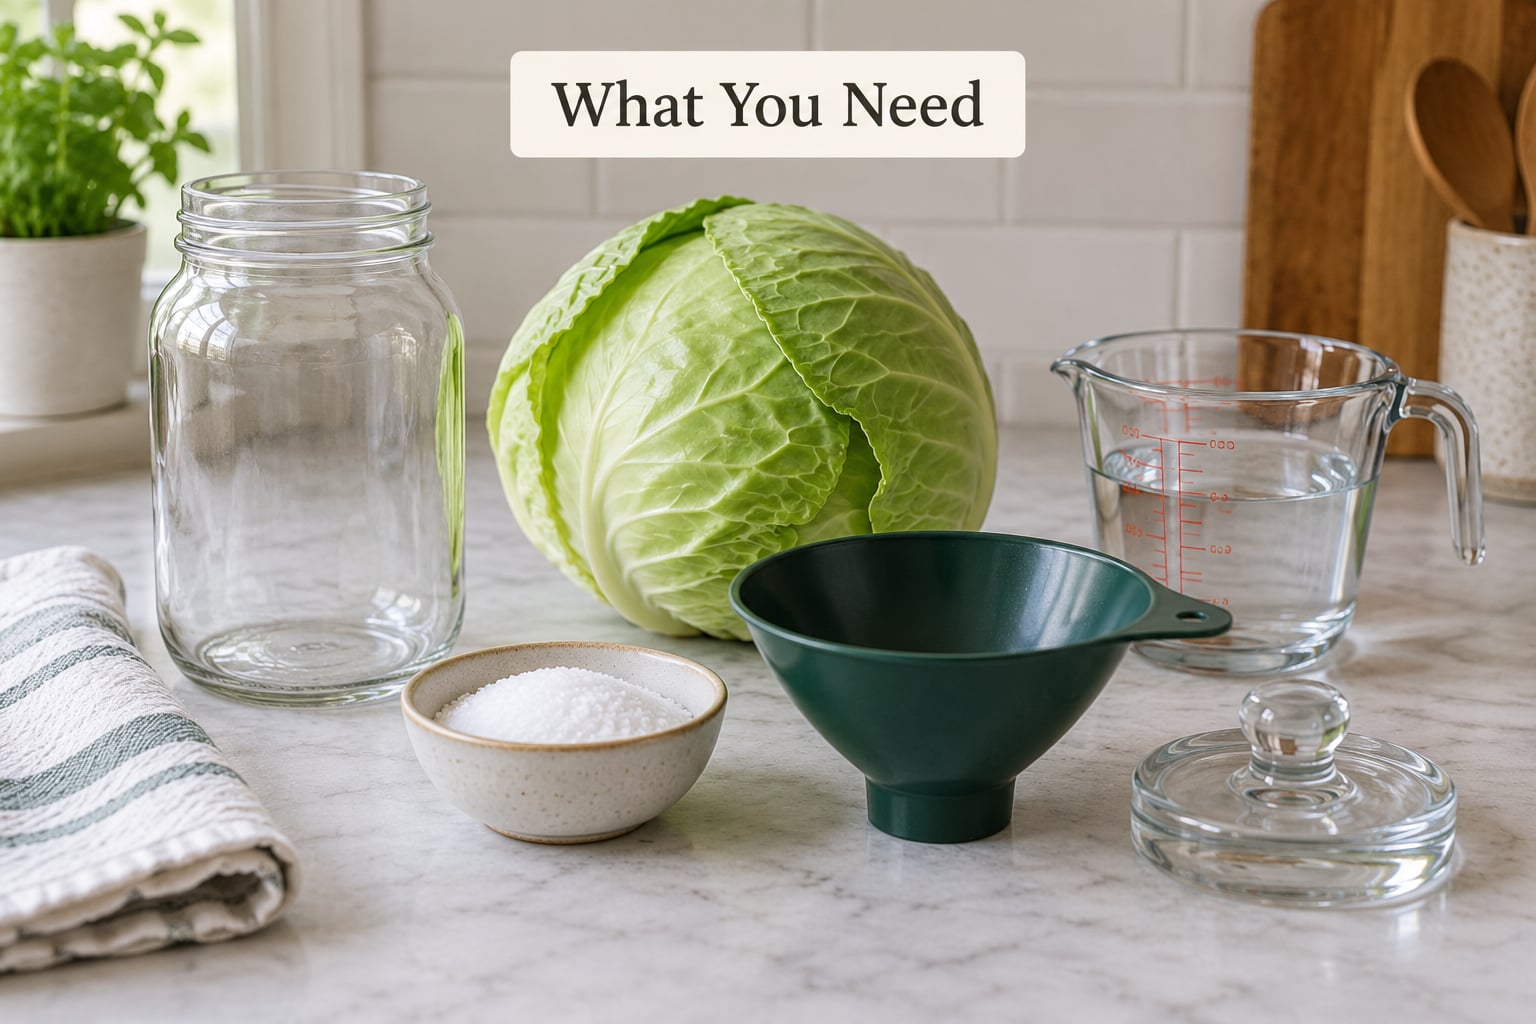
The ingredient list is short enough to say out loud. For one quart jar you want roughly 2 pounds of cabbage, which is about half a medium head once the stem and loose outer leaves are off.
- Green cabbage, about 2 pounds. Tight heads work better than loose ones because the leaves shred denser. Napa works and gives a milder result; red cabbage works too and turns a striking pink brine.
- Non-iodized salt, about 2 tablespoons. Pickling salt is the classic choice because it dissolves fast and contains no anti-caking agents. Kosher salt is fine and often easier to find. Table salt is the one to skip.
- Flavorings, optional: a tablespoon of caraway seeds for the Polish style, a dozen juniper berries for a German-leaning batch, or a few cloves of garlic and a grated carrot.
On the equipment side, the essentials are smaller than most gear lists suggest. You need a jar, a lid, something to weigh the cabbage down, and a kitchen scale if you can borrow one. A wide-mouth quart is the easiest to work with because your hand fits inside, and a regular-mouth quart produces an identical ferment with a little more pressing.
Airlocks are optional. You can ferment in a plain mason jar with the standard two-piece lid set to ring-top, then burp it once or twice a day as gas builds. If you would rather not think about it, a one-piece lid with a silicone gasket and a water-filled airlock chamber costs almost nothing and does the burping for you.
For the weight, work down this list: a glass fermentation weight is the tidy answer, four or five clean pickle pebbles do the same job, a folded wedge of cabbage tied with a length of butcher string is free and completely traditional, and a small tamper or a baggie filled with brine as a last resort. What you cannot use is something that floats or something that seals against the cabbage and traps a pocket of air.
Leave about 1.5 inches of headspace above the brine at the start. Fermenting cabbage pushes liquid upward as it works, and a jar packed to the neck will overflow onto your counter around day three. It always seems to happen overnight, which is its own small argument for not overfilling.
If you like a side project with the same mechanics, how to make kimchi without special ingredients uses the same salt-and-submersion basics with a different seasoning profile.
How to Make Sauerkraut in a Mason Jar, Step by Step
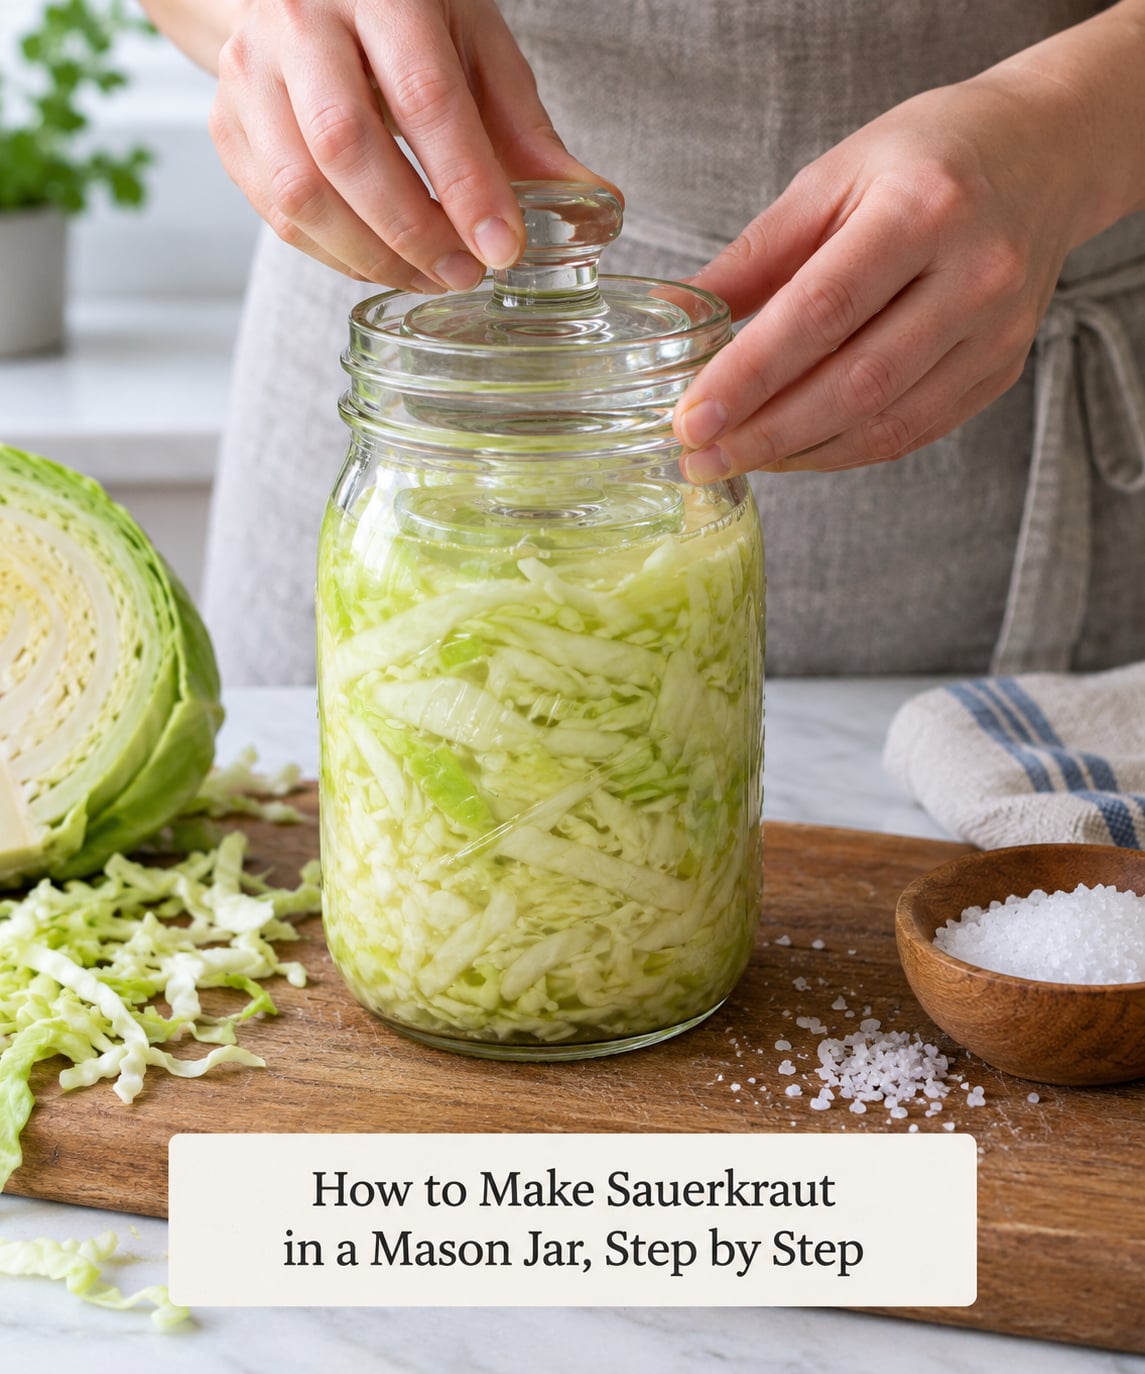
Set aside 20 minutes and read through once before you start. The steps are short; the part that trips people up is not doing them thoroughly the first time.
How to Prepare the Cabbage
Wash the cabbage, then peel away any outer leaves with bruises, loose edges, or insect damage. Those leaves go to the compost or the stockpot. Save the sturdy ones, because a whole inner leaf makes a good fermentation weight later.
Cut the cabbage into wedges, slice each one into thin strips with a sharp knife or a mandoline, and shred it again across the strips so you get short, roughly even shreds. Consistency matters more than knife skills. Uniform shreds release juice at the same rate, which is why evenly cut kraut stays crisp while ragged chunks turn to mush in places.
Weigh the shredded cabbage. If your scale cannot handle a big bowl, tare a large bowl first, add the cabbage, and read the number. Write it down, because that number drives your salt. The sturdy core near the stem can be sliced thin and included, or reserved for broth alongside your other vegetable trimmings.
How to Salt and Massage the Cabbage
Measure salt at 2% of the cabbage weight and sprinkle it over the shreds. A 2-pound batch takes about 2 tablespoons. Mix it in with clean, bare hands, then start squeezing.
Massage for a full two minutes, squeezing handfuls hard, letting go, squeezing again. You are not kneading dough; you want the leaves to soften and give up their water. When it works, clear liquid pools in the bottom of the bowl and the cabbage shrinks to roughly half its original volume. That liquid is the entire liquid component of the recipe. It already contains the water and the dissolved minerals the ferment needs, so you never add tap water, which is why chlorine and other additives never become a problem.
How to Pack the Mason Jar
Wash the jar with hot soapy water, rinse, and dry it. You want clean, not sterilized. Sterilizing kills the wild bacteria on the cabbage surface that you are counting on to start the ferment.
Transfer the cabbage and its brine into the jar a handful at a time. Pack each handful down hard with the back of your fist or the handle end of a wooden spoon, pushing out air pockets as you go. Loose packing leaves oxygen pockets that breed yeast and soft spots. Tight packing is the single biggest difference between crisp kraut and forgettable kraut.
When the jar is full, the brine should cover the cabbage completely. If the cabbage is sitting proud of the liquid, add a spoonful of the leftover brine from the bowl or a little cool boiled-then-cooled water. Keep roughly 1.5 inches of headspace below the neck of the jar.
How to Keep the Cabbage Submerged
Clean hands go back in, and the cabbage goes down again in stages. Drop in your weight, then check after a few minutes that nothing has crept up. Push it back down and put the lid on.
This is the part that decides the batch. Cabbage sitting above the brine grows kahm yeast, a flat, whitish film that is harmless and skimmable, and mold with fuzzy colored patches, which is not. Both are far easier to prevent than to rescue. If a piece floats up to the surface, press it back under and add more brine.
A fermented cabbage leaf laid flat on top does the job well because it conforms to the shape of the jar. Secure it with a length of string or a rubber band if it starts riding up.
How to Ferment Sauerkraut
Set the jar somewhere dark, out of sunlight, at a steady room temperature between 65 and 75°F. A pantry shelf, a closet, or the back of a refrigerator works better than a bright kitchen counter, which swings in temperature all day.
From here on, the kraut tells you what it is doing. Small bubbles in the brine and along the glass mean lacto-fermentation is underway. The brine turns cloudy, a sour cabbage smell shows up in the kitchen, and a faint fizzy pop when you open the lid are all good signs. Yes, it farts. That is carbon dioxide leaving the jar.
Check it daily. With a two-piece lid set to ring-top, the lid will slightly pop as pressure builds, so release that gas once a day by lifting the lid straight off. If you are using an airlock, leave it alone. Either way, press the cabbage back under the brine at each check.
Somewhere around day 4 to 7, push the cabbage down and pour off any brine that has risen above the jar shoulder. Lowering the cabbage back into the brine keeps the acidity where it needs to be, right against the food.
How to Taste and Refrigerate It
Start tasting at day 7 with a clean fork, pull up a shred, and eat it plain. Do not taste with a spoon that has been in your mouth, and do not double-dip.
Day 7 is usually still mild and barely sour, which is normal. Day 12 usually tastes like proper sauerkraut: pleasantly sour with a little funk and a firm crunch. By day 21 it can be sharp enough to make your face do something, and the cabbage has gone soft. That is not dangerous, just past where most people want it.
When the flavor hits your mark, refrigerate the jar. Cold slows the lacto-fermentation to a crawl, which is how sauerkraut keeps for months in the fridge with live cultures intact. Taste a few shreds every week or so and spoon off any film that appears on the surface.
Common Mistakes
Almost every bad jar traces back to one of these five things, and all of them are avoidable.
Mold or a white film on top. Kahm yeast is flat, matte, and slightly wrinkled. Mold is fuzzy, and often green, blue, black, or pink. Either way, the cause is the same: cabbage above the brine. Skim the surface, verify that everything is submerged, and add brine if needed.
The cabbage floats up and keeps floating. The weight is too light or the packing too loose. Press down harder, add a second weight, and check daily without fail.
Nothing happens for days. The jar was too cold, or too salty, or the salt was not mixed through properly. Move the jar somewhere warmer next time, keep the ratio at 2%, and avoid going past 3% in warm weather since salt slows the ferment.
It is inedibly salty. Almost always from using table salt by volume rather than weighing the cabbage. A tablespoon of fine table salt holds far more mass than a tablespoon of pickling or kosher salt. Weigh it next time.
The texture is soft and slumping. Packing too loosely, fermenting too warm, or salting under 1.5%. Crisp kraut wants tight packing, a cool room, and enough salt. Shredding evenly helps too, since thin shreds collapse into brine faster than thick ones.
Frequently Asked Questions
How long to ferment sauerkraut in a mason jar?
Most batches land somewhere between 10 and 21 days, and temperature matters more than the calendar. At 65 to 70°F a quart jar usually wants 2 to 3 weeks; on a warm 75°F counter it can turn noticeably sour in about a week and get soft by week three. Start tasting at day 7 with a clean fork, then every few days, and refrigerate once the sourness and crunch hit the mark you like.
How can you tell when sauerkraut is done fermenting?
Taste it rather than counting days. Pull a shred with a clean fork at day 7 and again every few days. Done kraut tastes pleasantly sour with a light funk and still snaps between the teeth. Signs of active fermentation along the way are bubbles in the brine, cloudiness, a sour smell in the kitchen, and a faint fizzy release when you open the lid. Refrigerating stops where you stop.
Can you use table salt for sauerkraut?
You can, but you should not, especially if you measure by volume. Table salt is finer, so a tablespoon weighs more than a tablespoon of pickling or kosher salt, and the usual anti-caking additives can leave a slight haze or odd texture. If table salt is all you have, weigh it on a kitchen scale at 2% of the cabbage weight rather than counting spoons. Pickling or kosher salt is the better path.
Why won’t my sauerkraut ferment?
The usual causes are a jar that sat too cold, a salt ratio that was too high for the room temperature, or salt that never got evenly mixed into the shreds. Chlorinated water is not a cause, since you never add water: the brine comes out of the cabbage itself. Check that the cabbage is packed tight and fully submerged, move the jar to a warmer dark spot, and give it another week before assuming the batch failed.
Is it safe to make sauerkraut in a plastic container?
Glass is the better choice. Plastic can scratch during massaging and packing, and those scratches harbor bacteria that are hard to clean out, which is not what you want in a ferment you cannot pasteurize afterward. A food-grade plastic bucket works for many people in practice, but glass mason jars are inexpensive, non-porous, and easy to inspect. Skip anything that is not food-grade, scratched, or has held raw meat.
What is the best size mason jar for fermenting sauerkraut?
A one-quart wide-mouth jar is the sweet spot for beginners. It takes roughly 2 pounds of shredded cabbage, fits in most refrigerators once fermented, and your hand reaches the bottom easily for packing. A half-gallon jar holds about 4 pounds and is great once you have the routine down, but packing a full half-gallon by hand is a two-person job. Regular-mouth quarts ferment identically, just with more pressing.
Conclusion
Making sauerkraut in a mason jar comes down to four things: a clean jar, cabbage salted at 2% by weight and massaged until it gives up its brine, everything packed and weighted under that brine, and a daily taste before it goes in the refrigerator. Get those four right and the ferment mostly manages itself.
Start with one quart jar and about 2 pounds of cabbage. Shred it, salt it, pack it hard, and put it somewhere dark at room temperature. Then just check on it. If your first batch comes out a bit soft or a bit sour, you will know exactly which knob to turn on the next one, and the cabbage stems and outer leaves can go into a vegetable broth built from kitchen scraps while the jar does its slow work.