
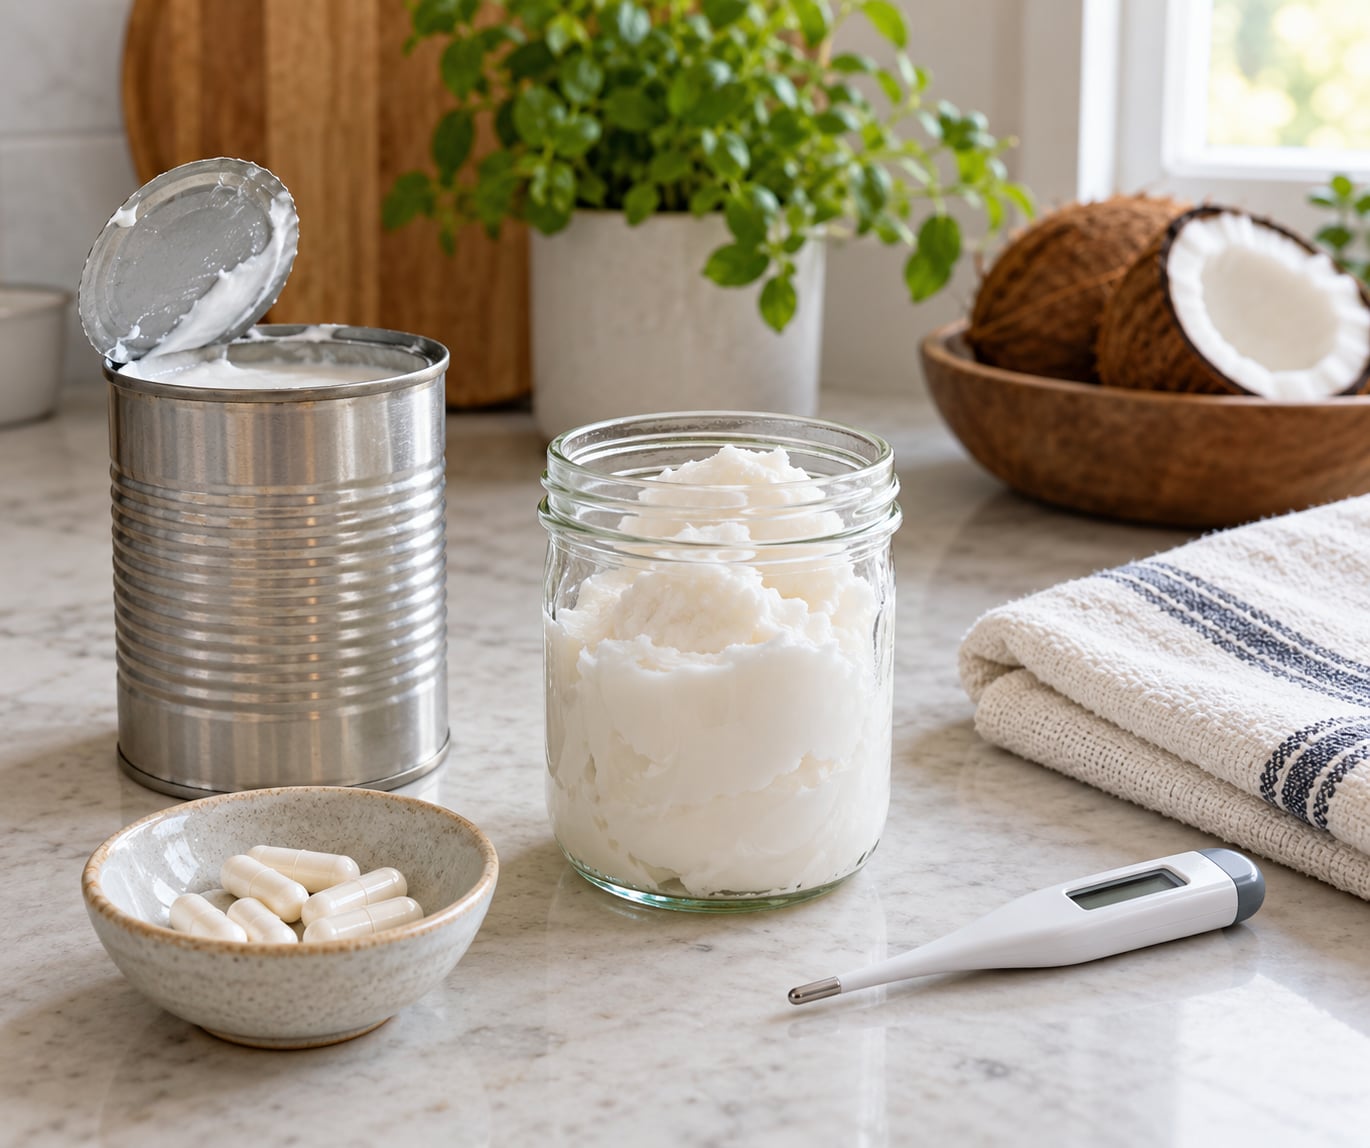
To make coconut yogurt at home, chill two cans of full-fat coconut milk so the cream rises, scoop out the thick cream, stir in two or three probiotic capsules or a couple of tablespoons of plain yogurt with live cultures, and keep it warm and undisturbed for 12 to 24 hours. Active time is about 15 minutes; the rest is waiting, then a few hours in the fridge to firm up.
The part that surprises people is how little cooking is involved. Dairy yogurt makers heat milk to around 180 F to kill stray bacteria and denature the proteins so the culture thickens it. Coconut milk has no lactose and no bacteria that need pasteurizing, so you can inoculate it straight from the fridge. You are essentially replicating what the culture does at a yogurt counter, minus the equipment and the price tag.
Table of Contents
- What You Need
- How to Make Coconut Yogurt at Home: Step-by-Step
- Step 1: Chill the cans overnight
- Step 2: Sanitize the jar
- Step 3: Scoop the cream and skip the water
- Step 4: Add the culture
- Step 5: Warm it up to about 110 F
- Step 6: Ferment, undisturbed
- Step 7: Know when it is done
- Step 8: Chill for 4 to 6 hours
- How to Make Coconut Yogurt at Home: Choosing the Right Coconut Milk
- How to Make Coconut Yogurt at Home: Fixing Thin or Separated Yogurt
- Common Mistakes
- Frequently Asked Questions
- Can I make coconut yogurt without a special starter?
- How long does coconut yogurt take to ferment at home?
- Why is my coconut yogurt too thin?
- Can I use coconut yogurt in place of dairy yogurt?
- How long does homemade coconut yogurt keep in the refrigerator?
- Do I need to refrigerate coconut yogurt during fermentation?
- Conclusion: Start With One Jar
What You Need
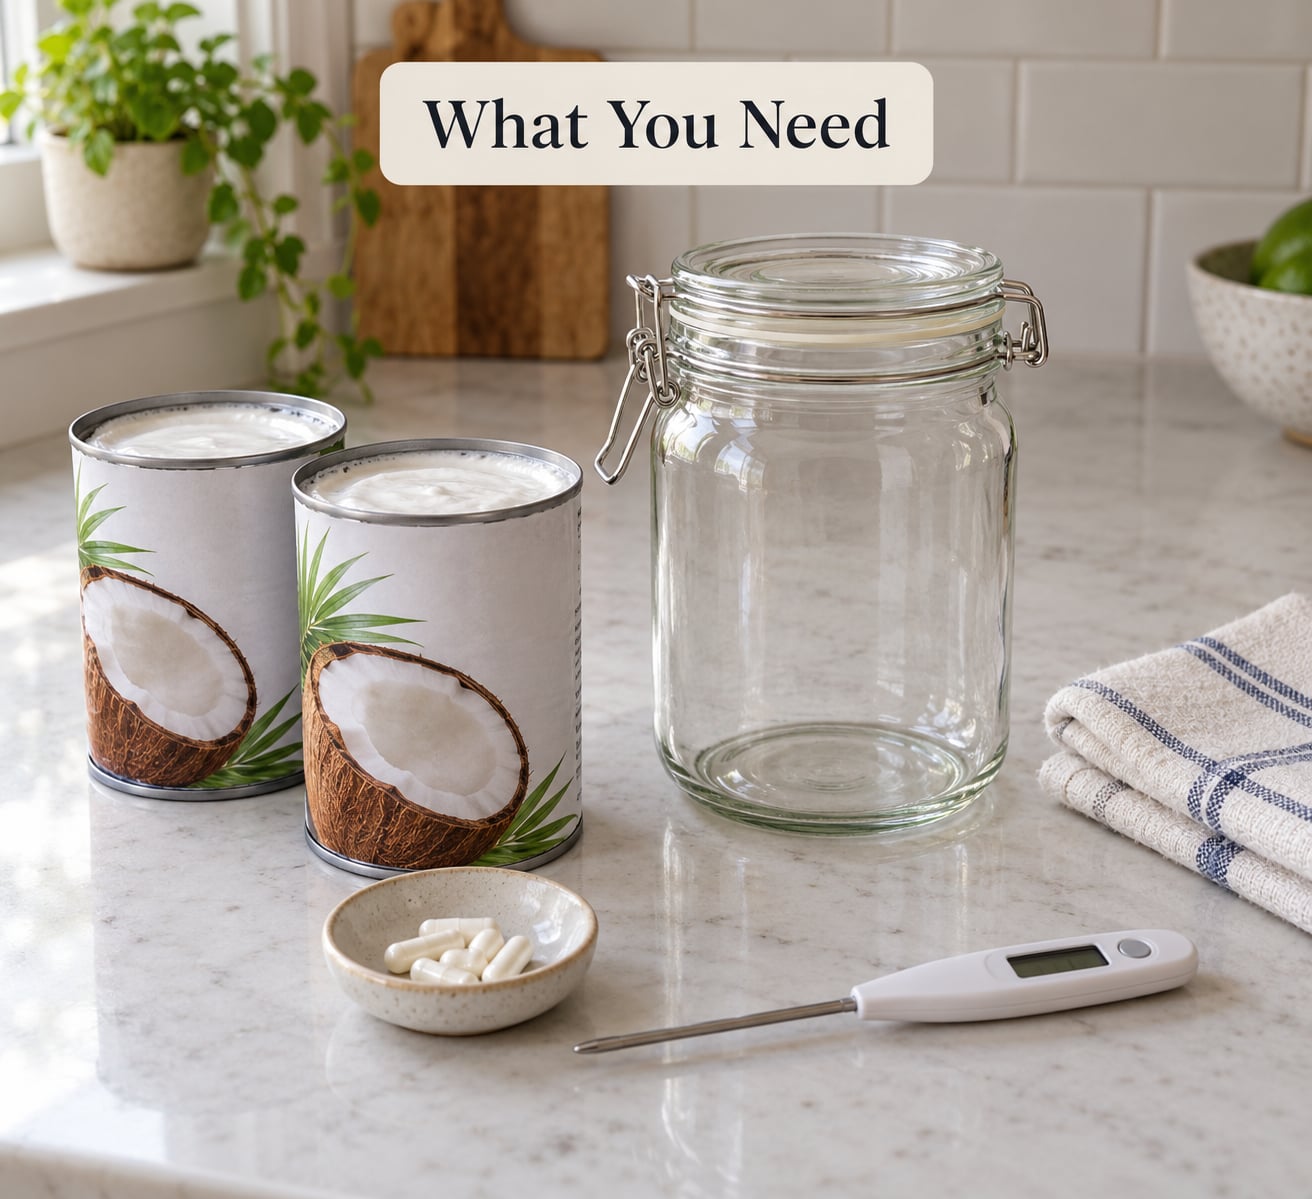
- 2 cans full-fat coconut milk, 13.5 to 14 oz each (fat is what sets the texture)
- 2 to 3 probiotic capsules, each around 10 billion CFU or more, or 2 tablespoons plain unsweetened yogurt with live active cultures
- A glass jar or bowl with a lid, roughly 3 cups of room, so nothing presses down on the mixture
- A kitchen thermometer, to check your spot is warm enough before you commit 12 hours to it
- A clean towel or paper towel and a rubber band, for a breathable cover
Two cans give you about 2 cups of finished yogurt. A thermometer and a proper fermentation vessel are the two items that actually change your results; everything else can be improvised.
For a warm spot, an oven with only the light on is the most reliable setup most people have. An Instant Pot on its yogurt setting, a yogurt maker, or a dehydrator at low heat all work as well. If you already keep another cultured food going, how to make water kefir at home runs on the same warm-incubation logic and the same thermometer, so both can share one warm corner of the kitchen.
How to Make Coconut Yogurt at Home: Step-by-Step
Step 1: Chill the cans overnight
Refrigerate the unopened cans upright for at least 8 hours. The coconut cream naturally rises and hardens at the top while the watery liquid stays at the bottom. You scoop the top, which is where most of the fat and the set live.
Step 2: Sanitize the jar
Boil your jar and lid for 10 minutes, or run them through the dishwasher, and dry them with a clean towel. Everything you touch the coconut milk with should be free of soap residue and detergent film, which can kill a culture outright.
Step 3: Scoop the cream and skip the water
Open the can without shaking it. Spoon the solid cream from the top into your jar and leave the clear liquid behind. Some people add a tablespoon back for a lighter result, but the first batch is easier to judge all cream. Two cans of cream fill roughly a 3-cup jar.
Step 4: Add the culture
Sprinkle the contents of 2 to 3 capsules over the cream, or stir in 2 tablespoons of plain yogurt, and whisk or stir until completely smooth. No lumps, because a lumpy mix means uneven acidification and patchy texture.
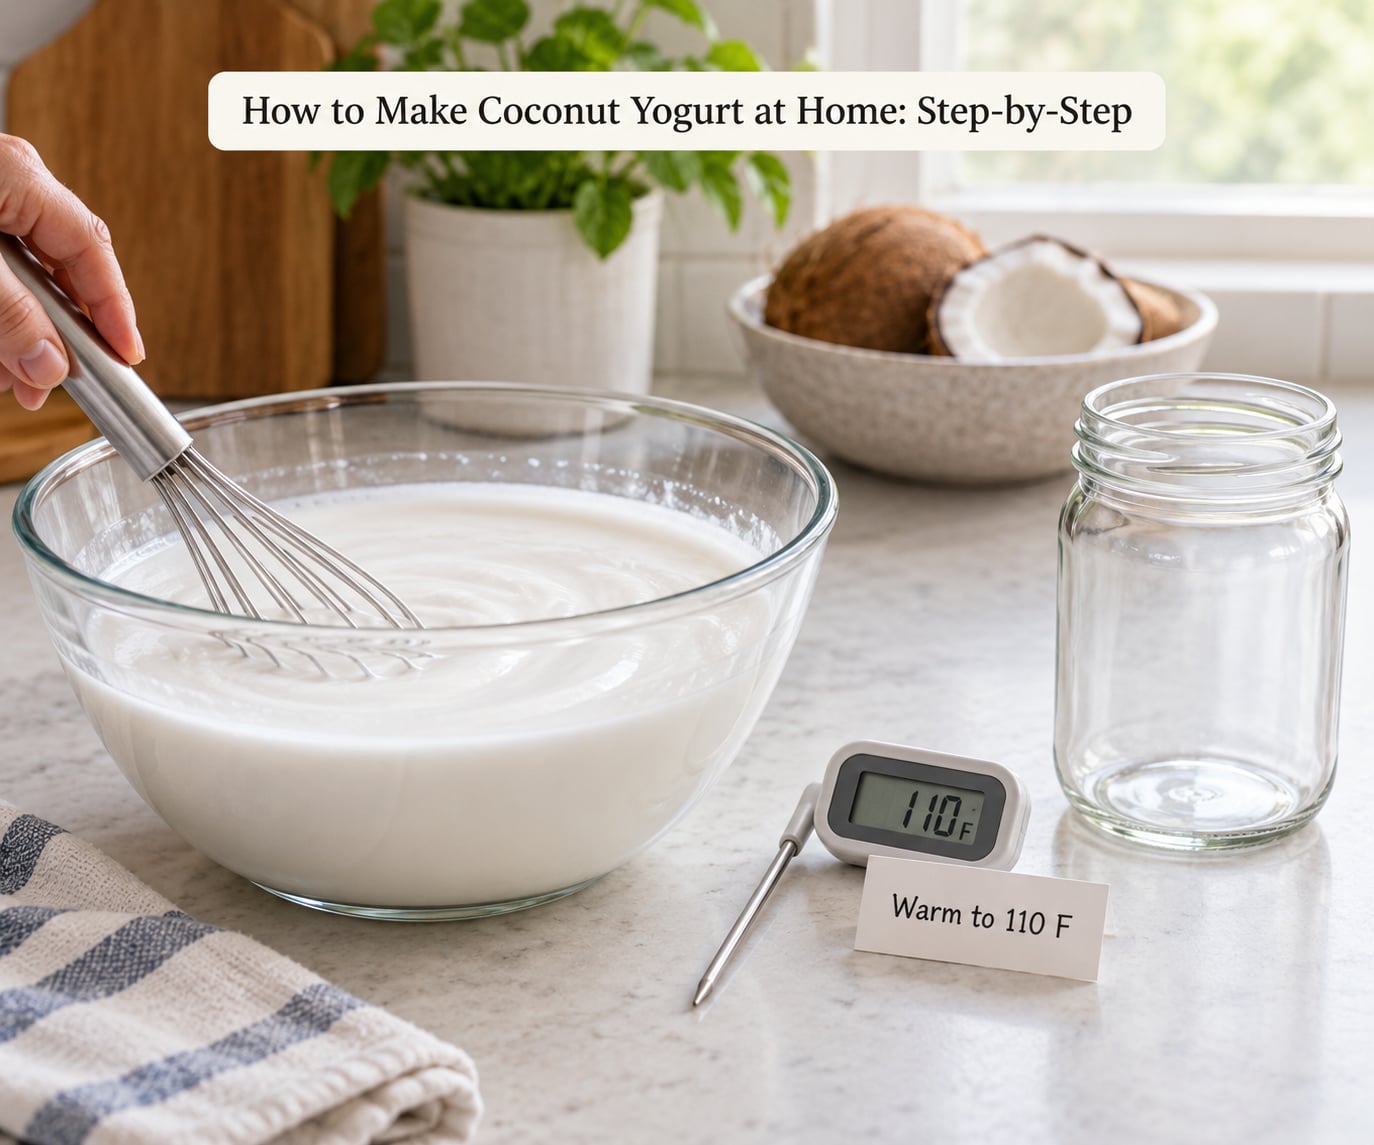
Step 5: Warm it up to about 110 F
Heat the mixture gently in a pot or microwave and stir until it reaches roughly 105 to 110 F on the thermometer. Many probiotic capsules specify a narrow range, and anything above about 115 F can kill the bacteria you just added.
Step 6: Ferment, undisturbed
Hold that temperature for 12 to 24 hours. Cover the jar loosely with the towel and rubber band so air can pass while nothing floats in, then put it somewhere warm and leave it alone. Every time you open it to check, you let in oxygen and drop the temperature.
| Method | Where the jar sits | Typical time |
|---|---|---|
| Warm room | 82 to 90 F countertop or cupboard | 12 to 16 hours |
| Oven light | Oven set to about 30 C, no heat element on | 12 to 24 hours |
| Instant Pot | Yogurt setting, no pressure | 8 to 12 hours |
| Yogurt maker or dehydrator | Machine setpoint, usually 105 to 115 F | 6 to 10 hours |
| Cold kitchen in winter | Oven light or insulated box, warm towel around jar | 18 to 24 hours |
Step 7: Know when it is done
Three checks work. Tilt the jar: set yogurt holds its shape instead of sloshing. Stir in a spoonful and smell it: it should be pleasantly tangy, not harsh. And watch the edges, which pull away from the glass first. If a clear layer sits on the bottom, that is whey, not spoilage.
Step 8: Chill for 4 to 6 hours
Refrigerate the jar, unopened, for at least 4 hours. The set firms up considerably as it cools, and this is where most of the perceived thickness comes from. After several days in the fridge it may turn stiff and spoon-resistant, which is fixable with a splash of water or a quick stir.
How to Make Coconut Yogurt at Home: Choosing the Right Coconut Milk
Full-fat, unsweetened coconut milk gives the best result. Light coconut milk has too little fat to trap water, and sweetened varieties taste wrong once the culture turns up the acidity. If you have seen cans vary a lot between brands, that is normal: check the label for fat percentage and pick the highest one you can find.
Refrigerated box coconut milk is easier to control because the ratio of cream to water is more predictable. Canned works fine, and shakes well for baking, but it can carry a stronger coconut note and varies between brands. Either way, shake the can before opening if you want a more uniform, pourable result rather than a cream-topped block. If you are still working out which can to buy, coconut milk vs coconut cream in recipes breaks down when each one works best.
Coconut pulp from a whole coconut works too. Grate the flesh, blend it with a little water, and strain it through cheesecloth for a rough coconut milk. The flavor will be noticeably fresher and more fragrant than canned.
How to Make Coconut Yogurt at Home: Fixing Thin or Separated Yogurt
Thin yogurt usually means the culture ran too slow. Give it more warmth and more time, use fresh capsules rather than a starter that has lost activity, and use only the cream from the top of the can. Next time, try the oven light instead of a cool countertop.
A watery layer at the bottom is whey, and it is normal. Coconut yogurt separates the way milk does when you make cheese. Stir it back in from the bottom with a clean spoon, or strain the whole jar through cheesecloth for 2 to 4 hours and save the liquid for smoothies.
If you want more body without straining, you have options in rough order of ease: strain through cheesecloth, stir in 1 to 2 tablespoons of chia seeds per cup and rest 30 minutes, add 1 tablespoon of lecithin to help the fat and water stay together, or cook in 1 teaspoon of agar agar or gelatin per cup. Each works a little differently, and none of them fix a batch that never set in the first place.
When you borrow your starter from the fridge instead of capsules, check the tub says live and active cultures and has not sat open for days. How to pick a healthy yogurt at the store covers what to look for on a label if you are buying one purely as a starter.
Discard the batch if you see fuzzy coloured mould, a pink or orange film, or a smell that is sharp and unpleasant rather than simply tangy. Do not taste to test. And if a batch sat warm for more than a day or two past its incubation time, throw it out rather than chilling it.
Common Mistakes
Using a starter that has died. Powdered starters and homemade batches weaken with use. Three probiotic capsules at 10 billion CFU or more are more reliable, and if a batch fails twice, buy a fresh packet.
Heating the coconut milk too hot. There is no need to boil it or bring it near 180 F. Anything above about 115 F starts cooking the culture you added, and you end up with warm coconut milk that sets like nothing.
Incubating too hot or too cold. Above roughly 115 F the bacteria stall; below about 75 F they barely move. Aim for 105 to 110 F and check it with a thermometer before you start, not after.
Moving the jar. Setting yogurt is fragile. Wiggling it, opening it to admire the swirls, or carrying it to another room breaks the structure you spent a day building.
Using too much starter. A big inoculation acidifies fast and gives you sharp, over-tangy yogurt instead of a balanced one. Two capsules for two cans is plenty.
Soap or detergent residue. Even a trace of dish soap on a supposedly clean spoon can stop a batch. Boil your tools, or skip soap entirely and use very hot water and a sterilized jar.
Coconut milk with added thickeners. Some canned varieties already contain starches or gums. They will make the texture unpredictable, so read the ingredient list.
Three habits fix most repeat problems. Measure by weight rather than volume if your kitchen has a scale. Cover loosely so the mixture can breathe. And keep the culture temperature and the incubation temperature in the same range, since a culture that works at 110 F in a jar will stall in a 75 F cupboard.
Frequently Asked Questions
Can I make coconut yogurt without a special starter?
Yes. Plain unsweetened yogurt with live active cultures works, and roughly 2 tablespoons will inoculate two cans of coconut milk. A spoonful of previously made batch works too, but expect it to weaken after a few generations, because coconut milk carries little fermentable sugar for the bacteria to feed on. For dairy-free, lactose-free, or vegan results, use fresh probiotic capsules at 10 billion CFU or higher.
How long does coconut yogurt take to ferment at home?
Most batches set in 12 to 24 hours at 105 to 110 F. A warm room finishes faster, often in 12 to 16 hours, while a cold kitchen can take the full 24 or more. Check at 12 hours by tilting the jar; if it still sloshes, give it another 4 to 6 hours rather than starting over.
Why is my coconut yogurt too thin?
The culture is fermenting too slowly, so the fat never sets into a network. Common causes are a dead starter, a kitchen below 75 F, and using whole canned milk instead of just the cream from the top. Fix the temperature first, use fresh capsules, and skip the clear liquid at the bottom of the can. Chilling the finished batch also firms it up noticeably.
Can I use coconut yogurt in place of dairy yogurt?
For everyday uses, yes. It works in smoothies, breakfast bowls, fruit parfaits, dips, and as a sour cream or creme fraiche substitute, and it adds fat rather than protein. Two things to know: it is looser than Greek yogurt, and it can split when baked into cakes or breads, so strain it or add a little starch. It also carries far less protein than dairy yogurt.
How long does homemade coconut yogurt keep in the refrigerator?
One to two weeks in a sealed jar, though most batches are eaten within the first week. Keep it cold and use a clean spoon each time, because repeatedly warming it slows the bacteria that protect it. A clear liquid layer forming at the top or bottom is whey, not spoilage. Discard it if you see mould, pink or orange film, or an unpleasant smell.
Do I need to refrigerate coconut yogurt during fermentation?
No. It has to stay warm to ferment, not cold, which is the opposite of dairy yogurt habits you may have picked up. Keep the jar around 105 to 110 F for 12 to 24 hours, then refrigerate it. If your kitchen runs cold, wrap the jar in a clean towel, or put it in an oven with only the light on.
Conclusion: Start With One Jar
The simplest path to a good batch is four decisions: full-fat coconut milk, only the cream from the top of the can, a fresh starter, and 105 to 110 F held steady for 12 to 24 hours. That is the whole method. Everything else, from lecithin to agar, is a repair job.
Write down the temperature of your spot and how long the batch took before you chilled it, along with the texture you ended up with. The second jar is usually better than the first, and it is almost always because you now know what your kitchen actually holds at night. Once you have a batch you like, save a few spoonfuls to start the next one.
The method is short enough that you can run it this week and have a jar in the fridge by tomorrow. Start with one jar, get the temperature right, and adjust the thickness on the next round.