
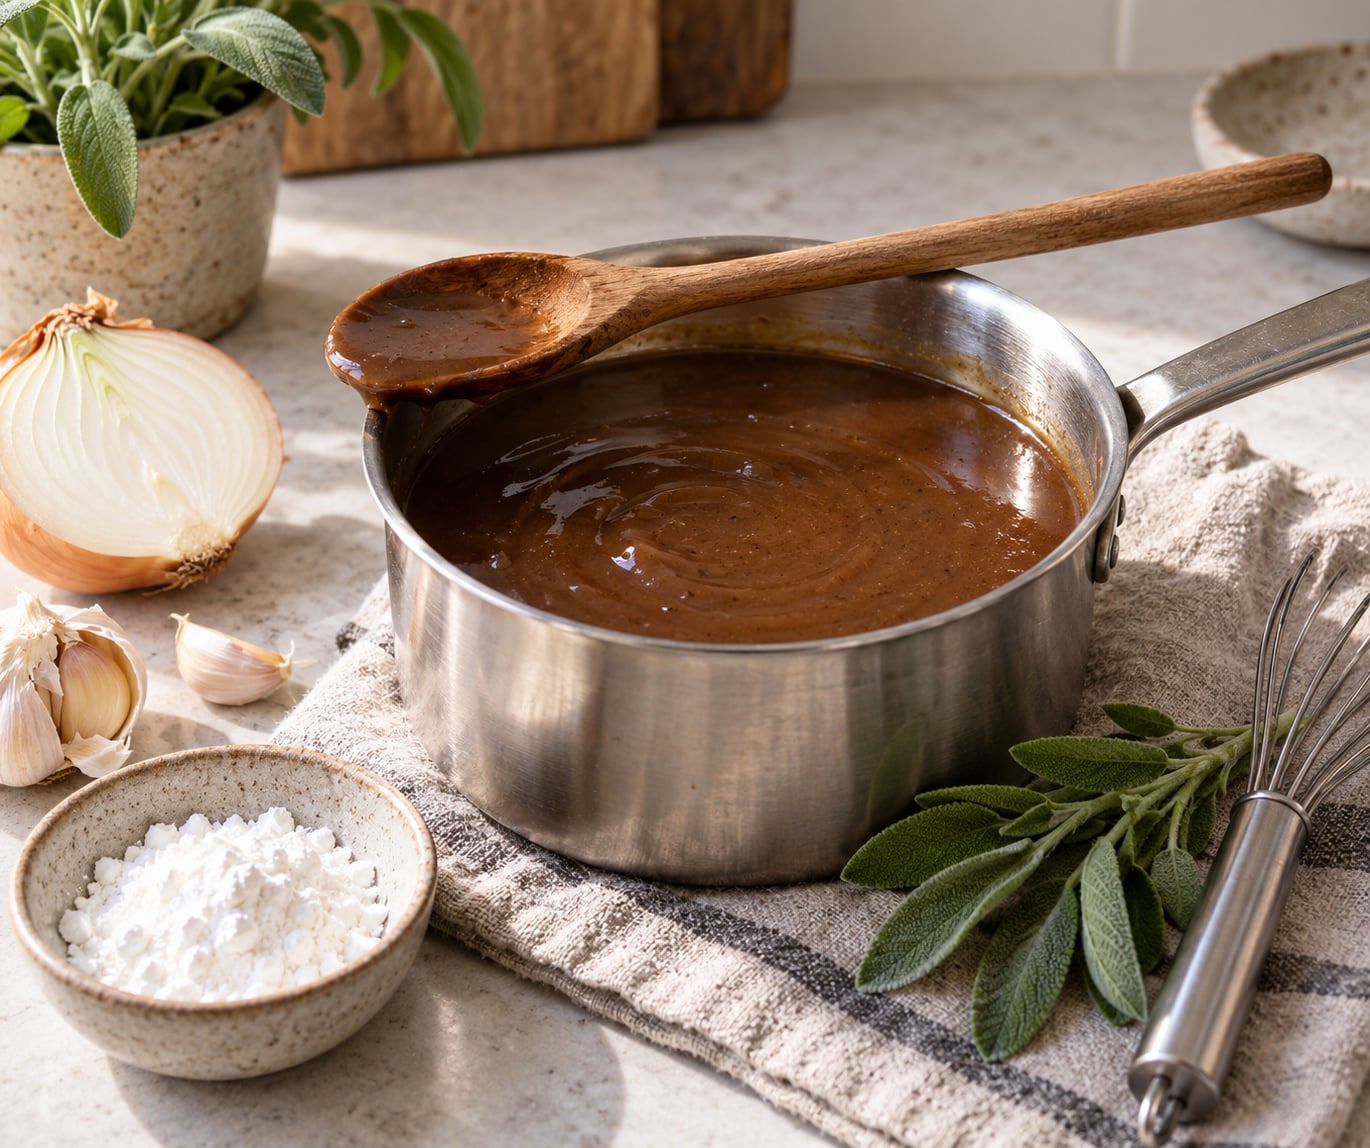
To make vegan gravy from scratch, whisk vegetable broth with cornstarch, then season it with soy sauce, nutritional yeast, and garlic and onion powder. Sweating onion and garlic first gives you the savory depth that usually comes from meat drippings, and the whole thing lands in a bowl in about fifteen minutes.
I keep a pot of this going in my kitchen most weeks because it is the difference between a plate of vegetables tasting like an afterthought and tasting like dinner. Once you learn the base, you can bend it toward mashed potatoes on a Tuesday or toward a holiday roast without much extra work.
Table of Contents
What You Need
You need very little equipment: a skillet or saucepan, a whisk or fork, and a measuring spoon. An immersion blender is helpful but not required, and it only matters for the two blended routes below.
There are three ingredient routes, and each one starts from about two cups of finished gravy so you can scale them the same way. Pick the one that matches the dish you are serving.
Route 1: cooked vegetable gravy, the fastest option
- 1 tablespoon olive oil or vegan butter
- 1 small yellow onion, diced (about 1 cup)
- 2 garlic cloves, minced
- 2 cups vegetable broth or bouillon
- 2 tablespoons cornstarch mixed with 2 tablespoons cold water
- 2 tablespoons soy sauce or tamari
- 3 tablespoons nutritional yeast
- 1 teaspoon onion powder, 1 teaspoon garlic powder, and black pepper
This route is the one to reach for on a weeknight. It takes no soaking and no blending.
Route 2: blended cashew gravy, the richest option
- 1/2 cup raw cashews, soaked in hot water for 20 minutes or overnight
- 1 1/2 cups vegetable broth
- 2 tablespoons nutritional yeast
- 1 tablespoon white miso paste
- 1 tablespoon soy sauce or tamari
- 1 tablespoon lemon juice, plus salt and pepper
Cashews carry fat and body, so this version coats a spoon without any starch at all. If you have never cooked with them before, my cashew cheese sauce recipe uses the same soak-and-blend logic, so it is a good place to start.
Route 3: white bean gravy, the pantry option
- 1 can cannellini or great northern beans, drained, about 1.5 cups
- 1 cup vegetable broth, plus more to thin
- 1 tablespoon olive oil
- 2 garlic cloves, minced
- 2 tablespoons soy sauce or tamari
- 1 teaspoon dried sage or thyme
Beans are the cheapest path to a thick, creamy sauce, and they taste nothing like the can once they are cooked with aromatics and seasoned hard.
For the liquid in any of the three, store-bought broth is fine. A homemade batch built from vegetable scraps tells you how much salt is already in the pot, which is useful if your gravy keeps tasting salty. I wrote about that method in how to make vegetable broth from kitchen scraps.
For gluten-free gravy, use cornstarch rather than flour, tamari or a certified gluten-free soy sauce, and a broth with a gluten-free label. A teaspoon of cornstarch is roughly equal to one tablespoon of flour for thickening power, so swap one for one and adjust from there.
Step-by-Step
How to Make a Vegan Gravy From Scratch with a Savory Vegetable Base
Heat the oil or melted vegan butter in a skillet over medium heat. Add the onion with a pinch of salt and cook for 6 to 8 minutes, stirring now and then, until it looks soft and translucent with the edges just starting to brown.
Add the garlic and cook another minute until you can smell it. Pour in the broth, scrape the bottom of the pan to loosen the browned bits, and bring it to a simmer.
Simmer uncovered for 5 to 10 minutes. You are looking for a small reduction, roughly a quarter cup less liquid, and a taste that is noticeably more concentrated than when you poured it in. If it tastes like plain broth, it needs more time, not more salt.
Season with the soy sauce, nutritional yeast, powders and pepper now, while the liquid is still thin enough to dissolve them. Seasoning a finished gravy is harder because the thickness coats your tongue and mutes everything.
Step 2: Blend or Simmer Until Silky
Leave a cooked vegetable gravy chunky if you are spooning it over roasted vegetables or a grain bowl, where some texture is welcome. Blend it if you are pouring it over mashed potatoes or biscuits, where a smooth sauce is what people expect.
For a smooth result, blend for a full minute rather than a few seconds. Short bursts leave tiny starchy lumps you can taste. If the sauce gets too thick during blending, add broth a tablespoon at a time until it moves again.
Cashew and bean gravies always get blended. With cashews, drain them well before they go in the blender and stop the machine from heating by holding a folded towel over the lid. With beans, blend with the broth still warm, since warm liquid gives you a smoother puree.
Step 3: Season for a Savory, Balanced Flavor
Build flavor in layers instead of reaching for one ingredient hard. Soy sauce or tamari brings salt and glutamates, nutritional yeast brings a nutty, cheesy note, and miso brings a rounded fermented depth that neither of the other two can imitate.
Start with a tablespoon of soy sauce per two cups of gravy and taste before adding more. If you are using bouillon as well, skip the soy sauce entirely, because bouillon is already quite salty. Miso goes in off the heat, since high heat dulls its aroma.
Fresh herbs go in at the very end. Sage and thyme suit poultry-style gravies, rosemary suits a roast, and chives or parsley brighten a potato gravy. A small spoon of Dijon mustard, stirred in off the heat, adds a pleasant sharpness that reads as cooked rather than raw.
To fix a gravy that tastes flat, work through it in this order: more salt, then a squeeze of lemon or a splash of vinegar, then more umami. Sugar almost never solves flatness, and adding it is the most common reason homemade gravy tastes sweet and thin at once.
Step 4: Thicken, Taste, and Serve
The right consistency coats the back of a spoon and leaves a slow trail when you lift it, roughly the thickness of thin cream. Pour it on the plate first and spoon it over the food; gravy poured directly onto food pools instead of spreading.
If it is too thin, whisk 1 tablespoon of cornstarch with 2 tablespoons of cold water, pour it in, and simmer for 2 minutes. Never dump dry starch straight into hot liquid, which is how lumps form. Cold liquid first, heat second, always.
Taste again after thickening and before serving. Thickeners mute flavor, so a gravy that tasted right a minute ago often needs another pinch of salt or another spoonful of broth.
For leftovers, cool the gravy quickly and refrigerate it within two hours of cooking. Use refrigerated vegan gravy within three to four days, and reheat gently on the stove with a splash of broth or water, whisking as it warms, since starch-thickened sauces tighten as they cool.
Common Mistakes
Watery gravy. Usually means the liquid did not reduce or the starch was under-measured. Simmer uncovered for a few more minutes, or add a cornstarch slurry one tablespoon at a time.
Gravy that is too thick. It will dull every other flavor. Loosen with warm broth rather than water, a tablespoon at a time, and taste again.
Bland flavor. More bouillon or salt rarely helps on its own. Add a tablespoon of soy sauce or miso for umami, then a squeeze of lemon, then taste.
Grainy texture. The sauce boiled too hard after the starch went in, or it was stirred too aggressively. Bring it to a bare simmer next time and whisk gently.
Scorched bottom. The pan was too hot before the liquid went in. Lower the heat when you add broth and stir the base for the first minute.
Lumps. Starch hit hot liquid before it was fully mixed. Always make the slurry in a bowl or cup with cold water first, then pour it in while whisking.
Flavor disappears in the freezer. Freeze slightly under-seasoned, then correct the salt after reheating, since cold dulls flavor and concentrates it once thawed.
Frequently Asked Questions
Can I make vegan gravy without cashews?
Yes, and most people never use them. White beans blended with broth give a creamy, thick sauce with no nuts at all, and a simple cornstarch slurry thickened vegetable broth is the fastest nut-free option. If you are avoiding nuts because of an allergy, check that your nutritional yeast, bouillon and tamari are all produced on nut-free lines, because cross-contact is common in packaged seasoning blends.
What is the best thickener for vegan gravy?
Cornstarch is the best all-purpose choice. It makes a glossy, translucent sauce, thickens quickly with a small amount, and stays smooth as it cools. Flour gives a duller, more opaque sauce with a rustic texture and takes longer to cook out its raw taste. Blended cashews or white beans thicken without any starch, which is useful when you want a sauce rather than a glue.
How do I make vegan gravy taste rich instead of flat?
Fat, umami and acid are the three levers. Melt a tablespoon of vegan butter or olive oil into the finished sauce for body, add a tablespoon of miso or soy sauce for glutamates, then finish with a squeeze of lemon. Miso and herbs go in off the heat, since boiling dulls both. A thin layer of good fat on the surface reads as richness even in a small serving.
Can I use vegetable broth in vegan gravy?
Yes, vegetable broth is the standard liquid in every vegan gravy. Watch the salt, since broths vary widely and adding bouillon plus soy sauce on top of a salty broth is the fastest way to overshoot. Low-sodium broth plus a measured teaspoon of bouillon gives you more control. For thicker, more restaurant-style results, reduce the broth by a quarter cup before you add any starch.
How long does homemade vegan gravy last in the refrigerator?
Refrigerated vegan gravy keeps for three to four days when you cool it and put it in the fridge within two hours of cooking. Keep it in a sealed container, and expect the sauce to thicken in the cold. Reheat on the stove over low heat with a splash of broth or water, whisking until it loosens. Microwaving in short bursts works too, but stirs less evenly.
What can I serve vegan gravy with?
Mashed potatoes are the classic pairing, and biscuits with a thin pour is the Southern version. A mushroom-forward gravy suits roasted vegetables, tofu, tempeh or a vegan roast, while a smooth cashew gravy works over roasted cauliflower, pasta or a grain bowl. On poutine, keep the gravy thinner than usual so it soaks into the potatoes instead of sitting on top of them.
If you like the idea but not the heat of onion and garlic, a nut-based sauce works instead. My tahini dressing method keeps a spoonful of sesame paste from turning bitter, and the same trick, whisk tahini into warm broth with lemon and salt, makes a fast pourable gravy for grain bowls and roasted vegetables.
Conclusion
Start with the cooked vegetable route: soften onion and garlic, reduce two cups of broth by a few minutes, thicken with a cornstarch slurry, and season with soy sauce, nutritional yeast and pepper. It takes about fifteen minutes and teaches you the base every other version builds on.
Begin with less liquid than you think you need, taste before you add salt, and set the final thickness for the dish you are serving rather than for the sauce alone. Once you have that down, the cashew and bean versions are small variations on the same steps.