
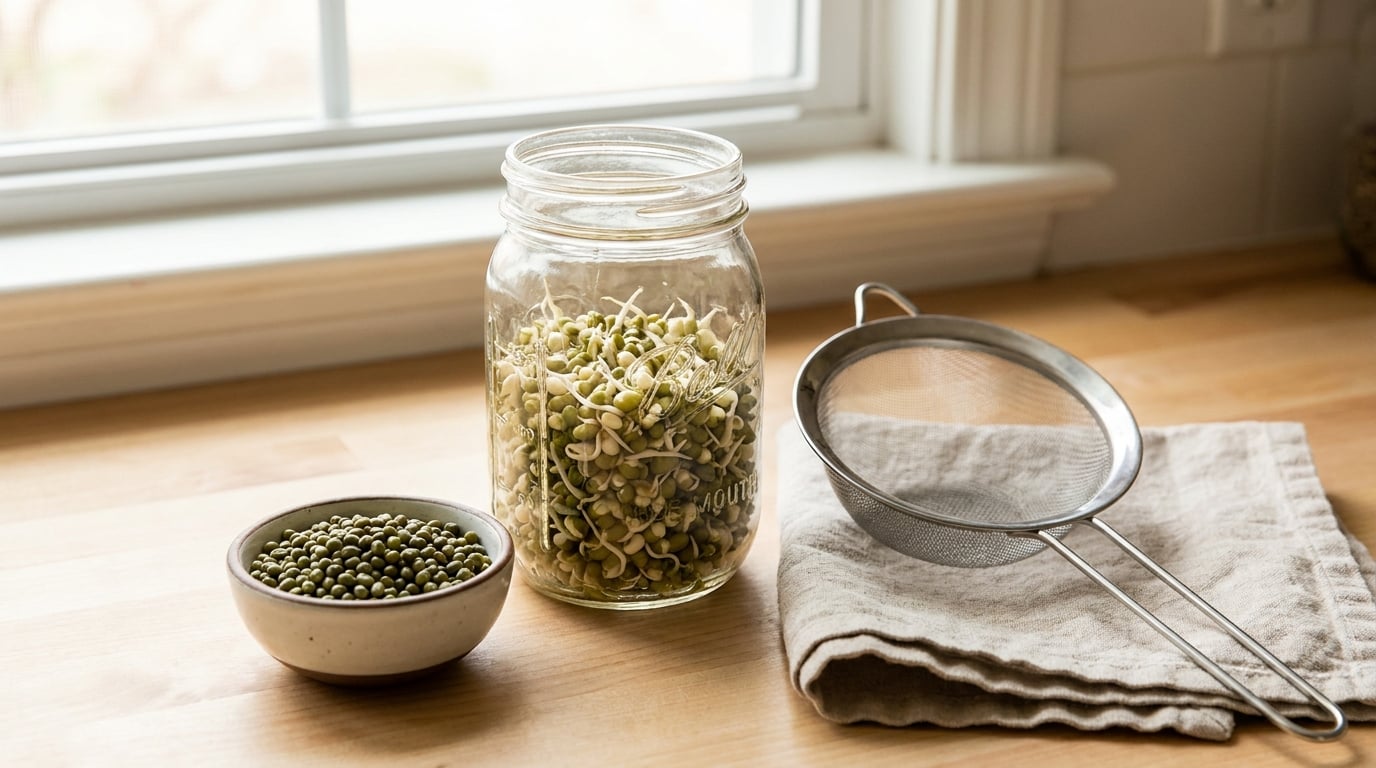
Sprouting mung beans at home takes about five minutes of work a day and gives you a jar of crunchy sprouts in three to five days. Soak whole mung beans for 6 to 8 hours, drain them into a wide-mouth jar with a mesh lid, rinse and drain every 4 to 6 hours, keep the jar in a dark spot at room temperature, and harvest when the white tails reach 1 to 2 cm. No soil, no grow lights, no special equipment.
Mung beans are the small green seeds sold as moong dal, green gram or yellow split lentil in most South Asian grocery stores. They sprout fast, they are cheap by weight, and a half cup of dry beans turns into roughly two cups of sprouts. If you have fifteen minutes a day and a jar you can rinse, there is nothing standing between you and a steady supply.
This guide walks through the whole jar method, then the mistakes that turn a batch slimy or bitter. Start with a small test batch, roughly half a cup of dry beans, so you can learn the rhythm without wasting food if something goes sideways.
Table of Contents
What You Need
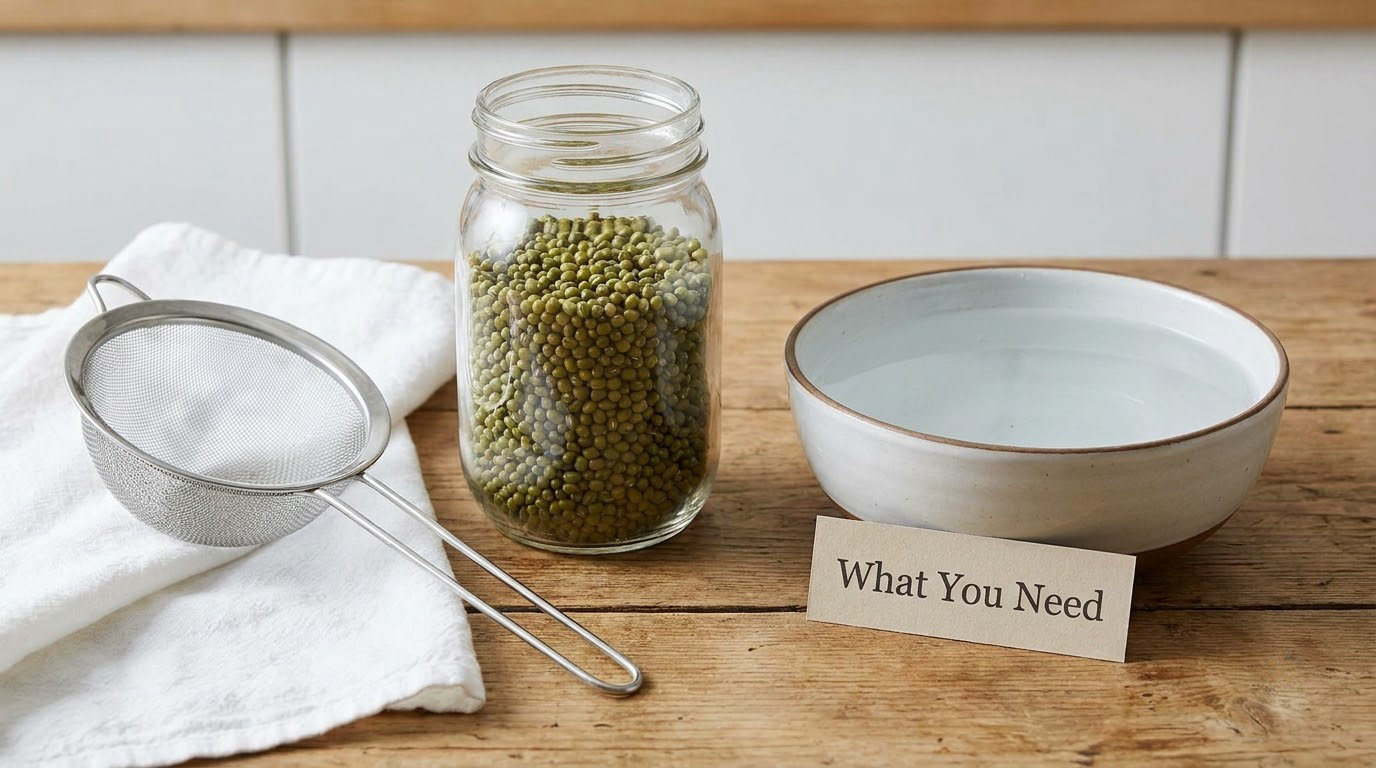
Gather everything before you start. The list is short and most of it is already in your kitchen.
- Dry whole mung beans — about half a cup for one jar. These are the small round green seeds, not yellow split dal.
- A wide-mouth glass jar — a quart mason jar works well. The mouth needs to be wide enough that you can get your hand in to swirl and drain.
- A breathable lid — a fine stainless mesh lid, a screen insert, or even a clean piece of cheesecloth secured with a rubber band. No airtight lids.
- A large bowl — for the initial soak, so the beans have room to expand.
- A strainer or colander — for draining after every soak and rinse.
- Filtered or cold water — enough to cover the beans several times over.
- A clean towel — for drying the sprouts after harvest.
- A dark, warm cupboard or closet — a kitchen cupboard, a drawer, or the back of a fridge works. Somewhere with no light and no big temperature swings.
- Storage container — a sealed tub or bag with a paper towel inside, for the fridge.
Two optional extras earn their keep. A small unbleached weight — a clean tile, a couple of stainless steel jar lids, or a small ceramic dish — sits on top of the beans to make the sprouts thicker and crunchier, closer to what restaurants serve. A spray bottle is the other one: misting the beans instead of flooding the jar suits people who cannot commit to draining a jar several times a day, though the rinse-and-drain method below gives more consistent results.
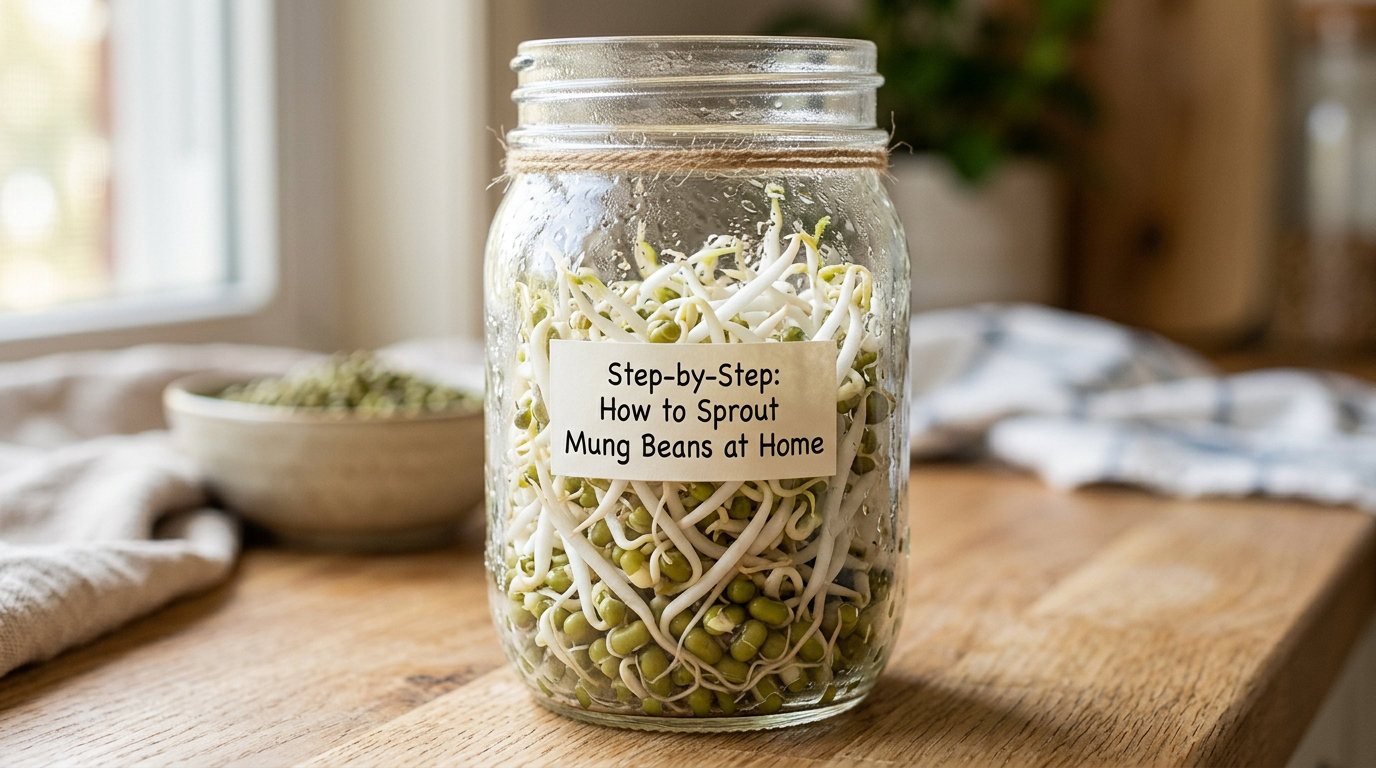
Step-by-Step: How to Sprout Mung Beans at Home
Step 1: Sort and Rinse the Beans
Tip the dry beans onto a plate and pick through them. Remove anything blackened, shriveled, or broken, and pick out small stones or debris. Damaged seeds rarely germinate, and one of them sitting in warm water can sour the whole jar.
Rinse the good beans under cold running water, swishing them around with your fingers until the water runs mostly clear. This washes off dust and the field residue that comes on grocery-store beans. You do not need to be fussy about it — this is not a laboratory, it is a kitchen — but you do want to get the dust off.
You will know this step worked when the beans look evenly green and you have thrown out a small pinch of rejects. If more than a few percent of your batch is damaged, buy a fresh bag rather than troubleshooting a weak start.
Step 2: Soak the Mung Beans
Put the beans in the bowl and add enough cool water to cover them by about 2 inches. Stir once, then leave them alone for 6 to 8 hours, which usually means overnight. This is the longest single stretch where the beans sit in still water, and it is the one most worth getting right.
Do not go much past 8 hours. A longer soak in room-temperature water starves the seeds of oxygen, and the outer layers start breaking down into the slimy mush that people mistake for a failed batch. If your kitchen is hot, shorten the soak toward the 6-hour end.
Success looks obvious at this point: the beans have visibly swollen to roughly 1.5 times their dry size, and the skins have loosened. If they are still hard little pebbles, they need another hour or two.
Step 3: Drain and Set Up the Jar
Dump the soaking water and rinse the beans one more time under cold water. Give the strainer a few shakes, or press the beans gently against it with the back of a clean spoon, to get rid of as much water as possible.
Transfer the beans into the clean jar. They should fill no more than a third to half of the jar — mung beans expand a lot in the first day, and a full jar has no room for air and turns into a solid block.
Fit the mesh lid. Then tip the jar upside down over the sink for about ten seconds to shake out any trapped water, and stand it at a slight angle in the sink or a rack so that any remaining water runs to one edge and out rather than pooling under the beans.
You will know the setup is right when you can see through the jar and there is no puddle at the bottom. That is the single thing that separates crunchy sprouts from slimy ones.
Step 4: Rinse and Drain Two or Three Times Daily
Every 4 to 6 hours, pour in fresh cold water, fill the jar about a third full, swirl it so the beans tumble and rinse each other, then drain completely. Shake the jar hard, tip it at an angle, and put it back.
This is not a formality. The rinse removes the bacteria, yeast and mould spores that ride along on every seed and multiply fast in warm, wet, still air. Skipping rinses on a batch you plan to eat raw is the most common way people get sick from home sprouts, and it is the one habit worth being strict about.
Twice a day works for many people, especially if your kitchen is cool. It is the routine most home sprouters describe and it works. But the food-safety guidance for sprouts you intend to eat uncooked is a rinse every 4 to 6 hours, and if your batch smells clean and looks bright you are fine either way — the shorter interval just gives you more margin when the kitchen is warm.
Set a phone alarm. The rinses are the whole commitment, and a missed one is the difference between a good batch and a bin. If you want to see how the jar should look at each stage, the day-by-day table below maps the changes out to harvest.
Step 5: Check Growth Day by Day and Remove Unhealthy Sprouts
Here is what the jar should look like as the days pass.
| Day | What is happening | What to look for |
|---|---|---|
| Day 0 | Soak, then drain into the jar | Swollen beans, no shoots yet |
| Day 1 | Roots begin pushing out | Short white nubs, 2 to 5 mm, beans loosening from their skins |
| Day 2 | Shoots lengthen, cotyledons start filling out | Tails 1 cm or so, white and firm, mild smell |
| Day 3 | Sprouts thicken and fill the jar | Tails 2 to 3 cm, a hint of fine fuzz on the root — this is root hairs, not mould |
| Day 4 | Ready for most dishes | Tails 3 to 5 cm, crisp, still pale white |
| Day 5 | Harvest window closes | Tails 5 to 6 cm, still white; past this the stems get fibrous and bitter |
Do not harvest by the calendar. Harvest by tail length, whatever day it is — a warm kitchen gets there a day early, a cold one runs a day late. The tails are the only reliable signal.
Each time you check, pick out anything that is slimy, grey, black or fuzzy in patches. That goes straight in the bin, not on a side plate. One bad bean in a warm wet jar will take its neighbours with it within a day, so pull it as soon as you see it.
Step 6: Harvest, Rinse, and Store
Empty the jar into a colander and rinse the sprouts under cold running water, swishing with your fingers. This washes away the loose seed coats, and most of them float, so let the sprouts sit in the water for a minute and scoop them off the top. That floating trick gets you noticeably cleaner sprouts than rinsing alone.
Spread them on a clean towel and pat or spin them dry. Store them in a sealed container in the fridge with a dry paper towel tucked against the side to absorb excess moisture. Used with clean utensils, they keep about 4 to 6 days refrigerated, but they are best in the first three.
If the sprouts go soft and slimy in the fridge, that is moisture, not spoilage — and it happens fastest if you wash them and store them wet. Dry them properly and use a fresh towel every time you refill the container. Small kitchens get the smell fastest, so if yours is tight, seal the container properly and keep it at the back of the fridge rather than on an open shelf.
Common Mistakes
Almost every failed batch traces back to one of these. Most of them are fixable on the next try.
Standing water in the jar
The classic killer. Water left sitting under the beans starves them of air and creates the warm, anaerobic conditions bacteria love. Fix: after every soak and rinse, tip the jar upside down over the sink, shake it, then stand it at an angle so the last of the water runs to the edge and out.
Missing rinses for 12 hours or more
Long gaps let the seed’s own bacterial load multiply before you wash it away. This is how a batch turns sour. Fix: rinse every 4 to 6 hours while the sprouts are meant to be eaten raw, and use an alarm so the overnight gap stays under 8 hours.
Using split or dehulled moong dal
The number one self-inflicted failure, and no amount of technique fixes it. Split dal is the cotyledon of the bean with the embryo already cut through, and hulled dal has the seed coat stripped off. Neither can germinate. The beans swell, nothing comes out, and the batch rots. Fix: buy whole mung beans sold for sprouting, or whole green mung beans from the grocery shelf. If you must buy grocery beans, expect a lower germination rate than a dedicated sprouting seed.
Leaving the jar in the light
Light makes mung bean sprouts turn green and develop bitterness. That chlorophyll is not dangerous, but the taste turns grassy and unpleasant. Fix: a cupboard, a drawer, or a box turned over on the counter. Check them by taking the jar into daylight briefly, not by parking it on a windowsill.
Overcrowding the jar
Too many beans means no airflow between them, and the mass turns into a compressed mat that dries unevenly and traps heat. Fix: fill no more than a third to half of the jar, and use a second jar rather than doubling up.
Harvesting too late
Day 7 sprouts are fibrous, tough and bitter at the stem end. Fix: harvest by tail length, not by a number on the calendar, and pull the whole batch at once rather than picking selectively.
Confusing root hairs with mould
This one causes both wasted batches and risky batches, so it is worth getting right. Root hairs are fine, uniform, white fuzz that grows straight out of the root of each seed and looks like a light dusting of hair. Mould is a patchy, grey-green or black growth, often slimy, and it clumps rather than coating evenly. When in doubt, pull a single sprout out: a root hair separates cleanly when you tug it, mould does not. It is the single check that decides more batches than any other trick in this guide.
Waiting out a sour smell
A sour, swampy smell at any point means the batch is gone. There is no fix and no waiting it out. Fix: bin the whole jar, sanitise the jar and mesh lid with a diluted bleach solution or a run through the dishwasher, and start again. Never taste a batch to test it.
Two habits prevent most of the above. Sanitise the jar, the lid and any weight before every batch, and use clean hands and clean utensils when you handle the finished sprouts.
Food Safety: Why Raw Bean Sprouts Carry a Risk
Bean sprouts are one of the foods most associated with foodborne illness, and the reason is biological rather than careless. Bacteria including Salmonella, E. coli and Listeria live on the surfaces of seeds, where the seed coat does not block them. Warm, moist, enclosed conditions are close to perfect for them to multiply, and a rinse reduces their numbers but does not eliminate them.
US public health guidance (CDC and FDA) recommends that anyone at higher risk avoid raw bean sprouts altogether. That group includes anyone pregnant, anyone aged 65 or older, children, and anyone with a weakened immune system or a chronic condition. Speak to your doctor or a registered dietitian if that describes you and you want sprouts in your diet.
If you do eat them raw, buy them from a supplier that follows sprout safety guidance, keep them refrigerated, and eat them within the recommended window. A light vinegar rinse at the table is common in restaurant kitchens, but it is not a substitute for a safe supply chain or for careful home handling. Cooking the sprouts thoroughly kills the bacteria, and it takes very little time in a stir-fry.
Frequently Asked Questions
How long does it take to sprout mung beans at home?
Most batches are ready in three to five days. Day one gives short white nubs, day two gives tails around a centimetre, and by day four or five the sprouts reach three to five centimetres. Judge readiness by tail length rather than the calendar, because a warm kitchen speeds the process up and a cool one slows it down. Pull the batch at 3 to 5 cm for the best texture, before the stems turn fibrous.
Do mung bean sprouts need light or water to grow?
No light is needed. Keep the jar in a dark cupboard, drawer or closet for the full three to five days, and check it by briefly taking it into daylight. Light exposure turns the sprouts green and makes them taste bitter, which is unpleasant but not dangerous. Water is the opposite: they need moisture but never standing water, so rinse and drain completely every four to six hours instead of flooding the jar.
Can I sprout moong dal from the grocery store?
Only the whole green beans will work. Split moong dal will not germinate, because the embryo is already cut through when the cotyledon is split in two, and hulled dal has had the seed coat removed. Both swell in the water and then rot without sprouting, which is usually blamed on the technique rather than the seed. Whole grocery mung beans do sprout, though a bag sold specifically for sprouting gives a more even result.
Are mung bean sprouts safe to eat raw?
Raw sprouts are commonly eaten, and a careful home batch is lower risk than most commercial ones, but the seeds themselves carry bacteria including Salmonella, E. coli and Listeria, and rinsing does not remove them completely. Public health guidance advises anyone pregnant, aged 65 or over, immunocompromised or with a chronic condition to avoid raw sprouts. Ask your doctor or a registered dietitian if that applies to you, and cook the sprouts thoroughly if you have any doubt.
How do I store mung bean sprouts after harvesting?
Rinse the sprouts, swish off the floating seed coats, and dry them thoroughly on a clean towel before storing. Put them in a sealed container in the fridge with a dry paper towel against the side to absorb moisture, and use clean utensils every time you take some out. They keep about four to six days refrigerated and are best in the first three. If they turn slimy and soft, you stored them too wet.
Why are my mung bean sprouts slimy and smelly?
Sliminess and a sour smell almost always mean standing water or missed rinses, not a bad seed. Water left sitting under the beans starves them of air and creates warm conditions bacteria exploit, and a gap of twelve hours or more between rinses gives the seed’s own bacteria time to multiply. There is no fix for a spoiled batch. Bin it, sanitise the jar and mesh lid, and restart with a fresh batch you rinse every four to six hours.
Conclusion
The whole method comes down to three things: soak the beans for 6 to 8 hours, keep the jar dark and warm, and rinse and drain it completely every 4 to 6 hours until the tails reach 1 to 2 cm in three to five days. That is it.
So start tonight with a small batch. Rinse and sort half a cup of whole mung beans, soak them overnight, and set the jar up in a dark cupboard in the morning. Set a repeating alarm for the rinses before you go to bed, and on day three look for the white tails. Once you have one good jar under your belt you can double the batch or stagger a second one so you never run dry.