
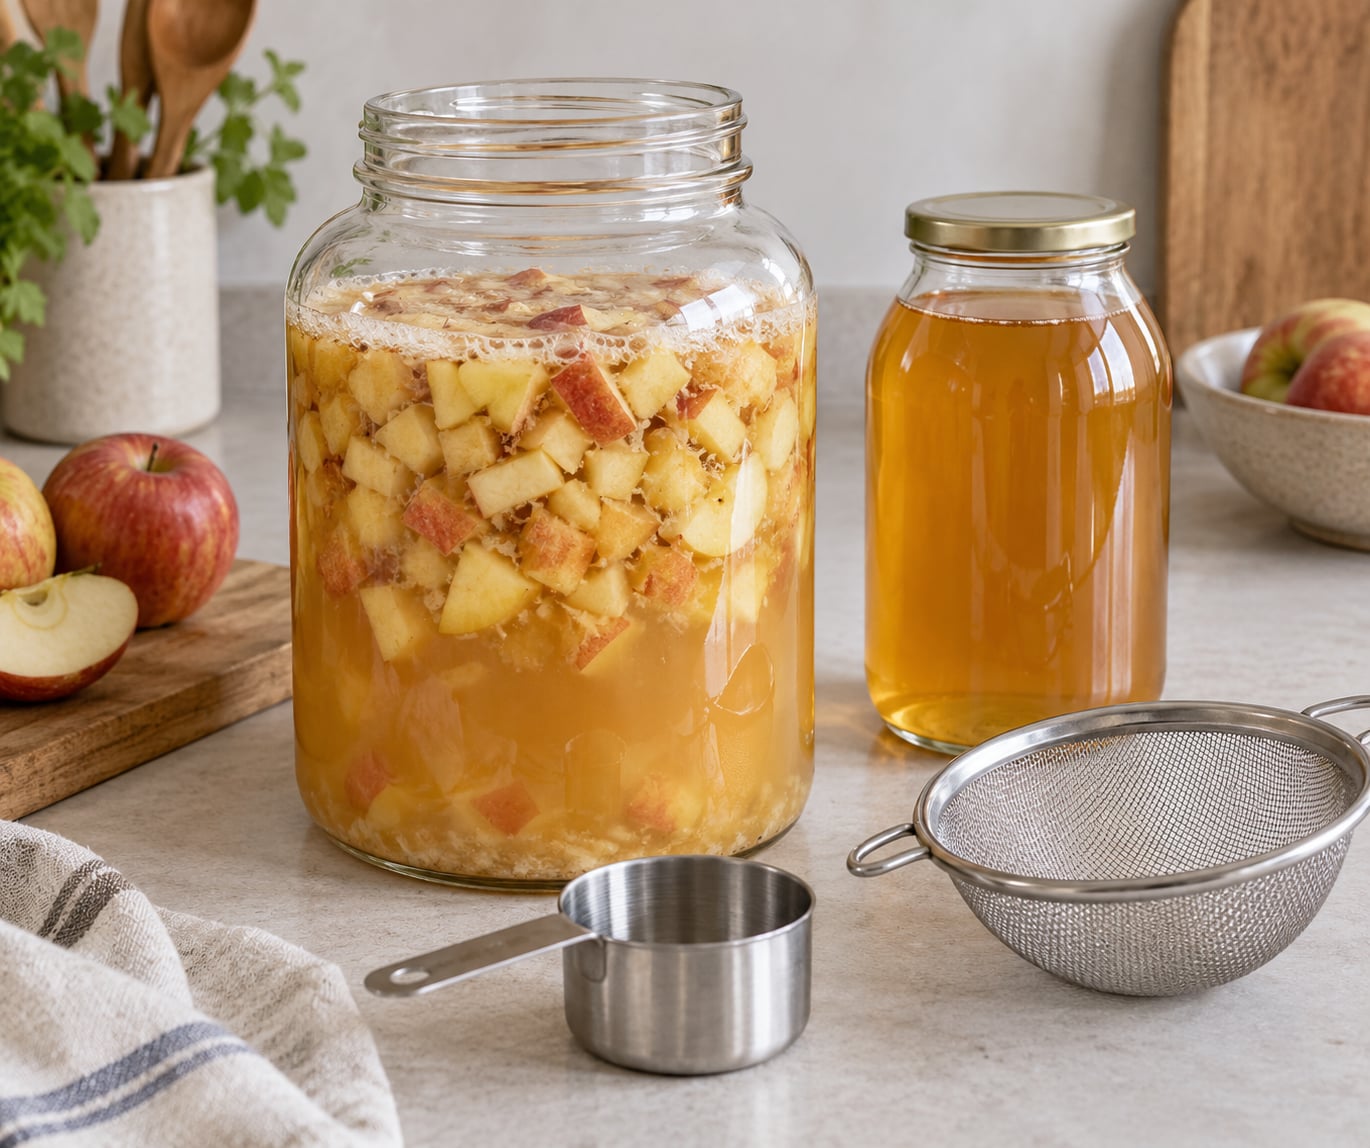
To make apple cider vinegar at home you run two separate ferments back to back. Wild yeast on the apple skins turns fruit sugar into alcohol over roughly one to two weeks, then Acetobacter bacteria convert that alcohol into acetic acid over another one to three months. All you need is apples or peels and cores, sugar, filtered water, and a clean glass jar with a breathable cover. Hands-on time is about 20 minutes; the waiting is the project.
I keep a jar going year-round because it is the easiest way to put a fall apple harvest or a week of kitchen scraps into something useful. More on that after the method, because the details people argue about online, sugar and mothers and plastic lids, are exactly the details that decide whether a batch works.
Table of Contents
What You Need
The ingredient list is short. The equipment list matters more, mostly because one wrong choice (a sealed metal lid) can ruin a batch or crack a jar.
- Apples or apple scraps: enough to loosely fill a clean glass jar halfway to three-quarters full. Whole apples, peels, cores, or a mix of all three.
- Sugar: 1 tablespoon per 1 cup of water. That same ratio works out to about 1 cup of sugar per gallon of water, or 4 tablespoons for the water in a quart jar.
- Filtered water: enough to cover the fruit by a couple of inches. Chlorinated tap water can stall the culture, so use filtered or chlorine-free water if your tap is treated.
- A fermentation vessel: a wide-mouth glass mason jar or a glass fermentation crock. Food-grade plastic containers work too, and plastic is actually the traditional choice for vinegar because acid does not eat glass and only slowly affects plastic.
- A breathable cover: a coffee filter, a clean lint-free towel, or a piece of cloth secured with a rubber band. Never a screw lid that seals airtight.
- Optional starter: 1 tablespoon of raw, unfiltered store-bought apple cider vinegar with the mother, or a few pieces of a mother saved from your last batch.
- Optional gear: a long spoon or silicone spatula for stirring, a strainer or second jar, and pH test strips in the 2 to 3 range if you want an objective read on doneness.
Two container rules are worth repeating because they come up constantly in homebrew forums. Never use an iron or steel vessel; the acid corrodes it and can taint the vinegar. And never seal the jar tightly, because the first ferment produces carbon dioxide and a sealed jar can build real pressure and burst.
A note on scraps: if you are collecting peels and cores over a few weeks rather than pressing a whole batch, freeze them in a bag as you go. Thaw the whole stash at once when you are ready. That is how the scraps become a batch instead of a slow leak in the back of the freezer, and it is the same upcycling logic behind how to make vegetable broth from kitchen scraps.
Step-by-Step: How to Make Apple Cider Vinegar at Home
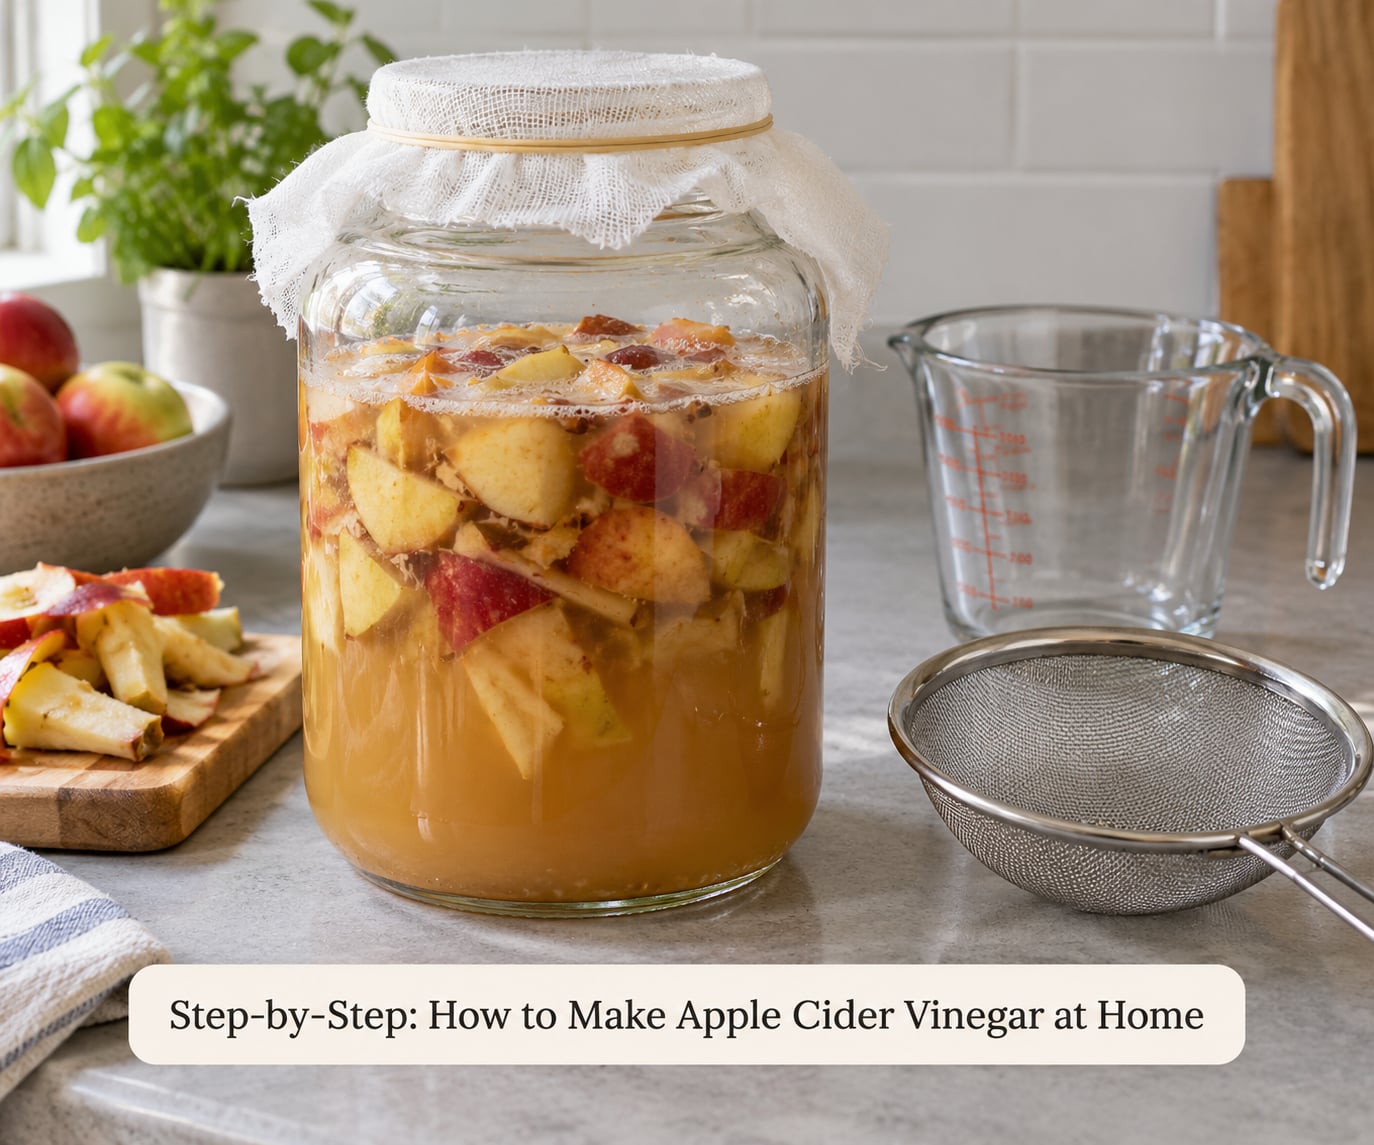
How to Make Apple Cider Vinegar at Home: Prepare the Apples
Mix your varieties rather than using a single kind. About two-thirds sweet apples (Gala, Fuji, Honeycrisp, Pink Lady) and one-third tart apples (Granny Smith, Braeburn) gives a vinegar with body that still has enough acid to taste like vinegar. Green summer apples are the weak choice because they carry too little sugar.
Scrub the fruit under running water even if you are using store-bought apples, and pay attention to the stem and calyx ends. Any detergent carried in on the skin will kill your culture and there is no rescuing the batch afterward. If you are using scraps from your own fruit, cut away anything bruised, soft, or worm-eaten. Windfalls and cosmetically imperfect apples are perfectly fine once the damaged parts are trimmed.
Chop everything into rough one-inch pieces. Smaller pieces release their juice faster and shorten the ferment, which is a plus for beginners. You can also grate the fruit, and many people do, but the pulp and skin bits end up as more sediment later.
Load the jar and weight the fruit down. Fill the jar halfway to three-quarters with apples, then add a small plate, a fermentation weight, or even a small clean stone so the fruit stays under the liquid. Mold loves apple pieces floating half-submerged in air, and that is the single most common way a batch gets ruined.
Make the Alcohol Starter
Warm about a cup of your filtered water gently and dissolve the sugar into it. Warm water matters because cold water lets the sugar sit on the bottom of the jar in a gritty layer that later ferments unevenly.
Pour the sugar water over the packed apples and stir until everything is wet and the sugar has disappeared. You want the liquid to sit a couple of inches above the fruit, so you will probably add more plain water if the fruit has absorbed the first pour.
On the question that splits every online argument: sugar yes or no. Apples do carry their own sugar, so you technically can leave it out, and some old recipes do. The tradeoff is speed and reliability. Added sugar gives the wild yeast something concentrated to eat, which means a faster, more even alcohol stage and a more predictable vinegar at the end. Without it, some batches sit dormant for weeks and others stall halfway. If you are starting your first batch, use the sugar.
If you want a shortcut, add 1 tablespoon of raw, unfiltered store-bought vinegar now. You are not obliged to. Apples carry enough wild yeast and enough Acetobacter on the skin to start on their own, and plenty of first batches succeed without any starter at all.
Ferment Into Alcohol
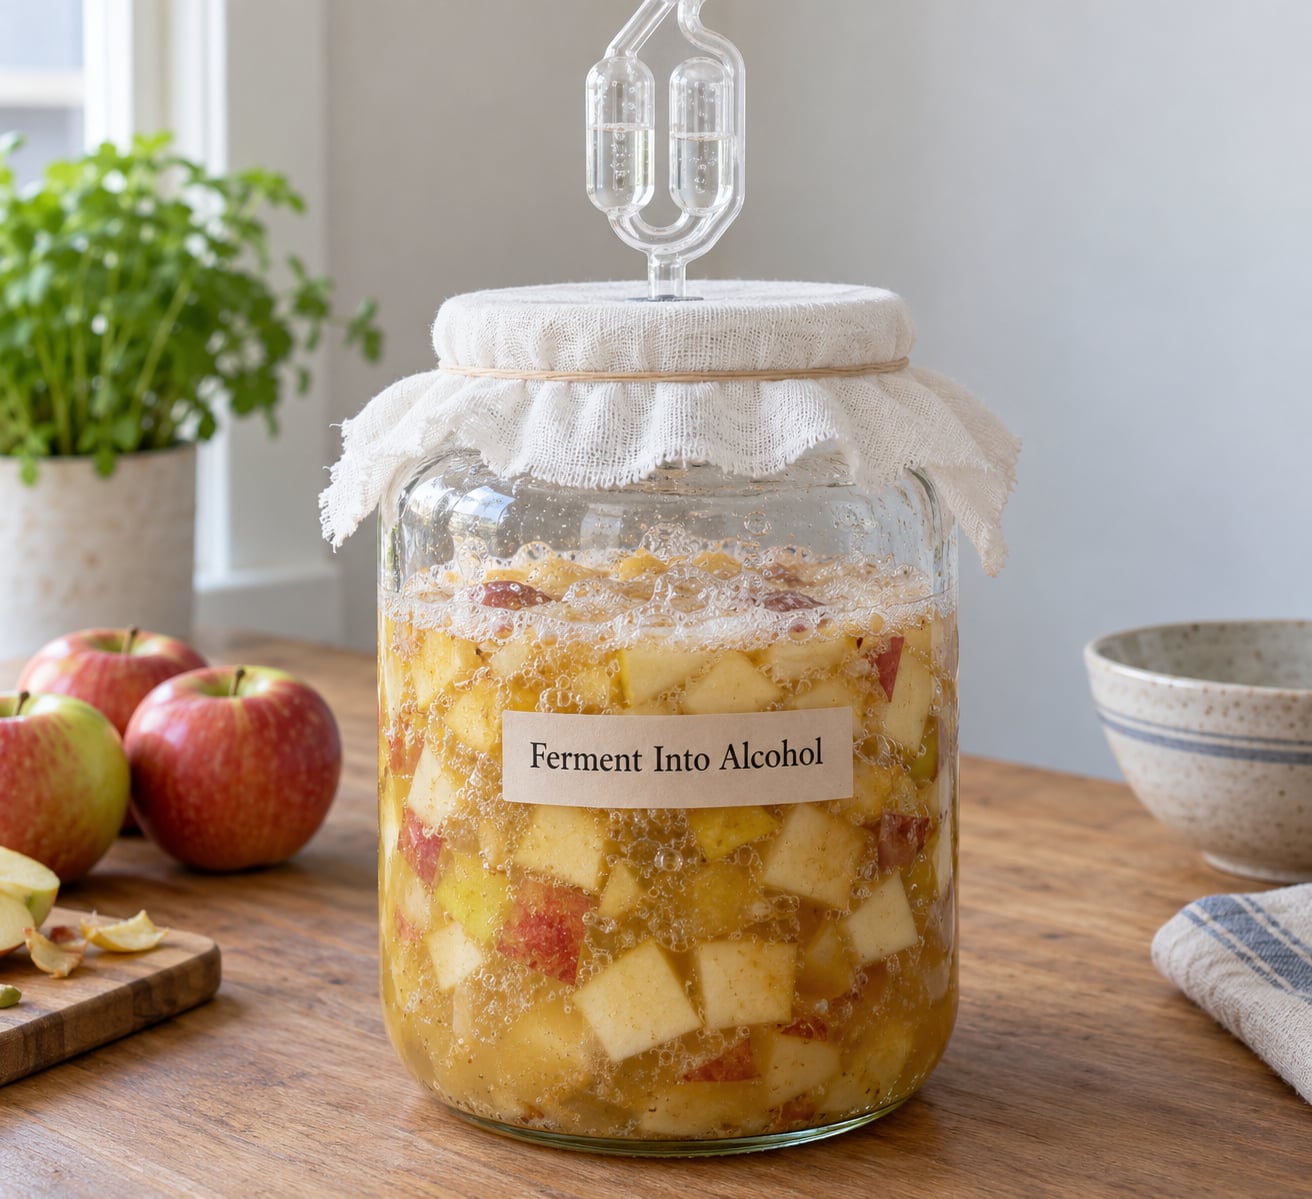
Cover the jar and put it somewhere dark with a steady temperature between 70 and 75F. Anywhere from about 60 to 80F works, but the middle of that band is where things move reliably, and a kitchen that swings ten degrees overnight makes a harder ferment. A closet or a corner of the pantry away from the stove is usually better than a countertop.
Stir once a day with a clean spoon or spatula, pushing the floating fruit back under the liquid. Stirring is not optional in this stage. It releases CO2, feeds the liquid with oxygen, and stops the fruit from floating up and molding.
You are looking for active bubbling at the surface, a layer of foam that looks like sea foam, and a smell that shifts from sweet apple to sharp alcohol over the first few days. Small bubbles clinging to the fruit by day three is a good sign and means the yeast is working. This stage usually takes one to two weeks, and you move on when the bubbling quiets down and the liquid smells alcoholic rather than sweet.
Do not add more sugar if week two looks quiet. The yeast culture often goes quiet right before it finishes a surge, and feeding it more sugar at that point is how people end up with a batch that has too much residual sugar and never turns into vinegar.
Strain and Ferment Into Vinegar
Strain out the solids. Set a clean strainer or a clean second jar over a bowl and pour the liquid through it, pressing the fruit to get what you can. Pressing matters because the liquid trapped in the pulp carries a lot of the sugars you want in the finished vinegar. A quart jar of scraps typically yields around two cups of strained liquid, and that in turn gives you roughly two cups of vinegar, so plan your jar count before you start.
Pour the strained liquid into a clean jar with enough headroom. Add a little water if the batch is very small, since the bacteria need volume to work in. Cover it again with a coffee filter or cloth. This second stage runs three months or longer.
This stage is aerobic, which is the opposite of most homebrewing. The Acetobacter bacteria need to breathe, so the cover has to let air in while keeping fruit flies and dust out. Cheesecloth is loose enough to let insects through, so if you are in an area with fruit flies, a coffee filter or a double layer of lint-free cloth is the better choice. A silicone airlock fitted into a mason jar lid does this nicely for anyone who wants a tighter seal that still breathes.
The grayish, flat, jelly-like sheet that grows at the surface is the mother of vinegar, also called a SCOBY. It is not mold. It is a cellulose mat with acetic acid bacteria living in it, and it will slowly grow to cover the whole surface. People describe it as a thickening pack of goo, which is exactly right. You can leave it in the batch or pour it off through a cloth. It behaves like the culture at the heart of a kombucha SCOBY, though the two are not identical, and handling a mixed ferment with the same care as how to brew kombucha safely at home is a reasonable next step once your apple vinegar is finished.
How do you know when it is done? Three tests, and the taste test is the most reliable. Dip a straw in and sip: the flavor should be sharply acidic with no sweetness and no burn of alcohol at the back. Smell it and check for a strong, clean vinegar tang rather than a boozy or fruity smell. And if you have strips, dip them and look for a reading between 2 and 3 on the pH scale, the same range as commercial vinegar. A pH reading is the fastest way to stop guessing, and cheap strips remove most of the uncertainty for beginners.
Bottle and Store the Vinegar
Bottle the finished vinegar in glass, leaving room for expansion in case anything is still active. Dark glass or a cabinet is better than a windowsill, because light fades the color and dulls the aroma over time.
Unpasteurized homemade vinegar keeps in a cool, dark cupboard for months and often improves as the mother slowly breaks down. Many people refrigerate it once the mother has been removed, which slows further change and keeps the flavor brighter. Refrigeration is not strictly required, and unopened vinegar in the dark is stable for a long time, but if you are unsure how your batch will behave, cold storage takes the question away.
For indefinite shelf-stable storage, heat the vinegar to between 140 and 160F and hold it there, then bottle it hot in a clean jar. That pasteurization step stops it from continuing to change, and the result behaves like a store-bought vinegar rather than a live ferment. Do not go much above 160F or you lose flavor.
Label the jar with the date and note that it is raw. Flavor does shift over the first year, softening from sharp and bright to mellow and rounder, which is not a sign of spoilage. Real spoilage looks and smells wrong: fuzzy colored growth, not a smooth pellicle. More on that in the section below.
Common Mistakes
Nearly every problem people hit when they make apple cider vinegar at home falls into one of these rows. The forum threads about it are full of the same handful of symptoms, usually from someone who gave up after two quiet weeks.
| What you see | What is happening | The fix |
|---|---|---|
| No bubbles after several days | Yeast has not started, usually from chlorinated water, detergent residue on the fruit, or too much fruit packed in | Start over with filtered water, fruit scrubbed under running water, and a jar filled only halfway. A tablespoon of raw vinegar as a starter also helps. |
| Smells strongly like alcohol after a month | The alcohol stage stalled before the bacteria converted it | Add more surface area by splitting the liquid into two jars, and make sure the cover lets air through. More oxygen moves the conversion forward. |
| Fuzzy, colored growth, black or green patches | Real mold, often from fruit floating exposed to air | Discard the whole batch. This one is not salvageable and it is not the mother. |
| Flat white or gray film across the top | The mother of vinegar, a cellulose mat full of bacteria | This is normal and useful. Leave it, or pour the vinegar off through cloth. Keep a piece to start the next batch. |
| A tough film that rises and blocks the mouth | The mother thickened until it pushed up against the cover | Loosen the cover so air can pass and lift the film off the wall with a clean spatula. |
| Finished vinegar is harshly acidic | Raw vinegar is stronger than commercial vinegar, which is diluted | Dilute with water to taste, the way you would a lemon. Never drink it neat. |
| Metal taste, rust specks, or off color | An iron or steel vessel reacted with the acid | Use glass or food-grade plastic. If metal was used, start over. |
| Pressure build-up under a sealed lid | CO2 from the first ferment had nowhere to go | Never seal the jar. Switch to a cloth or coffee filter cover before pressure builds. |
Two safety points finish the list. Never use homemade vinegar for home canning or any room-temperature preserved food. Acid from a properly fermented, tested batch is not guaranteed in strength or pH, and canning depends on precise acidity. Refrigerator pickles are fine. And never rinse produce or equipment with soapy water before it goes into the vessel, since detergent residue is the most common reason a batch simply never starts.
If you plan to keep fermenting, it is worth learning one more culture. How to make water kefir at home uses the same covered-jar logic with grains instead of fruit, and kefir grains often behave like a ready-made starter for people who would rather not chase a mother at first.
Frequently Asked Questions
How long does it take to make apple cider vinegar at home?
Plan on two to four months from the day you pack the jar. The alcohol stage takes about one to two weeks, with daily stirring, and then the acetic acid stage takes one to three more months. A kitchen that stays between 70 and 75F in the dark goes fastest. Cooler or temperature-swapping rooms add weeks, and nothing speeds that up except patience.
Do I need a mother or starter for apple cider vinegar?
No. Apples carry wild yeast and acetic acid bacteria on the skin, and most batches start on their own. A tablespoon of raw unfiltered vinegar or a piece of a saved mother makes the process faster and more predictable but is not required. Many first-time fermenters succeed with scraps, water and sugar alone.
Why did my apple cider vinegar smell strongly alcoholic?
That means the yeast converted the sugars into alcohol but the bacteria have not finished turning that alcohol into acetic acid. It usually happens when the liquid has limited oxygen, so cover the jar with a coffee filter rather than anything tight and split the batch between two jars to add surface area. It should convert over the following weeks.
Can I make apple cider vinegar with apple scraps?
Yes, and scraps are the easiest way in. Fill a clean jar halfway to three-quarters with peels, cores and trimmed ends, add 1 tablespoon of sugar per cup of water, and weigh the fruit so it stays under the liquid. Collect scraps in the freezer as you go and thaw the whole stash when you are ready to start a batch.
How should I store homemade apple cider vinegar?
Keep it in glass, in the dark, and out of direct sunlight. Unpasteurized vinegar with the mother in it is stable in a cool cupboard for months, and refrigeration slows further change once you pour the mother off. For indefinite storage, pasteurize at 140 to 160F and bottle it hot. Never use homemade vinegar for home canning.
If you have scraps or a bag of apples going soft on the counter right now, start tonight. Scrub the fruit, pack a clean jar halfway to three-quarters, add 1 tablespoon of sugar per cup of filtered water, cover it with cloth, and put it somewhere dark. That is the whole job. Everything after this is waiting, and a few months from now you will have apple cider vinegar you made at home, with the mother still in it and a flavor you cannot buy.