
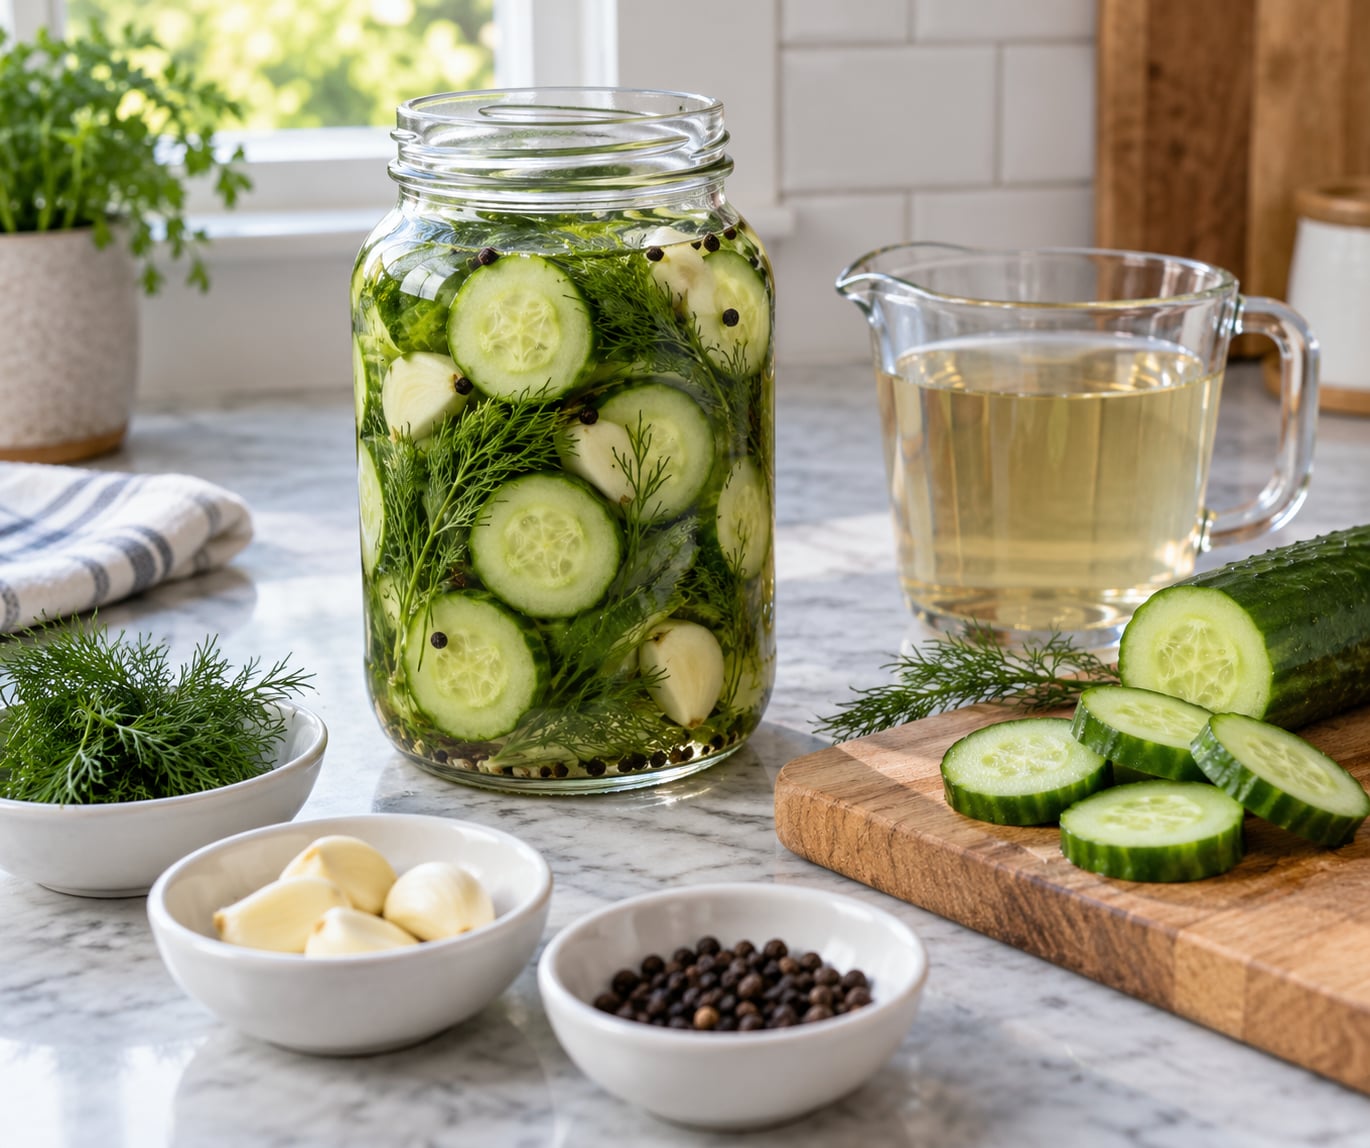
Refrigerator pickles take about 15 minutes of prep, one clean jar, and a salted vinegar brine that lives in the fridge. No boiling, no canning lid, no water bath — just cucumbers covered with brine, then chilled until they are tangy and crisp. That is the entire method behind how to make refrigerator pickles.
The reason people reach for this method instead of canned pickles is texture. A vinegar brine keeps the cucumber cell walls firm, while the cold storage slows the softening that heat causes. Canned pickles come out of a boiling bath softer by definition; refrigerator pickles stay snappy for weeks.
They are also a seasonal answer. A farmers market haul of cucumbers, radishes, or green beans turns into something you can eat next week without investing in canning equipment or testing for a safe pH. The trade-off is straightforward: these are refrigerated pickles, not shelf-stable ones, and they need to stay at or below 40°F/4°C.
Here is how to make refrigerator pickles with exact measurements, one quart batch, and the small details that decide whether the cucumbers snap or turn to mush.
Table of Contents
What You Need
This batch fills one clean 1-quart glass jar with a tight-fitting lid. The measurements below produce a deliberately mild refrigerator pickle — enough acid to pickle safely in a fridge, not a shelf-stable canned product.
Ingredients for one quart jar
- 1 cup white distilled vinegar (5% acidity) or apple cider vinegar
- 1 cup water
- 2 tablespoons pickling salt or kosher salt
- 1 to 3 tablespoons sugar, depending on how sharp you want the pickle
- 3 to 5 garlic cloves, lightly crushed
- 2 to 3 tablespoons fresh dill fronds or 1 to 2 teaspoons dill seed
- 1 teaspoon mustard seed
- 1 teaspoon peppercorns
- About 4 medium pickling cucumbers, or 2 cups of sliced cucumber
Four medium cucumbers at roughly 5 inches each fill a quart jar once sliced. Buy by weight instead of count if you are unsure: 1.5 to 2 pounds of whole cucumbers is a solid quart-jar batch.
Equipment
You need a 1-quart glass jar with a lid, a measuring cup and tablespoon, and a knife or a mandoline slicer. The mandoline gives you even thin rounds quickly, but a sharp knife and a steady hand work just as well. A wide-mouth jar is easier to pack and easier to reach into, though any straight-sided jar will do.
Skip the canning tools. You do not need a canning rack, a jar lifter, a funnel that comes with a bubble remover, or a lid you seal with a screw band. If you own none of that, you already have everything the recipe requires.
Substitutions that work
- Salt: pickling salt and kosher salt both work at 2 tablespoons. Table salt is denser and packs finer, so use 1 to 1.5 tablespoons instead, then taste the brine before adding more.
- Vinegar: white distilled vinegar is sharp and clean. Apple cider vinegar is fruitier and softer at the same 1:1 ratio. Rice vinegar is mild enough that many people add an extra tablespoon to balance it.
- Cucumbers: Kirby and hothouse pickling cucumbers are the classic choice. Persian cucumbers are small, so you need about 2 cups of them. English seedless cucumbers have tender skins and a mild flavor, so they work but are the weakest of the four.
- Spices: red pepper flakes, coriander seed, allspice berry, a bay leaf, or a pinch of ground turmeric all stand in for part of the list above.
Pick your vinegar based on how it tastes straight from the bottle. If it is sharp and warms the back of your throat, use it at 1:1 with water. If it is gentle enough to drink, use 1 part vinegar to 2 parts water so the pickle actually tastes pickled.
Step-by-Step: How to Make Refrigerator Pickles
1. Prepare the Cucumbers and Flavorings
Scrub the cucumbers under cold running water, then cut about 1/16 inch off the blossom end of each one. That small trim matters more than it looks: the blossom end carries enzymes that break down pectin and turn the pickles soft within days.
Next, soak the cucumbers in ice water for 30 to 60 minutes. The cold shock keeps the flesh tight, and it is the single most reported reason homemade refrigerator pickles come out crunchy. Home cooks on pickling forums credit this soak with more improvement than any other trick.
Slice them into rounds, spears, or thick chips. Whatever shape you pick, keep the cuts even — pieces that are roughly the same thickness absorb brine at the same rate instead of turning one bite into a vinegar bomb and the next into a cucumber. Cut crosswise into 1/4-inch rounds for chips, or lengthwise into wedges for spears.
Some vegetables simply do not belong in a vinegar pickle. Zucchini and mushrooms release so much water that they go to mush in a few hours, and tomatoes break apart entirely. Cut leafy herbs and sturdy greens such as kale or romaine through with the cucumbers, but keep the tender herbs and the water-heavy vegetables out of the jar.
2. How to Make Refrigerator Pickles Brine

The brine for a quart jar is 1 cup vinegar plus 1 cup water with 2 tablespoons salt and 1 to 3 tablespoons sugar. That 1:1 ratio is the standard for refrigerator pickles, and it is the number worth memorizing.
Combine the vinegar, water, salt, and sugar in a saucepan and heat gently until the salt and sugar disappear, usually about 3 to 5 minutes. Stir at the bottom of the pan, where crystals settle first. You can also dissolve the salt in hot water and stir the vinegar in afterward; either way the brine must cool completely before it touches the cucumbers.
This is the step people skip and then wonder about. Pouring hot brine over raw cucumbers cooks the edges, softens them, and leaves you with a limp pickle instead of a crisp one. Let the pot sit on the counter until it is room temperature, then stir in the garlic, dill, mustard seed, and peppercorns so the spices flavor the brine during the cool-down.
Sugar is not a sweetener first — it is a buffer. It rounds off the edge of the vinegar so the pickle reads as tangy rather than sharp. Start with 1 tablespoon for a classic dill pickle and move up to 3 for a bread-and-butter style pickle that leans sweet.
3. Pack the Jar and Add the Cold Brine
Wash the jar in hot soapy water and rinse it well, or run it through the dishwasher on a sanitize cycle. Sterilizing is not required for refrigerator pickles the way it is for canning, but a clean jar means nothing lives in the brine except cucumbers and spices.
Pack the drained cucumbers in the jar, then add the garlic cloves, dill, mustard seed, and peppercorns. Press everything down with a clean spoon or a narrow utensil so the pieces sit tight — air pockets leave the top cucumbers floating and under-brined.
Pour the fully cooled brine over the cucumbers until every piece is covered by a full inch. This is the step that ruins batches: undersealed, the vegetables above the brine line stay watery and eventually discolor, and the flavors separate unevenly from top to bottom.
Tap the jar gently on the counter to release trapped air bubbles, then stir and press once more. Wipe the rim with a paper towel dipped in vinegar, screw the lid on firmly, and move the jar straight into the refrigerator.
4. Chill Until the Pickles Taste Good
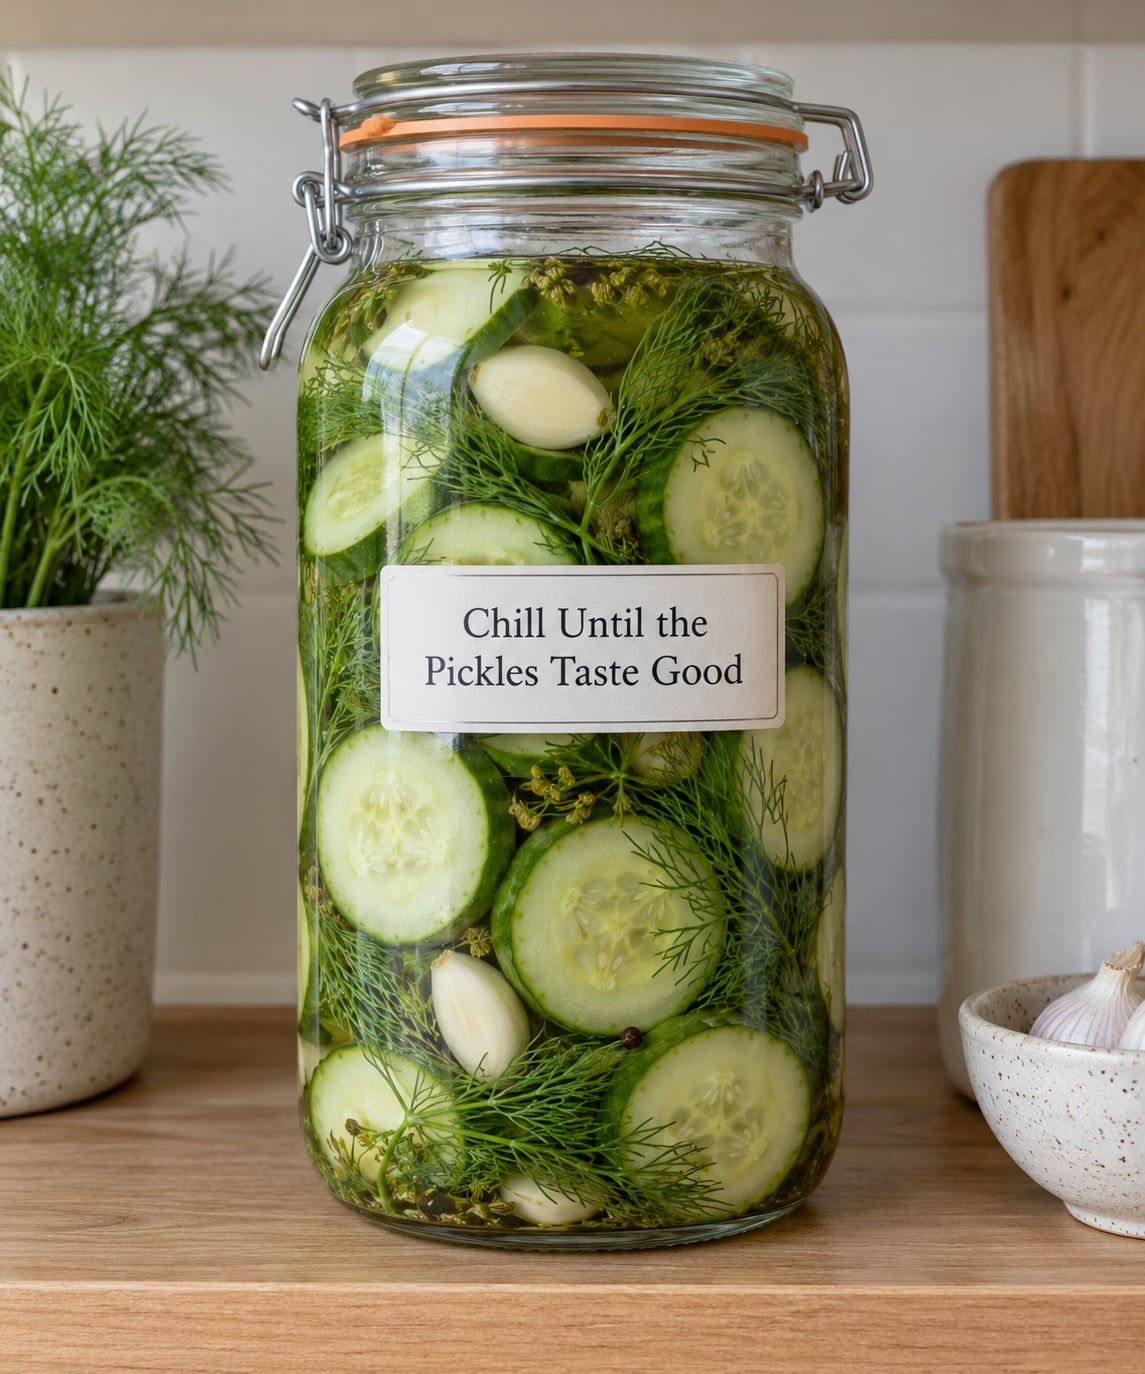
Thin rounds are edible in about 4 hours and noticeably better by the next morning. Spears and thick chips need a full 24 to 48 hours to soak through, and most batches taste their best around day 5 to day 7 once the vinegar mellows.
You can tell when they are ready by sight and smell. The cucumbers turn glossy and slightly translucent, the brine smells of garlic and dill rather than sharp alcohol, and the liquid looks faintly yellow from the spices. Taste one straight from the jar at 24 hours and then again on day three if you want to watch the change.
Keep the jar at or below 40°F/4°C and in the coldest part of the refrigerator, usually the back or the bottom shelf rather than the door. Most batches are good for 1 to 2 months, and a very cold refrigerator can push that closer to 3 months. Always use a clean fork or tongs, since a spoon that has touched your mouth introduces bacteria into the brine.
Refrigerator Pickles at a Glance
This is a refrigerator pickle method, not a tested water-bath canning process. Nothing here makes a jar shelf-stable, so the timeline below assumes continuous cold storage at or below 40°F/4°C.
| Stage | Timing | What to look for |
|---|---|---|
| Ice water soak before packing | 30 to 60 minutes | Cucumbers feel firm and cold, not rubbery |
| Thin 1/4-inch rounds | 4 hours to be edible, 24 hours to be good | Glossy, translucent edges, brine tinted by spices |
| Spears or thick chips | 24 to 48 hours | Core still opaque, flavor even from outside to center |
| Peak flavor | Day 5 to day 7 | Vinegar edge rounded by the sugar, dill aroma on opening the jar |
| Storage life in a refrigerator at or below 40°F/4°C | 1 to 2 months, sometimes 3 in a very cold fridge | Brine stays clear to lightly cloudy, cucumbers still crisp |
| Brine needs adjusting | Adjust before packing, not after | Too sour: dilute 1 part vinegar with 2 parts water. Too salty: add 1 to 2 tablespoons sugar and chill again |
| Discard the batch | Immediately | Fizzing when opened, pink or orange brine, mold, slimy texture, or a cheese-like odor |
A note on cloudy brine: a haze that forms after a day or two, usually from garlic or mustard seed, is normal. It comes from tiny particles and harmless bacteria that live in the brine, and the pickles stay safe as long as they are cold and smell clean. Mold, a fizzy seal, or a slimy jar is a different story — those mean the batch goes out.
Common Mistakes and Simple Fixes
Soggy or limp cucumbers
Almost always one of three causes: the blossom end was left on, the cucumbers were not soaked in ice water, or the brine was still hot when it went into the jar. Fix it next batch with a 1/16 inch trim, a 30-minute ice soak, and a brine you let cool to room temperature first.
Too salty
Table salt gets used where pickling salt was called for, or the measurement was made with packed cups. You cannot pull salt back out, so the practical fixes are dilution and balance: add an extra cup of water to the jar, drop in 1 to 2 tablespoons sugar, and let it sit for another day.
Too sour
A straight 1:1 brine with no sugar reads as sharp vinegar. Stir in a tablespoon of sugar, then add cold water until the brine covers the cucumbers again. Milder styles use 1 part vinegar to 2 parts water, and a tablespoon of honey or sugar takes the edge off without watering down the flavor.
Weak or flat flavor
Spices need time and contact with the cucumbers. Laying dill and garlic between layers rather than all on top gives every piece the same seasoning. If the flavor is still flat after 48 hours, a pinch of pickling spice or a second spoon of mustard seed usually does it.
Floating vegetables and floating spices
Both are packing problems. Weights or a small plate under the brine line keeps everything submerged, and a tight fill line means fewer air pockets. The floating spices themselves are harmless.
Three habits cover most of the rest. Buy the freshest cucumbers you can find — pickling salt does not repair old, soft produce. Use nonreactive containers and utensils, meaning glass, stainless steel, or coated metal, and skip iron or aluminum, which can cloud brine and dull flavor. And keep the refrigerator at or below 40°F/4°C, because a jar that warms above that on the door shelf can lose its acidity margin.
One more oddity to expect: garlic sometimes turns blue or blue-green after a few days. It is a reaction between sulfur compounds in garlic and trace minerals, it changes no flavor, and it is entirely safe to eat.
If you want a second project alongside this one, a kimchi recipe without special ingredients uses the same idea of salt and time, or turn vegetable trim into vegetable broth from kitchen scraps when the cucumbers are done.
Frequently Asked Questions
Can I use cucumber slices instead of spears for refrigerator pickles?
Yes, and slices actually brine faster than spears. Thin rounds are ready to eat in about 4 hours and taste their best after 24, while spears need a full day or two to soak through. Keep every slice an even thickness so they all absorb brine at the same rate, and pack them tightly enough that they do not float above the liquid.
What vegetables work best in refrigerator pickles?
Carrots, radishes, green beans, asparagus, small onions, and bell pepper all take the same brine well. Cut firm vegetables into thin slices or short lengths so the vinegar reaches the center, and keep watery or soft vegetables such as zucchini, mushrooms, and tomatoes out of the jar because they release too much liquid and turn mushy in a few hours.
How can I fix refrigerator pickles that are too sour?
Stir in 1 to 2 tablespoons sugar first, since sugar rounds off the sharp edge of the vinegar without diluting it. If the brine is still harsh, pour in cold water until it covers the cucumbers again by an inch, and give the jar another day in the refrigerator. For the next batch, use 1 part vinegar to 2 parts water and start with 2 tablespoons of sugar.
Can I make refrigerator pickles sweet instead of tangy?
You can, and it is how bread-and-butter style pickles are made. Raise the sugar in the brine from 1 tablespoon to 3 or 4 tablespoons per quart and add a thin slice of onion or a small amount of ground turmeric. Apple cider vinegar also leans sweeter than white distilled vinegar at the same 1:1 ratio, which softens the sourness without extra sugar.
Can refrigerator pickles stay out at room temperature?
No. These pickles are not tested for shelf storage, so they need continuous refrigeration at or below 40°F/4°C. Two hours on a counter is the usual limit for food left out, and a warm car or a sunlit counter is much faster than that. If you want pickles that keep in a pantry, that requires a tested water-bath canning recipe rather than this method.
Conclusion
Start the batch tonight: dissolve 1 cup vinegar, 1 cup water, 2 tablespoons salt, and 2 tablespoons sugar, cool the brine fully, pack the trimmed and ice-soaked cucumbers, and pour until everything is covered. Refrigerate right away and give it 24 hours before you decide how it tastes. Crisp refrigerator pickles come down to three things: chilling time, cold storage at or below 40°F/4°C, and a few minutes of prep that is worth doing properly. The recipe has not changed much in 2026, and it still works the same way in any kitchen with a stove and a refrigerator door.