
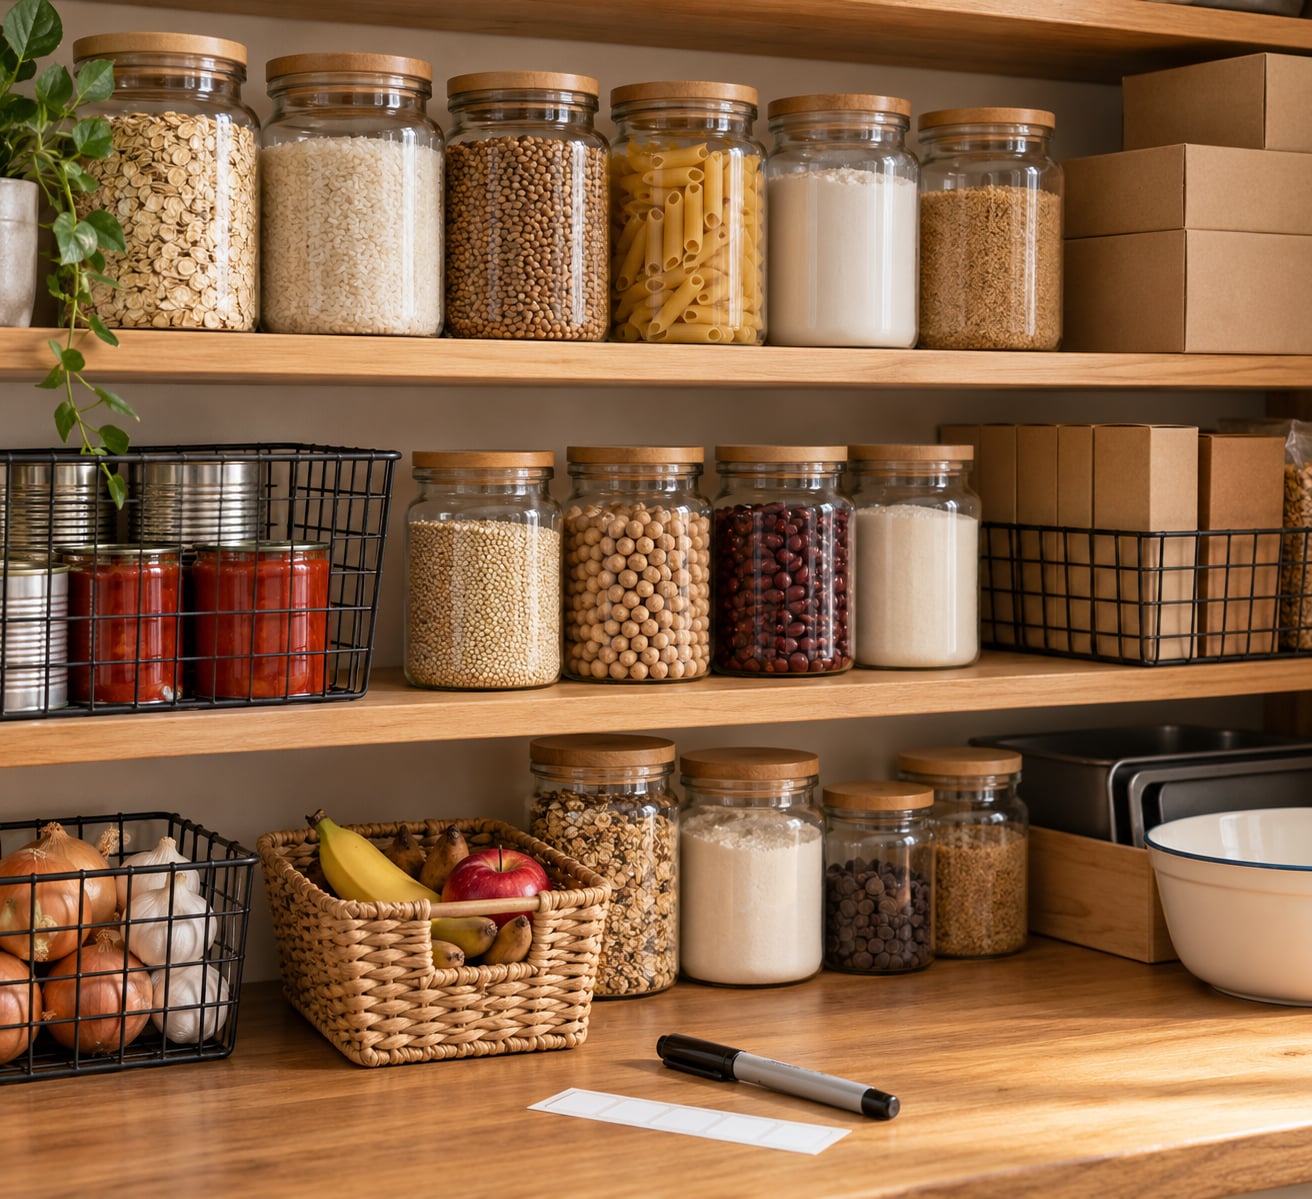
How to organize a pantry on a budget comes down to using what you already own: empty the shelves, sort the food into three piles, wipe everything down, group it by how you actually cook, and label it. A weekend afternoon is enough, and you can spend nothing at all.
I say that from experience. My own pantry looked fine until I had to find a can of chickpeas at eight in the evening and discovered there were two more behind it, both past their best. Sorting took about two hours and cost nothing, because everything I used was already in the house.
The budget part is mostly about restraint. Organizing a pantry on a budget is not about buying a matching storage system. It is about clearing space, rotating food, and using jars, boxes and baskets you already have or can get for very little. Here is the plan, step by step.
Table of Contents
What You Need
You need less than you think. Gather these five things before you pull anything out, and the job moves fast.
- An inventory sheet. A piece of paper or a note on your phone. Write down what is in the pantry and how many of each item, so you know what you have before you consider replacing anything.
- A permanent marker. For bin lids, shelf edges and jar labels. A piece of masking tape with marker writing on it works fine.
- Basic cleaning supplies. Hot water, a cloth or sponge, and either mild dish soap or a mix of water and baking soda.
- Boxes, bins or containers. Yours, not new ones. Cardboard boxes, empty glass jars, plastic tubs, clean paper bags and household baskets all work.
- A simple zone plan. Before the sorting, decide on the handful of categories you will use. Six or seven is plenty.
If you would rather not buy a single thing, this is your shopping list: nothing. Clean shelves, the containers you own, a marker and a plan will carry you through the whole process.
How to Organize a Pantry on a Budget: Step-by-Step
Seven steps, in this order. Do not skip to labeling, because everything after it depends on the sorting and the cleaning being done first. Most people finish in two to three hours, and the sorting stage is the slow part.
How to Organize a Pantry on a Budget: Clear and Sort
Take everything out and put it on the floor, the counter, or a clean sheet on the bed if the pantry is small. All of it, including the bags shoved in the back corner. Then sort it into three piles: keep, use soon, and discard.
Keep is the pile of what you genuinely eat. Use soon is the pile of open packages, older cans and anything close to its date. Discard is expired food, plus the things bought once for a recipe that never happened. A helpful trick is to leave the discard pile where you can see it for a day before you bin it, because a lot of it is not as bad as it looked in the moment.
Then write a checkout list, which is the step that keeps this project on budget. List only the gaps you found while sorting: the oil you ran out of, the rice you finished last week. Without that list, an emptied pantry turns into a shopping trip, and then you are back to square one with less money.
You will tell it worked when every can in the keep pile has a home you know, and your list of missing basics fits on one side of a sheet of paper.
Clean the Shelves and Cupboards
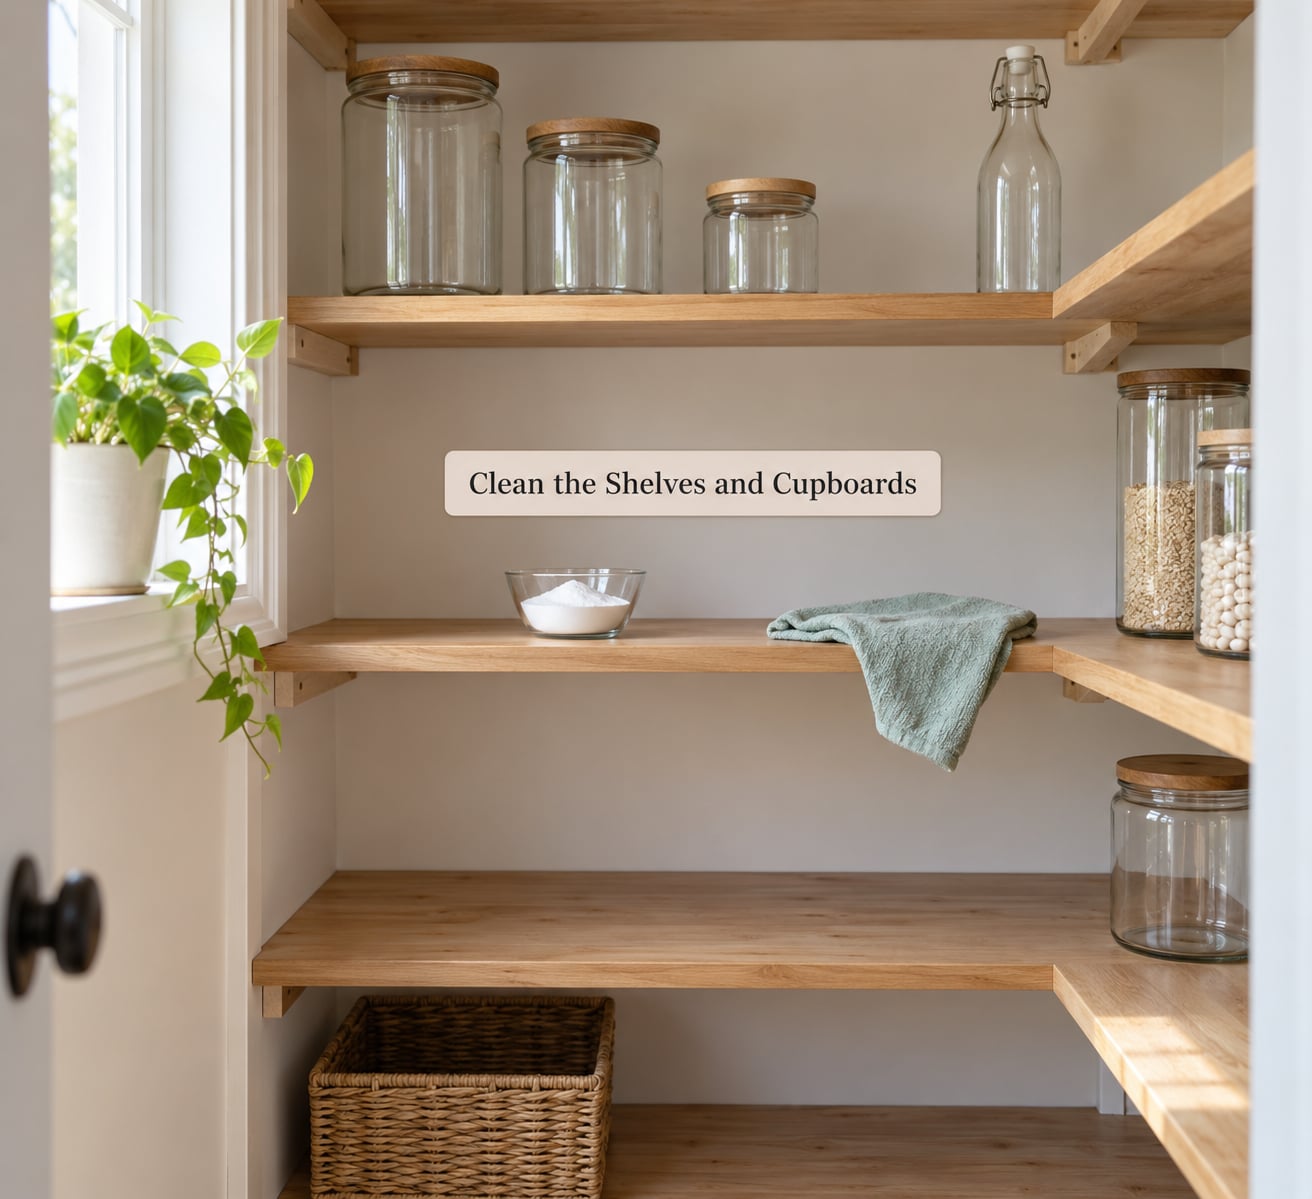
Wipe the shelves, the back panel, the door and the inside of any drawers while everything is out. Work from the top down so the dust you knock loose falls onto a surface you have already cleaned, not a clean one.
Hot water with a little dish soap is the reliable option. For a food-safe deep clean without harsh smells, stir a couple of tablespoons of baking soda into a bowl of water, dampen your cloth, and wipe. Rinse with a clean damp cloth afterward and let the shelves dry fully before anything goes back.
Do not forget the spots people skip: the shelf lip, the door hinges, the inside corners and the runners under a wire shelf. A sticky spot there usually means crumbs and dust have been sitting for a while.
Group Foods by How You Use Them
Group by how you cook, not by what the product is. Canned goods and pasta are products; weeknight dinner ingredients are a use. Most people lose track of a shelf organized by product type, because the thing they need on a Wednesday is split across three places.
Heavy items go on the floor or the lowest shelf, and anything you use every day sits between waist and eye level. Canned goods work well stacked in rows you can pull from the front. A quick cheat sheet:
| Zone | What goes there | Where it sits | Container |
|---|---|---|---|
| Breakfast | Oatmeal, cereal, coffee, tea, breakfast bars | Eye level | Clear bin or open basket |
| Canned goods | Cans of beans, tomatoes, vegetables, soups | Middle shelf | Box or stacked rows, no lid needed |
| Grains and pasta | Rice, quinoa, pasta, couscous, oats | Middle shelf | Glass jars or labeled boxes |
| Baking | Flour, sugar, baking powder, chocolate chips | Lower-middle shelf | Airtight glass or lidded tub |
| Snacks | Nuts, seeds, crackers, dried fruit | Eye level, kid height if you have kids | Open basket or shallow bin |
| Oils and vinegars | Cooking oils, vinegar, soy sauce, dressings | Near the door, middle shelf | Door rack or a small tray to catch drips |
| Bulk and backup | Rice sacks, large cases, water, canned backups | Floor of the pantry | Rolling crate or heavy-duty bin |
Reserve one small basket near the front for the use-soon pile. That single basket does more for a working pantry than a drawer full of matching canisters ever will.
Measure Before Buying Storage
Before you pick up any container, measure the space you have. Measure shelf width, the gap between shelves, the depth of a cabinet, and the height of your door opening. A bin that fits beautifully online may not clear a low shelf, and discovering that after unloading a car is how budgets go wrong.
Then audit what you own. Pasta sauce jars, pickle jars, salsa jars and baby food jars are all food-safe glass, and the lid from a jar of oats often seals a smaller jar perfectly. Save the jars you come across while eating, and you will accumulate a steady supply without a single purchase.
Two household items get overlooked constantly. An empty diaper or shoe box holds snacks or baking supplies, and a metal wire basket from a closet handles bread, onions or potatoes, where paper containers would go soggy. A clean paper grocery bag works for grains as long as you fold the top over and clip it shut.
What to skip: matching canister sets, wicker-look baskets sold in sets, and turntables you would only use for one shelf. Function beats matching every time, and a mismatched jar with a clear label is easier to find than a beautiful one you have to move to see.
Use a Simple Rotation System
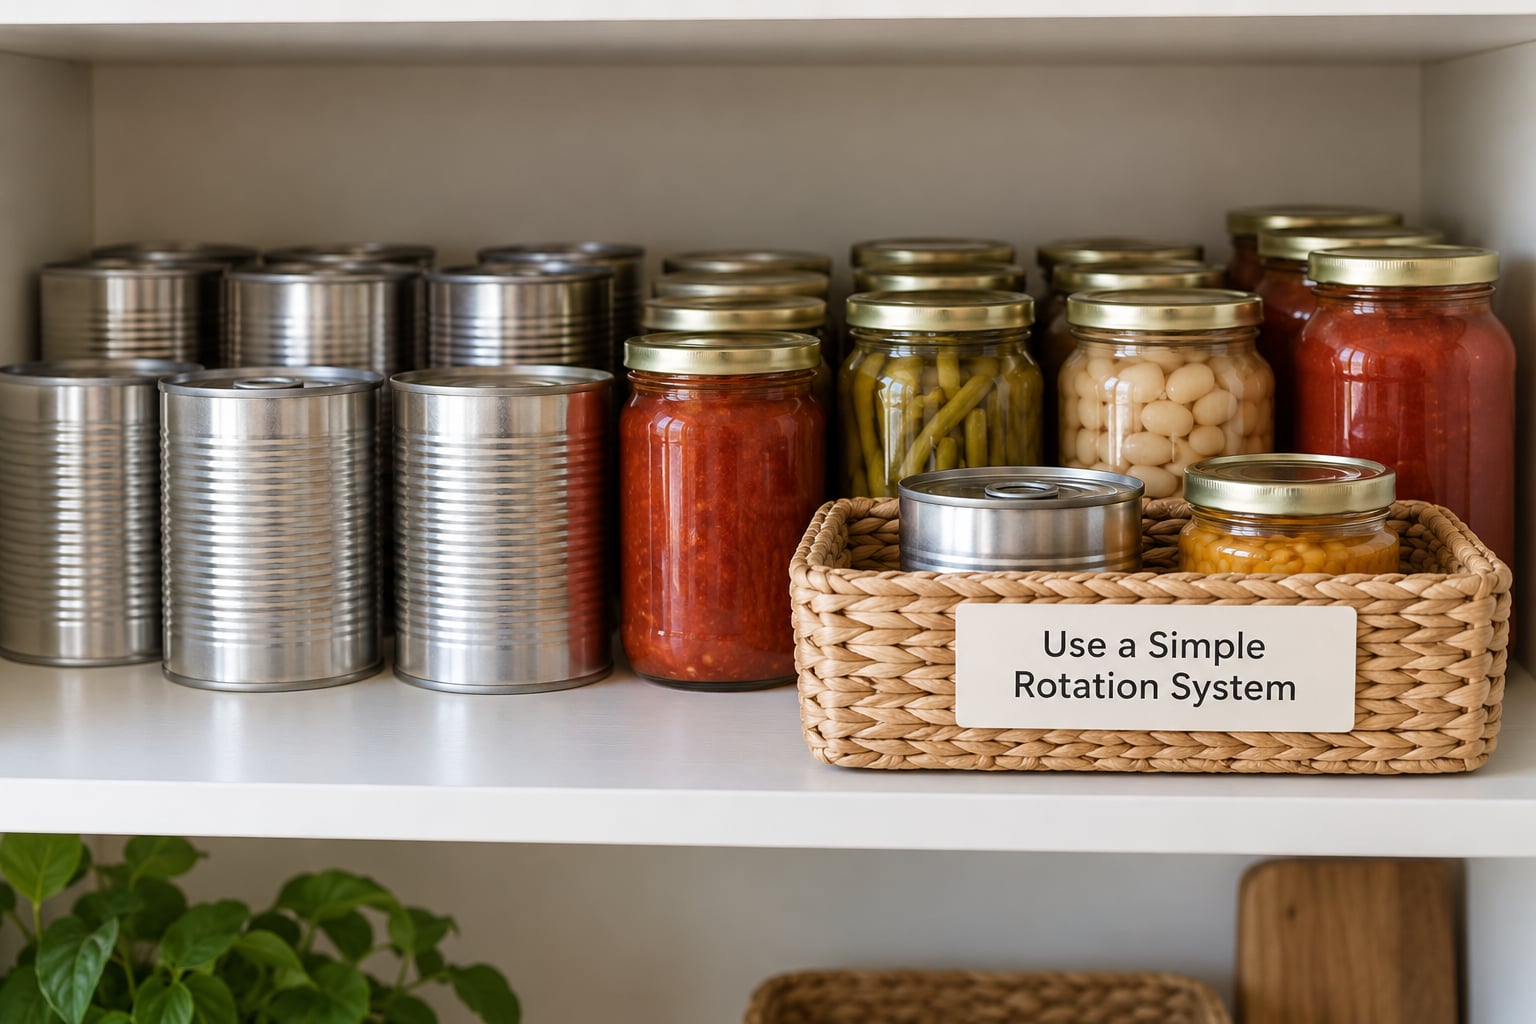
Organizing a pantry on a budget really clicks once food starts moving through it instead of sitting. The method is called first in, first out: the oldest food goes to the front of the shelf, and the newest food goes behind it. When you reach for a can, you grab the one you have had the longest.
Set this up as you put things back. Turn a new box of pasta so the open side faces backward, or slide the newest cans behind the older ones. Put the use-soon basket in a spot you pass every day, and empty it before you restock the shelf rather than after.
You will know it works when the food you buy gets eaten instead of moving to the back of the pantry and being forgotten. Rotation is also what keeps the pantry organized: food that is consumed never has to be re-sorted, and shelves do not slowly fill up with duplicates.
If you keep one baking or bulk supply back for emergencies, label the bin with the month you stored it and check it during your monthly inventory so you use it while it is still good.
Label and Maintain the System
Label the front of every bin, the edge of every shelf and the lids of jars you have decanted. Write the category first, so a glance from the doorway tells you what a shelf holds. A permanent marker on masking tape costs nothing and peels off when the plan changes.
For dates, write the month and year on opened packages with a piece of tape rather than trusting your memory. A monthly sweep, on the same weekend each month, is enough: check the front of each shelf, move anything close to its date into the use-soon basket, and note the gaps on your inventory sheet.
Then build the habit that keeps the whole thing from falling apart. A five-minute weekly reset: put away anything left on the counter, refill the use-soon basket, and check one shelf for something you have opened and not finished. On r/organizing, this is the single most-repeated request from people whose tidy pantry collapsed within a month, and the fix is the small recurring reset rather than a bigger initial effort.
Common Mistakes
A few patterns show up again and again. Each has a simple fix.
- Buying organizers first. The containers you have already been given are enough for one zone. Fix: finish the whole process using what you own, and only then buy for a zone that genuinely has no home.
- Grouping only by product type. All the pasta in one spot means every dinner needs a trip across the pantry. Fix: group by the meal, and move to zones by use rather than by label on the box.
- Heavy items on high shelves. A case of water above your head is a lifting injury waiting to happen. Fix: floor and lowest shelf for anything you would struggle to hold with one hand.
- Ignoring expiration dates during the sort. Half the waste happens after organizing, not before it. Fix: every can that comes out of the pantry gets its date read out loud, even the ones you plan to keep.
- No labels on zones. People put things back wherever feels right. Fix: label the shelf edge, not the container, so the rule survives the container.
- A reset that takes an hour. If maintenance is a project, it stops happening. Fix: cap it at five minutes and define the three tasks in advance.
One more worth naming: the closet approach. A shelf unit in a closet or garage corner gives a household with no dedicated pantry a real organizing surface, and it costs less than refitting cabinets.
Frequently Asked Questions
Where do I start if I have no money to spend?
Start with the discard pile, not the shopping pile. Empty everything, read every date, and group what remains into keep, use soon and discard. Wipe the shelves, then put the foods you use most at eye level in the containers you already own. A permanent marker on masking tape is the only tool this process really needs.
What containers can I use if I do not want to buy any?
Save the glass jars you already buy: pasta sauce, pickles, salsa, beans and baby food jars all work for grains, seeds and spices. Cardboard boxes from diapers or shoes hold snacks and baking supplies, and a metal wire basket takes bread, onions and potatoes. Clean paper grocery bags with the top folded and clipped are fine for dry goods.
How do I decide what food to throw out?
Read the date, then check the food itself, because dates are quality guidelines rather than safety cutoffs in every case. Discard anything past its date that has changed in smell, color or texture, and any dry good that shows moisture or insects. Keep the discard pile visible for a day first; a lot of it is better than it looked in the moment.
How do I keep the pantry organized after the first week?
Set a five-minute weekly reset with three fixed tasks: put away anything left out, refill the use-soon basket, and check one shelf for opened packages. Add a monthly sweep to read dates and note gaps on your inventory sheet. Rotate old food to the front as you restock so the shelves empty themselves.
How do I organize a small pantry with deep shelves?
Use the vertical range, not the floor area. Put heavy items on the lowest shelf and cans in stacked rows you can pull from the front, and reserve the top shelf for things you use rarely. Measure shelf depth and shelf gaps before using any container, since a bin that fits the space between shelves may not clear the shelf above it.
What do I do if I am renting and cannot drill?
Everything in this plan is renter-friendly because nothing is attached to a wall. Use the cabinets, a closet corner or an over-door rack instead of a dedicated pantry, and a rolling crate or small cart instead of fixed shelving. If you want a surface, a freestanding shelf unit in a closet or unused corner does the job and moves with you.
Conclusion: Start With Your Most-Used Shelf
Organizing a pantry on a budget works because the hard part is deciding and sorting, not buying. Clear, sort into three piles, clean, group by meal, label, rotate old to the front, and reset for five minutes a week. None of that costs anything, and it all works in a single afternoon.
Start tonight with one shelf: the one you use most. Take everything off it, sort it, wipe it, and put back only the foods you genuinely eat, oldest in front. Once that shelf looks right, the rest of the pantry is just the same six steps repeated.