
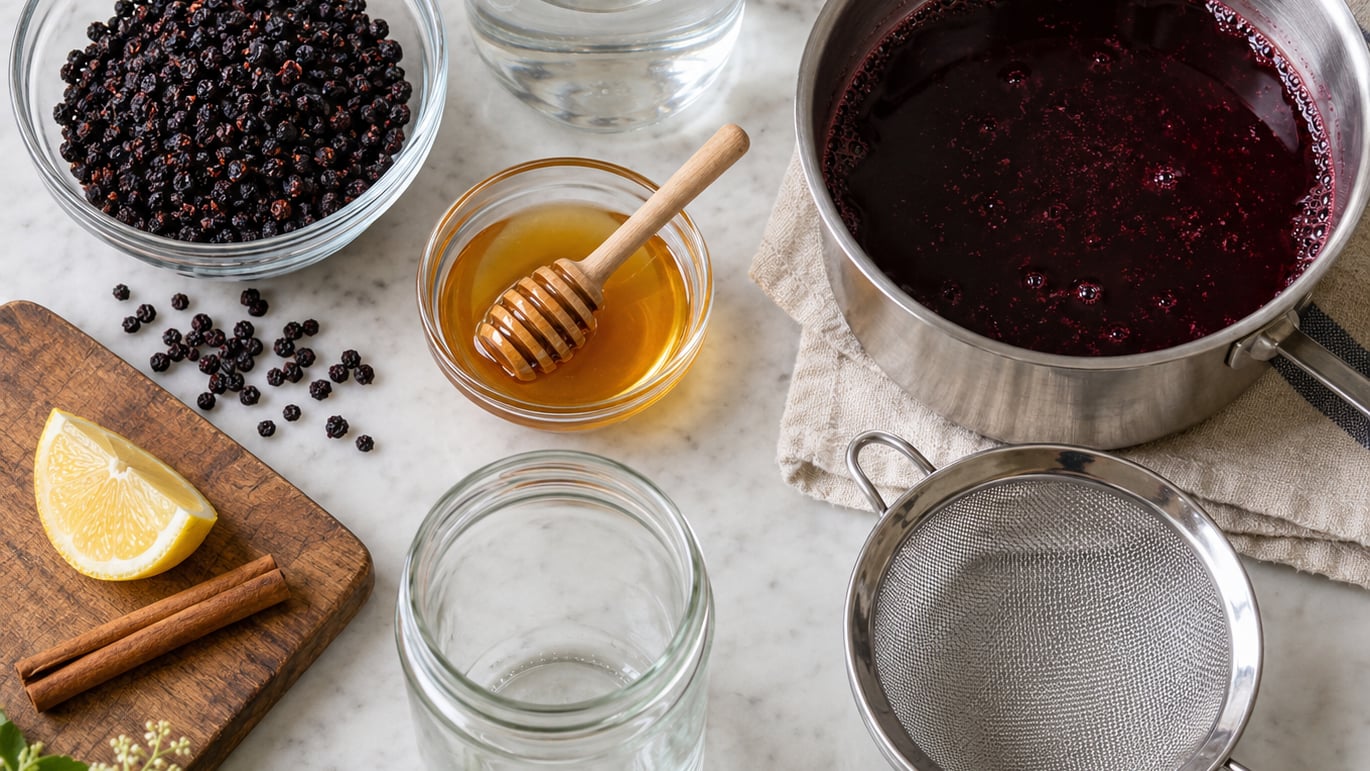
Elderberry syrup is a cooked, sweetened concentrate of elderberries, and the benefits of elderberry syrup and how to make it come down to one process: simmer the berries in water until the liquid turns deep purple, strain out the solids, sweeten, and refrigerate. A small batch takes about 45 to an hour of mostly unattended cooking time, and the finished syrup keeps in the fridge for roughly one to two weeks.
It is also worth being straight about what elderberry syrup is and is not. Most of the talk about it in wellness circles is traditional use passed down through European and North American folk medicine, not settled science. A handful of small laboratory and human studies on elderberry extracts have reported effects on the duration of cold and flu symptoms, but those results are not strong enough to treat an infection, replace antivirals, or replace the flu vaccine. Anyone pregnant or breastfeeding, anyone managing an autoimmune condition, and anyone taking daily medication should ask a doctor or pharmacist first.
A few things to know before you start:
- Elderberries must be cooked. Raw, unripe, or uncooked berries, leaves, stems, and branches contain cyanogenic glycosides that can release cyanide when digested.
- Do not assume dried berries are ready to eat. Follow the cooking directions on the package and cook them thoroughly in liquid.
- Honey does not go into any syrup for a child under 12 months, because of infant botulism risk. Maple syrup or sugar works for that case.
- A water-rich homemade syrup is not shelf-stable. It needs refrigeration, and canning it safely takes a tested recipe rather than guesswork.
Updated for 2026.
Table of Contents
- What You Need: Benefits of Elderberry Syrup and How to Make It
- Step-by-Step
- Common Mistakes
- Frequently Asked Questions
- How long does homemade elderberry syrup take to make?
- Can I make elderberry syrup without honey?
- How long does homemade elderberry syrup stay in the refrigerator?
- Can elderberry syrup be frozen for later use?
- How do I use homemade elderberry syrup in smoothies and recipes?
- Is homemade elderberry syrup as beneficial as a commercial product?
- Conclusion
What You Need: Benefits of Elderberry Syrup and How to Make It
The honest answer on benefits: elderberry syrup is a pleasant, antioxidant-containing food with a long history of use for colds and flu, and that is where the evidence sits too. Elderberries are dark purple fruits, and that color comes from anthocyanins, the same class of pigments found in blueberries and red cabbage. Those compounds show anti-inflammatory and antioxidant activity in laboratory studies, which is a real finding but a low bar that many plant foods clear.
The more talked-about claim is symptom relief. Small studies of elderberry extract in people with influenza have reported shorter fever and shorter overall illness compared with a placebo, and separate work has looked at antioxidant markers and inflammation in the blood. Sample sizes were small, preparations varied, and syrups on the market are not always equivalent to the extracts used in the studies. Treat the promise as a maybe, not a guarantee.
Other traditional uses, such as easing congestion, soothing a sore throat, or settling an upset stomach, come from household medicine rather than laboratory data. Warm syrup in tea can genuinely feel soothing, though, and that is about comfort rather than cure. None of this replaces prescribed treatment, and syrups made at home carry the same risk as any water-based preparation: they are not sterile.
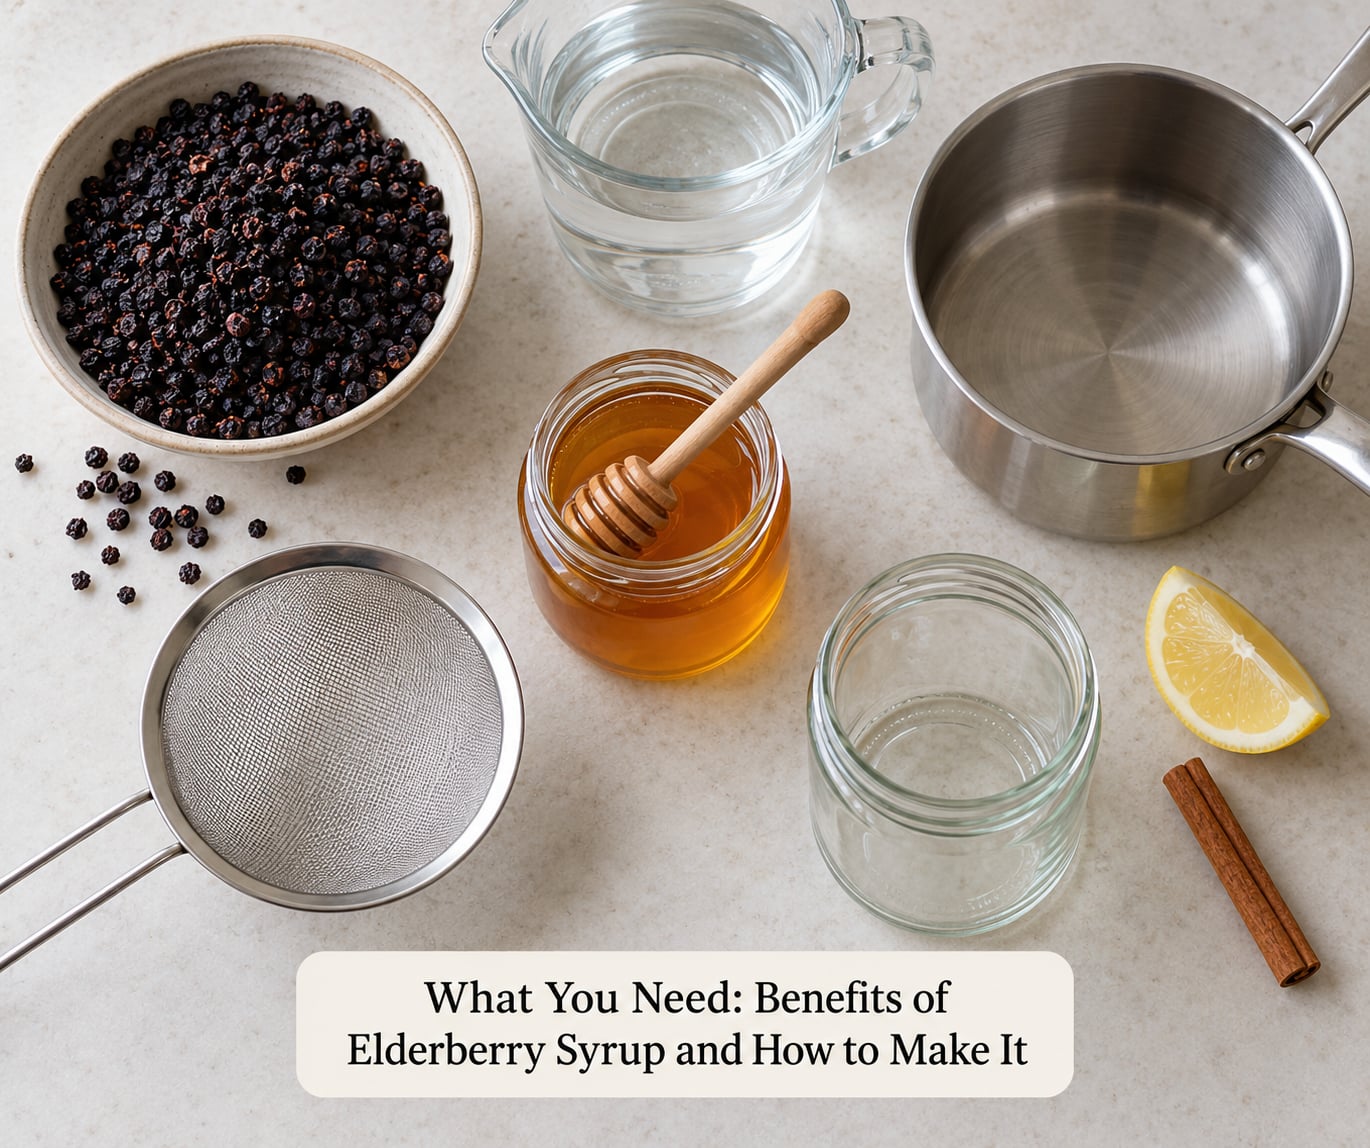
For the actual process, you need very little. Dried elderberries are the usual starting point because they are available year-round and give a stronger flavor than fresh. Some people make syrup from frozen berries picked at peak ripeness, which works too, though the result is usually thinner.
- 1 cup dried elderberries, or about 3 cups fresh or frozen ripe berries
- 3 cups water, plus about half a cup extra for the straining step
- 1 cup honey or maple syrup, or 1 cup granulated sugar, adjusted to taste
- A saucepan with a lid, and a spoon that will survive stirring
- A fine mesh strainer or several layers of cheesecloth and a clean bowl
- A clean glass jar with a tight lid, washed in hot soapy water and rinsed
- Optional: a cinnamon stick, a few cloves, a thumb of sliced ginger, a strip of lemon peel, and a squeeze of lemon juice at the end
Buy dried berries from a reputable herb or grocery source and pick through them. Bulk elderberry is a common home for twigs and bits of stem, and those pieces taste bitter. If you forage, know that red elderberry and many other look-alike species are not edible, and identification mistakes are serious enough that most people should simply buy their berries.
Step-by-Step
The method is five stages, and each one exists for a reason. Skipping the simmer or cutting it short is the single most common way to end up with thin, weak syrup.
1. Combine the elderberries and water
Put 1 cup of dried elderberries in a medium saucepan and add 3 cups of water. Give the berries a quick rinse in a colander first, which removes dust and stray plant bits without soaking them.
Bring the pan to a rolling boil over medium-high heat, stirring once or twice so nothing catches on the bottom. As soon as it boils, turn the heat down. Dried berries need real heat and time to soften, and they should be cooked according to the directions on their packaging rather than treated like fresh fruit.
2. Simmer until the berries are soft
Drop to a gentle simmer, cover the pan, and cook until the berries have collapsed and the liquid has turned a deep reddish-purple. Expect somewhere around 20 to 30 minutes of simmering, but judge by the berries, not the clock. Large berries in a wide pan can be soft sooner, and a heavy pot on a weak burner can take much longer.
How to tell it worked: a spoon dragged across the bottom of the pan leaves a soft trail of softened fruit, and the berries smear when pressed with the back of a spoon. If the liquid is still pale pink and the berries are hard little beads, keep going.
Keep the heat low enough that the surface barely bubbles. A hard boil scorches the fruit solids against the pan, and that bitterness does not strain out.
3. Strain out the solids
Set a fine mesh strainer over a large bowl, or line a colander with a few layers of clean cheesecloth, and pour the mixture through. Let most of the liquid drain on its own first, which takes about 15 minutes and keeps the syrup from turning cloudy with pulp.
Then work the softened berries gently with the back of a spoon or a clean pestle. Press them once, not repeatedly. You want the juice out of the fruit, not the fibers and seeds, and forcing hard pieces through a fine strainer will push grit into the finished syrup. Discard the pulp, or save it for a second straining pass if you like.
You should end up with roughly 2 cups of dark purple liquid. Rinse the pot out with the extra half cup of water and add that to the strained liquid, because every bit of juice clinging to the pulp is a bit of syrup you paid for and threw away.
4. Sweeten and reduce the syrup
Return the strained liquid to the pan and add 1 cup of honey, maple syrup, or sugar. Stir to dissolve, then simmer uncovered over medium heat until the syrup coats the back of a spoon and leaves a clean line when you drag a finger across it, roughly 15 to 25 minutes.
Watch it in the last few minutes. Syrup goes from perfect to burnt quickly, and it thickens noticeably as it cools, so pull the pan a touch earlier than the finished texture suggests. A syrup that looks like warm honey in the pan usually lands at a nice spoonable consistency once it is cold.
Honey is the traditional sweetener and adds its own character. It is not suitable for infants under 12 months. Maple syrup keeps the syrup vegan and adds a round, less floral sweetness, and if you bake with it, the pros tips for substituting maple syrup for sugar will help you adjust other recipes. If you want the vegan version of my water kefir starter guide approach, fruit and culture swaps work the same way here.
For a thinner, drinkable syrup, stop reducing early and let the finished syrup sit in the fridge; it will stay pourable. For a thicker syrup that drips slowly off a spoon, simmer a few minutes longer. Do not push this far to chase shelf stability, because an over-reduced, very dark syrup is also easy to scorch and is not a substitute for properly tested canning.
Add lemon juice at the very end, a teaspoon or two, and keep the heat off once it goes in. Citrus added late keeps its brightness, and it gives the syrup the tartness that makes it drinkable instead of merely sweet.
5. Cool, bottle, and refrigerate
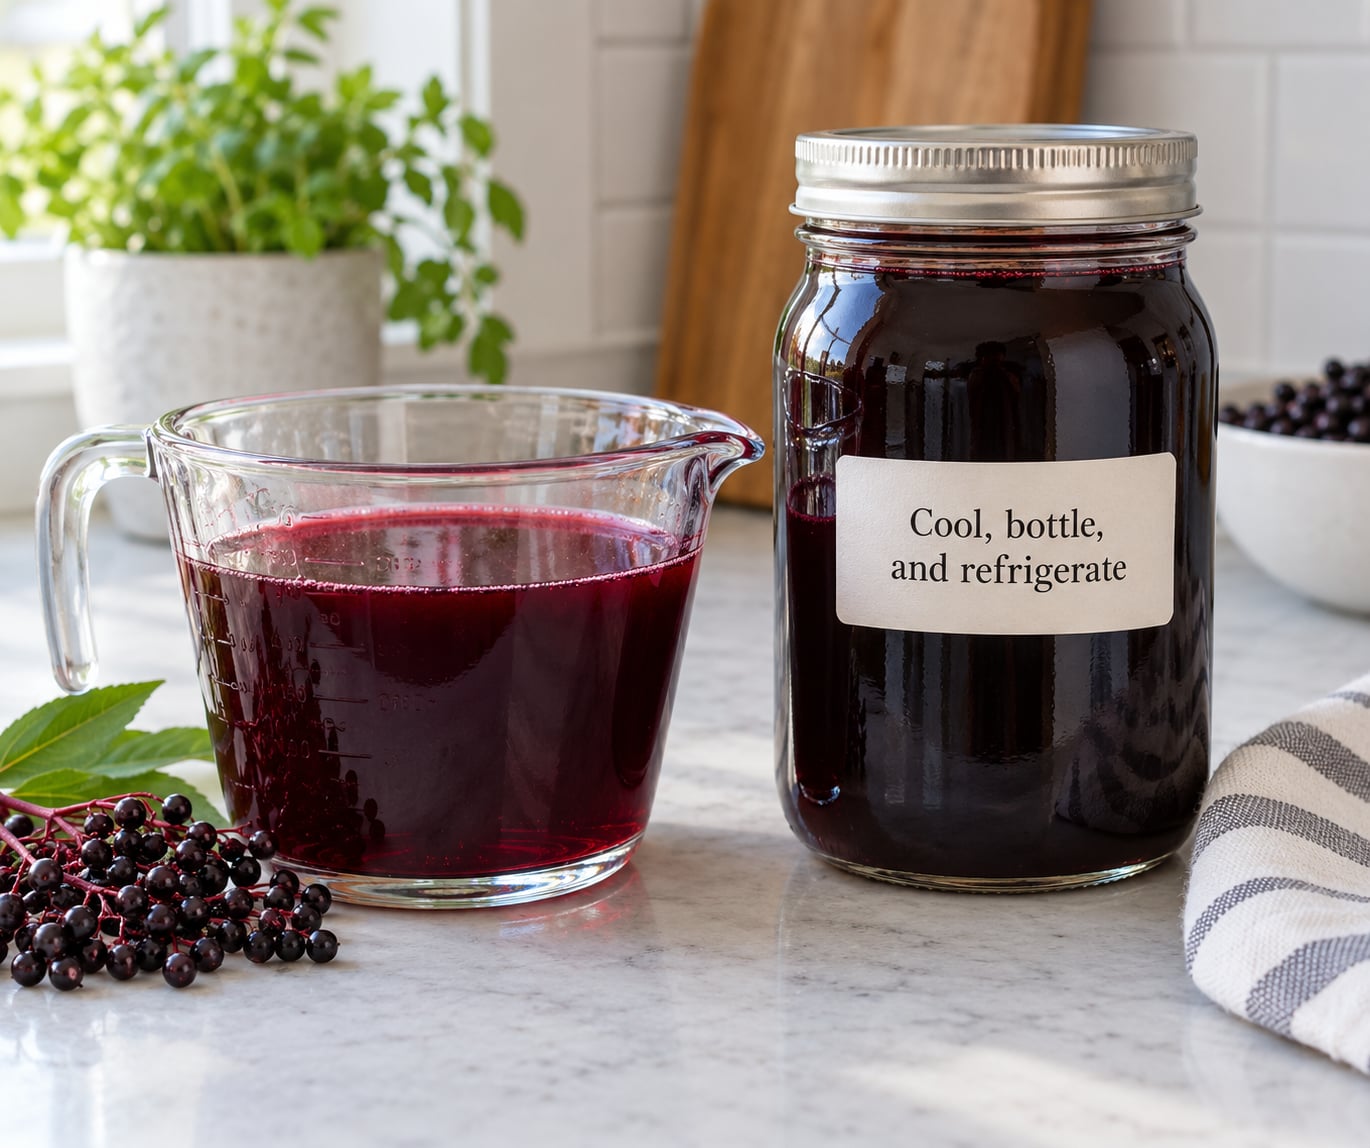
Pour the finished syrup into a clean jar and let it cool without the lid on, then cap it. Label with the date, because a homemade syrup does not arrive with an expiration date printed on the neck.
Store it in the refrigerator and plan on one to two weeks of life. That is a conservative window that assumes a hot kitchen, a well-used spoon, and a jar you open often. If a week has passed and the color has dulled to brown, the smell is fermented, or bubbles keep forming on their own, throw it out rather than tasting it to check. Cloudiness, fizz, fuzzy growth, or a mold ring on the surface all mean the batch goes in the trash.
Freezing works well. Pour the cooled syrup into a freezer container leaving about an inch of room for expansion, and it will keep for several months. Thaw it in the refrigerator overnight rather than on the counter.
For a shelf-stable version, use a tested water bath canning recipe for syrup rather than improvising one. A water-rich preparation that has not been formulated and tested for a specific pH and processing time is a botulism risk, and that risk does not go away because the syrup looks thick. Cool the jars without touching the lids, and follow the recipe’s processing time exactly.
Common Mistakes
Most disappointing batches trace back to one of these.
- Boiling too hard. A hard boil tears the fruit apart and cooks sugars onto the bottom of the pan, which tastes burnt no matter how well you strain. Keep the surface at a lazy simmer after the initial bring-to-boil.
- Syrup that is too thin. It looks thin in the pan because it thickens as it cools. Give it five more minutes rather than a drastic reduction, and chill a spoonful before you decide.
- Syrup that is too concentrated. If it barely pours, mix in a little warm water and stir. Heavy reduction also raises the risk of scorching the sugars in the pan.
- Straining too little liquid out of the pulp. The first run through the strainer catches most of it, and pressing the berries adds the rest. Forgetting the rinse-water trick means giving up a surprising share of the batch.
- Adding sweetener at the wrong stage. Sweetening before straining is fine, but adding honey and then boiling hard for a long time brings out a cooked, heavy flavor. Add the sweetener after the straining pass, and keep the simmer short.
- Assuming every syrup keeps the same way. A tested canned syrup and a homemade jar in the fridge are different products with different shelf lives. Label each one and treat the untested jar as a refrigerated food with a two-week window.
- Rushing the dried berries. Berries that stay hard leave a thin, watery syrup and have not been cooked thoroughly. Cooking time depends on berry size, pan depth, and how strong your burner is, so judge by texture.
- Ignoring early spoilage signs. If it fizzes when opened, smells like alcohol, or has a film on top, it fermented. No amount of boiling makes that batch safe again.
A couple of habits fix most of these. Strain while the liquid is still warm but not boiling, since warm liquid moves faster through cloth. And when you use it, pour a little into a separate mug or bowl rather than spooning straight from the jar, which is how a clean batch picks up bacteria and lives longer than it should.
For serving, a tablespoon stirred into hot tea or warm water is the classic move. It works on pancakes and waffles, drizzled over yogurt, whisked into oatmeal, or thinned with water and apple cider vinegar for a cold drink. Kids tend to accept the syrup long before they accept a tincture, and if you are making drinks for them, our smoothie ideas kids actually drink take the same trick. Leftover pulp from straining is worth keeping for a second pass or for mixing into a small batch of overnight oats.
Scale carefully if you double or triple the batch. Pot depth, not the number of berries, is what decides whether the liquid reduces before the fruit cooks, and a crowded pot simmers unevenly no matter how large the burner is.
Frequently Asked Questions
How long does homemade elderberry syrup take to make?
Allow about 45 to 60 minutes from start to finish, most of it unattended. Twenty to thirty minutes of gentle simmering softens the berries, straining and pressing takes another 15 minutes or so, and the final reduction runs 15 to 25 minutes depending on how thin the strained liquid is and how wide your pan is.
Can I make elderberry syrup without honey?
Yes. Maple syrup, agave nectar, or plain granulated sugar all work, and the vegan versions are the ones to use if anyone in the household is under 12 months old, since honey carries a botulism risk for infants. Sugar dissolves more cleanly in the pan, while maple syrup gives a rounder flavor that pairs well with cinnamon and ginger.
How long does homemade elderberry syrup stay in the refrigerator?
Plan on one to two weeks in a clean jar kept cold the whole time. That is a conservative window for a kitchen where the jar gets opened often and a warm spoon goes in and out. If the color dulls to brown, the smell turns alcoholic, or it fizzes on its own, discard it instead of tasting it.
Can elderberry syrup be frozen for later use?
Freezing is the easiest way to make a big batch last. Pour the cooled syrup into a freezer container with about an inch of space left for expansion and freeze it solid. Thaw it overnight in the refrigerator rather than on the counter. Frozen syrup keeps its flavor well and thins slightly, so warm it gently before using.
How do I use homemade elderberry syrup in smoothies and recipes?
A tablespoon or two adds sweetness and color to fruit smoothies, especially with berries or banana, without thinning the texture much. It also works stirred into oatmeal, yogurt, pancakes, and vinaigrettes. In baking, swap it in for some of the sugar in cakes or muffins, and reduce added sugar elsewhere, since it is already quite sweet on its own.
Is homemade elderberry syrup as beneficial as a commercial product?
Not necessarily, and it is not a fair comparison. Homemade syrup is usually higher in elderberry content and lower in added sugar, water, thickeners, and preservatives, but the plant compounds degrade with heat and time in storage. Commercial products vary widely in how much actual fruit they contain, so read the ingredient list. Ask your pharmacist before using either alongside medication.
Conclusion
The benefits of elderberry syrup and how to make it come down to patience rather than special equipment. Simmer 1 cup of dried elderberries in 3 cups of water until the berries collapse and the liquid turns deep purple, strain and press them well, then sweeten with honey, maple syrup, or sugar and simmer until it coats a spoon. Cool it, bottle it, label the date, and refrigerate it for one to two weeks. If you want it to last longer, freeze it, or follow a tested water bath canning recipe rather than improvising one. And if you are taking any medication or managing a health condition, a quick question to your doctor or pharmacist costs nothing.