
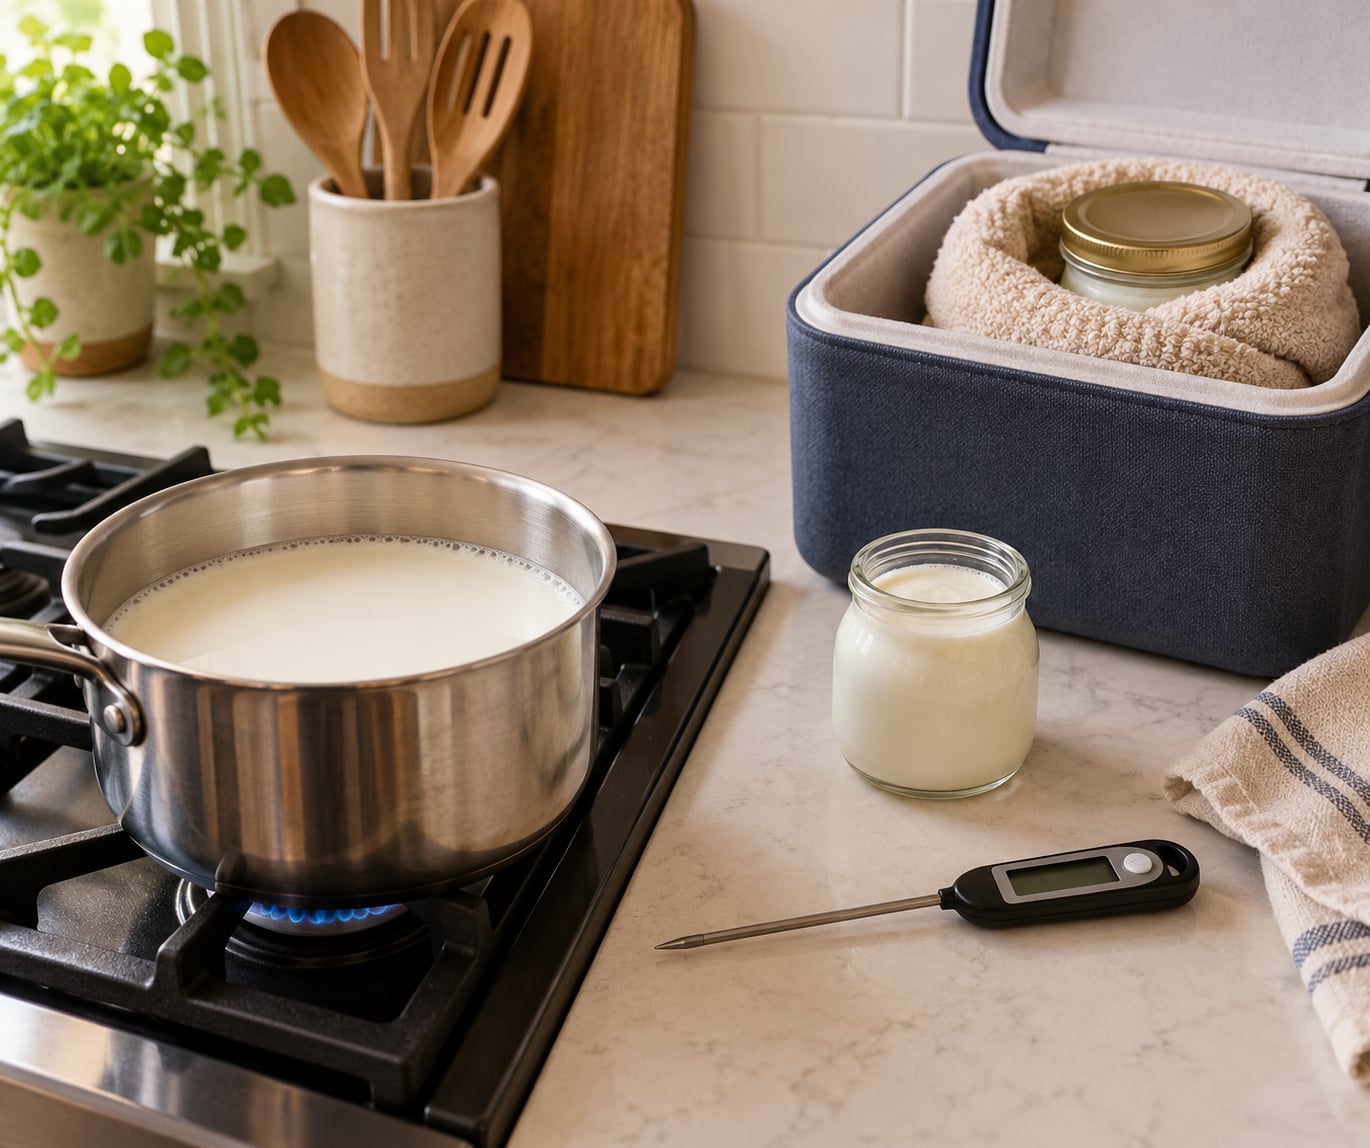
Yes, you can absolutely make yogurt at home without a yogurt maker. All the machine really does is hold milk at a steady 100°F to 115°F for several hours, and an oven with the light on, a warm corner of the kitchen, or an insulated cooler does that job for free. Plan on about 15 minutes of hands-on work and then 6 to 12 hours of quiet incubation.
That is the whole trick. Yogurt is milk, heat, a spoonful of live culture, and patience. Nothing else is required.
Table of Contents
What You Need
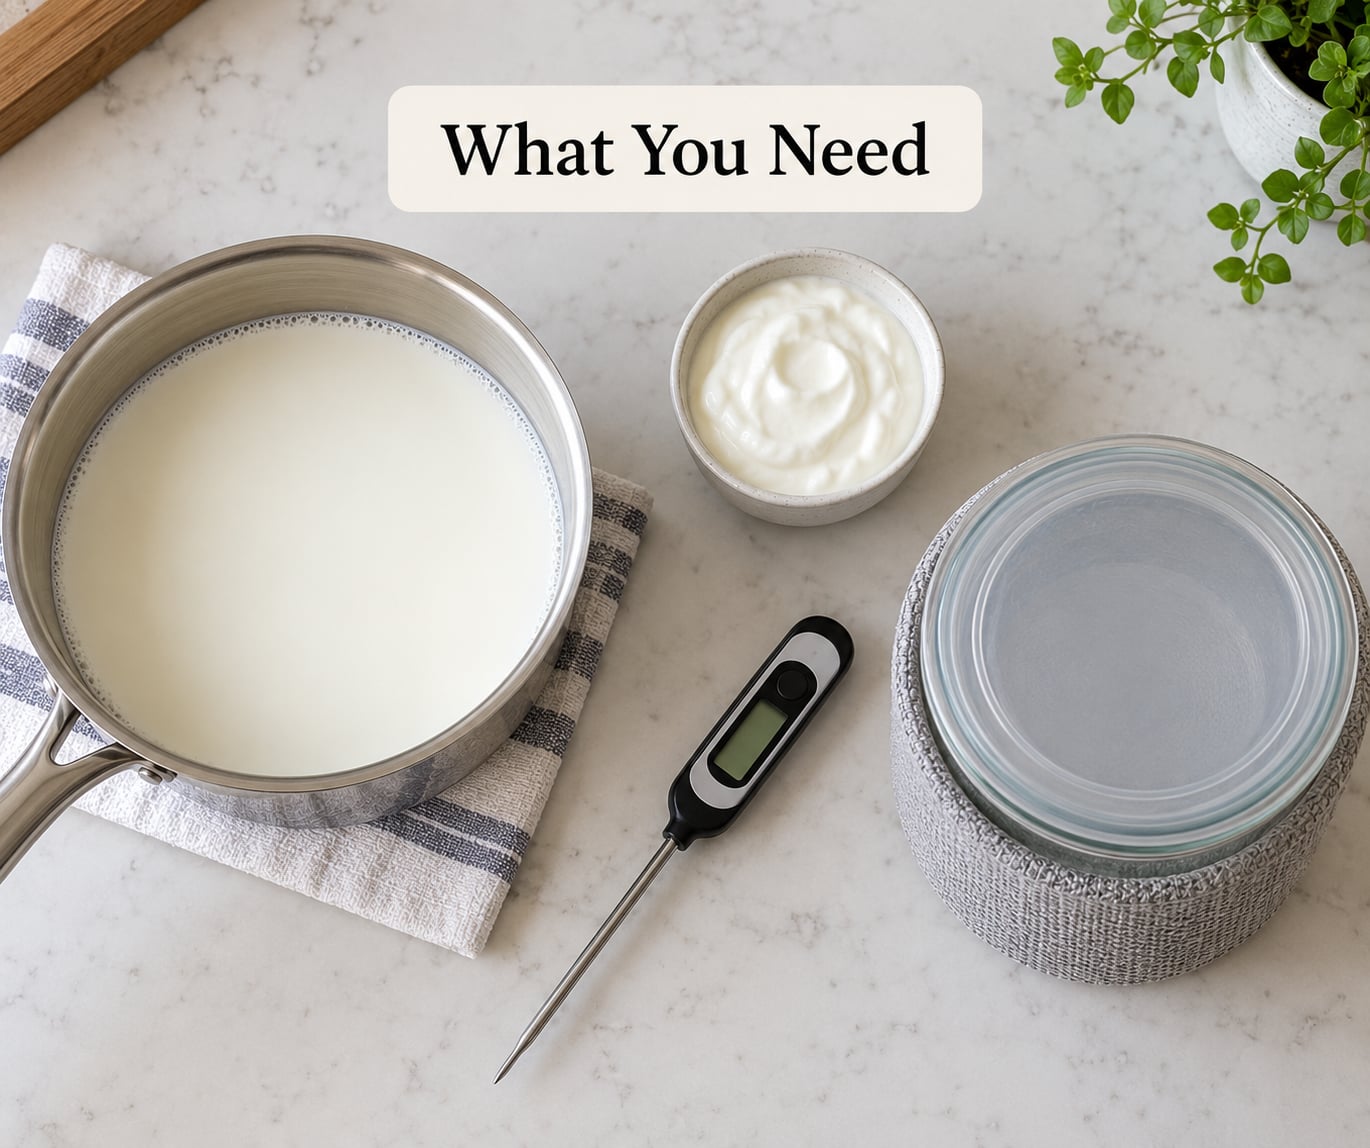
Ingredients for one quart
- 4 cups (1 liter) of milk — whole milk gives the thickest, creamiest result, 2% works well if you want it lighter, and skim tends to run thinner.
- 2 tablespoons of plain yogurt with live active cultures — this is your starter. Check the label for live and active cultures and skip anything with added thickeners like gelatin or starch.
- A pinch of sugar, optional — it feeds the bacteria and softens the tang slightly. Plain is fine too.
For sweetening after the fact, fresh fruit works better than sugar because sugar added before fermenting gives the bacteria more to work with and produces a sharper tang.
Equipment, and what can replace a yogurt maker
- A heavy pot or Dutch oven — a heavy bottom heats evenly and resists scorching. A thin saucepan works, just stir more often.
- An instant-read thermometer — the single most useful tool in the whole process. A meat thermometer is completely fine; you need an accurate reading, not a yogurt-specific one.
- A glass jar, small bowl, or mug — something that holds a quart and can be covered loosely.
- A warm place to incubate — this is the part that replaces the machine. Options are covered in the step-by-step section below.
- Cheesecloth and a fine-mesh strainer — only if you want thick Greek-style yogurt.
If you shop for yogurt often, it is worth learning what the labels mean — how to pick a healthy yogurt at the store covers the live culture count and the thickener trap.
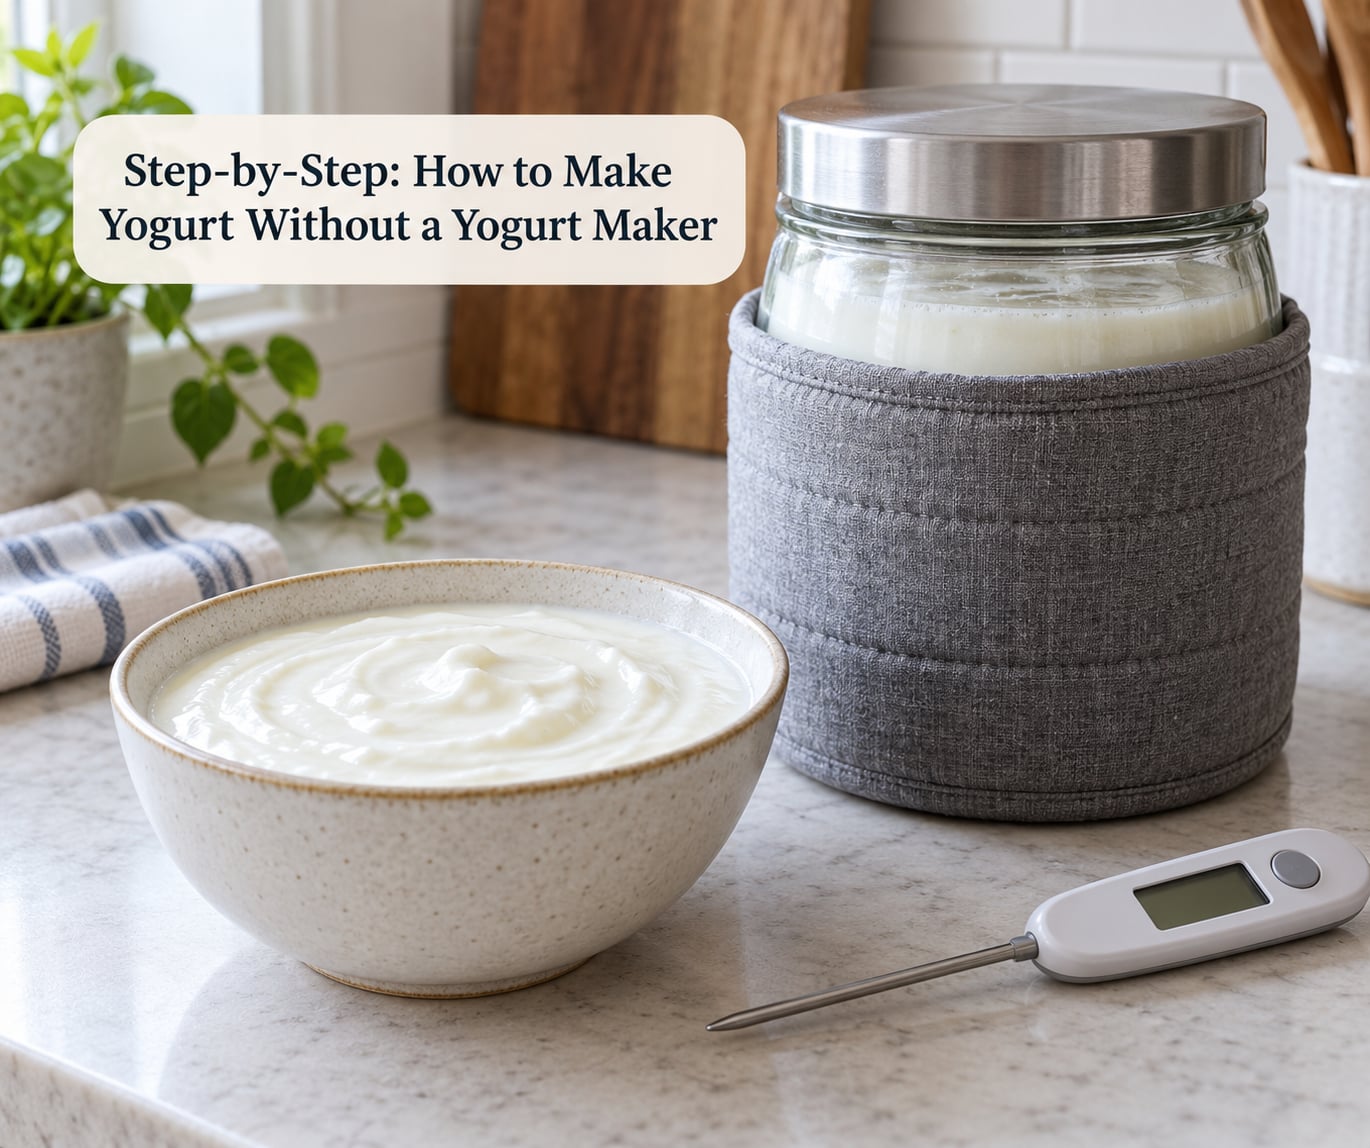
Step-by-Step: How to Make Yogurt Without a Yogurt Maker
Step 1: Heat the milk slowly
Pour the milk into your pot and heat it over medium heat, stirring gently and often, until it reaches about 180°F (82°C). Do not rush it. A hard boil scorches the milk proteins and leaves a cooked, flat taste that no amount of chilling will hide.
Some experienced makers push all the way to 190°F or even 205°F for an even thicker set. Both work. What you want to avoid is holding the milk at high heat for a long stretch.
Step 2: Cool the milk to 110°F
Now bring the temperature down to 110°F to 115°F (43°C to 46°C) before you add any culture. This is the step people rush and regret.
Hotter than about 120°F and the live cultures are killed on contact, leaving you with warm milk that will never set. Cooler than 100°F and the bacteria work too slowly, so you wait twice as long for a thinner result. If you have no thermometer for the cool-down, pour a few drops onto the inside of your wrist. It should feel warm, not hot, and drop from 45°C (113°F) on your fingertip in roughly seven seconds.
Step 3: Mix in the starter
Stir about 2 tablespoons of plain live-culture yogurt into a cup of the cooled milk until smooth, then stir that back into the pot. Tempering it this way spreads the culture evenly instead of shocking it in one lump.
Skim any foam or skin off the surface, ladle the milk into your jar, and cover it loosely with a plate or a clean towel.
Step 4: Incubate at 100°F to 115°F for 6 to 12 hours
This is the part that replaces the machine. Pick whichever rig fits your kitchen:
| Method | Temperature held | Hands-on effort | Best for |
|---|---|---|---|
| Oven light on, jar wrapped in a towel | About 100°F to 110°F, varies by oven | One minute to set up, then ignore it | People who make yogurt weekly and don’t mind a check-in |
| Insulated cooler with a jar sitting in hot water | Steady 110°F if the water is hot but not boiling | Five minutes, and the water holds for hours | The most reliable no-machine setup |
| Towel-wrapped jar in a warm spot in the kitchen | Depends on the spot, often too cool | Almost none | Summer kitchens that run warm |
| Instant Pot on sous vide | Set and held exactly, 105°F to 115°F | Three minutes, but no yogurt setting needed | Anyone who already owns one |
| Slow cooker on warm | Holds roughly 105°F to 115°F | Same as the Instant Pot | Same |
Whichever you choose, check once, about two hours in. If the milk is at room temperature, your rig is not insulating well enough — move it somewhere warmer. Users on r/yogurtmaking have been running a plain oven or a warm kitchen corner for years without a machine, and the common piece of advice there is to verify the temperature rather than assume it.
Time is the second half of incubation. Six hours gives a mild, barely tangy yogurt, 8 to 10 hours is a balanced middle, and 12 hours or more gets properly tart. The clock is a rough guide because temperature moves faster than time — a warm rig finishes early.
Step 5: Chill and check the set
Refrigerate the jar for at least 2 hours, ideally overnight. The yogurt firms up considerably as it chills, so yogurt that looks a little loose out of the incubator often sets correctly in the fridge.
To test before chilling, tilt the container gently. Set yogurt pulls away from the side as one solid mass. If it sloshes and pours, give it more time. If it is already pulling back and smells pleasantly sharp, stop there — more time only adds sourness.
Stir it once before refrigerating if you prefer smooth yogurt, or leave it undisturbed for a thicker, more separated set. That separated whey layer is normal, not a mistake.
How to Thicken It and Make Greek Yogurt
You can thicken yogurt without any added thickener just by straining it. Line a fine-mesh strainer with cheesecloth, set it over a bowl, and let the yogurt drain through for 2 to 4 hours. Two hours gives you thick, spoonable yogurt. Four hours gets you close to Greek-style, and 6 hours plus a longer stretch gives you labneh.
Do not throw the whey away. That yellowish liquid is full of lactose and protein, and it is genuinely useful in smoothies, pancake and bread dough, soups, and salad dressings. I keep a cup in the fridge for the week after every batch.
Common Mistakes
| Symptom | Likely cause | Fix |
|---|---|---|
| Runny after 12 hours | Incubation drifted below 100°F, or the milk never hit 180°F | Check the temperature in your rig mid-ferment with a thermometer before the culture goes in |
| Very sour and curdled | Too long in the warmth, usually an unmonitored hot spot | Pull it earlier next time, and move the jar away from direct heat |
| Grainy or lumpy | Milk overheated or held hot too long | Heat slowly to 180°F only, and cool fast in an ice bath |
| Curds and whey separate when stirred | Acidification went too far | Strain out the whey and eat it as-is; salvageable as a baking swap |
| Nothing set, tastes like warm milk | Starter was heat-killed, or the yogurt had no live cultures | Use a fresh cup with live active cultures, and cool the milk fully before adding it |
| Slimy film or strange smell after days | Contamination from utensils or an unrefrigerated jar | Discard it. Use clean spoons, and refrigerate within two hours |
A tired starter culture is the quiet cause behind a lot of inconsistent batches. Save 2 tablespoons of each successful batch in a clean jar in the fridge and use it for the next one, and it will stay strong for a long time. When batches start turning out thin or slow, refresh it with a fresh store-bought cup rather than troubleshooting forever.
Homemade yogurt keeps about 1 to 2 weeks in the refrigerator, and it is a different food each day: mild on day one, noticeably sharper by day ten. It is still perfectly good for eating, just no longer mild. Use it in place of sour cream or mayo in a dressing, or fold it into batter for muffins and pancakes.
If you make other ferments at home, the general principles are identical — temperature control and a healthy culture. Water kefir at home uses a similar warm-incubation approach with a grain culture instead of milk.
Frequently Asked Questions
Do I need a yogurt maker to make yogurt at home?
No. A yogurt maker only holds milk at a steady 100 to 115 degrees for 6 to 12 hours. An oven with the light on, an insulated cooler with a jar in hot water, or a towel-wrapped jar in a warm kitchen corner does the same job. Many people make yogurt at home for years this way without ever buying a machine.
Can I use instant pot or slow cooker for yogurt without a yogurt maker?
Yes, and both hold temperature better than most improvised setups. Neither needs a yogurt program: set the Instant Pot to sous vide at 105 to 115 degrees, or put the slow cooker on warm, and put the covered jar inside. No thermometer is required either, since the machine holds the setting you chose for the whole ferment.
What temperature should milk be when I add the yogurt starter?
Cool the heated milk to 110 to 115 degrees (43 to 46 C) first. Above roughly 120 degrees the live cultures are killed and the yogurt never sets. Below 100 degrees the bacteria activate too slowly, so you wait longer and get a thinner result. Without a thermometer, test a few drops on the inside of your wrist: it should feel warm, not hot.
Why did my homemade yogurt turn out runny?
Three causes account for most runny batches. The incubation temperature sat below 100 degrees, the milk was not heated to 180 degrees before cooling, or the starter had been heat-killed or was too old to be active. Also check your starter label for live and active cultures, and skip cups containing added thickeners or starch. A final chill often firms up a loose set.
Can I thicken homemade yogurt without adding a thickener?
Yes. Strain the set yogurt through cheesecloth in a fine-mesh strainer over a bowl. Two hours of draining gives thick, spoonable yogurt, four hours gets you to Greek-style, and six or more hours produces a dense labneh. Keep the strained whey in the fridge for smoothies, soups, bread dough, and salad dressings.
Conclusion
The simplest no-machine method is the oven with the light on: heat 4 cups of milk to 180°F, cool it to 110°F, stir in 2 tablespoons of plain yogurt with live active cultures, cover, and leave it warm for 8 to 10 hours. Then chill for 2 hours and check the tilt test.
Start with one quart, keep your equipment and jar clean, and save a couple of tablespoons of the result as starter for the next batch. Once you have two or three successful rounds under your belt, scale up. Larger batches need more attention to even heating, and that is where scorched milk usually creeps in.
Pair it with something that survived the fridge well — freezing fresh berries without clumping is a good pairing for topping a bowl of the finished yogurt.