
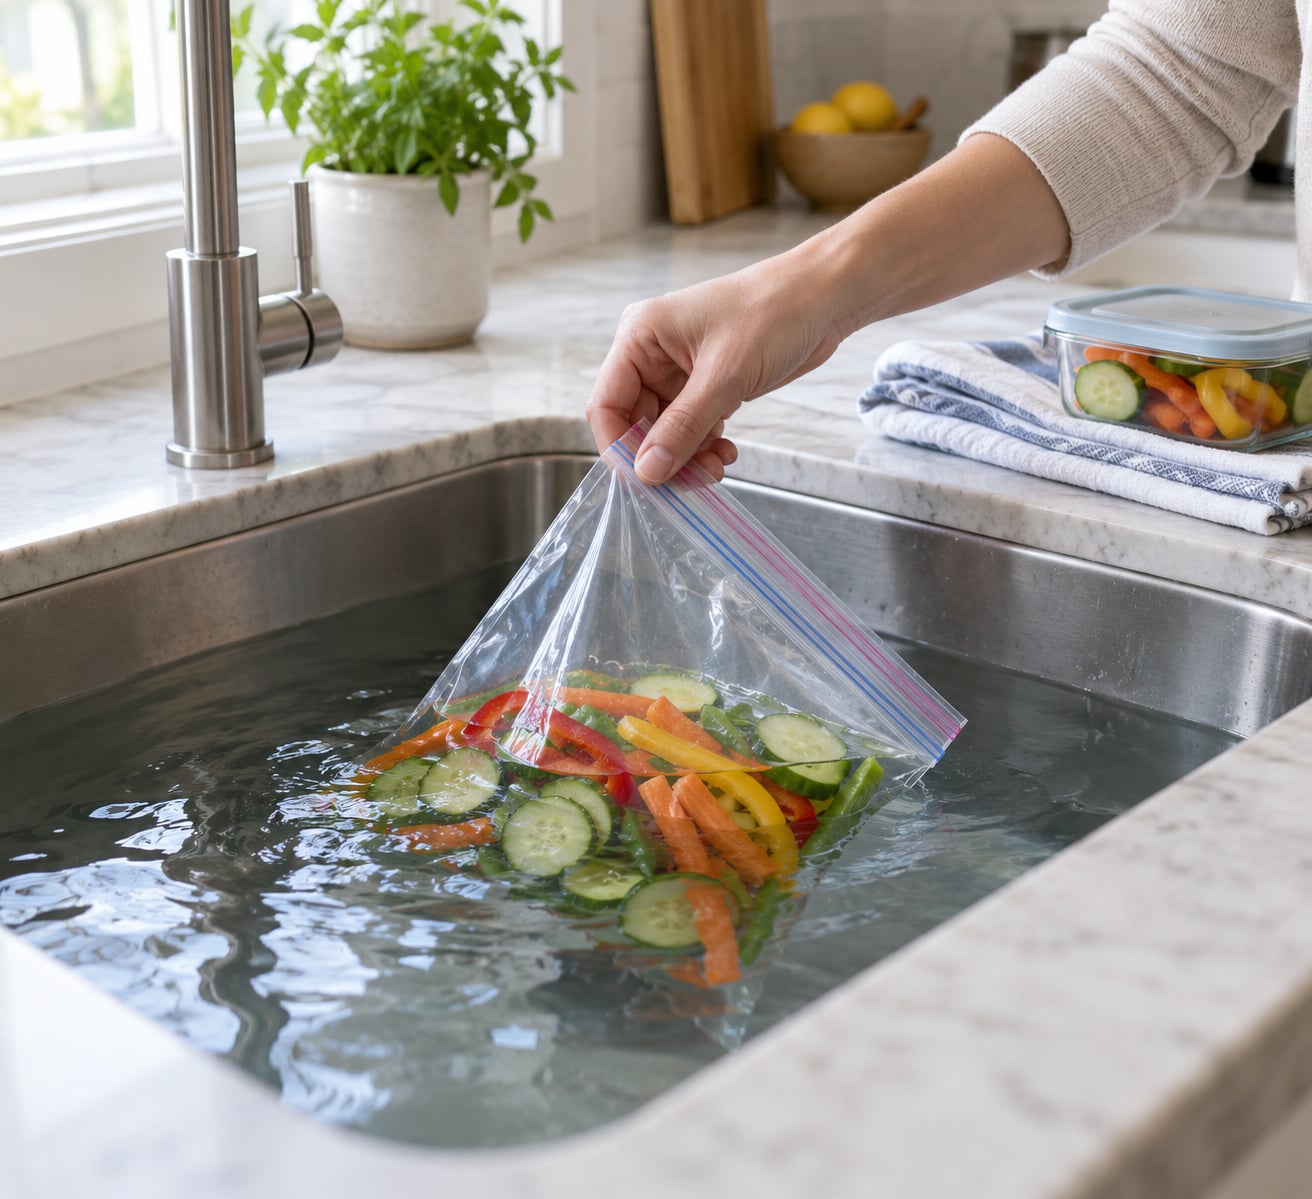
You can vacuum seal food without a machine. The water displacement method uses a zip-top freezer bag and a sink of cool water, and it takes about two minutes per bag. Most home cooks get good results on their first try, once they know to leave a small opening at the corner before submerging.
Here is the honest version of what this method does. Water pressure squeezes the air out of a partly closed bag, which slows freezer burn and oxidation and makes flat, stackable portions. It is not canning, it is not as airtight as a heat-sealed vacuum bag, and nothing here makes food shelf stable without freezing.
Table of Contents
- What You Need
- Step-by-Step: How to Vacuum Seal Food Without a Machine
- Common Mistakes
- Frequently Asked Questions
- Can you really vacuum seal food without a machine?
- What kind of bag should I use for the water-displacement method?
- How long does food stay fresh after air is removed this way?
- Can food sealed with water displacement be frozen?
- Does this method make food shelf stable like canning?
- How can I tell whether the bag is still holding air?
- Start With a Small Batch
What You Need
The supply list is short, and you probably own most of it already.
- A waterproof zip-top freezer bag. Freezer-grade bags are thicker and hold a seal better than a thin sandwich bag. Double-zip bags work best.
- A large sink, stockpot or basin deep enough that the bag opening sits under several inches of water.
- Cool water. Cold tap water is fine. Warm water gives you a weaker pressure difference.
- A food-safe container for leftovers that are not going straight into a bag.
- A clean towel to dry the outside of the bag.
- A measuring cup for portioning, so every bag holds the same amount.
Optional but useful: a paper towel or absorbent sheet inside the bag when packing meat or marinated food, a drying rack for bags that are still damp, and a marker for labelling dates on freezer portions.
Step-by-Step: How to Vacuum Seal Food Without a Machine
1. Choose Food That Suits Water-Displacement Sealing
Water displacement works best on firm, solid, moist foods that hold their shape under pressure. Steaks, chops, chicken portions, fish fillets, cooked grains, roasted vegetables and block cheese are all good candidates.
Skip the fragile and dry stuff. Soft berries, leafy greens, pasta, mushrooms and anything coated in flour or powdered seasoning can turn into bricks or tear when the bag compresses around them. Shredded cheese and other fine powders are the same story.
Cooked food must cool before you pack it. Packing hot food traps warm air, and the steam condenses into water inside the bag, which is exactly the moisture you were trying to keep out. Spread it on a tray or a plate until it stops steaming.
2. Prepare and Fully Dry the Food
Drain anything sitting in liquid, then blot the surface with a clean towel or paper towel. Surface water travels with the bag and turns into ice crystals during freezing.
Portion the food so each bag holds one meal or one serving. If you like to see how to build that week of food without repeating the same four dinners, I wrote about batch cooking for the week without getting bored — the same portion sizes work here.
Leave a third of the bag’s volume empty. Water needs room to push in as the air pushes out, and a crammed bag simply will not submerge evenly.
Get the food into the bag or the refrigerator promptly. Two hours is the limit at room temperature, one hour if the kitchen is above 90°F, and that clock is running whether or not the food gets sealed.
3. Place the Food in a Waterproof Bag
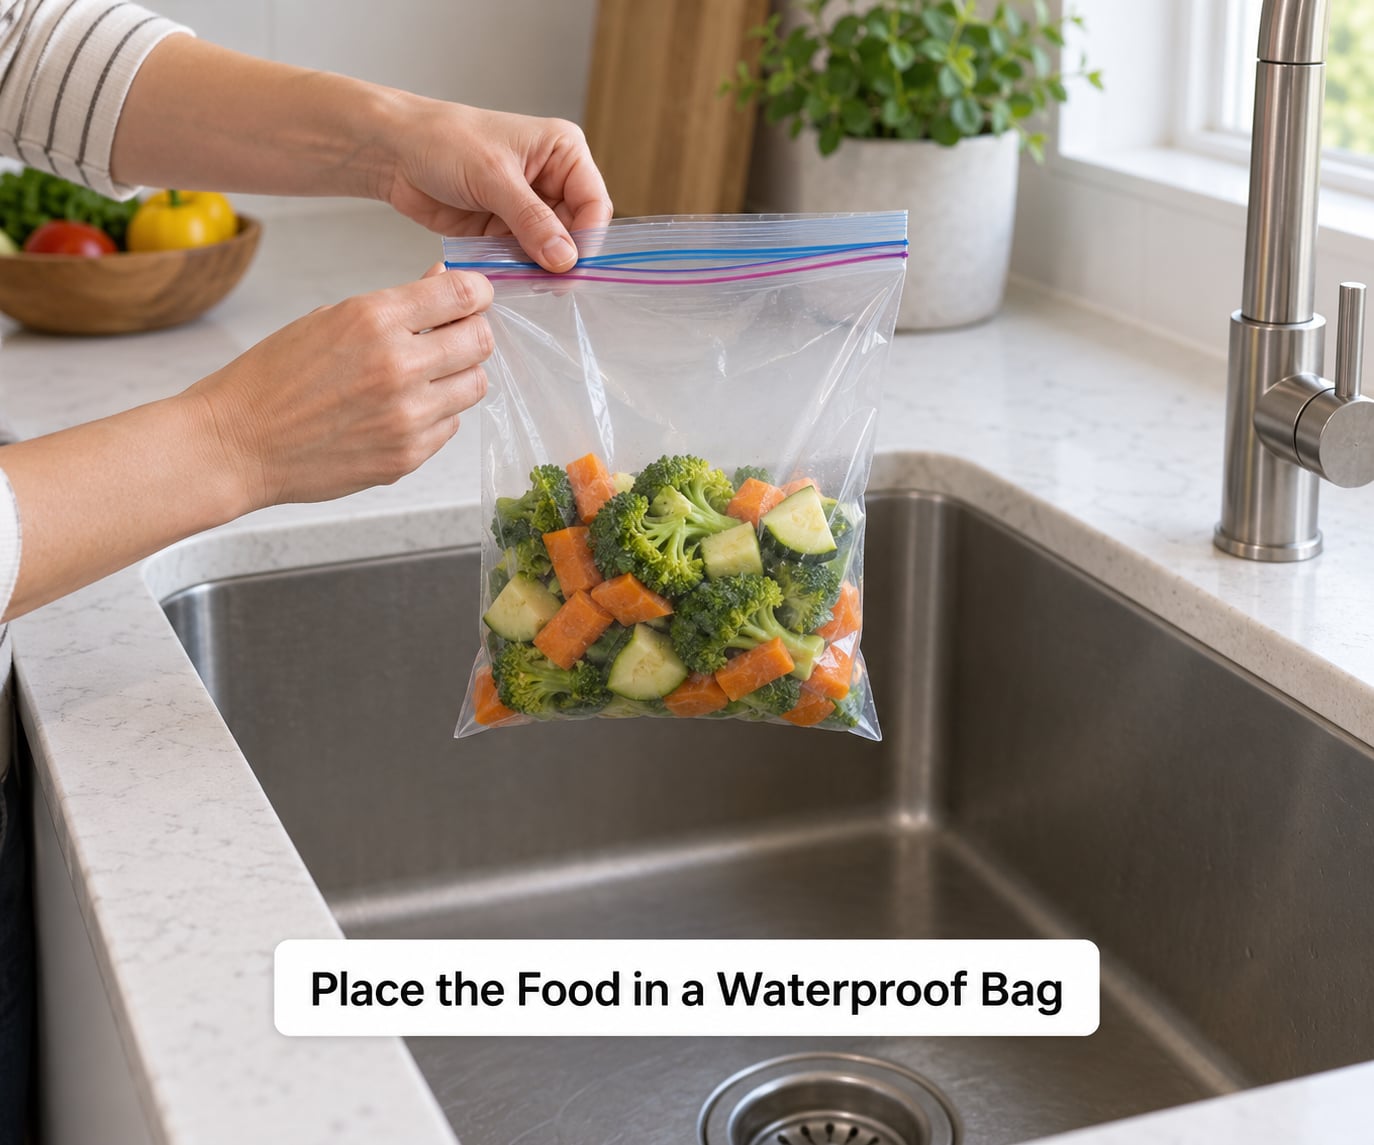
Put the food in the bag and push the heavier or sharper pieces to the bottom so they do not puncture the plastic. Then run your thumb along the zipper, sealing it fully, and reopen only the last inch or so at one corner.
That small opening is the whole trick. Air escapes through it as the bag goes under, and you close it after the water has done the work. Keep the interior of that opening clean and hold it above the waterline until the bag is submerged.
4. How to Vacuum Seal Food Without a Machine Using Water Displacement
Fill the sink or basin a few inches deep with cool water. Hold the open corner of the bag up with one hand and lower the bag slowly into the water with the other.
Water pressure rises with depth, so it presses on the bag and pushes the trapped air out through your one-inch opening. You will see bubbles and the bag will stiffen and flatten. When the bag feels firm and mostly stops moving, seal the corner just before it goes fully under and lift it out.
The visual confirmation is simple: a flat, tight bag with no slack in the middle and no air pocket at the top. If the bag still puffs like a cushion, you went in too fast or the opening was too wide.
5. Remove and Secure the Bag
Lift the bag out slowly so the seal does not tear open. Pat the outside dry with your towel, then press gently along the top of the bag to move any remaining air toward the zipper.
Run your fingers along the closed zipper track from end to end and feel for a pocket of air. If you find one, reopen a corner, let it down into the water again, and reseal. Then lay the bag flat on a drying rack or towel.
6. Refrigerate or Freeze the Food Safely
Move sealed bags into the refrigerator or freezer right away. Water displacement is a packaging technique, not a preservation method, so it does not change any safe storage time.
Cook poultry to 165°F (74°C) before it goes in, ground meat to 160°F (71°C), and whole cuts of meat or fish to 145°F (63°C). Cool cooked food to room temperature in shallow containers, and refrigerate it within two hours of cooking.
Raw or cooked meat keeps three to four days in the refrigerator and roughly ten to twelve months in a freezer at 0°F. Cooked vegetables and soups hold three to four days refrigerated, about two to three months frozen. If you freeze fruit, spacing it first on a tray makes a difference — I have a whole guide on how to freeze fresh berries without clumping.
Common Mistakes
Trapped air and loose zippers
The zip-top is the weak point. A heat-sealed vacuum bag is fused shut, but a zipper can drift open over weeks as the plastic flexes, which is why bagged meat gets freezer burn sooner than sealed bags. Run the zipper seal from end to end a second time before you finish, and double-bag anything you plan to keep past a month.
Wet food and wet bags
Blot the food dry and pat the outside of the bag before closing the zipper. Ice crystals that form from trapped surface water dull texture and flavour.
Overfilled bags
A stuffed bag cannot flatten, so air stays trapped and the corners may split when the food freezes hard. Leave headroom, press air out toward the opening, and lay the bag flat so it freezes as a thin layer instead of a block.
Food sitting in basin water
Once the bag is sealed it can go back in the water for a second pass, but never let food or open seams touch basin water before you close the zipper. Use clean, fresh water for every batch.
Waiting too long to refrigerate
The seal does not pause bacterial growth. Refrigerate or freeze the same day you packed it.
Tips for a More Reliable Seal
- Double-bag marinated meat or anything with sharp edges, and keep raw poultry in its own bag.
- Lay a small absorbent sheet in the bag if the food was marinated or is very wet.
- Test the bag for pinholes before you fill it. Fill it with water, seal it, and press it flat on the counter; any leak shows up straight away.
- Label and date each bag. A marker on the freezer bag or a strip of tape on the freezer shelf tells you what is in there without thawing.
- Thaw in the refrigerator, not on the counter, and use frozen food within a day of thawing.
Frequently Asked Questions
Can you really vacuum seal food without a machine?
Yes, using the water displacement method. A zip-top freezer bag with a one-inch opening at the corner is lowered into cool water, and the rising water pressure pushes the trapped air out before you seal the last inch. It works well for short-term marinating, freezing and refrigerator storage, but the zipper is not as airtight long-term as a heat-sealed vacuum bag.
What kind of bag should I use for the water-displacement method?
A freezer-grade zip-top bag with a double zipper. Thicker plastic resists punctures and holds the seal better, and the freezer rating matters because the bag gets frozen while flexible. A thin sandwich bag will often split, and bags filled with liquid or powder need a double bag to survive compression under water.
How long does food stay fresh after air is removed this way?
Removing air slows oxidation and moisture loss, but it does not extend the safe window set by food-safety guidance. Raw or cooked meat keeps three to four days refrigerated and about ten to twelve months frozen at 0°F. Cooked vegetables and soups hold three to four days in the refrigerator and two to three months in the freezer.
Can food sealed with water displacement be frozen?
Yes, and freezing is the main reason to do it. Lay the sealed bag flat so it freezes as a thin layer, press air toward the zipper first, and double-bag marinated or sharp-edged food. Freezer burn is still possible over months, since a zipper is not a permanent seal, so label and date every portion.
Does this method make food shelf stable like canning?
No. Water displacement only removes air from a package. Shelf stability comes from a validated canning process with tested recipes, proper jars, and heat processing for a defined time. Home air removal is for refrigerated and frozen food, and jars you have pulled a vacuum on at home are not shelf stable either.
How can I tell whether the bag is still holding air?
Press the bag flat with your palm and feel for slack. A well-sealed bag feels tight and firm from the food to the zipper, with no soft pillow in the middle or gap at the top. If there is slack, reopen a corner, submerge it again, and reseal. Squeeze the bag gently to check for liquid moving inside.
Start With a Small Batch
Fill the sink, pack one bag of cooked chicken or a few portions of roasted vegetables, and run the water displacement step once. Two minutes of setup tells you whether your bags hold a seal before you have a freezer full of them.
Keep the framing straight. This is for refrigerated or frozen food, not shelf storage, and the seal does not change how long food stays safe. Refrigerate or freeze the same day, label the bag, and throw away anything with an off smell, a slimy texture or a swollen bag.